How Can I Thin Out My Hair: 8 Safe Methods to Reduce Bulk Effectively
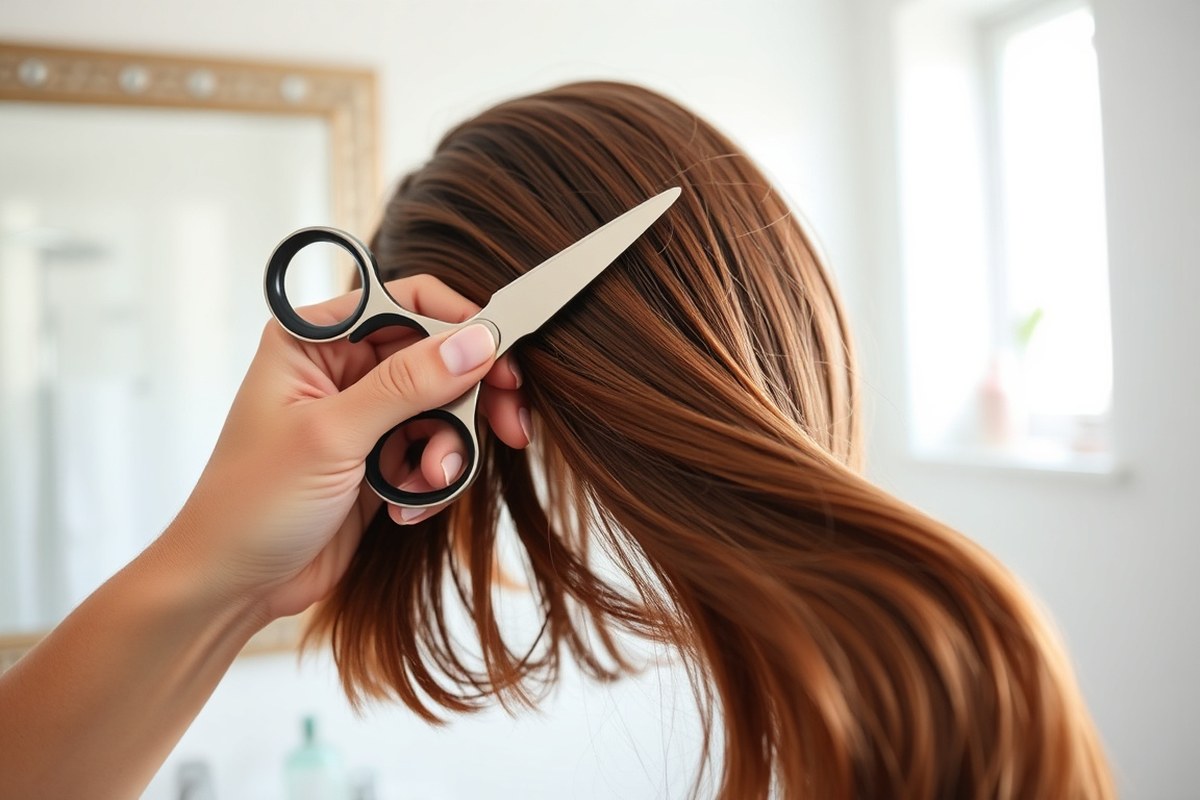
How can I thin out my hair without making a mess? You can use thinning shears or specific cutting techniques to remove bulk safely. This method trims hair in small sections, keeping your overall length while reducing density.
Start with dry hair so you see how much volume you really have. Thinning wet hair risks cutting too much because it looks fuller when damp. Keep your cuts light and check your work often to avoid over-thinning.
Pick your tools wisely, they should match your hair’s thickness and texture. Using the wrong scissors or technique can cause frizz or uneven patches. If you’re unsure, start with minor thinning, then adjust as needed for a natural look.
Key Takeaways
- Always use thinning shears designed for hair to reduce bulk evenly.
- Thin hair when it’s dry to better judge how much volume to remove.
- Start with small amounts in each session to avoid over-thinning.
- Match thinning tools and techniques to your hair texture and thickness.
- Avoid using regular scissors; they can cause uneven thinning and damage.
- Consult videos or guides on basic thinning techniques before starting.
1. How to Thin Out Hair Safely at Home

You can thin your hair at home safely. Use thinning shears carefully on dry, clean hair. Take your time to avoid mistakes.
Avoid cutting too close to your roots. Remove small amounts of hair for a natural look.
Work slowly to keep a soft finish. Doing this helps reduce bulk without damaging your hair.
Preparing Hair for Thinning
Start with clean, dry hair because wet hair stretches and cuts unevenly. Comb through to remove tangles and divide hair into small sections. This helps you control how much hair you remove and prevents mistakes.
Using dry hair lets you see the natural fall and volume. You can decide exactly where to thin. So no spots end up too thin or uneven.
Using Thinning Shears Correctly
Thinning shears have teeth like a comb that only cut some strands at a time. Use them on the ends and mid-lengths, never at the roots. This way, you keep natural volume at the scalp.
Follow these steps to thin out your hair safely with thinning shears:
- Comb a small section of hair, about 1/2 inch wide, away from your scalp.
- Open the thinning shears and close them gently once or twice through the hair section.
- Move on to the next small section, repeating with gentle cuts to avoid removing too much.
- Check your progress regularly by stepping back and looking in the mirror.
- Stop thinning once the hair feels lighter and looks less bulky.
Don’t take more than 20% of hair at once. Removing too much creates obvious gaps.
Thin hair little by little instead. Avoid rushing; slow and steady leads to smooth, natural results.
Aftercare to Protect Thinned Hair
After thinning, handle your hair gently to keep it healthy. Use a wide-tooth comb and avoid heat styling for a couple of days. This prevents stress on your lighter strands.
Avoid washing your hair right after thinning to maintain natural oils. When you do wash, use a gentle shampoo and conditioner designed for thick hair. Regular moisturizing helps keep hair soft and smooth.
2. Choosing the Right Tools and Techniques for Your Hair Type

Picking the right tools and techniques depends on your hair type. Thick, coarse, fine, and curly hair all respond differently to thinning methods. Correct tools help reduce bulk without damage, making your hair easier to style.
Thinning Shears Versus Regular Scissors
Thinning shears have notched blades that remove hair strands selectively. They reduce bulk while preserving length and shape. Regular scissors cut straight across, which can leave hair looking blunt and thick if overused.
Thinning shears suit thick or coarse hair better, as they blend layers softly. Regular scissors work well for trimming ends and shaping but are not designed for thinning volume.
Using thinning shears on fine hair can cause too much removal and damage. So, fine hair needs gentler methods like point cutting instead of heavy thinning.
Razors and Deep Point Cutting Explained
Razors slice hair fibers for a soft, feathered finish but can cause frizz in curly hair. They work better on straight or wavy hair to reduce bulk gradually. Razors require skill to avoid cutting too much.
Deep point cutting means holding hair at 90 degrees and cutting vertically to remove weight. It gives textured ends and works on all hair types, including fine hair. It also softens blunt edges without damaging curls.
Both methods thin hair by cutting smaller sections carefully. They keep the overall shape intact while improving manageability.
Choosing Tools for Curly and Thick Hair
Thick hair benefits most from thinning shears because they reduce bulk without losing length. Layers help curly hair to move freely and avoid a bulky look. Keep thinning shears away from the scalp to prevent frizz.
Curly hair should avoid razors which can make strands frizz out and look uneven. Instead, use deep point cutting or layering for soft volume loss. Long layers suit thick, curly hair and thin it out naturally.
Buying quality shears costs about $20 to $50 but makes a big difference in results. Cheap tools can snag or create uneven cuts that look worse. Here’s a simple comparison to pick the right thinning tool or method for your hair:
| Tool/Method | Best for Hair Type | How It Works | Key Advantage | When to Avoid |
|---|---|---|---|---|
| Thinning shears | Thick, coarse | Notched blades remove small strands | Blends bulk with minimal length loss | Fine or very curly hair near scalp |
| Regular scissors | All types (for trimming) | Straight cut to shape ends | Sharp shaping and length control | Thinning bulk or texture |
| Razors | Straight or wavy | Blade slices hair fibers | Soft, feathered edges | Curly/coily hair; frizz risk |
| Deep point cutting | Fine, thick, curly | Vertical snips at 90-degree angle | Creates texture, removes bulk subtly | Untrained users may cut unevenly |
| Layering (with or without shears) | Thick, curly | Cut hair in stages for shape | Reduces weight, adds movement | None for thick hair |
Don’t thin curly hair too close to the scalp. It causes frizz and uneven volume.
3. How Often and When to Thin Hair for Best Results
Thin your hair every 6 to 8 weeks to keep it manageable and avoid over-thinning. Results show up right after cutting. But you’ll notice the full effect in about two weeks.
Stop thinning if your hair feels fragile or looks patchy. Consider a professional’s help then.
Monthly Thinning Timelines
Thinning hair too often causes damage. Aim to thin your hair roughly every 6 to 8 weeks. This schedule lets your hair recover and grow without stress.
After each thinning session, visible changes appear immediately but soften as hair settles. The hair’s natural texture returns within a few days. You’ll see how much thinner your hair is after about two weeks.
For fresh thinning, schedule salon visits or home trims in advance. Keeping track helps keep your look consistent without rushing the process.
Recognizing Over-Thinning Symptoms
Signs of over-thinning include flat hair that lacks volume and a frizzy texture. Your hair might also develop split ends more easily. Patchy or uneven sections signal you should stop thinning immediately.
Here are common warning signs to watch for:
- Hair feels weak or breaks easily when brushed
- Visible scalp patches where hair is thin or missing
- Hair loses its natural bounce and looks flat
- Frizz increases beyond usual levels
- Difficulty styling hair into normal shapes
Notice any of these signs? Stop thinning and talk to a professional. Over-thinning can make your hair harder to fix later.
Adjusting Frequency by Hair Condition
Hair condition changes may affect how often you should thin it. Your hair grows fast or feels heavy? Thin it every 6 weeks.
Your hair is fragile or dry? Wait about 8 weeks or longer.
Seasonal shifts also matter. In humid months, thinning more often helps reduce bulk and frizz. Dry winter months need gentler care to prevent breakage.
Listen to your hair’s response to thinning and adjust your schedule. A professional stylist can also teach you the right timing and technique for your unique hair.
4. Impact of Lifestyle and Hair Care on Thinning Hair
Your diet affects hair thickness more than you might guess. Eating enough protein helps hair stay strong and thick.
Foods like eggs, nuts, and fish offer the building blocks for healthy hair strands. Adding healthy fats from avocado or olive oil can also support growth and shine.
Supplements with biotin, collagen, and B vitamins might help if your diet lacks those nutrients. Some products combine these with horsetail extract and other natural ingredients aimed at strengthening hair.
Costs vary, but typical monthly supplements run from $10 to $30. It’s best to talk with a doctor before starting any new supplement.
Stress can cause your hair to shed faster or thin unevenly. Managing stress helps protect your hair’s growth cycle.
Try regular walks, deep breathing, or hobbies you enjoy to keep stress in check. Sudden or severe hair loss needs a doctor’s checkup for medical causes.
Drinking plenty of water also matters for your hair’s health. Dehydration makes hair dry and brittle, which can look thinner.
Aim for about half your body weight in ounces daily. For example, if you weigh 150 pounds, drink around 75 ounces of water a day.
Hair care routines impact hair thickness too. Avoid harsh shampoos that strip natural oils, and don’t wash hair every day.
Using gentle conditioners and leaving some moisture in your hair helps it look fuller. Over-brushing or heat styling too often can cause breakage and make hair look less thick.
Natural remedies like scalp massages might improve blood flow. Using rosemary or peppermint oil can help too. These oils stimulate hair follicles.
Mix a few drops with a carrier oil like coconut oil before massaging in. A bottle costs just a few dollars. Each session takes five to ten minutes.
You can do this at home. Be cautious of allergic reactions and do a patch test first.
Limiting alcohol can reduce dryness and nutrient depletion. Alcohol may interfere with your body’s ability to absorb vitamins for hair growth. Keeping drinks to moderate levels supports better overall hair health.
Eating well and managing stress help hair stay strong. Proper hair care also improves manageability. These habits work best together.
5. Styling Techniques to Make Hair Appear Thinner Without Cutting
You can make your hair look thinner without cutting it by changing how you style it. Using certain products and cutting techniques can reduce bulk and create a sleeker look. Internal layering cuts weighty sections from the middle head.
It removes bulk without shortening your hair. This way, layers don’t show obviously.
Choosing haircuts designed to control volume helps too. Haircuts with subtle layers or blunt cuts often work best.
These cuts take off excess weight and prevent hair from puffing out. Combining a cut like this with styling tools or products that smooth hair improves manageability.
- Use smoothing serum or lightweight oils to control frizz and bulk
- Try keratin treatments to keep your natural texture but reduce thickness visually
- Blow dry hair straight with a round brush to flatten hair volume
- Apply mousse or styling cream to damp hair for more control and less puff
- Experiment with internal layering rather than full layers for a natural look
- Use sulfate-free shampoos to maintain moisture without adding volume
- Consider straightening treatments for a longer-lasting thinner hair appearance
Applying more product can make hair appear thinner if you target it well. Avoid shampoos with sulfates since they strip oils and create dry, puffy hair. Several styling tricks help, but layering often removes the most weight without sacrificing length.
Combine thinning cuts with styling tips for a better look. This approach helps manage your thick hair. It gives you style and shape.
Cutting too many layers can make hair look frizzy and uneven, so add thinning slowly.
Choosing the right haircut helps control your hair’s bulk. Use styling products for even better control. Together, they make thick hair easier to manage.
The key is balance, too much product can weigh hair down, too little leaves it bulky. Matching haircuts and styling to your hair type is key.
It helps thick hair feel lighter every day. This routine also makes hair look thinner.
6. Common Mistakes in Thinning Hair and How to Fix Them
Thinning hair can quickly go wrong if you remove too much bulk. Taking out too much leaves your hair looking patchy and uneven. It can also cause frizz and make your hair harder to style.
Uneven thinning is another common problem. This happens when you thin random sections without following a pattern.
Your hair might look lumpy or choppy instead of smooth and balanced. This mistake often results from rushing or not using proper tools.
Some common mistakes to watch out for include:
- Thinning wet hair instead of dry for better control
- Using coarse thinning shears that remove too much hair
- Skipping small sections and thinning only the top layer
- Not sectioning hair properly before thinning
- Pulling hair too tightly which can lead to uneven results
- Thinning too frequently without giving hair time to grow
- Forgetting to wash hair more often after thinning, causing buildup
To avoid these errors, work in small sections. Comb hair straight and dry before you start.
Use thinning shears with fine blades, especially if your hair is thick. Make sure to take your time and thin hair evenly across sections.
Try thinning just 10 to 15 percent of the hair at first. This approach prevents over-thinning and lets you check the effect.
Stop if you see any gaps or stray thin spots. Use a mirror or ask for help to check the back of your head.
You should also adjust how often you thin. Too frequent thinning may weaken your hair and worsen damage.
Instead, wait at least 6 to 8 weeks between sessions. This gives hair time to fill in and stay healthy.
Regularly washing your hair more often helps too. Thinned hair can get oily or dirty more quickly. Washing every 2 to 3 days removes product buildup and keeps hair looking fresh.
7. When to Consult a Professional Stylist for Thinning Hair
Thinning your hair can be tricky if you don’t have the right skills or tools. You should see a professional if you feel unsure about how to thin your hair properly. Over-thinning by yourself can leave your hair looking uneven or damaged, which a stylist can fix.
Scalp issues like irritation, redness, or sudden spot thinning are signs to get expert advice. A pro stylist can help with very thick hair. They thin it carefully.
They customize thinning just for your hair. They’ll evaluate your hair type and shape a thinning plan that suits you.
Choosing the right salon service depends on how much thinning you want and your hair type. Basic thinning with thinning shears usually costs between $20 and $50. Advanced techniques like texturizing or section thinning cost more.
Prices range from $60 to $100. This depends on salon and stylist experience.
It helps to ask salons about their experience with thick hair thinning before booking. Let them know exactly what you want so they can recommend the best approach. Professional results usually mean smooth, manageable hair without patches or frizz from over-thinning.
Consult a healthcare provider if you notice quick or patchy hair loss. This is a different issue from styling and needs medical attention. A stylist focuses on managing hair bulk and texture, not treating hair loss conditions.
8. Maintaining Healthy Hair After Thinning Treatments
Thinning your hair can stress your strands, so keeping them healthy is key. Use gentle shampoos and conditioners designed for thick hair to maintain moisture. Look for products with protein and vitamins to strengthen your hair without weighing it down.
Avoid daily heat styling to prevent damage to the protein layer on your hair. Set your styling tools below 350°F (175°C) to reduce breakage.
Limit curling irons, flat irons, and blow dryers, especially at their highest heat settings. Giving your hair breaks from heat helps preserve its strength and shine.
Chemical treatments like coloring or perms can inflame your scalp and weaken your hair. Getting these services done by a professional reduces the risk of damage. Use mild treatments and space them out to protect your scalp.
Nutrition plays a big part in hair health. Eat a balanced diet with vitamins A, C, D, and E. Biotin also helps support your hair follicles. Supplements can help, but focus on fresh fruits, vegetables, and lean proteins first.
Once your hair is thinned, maintaining volume and shape becomes easier with thinning shears. Use them carefully to avoid over-thinning that causes dryness or breakage. Lightly trimming every few weeks keeps your style fresh and manageable.
Over-processing or too much heat weakens hair. So protect your strands with lower temperatures and gentler chemicals.
Step-by-Step Action Plan to Thin Out Thick Hair
Follow these steps to safely reduce bulk and improve your hair’s manageability. Check your hair’s feel after each step to see if you like the change.
- Before you start: Gather thinning shears or a razor comb designed for thick hair. Using the right tool helps avoid damage and uneven thinning.
- Week 1: Take a small section of hair and thin it gently. Your hair feels lighter but still looks natural; you’re on track.
- After first thinning: Style your hair and notice how it lays. It feels too thin or patchy; slow down next time.
- Week 2: Thin another small section, focusing on the areas that feel heaviest. Make sure the transitions between thick and thin parts are smooth.
- Ongoing check: Monitor your hair’s texture and volume weekly. Adjust how often and how much you thin based on how manageable it feels.
- Every 4 to 6 weeks: Repeat thinning gently only if needed. Over-thinning too soon will harm your hair’s look and health.
- After a month: Moisturize and use a lightweight conditioner to keep hair soft. Healthy hair shows thinning results better and lasts longer.
Frequently Asked Questions
Is It Safe to Thin Wet or Dry Hair?
It’s generally safer to thin dry hair to avoid uneven cutting. Wet hair stretches and can cause you to remove too much bulk accidentally.
Can I Thin Already Fine or Thinning Hair?
Thinning fine or thinning hair is usually not recommended as it can make hair look sparse. Focus on volumizing styles instead of thinning.
How Can I Reduce Bulk in Thick Hair Without Cutting?
Use styling techniques like texturizing sprays or blow-drying with a diffuser. These help reduce bulk without any cutting.
What Is the Best Way to Maintain Thick Hair After Thinning?
Keep your hair moisturized and avoid harsh chemicals. Healthy hair looks smoother and easier to manage after thinning.
Can Clippers Be Used to Thin Out Hair?
Yes, clippers can thin hair by shaving the nape area up to three inches. This reduces bulk but requires precision to avoid visible lines.
Do Short Layers Help Thin Out Thick Hair?
Short layers add volume, which is the opposite of thinning. Layers are best for fine hair that needs more body.
The Bottom Line
Thinning your hair can make it easier to style and lighter on your scalp. Test small areas first, and adjust slowly to avoid overdoing it. Try thinning one section this weekend to see how it feels before moving on.