How to Cut Men’s Hair with Clippers a Complete Guide for Fast, Clean Results
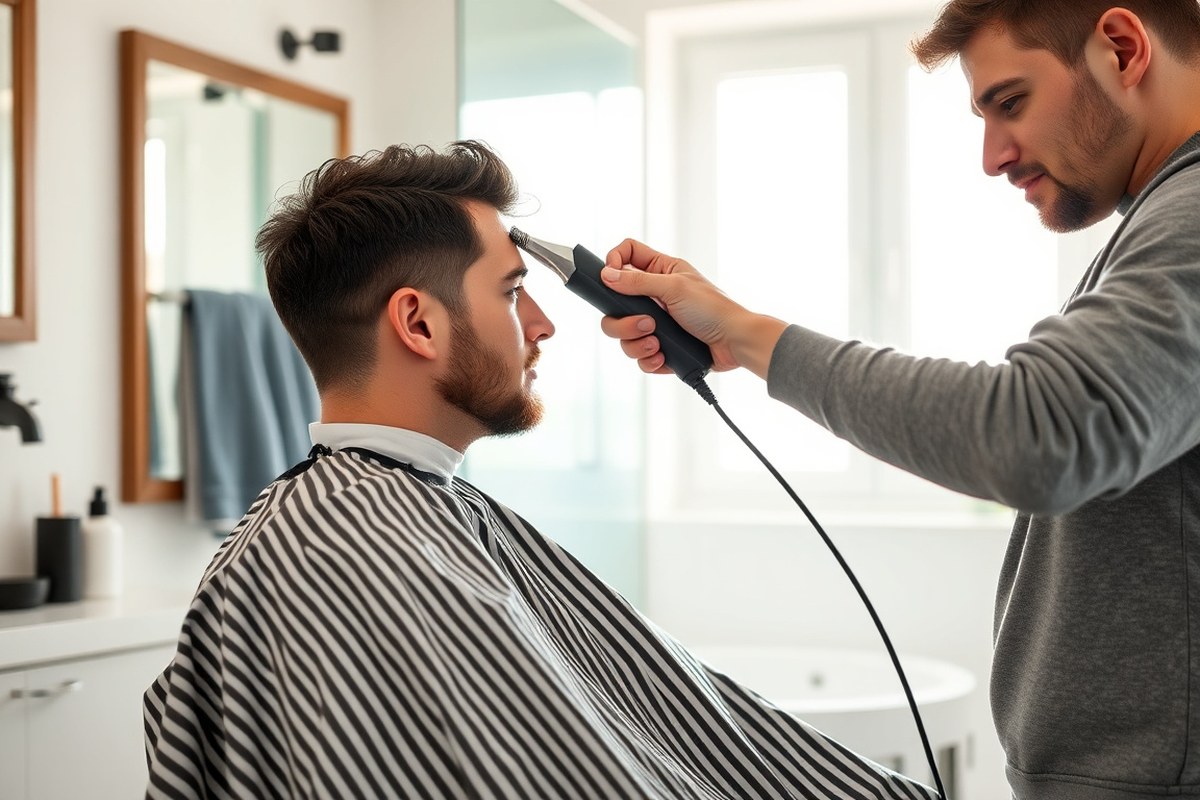
How to cut men’s hair with clippers means using the right tools and technique. Start with dry hair and a longer guard to avoid cutting too short. Cutting the sides and back first helps shape the head naturally.
Hold the comb at a 90° angle to lift the hair while cutting. Use smooth, upward strokes moving against the grain for even cutting. Always overlap your strokes by about 40% to avoid visible lines.
Finish by cutting the top with a longer guard or the clipper-over-comb method. This approach gives you control and a clean, professional look at home. Take your time on blending to keep the transition smooth.
Key Takeaways
- Start with dry hair and a longer guard like #3 or #4 for sides and back.
- Hold the comb at 90° to lift hair evenly while cutting.
- Cut upward against the hair grain in 1 to 1.5-inch overlapping strokes.
- Overlap every stroke at least 40% to prevent visible clipper lines.
- Cut the top last with a longer guard or clipper-over-comb for better control.
- Use a full guard set from #0 to #8 to adjust hair length easily.
How to Cut Men’s Hair with Clippers Step-by-Step

Clean, dry hair is best for cutting men’s hair with clippers. Dry hair stands up, so clippers trim evenly without causing clumps. Use a longer guard first to avoid cutting hair too short.
Begin with the sides and back because they’re easier to shape and show early progress. Use smooth, upward strokes, moving against the hair’s growth. Overlap each pass by about 40% to avoid uneven patches or lines.
Save the top for last, using a longer guard to start. Blend the edges carefully for a smooth, natural look. Take your time to avoid sharp lines.
- Choose your starting guard. Use #3 (10 mm) for short cuts or #4 (13 mm) for medium lengths. Attach it securely to your clippers.
- Cut the sides and back. Move the clippers upward in smooth strokes against hair growth. Follow the head’s natural ridge (C-stroke) for an even line.
- Blend the transition. Switch to a slightly longer guard. Carefully pass the clippers over the fading line with light pressure to avoid harsh edges.
- Trim the top last. Use a longer guard like #6 or #8. Lift hair with your fingers or a comb before clipping. Cut from the front moving toward the back steadily. Match the clipper length to the style you want.
- Check for uneven spots. Run your hands over the hair to feel for bumps. Revisit spots with uneven length and blend again if needed.
- Shape the neckline and edges. Use no guard or a shorter one for clean lines. Work slowly along the neck and around ears for a sharp finish.
Moving the clippers in even, overlapping strokes keeps cuts consistent. Avoid pressing too hard; a gentle touch lets the blades glide smoothly. Take your time, especially when blending, because rushed strokes cause uneven lines and patchy spots.
Essential Tools and Preparation Before Cutting
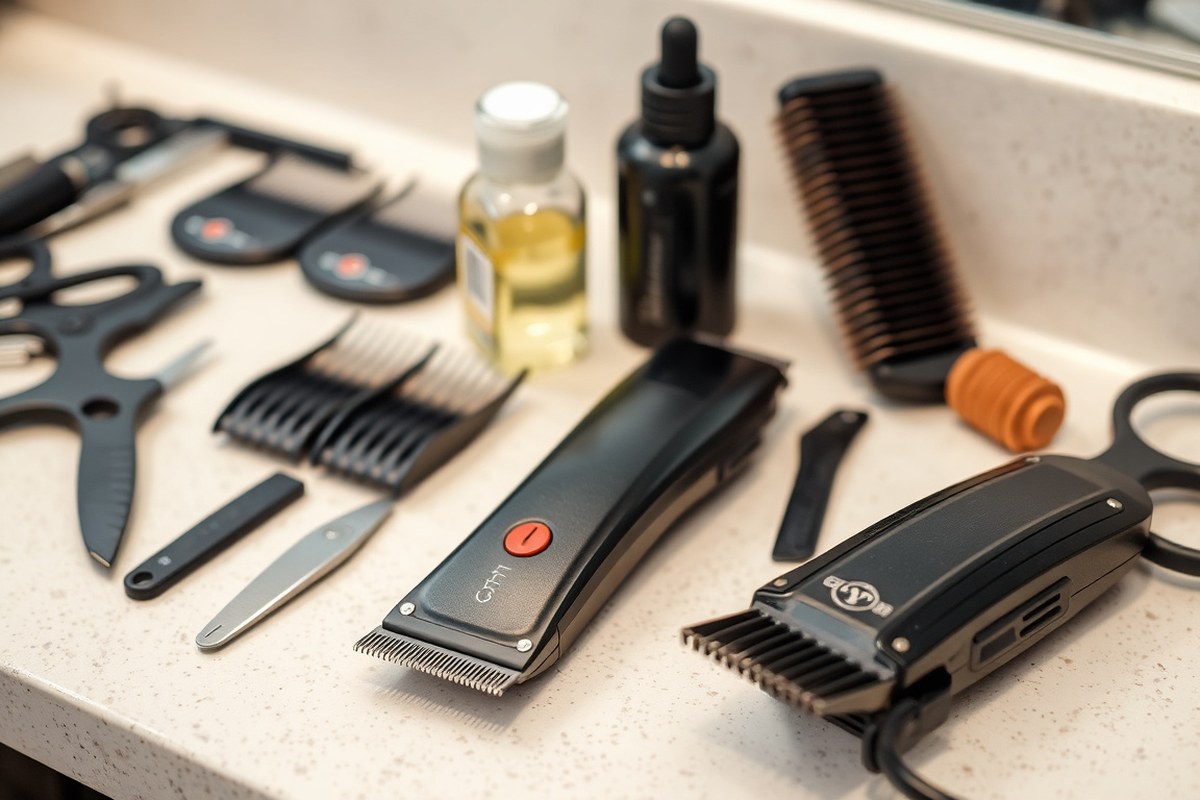
Using clippers to cut men’s hair requires the right tools and setup. Start by gathering quality clippers, a full set of clipper guards, and a sturdy comb. Clean brushes help keep clipper blades sharp.
Use them during and after cutting. Clipper oil also stops blades from pulling hair.
Hair should be dry or just slightly damp before cutting. Dry hair lies flat and shows its true length, which helps you cut evenly. Wet hair appears longer, hides uneven spots, and shrinks when dry, making uneven cuts more likely.
- High-quality clippers (corded or cordless)
- Clipper guards ranging from sizes 0 to 8
- Cleaning brush to remove hair clippings
- Clipper oil for blade lubrication
- Comb for styling and sectioning hair
- Towel to dry hair if washed beforehand
- Mirror to check your progress from all angles
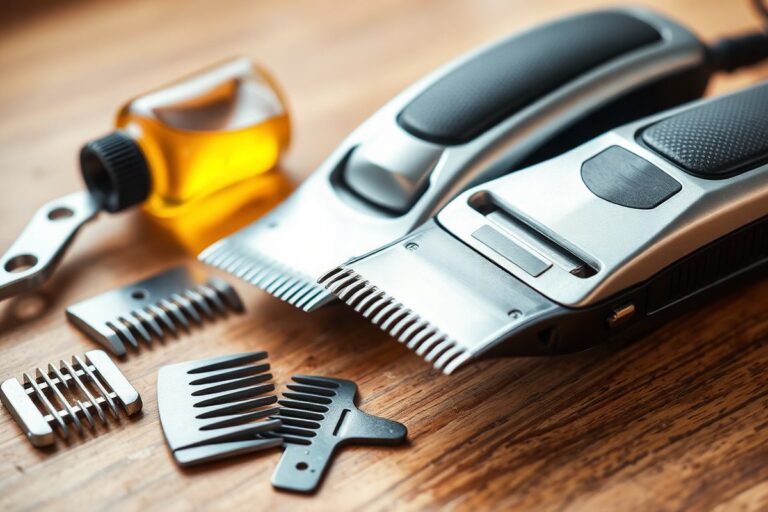
Before each haircut, clean the clippers by brushing away hair from the blades. Then, apply clipper oil sparingly on the blade edges. Oil lowers friction between the blades.
This helps avoid pulling hair. Pulling can make the haircut painful and uneven.
Always oil your clipper blades before and after every cut to avoid pulling or snagging.
Clipper maintenance keeps your tool ready and safe to use. Wiping blades clean, oiling them, and occasionally checking blade alignment will extend their life.
Remember, damp hair makes clippers pull and snag, so dry your hair well. This setup and care routine improves precision and comfort, making each haircut smoother and easier.
Choosing the Right Guard Sizes for Different Hair Lengths
Choosing the right guard sizes shapes your haircut’s length and style. Guards control how much hair clippers trim off. So pick sizes based on the look you want.
Using different guards on certain spots helps blend or contrast hair. You can create fades or buzz cuts with this technique. It adds style by varying hair length in each area.
Guard Size and Corresponding Hair Length
Clippers come with numbered guards that indicate how much hair they leave behind. Each number matches a specific hair length, usually shown in inches or millimeters. The higher the number, the longer the hair stays after cutting.
Here’s a simple chart with common guard sizes and the hair lengths. It also shows which haircuts fit each guard size best. This helps you pick the right guard for the style.
| Guard Size | Hair Length | Ideal For |
|---|---|---|
| #0 | 1/16 inch (1.5mm) | Ultra-short cuts |
| #1 | 1/8 inch (3mm) | Short fades |
| #4 | 1/2 inch (13mm) | Medium-length cuts |
| #8 | 1 inch (25mm) | Longer styles |
Keep in mind, guard length markings vary across clipper brands. Check your clipper’s guide before cutting to avoid surprises. Always move the clipper slowly and hold the guard flat against the scalp.
Best Guards for Beginners
Start with longer guards when you’re new to cutting hair. This reduces the risk of cutting too short at first. The #4 guard works well for an easy buzz cut.
It cuts hair to about half an inch. This length is a great start for beginners learning to use clippers.
Using one guard all over creates an even, simple style. As you get used to cutting, try shorter guards like #1 or #2. These work well on the sides and back.
Experimenting helps you find a style you like. It’s smart to cut small sections and check your progress often to avoid mistakes.
Be extra careful clipping around your ears. Slightly fold the ear down to protect it.
Use no-guard clippers near ears only if you have experience. Stick to guards if you’re new to avoid uneven cuts or nicks.
Selecting Guards for Fades and Blends
Fades require shifting between different guard sizes for smooth transitions. Choose one guard for the shortest areas like sides and back. Pick a guard two or three numbers larger for the top hair.
This difference creates a balanced look with varied lengths. This layering creates soft lines between lengths.
Use the clipper’s taper lever or medium guards to smooth the line. This blends the area where two hair lengths meet.
It creates a natural, less sharp transition. Work against hair growth, moving clippers slowly upward for clean, smooth blends.
Consider hair texture too. Coarse or thick hair might need a longer guard to avoid cutting too close.
Fine hair can handle shorter guards easily. Adjust your guard choices based on how the hair feels and looks as you cut.
Cutting Different Hair Types and Textures with Clippers
Coarse or thick hair needs firm clipper pressure to cut evenly. Use slower, steady strokes against the grain to avoid pulling or snagging. Start by setting the clipper lever higher first.
Then, slowly close it to reach the desired length. This helps you control how short you cut.
Curly hair tends to spring up after cutting. So leave a bit more length on your first pass. Check how the curls fall before cutting too short.
Cutting too close can make curls look uneven or cause scalp irritation. So move carefully across cowlicks and growth patterns to keep hair lying naturally.
Fine hair cuts easier but may seem patchy if cut too short. Cut slowly to avoid removing too much at once. This keeps the look fuller.
Go slowly and use a guard to avoid cutting extremely short. Hold the clipper flat against your head for a smooth finish.
Avoid tilting it to prevent uneven spots or lines. Keep the clipper steady while cutting.
Dealing with cowlicks means following the natural hair direction. Don’t force clippers against it; instead, use multiple passes with light pressure. This approach helps hair settle without uneven bumps or rough edges.
For thick or curly cowlicks, blend nearby areas to soften the look. You can also buzz the whole area evenly for a uniform style. Choose what works best.
Adjust clipper guards as you go. Start with a longer guard, then use shorter ones only if needed. Pushing the clipper lever downward gradually shortens the cut, letting you control length precisely.
Start longer to avoid mistakes while cutting your hair at home. You can always cut more, but can’t fix hair once it’s too short. This keeps your haircut safe.
Clean and oil clipper blades regularly to stop hair from pulling. This is very important with thick or coarse hair types. It helps the clipper work better.
Snags often happen when blades dull. Regular maintenance keeps cutting smooth and comfortable throughout the process.
Pay attention near the edges, like around ears or the neckline. Don’t push clippers too close to the hairline.
Instead, trim so no hair touches the ear without cutting into natural lines. This preserves the haircut’s shape and looks professional.
Step-by-Step Blending Techniques for a Smooth Transition
Blending different hair lengths with clippers starts by softening the line where they meet. You use various guard sizes and short flicking strokes to create a smooth, natural fade. This avoids harsh edges and makes the haircut look professional.
Identifying the Blend Line
Look closely at where the longer hair on top meets the shorter sides. This joining point is the blend line.
It often shows a harsh edge if not handled well. Spotting this line helps you know where to focus your blending efforts.
The blend line usually sits around the ridge of the head. Before fading, comb the hair to reveal any stop lines or steps. These lines need softening with blending techniques.
Using Multiple Guards to Fade
Pick two guard sizes to make a fade. Start with a longer guard on top. Use a shorter guard on the sides.
A #4 guard cuts about 1/2 inch on top. Use a #1 or #2 guard on the sides. Those cut between 3 and 6 mm.
After clipping the longer and shorter sections, use an in-between guard where the two lengths meet. Blend with short upward flicks and smooth strokes. These small steps eliminate visible lines.
The taper lever on the clipper helps make finer length adjustments. Flip the lever to slightly shorten or lengthen the cut, smoothing any harsh fade edges.
- Clip the top hair last with the longest guard you need (#5-#7 typically).
- Cut the sides shorter using a smaller guard (#1 or #2).
- Use a medium guard between those lengths to blend the line.
- Work in small sections about half an inch wide for control.
- Move the clippers with short upward flicks near the blend line.
- Use the taper lever to fine-tune the fade for a smoother transition.
- Comb each section before clipping to check the blend.
A visible step between lengths usually means missing the small flick strokes or guard changes.
Clipper-Over-Comb Blending Method
For more control blending the top with the sides, try the clipper-over-comb technique. Hold a comb in one hand.
Lift the longer top hair over the sides slightly. Keep the comb steady while cutting.
Run the clipper blade across the comb teeth, cutting just the hair tips. This method gently removes harsh lines and softens the join between different lengths.
Use this especially when the top is longer than what guards can cut smoothly. It gives a natural gradient without a sharp break in length.
Cleaning, Oiling, and Maintaining Your Clippers
Cleaning and oiling your clippers keeps them cutting smoothly and lasting longer. Clean your clippers every 2 to 3 haircuts to prevent hair build-up. This helps avoid skin irritation during use.
It keeps clippers working well longer. Oiling the blades regularly prevents rust and reduces snagging during cuts.
Clippers pulling or snagging hair means blades are dirty or need oil. Rusty or dull blades can cause uneven cuts and discomfort. Proper maintenance helps clippers work well every time and keeps haircuts neat.
Follow these steps to clean and oil your clippers correctly. Do this routine every few uses.
After each cut if you cut thick or coarse hair. Keep your clippers in a dry place to avoid moisture damage.
- Turn off and unplug your clippers for safety before cleaning.
- Use a small brush to remove hair from the blades and inside the clipper.
- Wipe blades with rubbing alcohol on a cloth to disinfect and remove oils.
- Let the blades dry completely before applying oil to avoid rust.
- Put a few drops of clipper oil along the blade edges and where blades move.
- Turn clippers on for 10 to 15 seconds to spread the oil evenly.
- Wipe away any excess oil with a clean cloth to prevent buildup.
- Store clippers in a clean, dry place away from moisture and dust.
Oiling takes only a minute but helps cut down friction. Good oiling makes blades glide silently and cuts smooth, not rough. Clippers still pulling after cleaning means you should sharpen or replace blades.
Cleaning and oiling clippers only costs a few dollars for supplies. Use rubbing alcohol and clipper oil to protect your investment.
Neglecting this will lead to dull blades, poor performance, and skin irritation. Keep your grooming tools ready for every haircut with simple, regular care.
Cleaning Up Edges and Neckline for a Professional Finish
Cleaning up the edges and neckline gives any haircut a sharp, professional look. Use a trimmer or clippers with no guard to shape the hairline, sideburns, and neckline carefully. This step focuses on precision and safety, especially near sensitive skin.
For the best results, work slowly and stretch the skin flat with your free hand. This keeps the skin taut and helps avoid accidental nicks.
Follow the natural hairline without cutting above it. Always check your work from different angles.
Here’s a clear step-by-step guide to clean the edges. Use a trimmer or no-guard clippers for the edges and neckline. Follow each step carefully to get a neat finish.
- Remove any guard from your clippers or switch to a narrow trimmer blade.
- Stretch the skin flat around the neckline to create a smooth surface.
- Hold the clippers upside down for the neckline and carefully follow the natural curve.
- Trim slowly, cutting only stray hairs below the natural neckline line.
- Use the trimmer around the ears, cutting small sections at a time for accuracy.
- Shape the sideburns by trimming straight lines or slightly angled edges as desired.
- Tip the clippers away from the head near curves to avoid cutting too high.
- Check all edges and neckline in multiple mirrors for balance and evenness.
Keep in mind that you cannot fix a neckline cut too high by trimming more. It will have to grow back if you go overboard. Working slowly helps prevent mistakes and keeps your skin safe from cuts and irritation.
For a polished finish, style your hair with pomade or gel after cleaning up the edges. This highlights the sharp line you created and keeps your haircut looking fresh.
Common Mistakes When Using Clippers and How to Fix Them
Uneven lines and missed spots often happen because the clipper blade isn’t flat against the scalp. That creates ridges people notice, especially at the back of the head. Cutting too fast can make hair uneven or patchy.
Holding clippers at an angle causes the same problem. Take your time and hold clippers straight for a smooth cut.
Cutting the hair too short too early is a common mistake. Hair grows about half an inch a month. So a number 1 or 2 all over can reset the cut completely.
That helps fix hard mistakes. But it’s not good for longer styles. It will shorten the hair more than you want.
Here are the most common problems you might see:
- Uneven hair length with ridges or patchy spots
- Rough, choppy edges near the neckline or around ears
- Missed spots, especially at the back or under the hairline
- Hair cut too short, not matching the intended guard size
- Clipper pulling or snagging hair
- Unblended lines between different guard lengths
To fix uneven lines, flatten the clipper blade fully against the scalp. Move slowly against the grain of the hair for a smooth cut. Use bright light and a mirror to check your work.
Ask the person to look too. This shows any uneven spots or missed hair. Use a guard one step longer to blend harsh lines.
Spot any missed areas? Use a guard on the clippers. Clip those spots gently to blend and fix.
Don’t rush or press down too hard. Cut too short or uneven? Use a number 1 or 2 guard.
Cut all over to start fresh and even out hair. The hair grows back in about three to four weeks. So you can try again then.
Keep the blade flat and use steady, slow strokes to avoid uneven cuts.
To avoid repeating mistakes, always inspect your work from multiple angles. Work under good light and take breaks to check progress. Use guards consistently and clean your clippers often to keep blades sharp and smooth.
Cutting a Two-Length Haircut: Short Sides, Longer Top
To cut short sides with a longer top, use different guards step by step. Start longer on the top and gradually switch to shorter guards on the sides. Blend the transition line carefully to avoid harsh edges.
Cutting the Sides and Back Short
Choose a guard size that matches how short you want the sides. Most men choose a #2 guard for short sides. It leaves about 1/4 inch.
That’s roughly 6 mm of hair. Begin at the back, moving the clippers upward in vertical strips.
Work around the sides next, always moving clippers from bottom to top. Keep the guard flat against the head for an even cut. Don’t press too hard, or it will cut unevenly.
Trimming the Top Longer
Select a longer guard for the top, usually two or three sizes bigger than your sides. For example, if you chose #2 for sides, use #4 or #5 for the top. Start at the front hairline and move the clippers back in straight lines.
Cut across the top, then cross-cut side to side to catch any missed spots. This keeps the top even without scissors. Comb the hair back frequently to check length and uniformity.
Blending the Transition Line
Look closely for the line where the short sides meet the longer top. Use a guard one size shorter than the top guard to blend this line. Move the clippers gently back and forth along the ridge to soften the edge.
Switch guards as needed to feather the fade. Lower guards blend the short sides into the longer top smoothly. Take your time here to avoid a harsh line or uneven spot.
Follow these steps for your two-length haircut:
- Start by using a #2 guard to cut the back in vertical, overlapping strips.
- Move to the sides, cutting upward with the same guard size.
- Switch to a #4 or #5 guard and cut across the top from front to back.
- Cross-cut the top side to side to catch uneven spots.
- Check the outline where the top meets the sides for a clear line.
- Use a guard one size smaller than the top’s to blend along this line.
- Move clippers gently to fade the transition soft and smooth.
- Clean up edges with a clipper without a guard around the neck and ears.
When to Call a Professional Barber Instead
Cutting your own hair with clippers works well for simple, even styles. You want complex fades or sharp edges? A pro barber does those well.
Haircuts needing exact angles or smooth blend need a trained barber. Barbers use special tools for better results.
Very curly or thick hair is harder to cut evenly on your own. It needs care to avoid uneven results. Scalp conditions like irritation or wounds also call for a pro.
They know how to avoid injury and prevent making the problem worse. Your scalp hurts or bleeds during clipping, stop right away. See a professional barber for safe help.
Ask yourself: Is this style something you’ve done before? Can you keep clippers steady and apply even pressure? No?
A pro barber can save you time and mess. They know tricks that cut hassle.
DIY errors often mean uneven cuts, visible lines, or missed spots. Fixing those later costs more time and money than a first visit to the barber.
After a bad self-cut, quick action helps. Use scissors to trim uneven strands carefully. Don’t shave too close to hide mistakes, it might make things worse.
Book a professional appointment and explain the errors clearly so the barber knows what to fix. Expect a cut costing around $20 to $50, depending on location and style.
Barbers like Khamis Maiouf train hard at Hinckley College with Level 3 hairdressing. They use steady pressure and good angles for clean cuts.
Professional tools include cutting shears and thinning scissors, which you probably don’t have at home. They’ll blend and texturize hair safely while avoiding damage.
Knowing when to call a barber helps you avoid bad results and scalp injuries. Complex fades, thick curly hair, scalp issues, or beyond-your-skill cuts are clear signs you need pro help.
A barber’s training, tools, and steady hands deliver a cleaner, safer, and better-looking haircut. You’ll save time and stress and get the look you want.
Step-by-Step Action Plan for Your First DIY Men’s Haircut
Follow these steps to cut your hair with clippers confidently at home. You’ll see clean, even results as you go.
- Before you start: Gather your clippers, guard combs, scissors, and a mirror. Check that your clippers are clean and oiled for smooth cutting.
- Step 1: Attach a longer guard (like #4 or #5). Cut all over the head to remove bulk. This gives a neat base to work from.
- Step 2: Switch to a shorter guard for the sides and back (try a #2). Blend up to the longer top by flicking the clippers outward. You’ll see smooth fading if done right.
- Step 3: Trim the top with scissors if you want it longer than the sides. Cut small sections, and check length with your fingers.
- Step 4: Clean up the neckline with no guard or a #0 guard. Then, tidy around the ears using a #1 or no guard. Make sure to be gentle and precise. Use steady, light strokes to avoid mistakes.
- After finishing: Brush off loose hair and check your work with a hand mirror. Touch up any uneven spots and soften lines where needed.
- Within a week: Keep your clippers clean and oiled for the next cut. This keeps your clippers working well and your haircuts tidy.
Frequently Asked Questions
Can I Use Clippers on Wet Hair?
Clippers don’t cut evenly on wet hair. Dry your hair first, then comb through to avoid tangles and get an even cut.
How Often Should I Sharpen or Replace Clipper Blades?
Sharpen or replace blades every few months to keep the cut smooth. Dull blades tug hair and cause uneven cutting.
What’s the Best Way to Avoid Clipper Burns?
Use sharp blades and avoid pressing the clippers too hard. Move clippers slowly with smooth strokes to protect your scalp.
Can I Cut My Own Hair with Clippers If I’m a Beginner?
Yes, you can start with longer guards and simple styles. It gets easier the more you practice.
How Do I Fix a Patchy Spot After Cutting?
Use a longer guard to blend the patch with surrounding hair. Cut small sections gradually to avoid over-cutting.
Is It Necessary to Oil Clippers After Every Use?
Oiling after each use keeps blades smooth and prevents rust. Use a few drops on warm blades before storing them.
Before You Go
Cutting men’s hair with clippers at home takes some practice but feels rewarding once you start. Begin by mastering short sides and a longer top with blending. Remember to keep your clippers clean and sharp for your next haircut session.