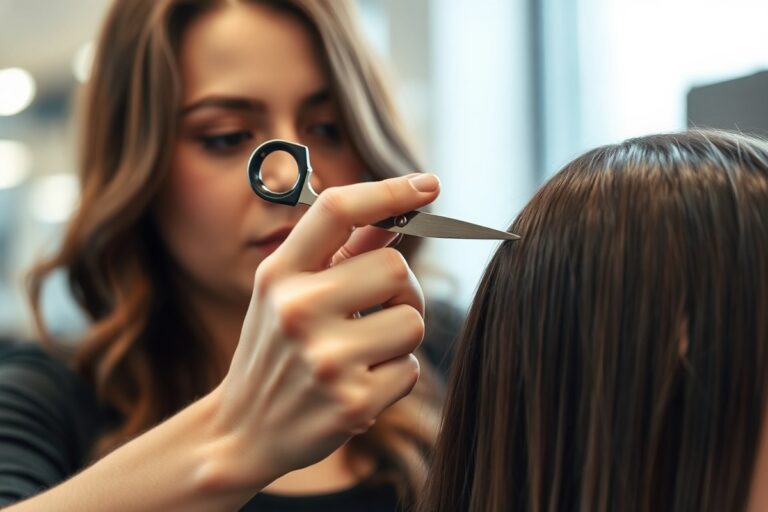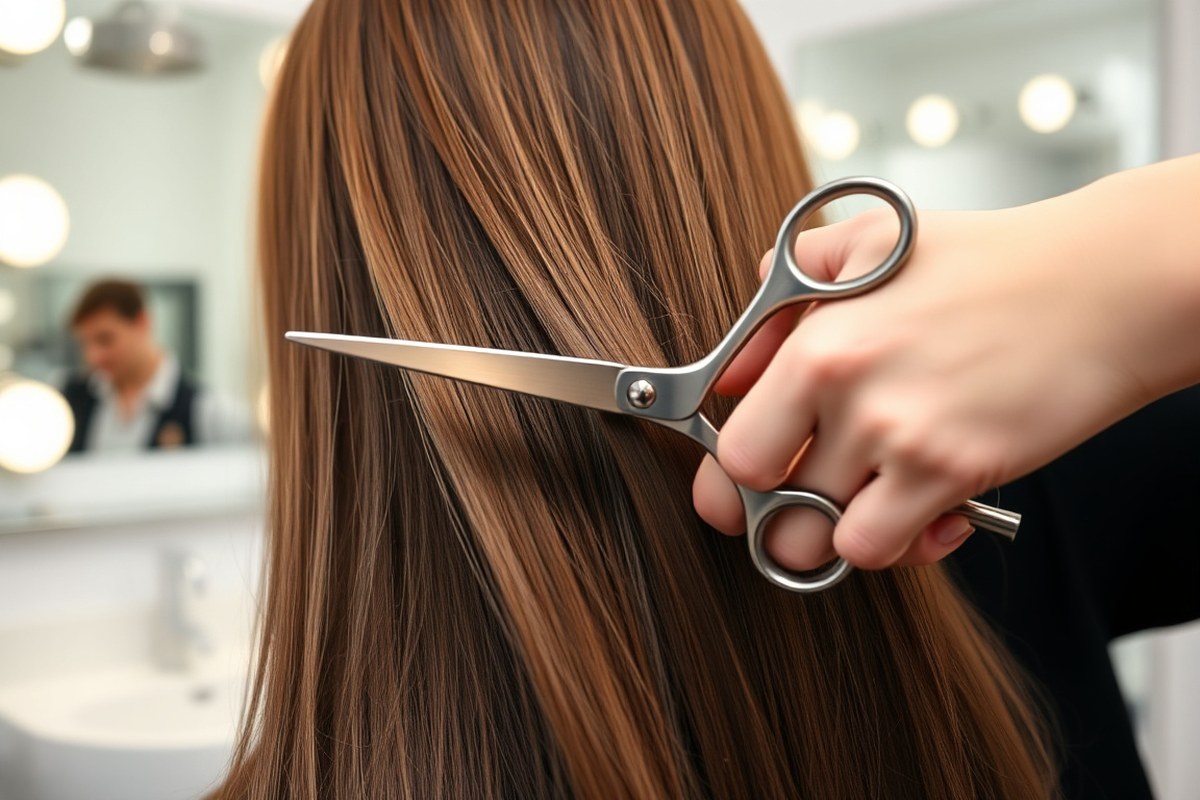
How to Cut Long Hair at Home: A Complete Guide with Proven Techniques
How to cut long hair is a question many people ask. You might want a fresh look at home. Doing it yourself is common for many.
The best way is to use sharp scissors. Section your hair carefully before you start.
Cut little by little to avoid mistakes. This lets you avoid mistakes and keep your length.
Start with clean, damp hair. It helps your hair lay straight, so your cut looks even as you snip. Avoid cutting dry hair because it can cause uneven lengths and split ends.
Use your existing hair length as a guide, and cut slowly. Cutting too much at once may cause you to lose length. Take your time and cut slowly.
This helps keep the style you want. Cutting small pieces helps you stay in control and fix uneven parts easily.
Key Takeaways
- Begin with damp hair for the most accurate and even cutting.
- Section hair into 1-2 inch parts for precise trimming.
- Use your current hair length as a guide for each new cut.
- Cut less than a half-inch to keep healthy ends without losing length.
- Sharp hair scissors help avoid split ends and rough cuts.
- Trim gradually, checking for symmetry after each snip.
How to Cut Long Hair Yourself Safely and Evenly
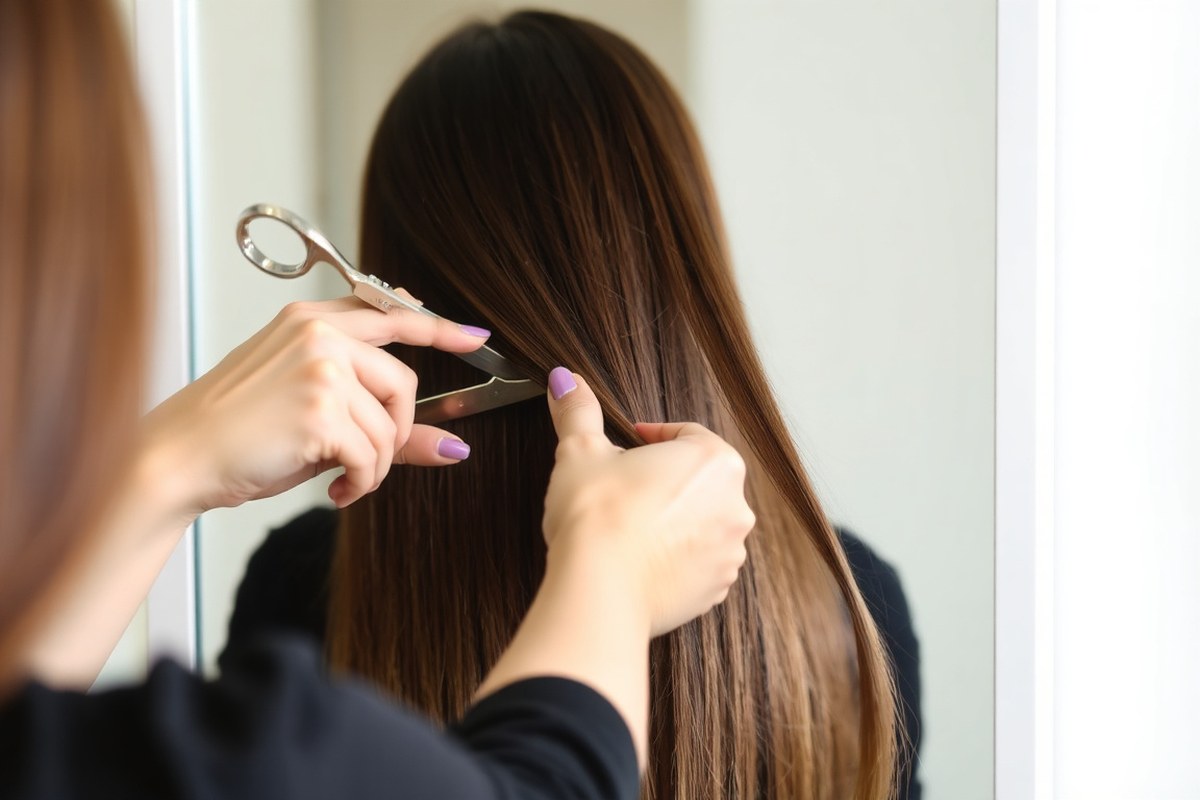
Cutting long hair yourself requires patience and sharp tools to avoid uneven results. Start with clean, dry hair as it shows the natural fall and length. A comb, clips, and sharp haircutting shears make the task safer and easier.
Maintaining control of small sections ensures an even cut. You want to cut less than you think.
Remember, you can always trim more later. But can’t fix a cut that’s too short.
- Comb hair to remove tangles and create a smooth base. This helps you cut straighter and avoid snagging.
- Divide hair into sections and clip them up. Four to six sections keep hair manageable and organized.
- Choose a guide strand to set your cutting length. Use this to compare all other sections for evenness.
- Hold scissors parallel to the hair and cut slowly. Use blunt cutting for straight ends or point cutting for texture.
- Cut small amounts from each section to avoid large mistakes. Trim ¼ inch or less per pass until satisfied.
- Check both sides often by combing hair forward and back. Adjust any uneven areas immediately with small cuts.
- Take breaks to step back and review your progress. Good lighting and a mirror help spot inconsistencies.
Working with dry hair helps you see the final length and shape. Wet hair shrinks when dry, causing accidental overcuts. If you prefer cutting wet, keep in mind your hair may look shorter after drying.
Keeping scissors sharp and handles comfortable reduces hand fatigue and hazards. Avoid household scissors as they create split ends and uneven cuts. Taking your time and staying calm lowers chances of mistakes or injury.
Essential Tools and Preparation Needed Before Cutting

Cutting long hair at home requires the right tools and prepping steps to avoid uneven results. Use professional hair shears designed for cutting hair, they cost around $20 to $50. Avoid kitchen or craft scissors; they dull quickly and cause split ends.
Before cutting, wash your hair with shampoo and conditioner. Gently pat it dry until it’s just damp. Too much water makes your hair look longer.
This can trick you. You might cut off more than you want.
Very curly hair is best cut when dry. Dry cutting lets you see the actual length and shape.
Detangling is important. Use a wide-toothed comb to remove knots carefully. Use your fingers to smooth your hair.
Check for uneven parts. Hold hair steady before you cut. This step stops bumps and uneven edges after you cut.
Here’s a simple checklist of what you need and how to prep for cutting:
| Do’s | Don’ts |
|---|---|
| Cut hair dry or slightly damp | Never cut soaking wet hair (it shrinks!) |
| Use professional hair shears | Avoid kitchen or craft scissors |
| Cut vertically or at a slight angle | Do not cut a blunt, straight horizontal line |
| Trim incrementally in small stages | Don’t try to reach the final length in one cut |
Cutting wet hair often means the hair will look longer than when dry. This can cause you to cut off more than you want.
Hair “jumps” up when dry, changing the look. Dry or slightly damp hair serves better for checking length as you cut.
Once you finish cutting, blow dry your hair. Watch for uneven spots while drying and trim those areas again. This method helps keep your cut tidy and precise.
Cut just ¼ to ½ inch at a time to avoid cutting too much.
How to Section and Part Long Hair Correctly for Precise Cutting
Sectioning long hair before cutting helps keep control and ensures an even trim. Dividing hair into clear parts makes the process easier and reduces mistakes. You usually work with four sections, but thick or curly hair needs special handling.
Standard Four-Section Method
Begin by dividing your hair straight down the center from front to back. Next, make a horizontal line across your head from one ear to the other. You end up with four equal parts that are easy to trim.
Using small elastics or clips, hold each section out of your way. Working on one section at a time helps keep the cut even and manageable. It also stops hair from mixing and causing uneven lengths.
Follow these steps to set up the four sections correctly:
- Comb the hair fully to remove tangles.
- Use a tail comb to part hair down the middle.
- Create a horizontal part from one ear to the other.
- Secure each of the four sections with small elastics or clips.
- Start cutting with the lower sections, then move to the top sections.
Handling Thick and Curly Hair Sections
Thick or curly hair needs gentle sectioning to avoid frizz and uneven cuts. Use wide tooth combs to carefully detangle each section. Work slowly, and separate hair into more than four parts if needed.
For curly hair, cut when dry to see the natural curl pattern clearly. Twisting small strands before trimming can add nice texture. You can section thicker hair into six or eight parts for better control.
Use smaller clips to keep tight curls separated and avoid pulling the hair. Remember, curls bounce back, so trim less than you think you need.
Securing Sections with Clips for Stability
Use strong, flat clips to hold sections firmly but gently. Clips prevent hair from slipping while you cut, making your work more precise. Avoid clips that pinch or create dents.
Place clips close to the scalp but not too tight to avoid discomfort. Check that each section stays separated from others while you snip. This keeps lines clean and the final look balanced.
Straight Cutting Methods for Long Hair and When to Use Them
Cutting long hair straight can be done through blunt cuts, angled cuts, or the ponytail method. The blunt cut creates a clean, even line. Angled cuts soften edges with a curve.
The curve is slight and gentle on your hair ends. The ponytail method is a quick way to trim evenly without sectioning each strand.
Blunt Cut Technique Explained
A blunt cut means cutting hair straight across at the same length. It works best for thick, straight hair to get a sharp, defined edge. Hold damp hair taut between your fingers and trim the ends directly across for smooth results.
This style suits people who want a bold, even look without layers. Avoid cutting too much at once; small snips prevent mistakes better. A blunt cut is easy to maintain with regular trims.
It can show split ends more quickly. So, trimming often keeps your hair looking fresh.
Using the Ponytail Method Step-by-Step
The ponytail method trims hair tied in a single bunch. First, brush your damp hair forward. Tie it near the hair tips with a hair tie.
This keeps hair neat and ready for cutting. Use a second hair tie to mark the cut point close to the first tie.
- Brush hair forward and tie it tightly near the ends.
- Slide a second hair tie down to where you want the cut.
- Cut straight across just below the second hair tie.
- Release the ponytail and check the length for evenness.
This method saves time since you cut all lengths at once. This style works well for beginners and quick trims. It doesn’t suit hair with many layers or curls.
Such hair types need different cutting methods. Keep hair taut while cutting to prevent uneven edges.
How and When to Angle for Softer Edges
Cutting at a slight angle softens the blunt edge and adds dimension. Angle the scissors slightly downward instead of chopping straight across for a rounded look. This technique works well on thick, straight hair that feels too heavy.
Use angled cuts when you want your hair shape to blend naturally without a harsh stop. Point cutting, where scissors cut into the ends vertically, can also reduce blockiness. Trim some hair at a 15-degree angle for the right curve around your face.
Angled cuts need more skill because uneven angles show quickly. Cut less at first, then fine-tune as you go. For beginners, practicing on small sections helps avoid mistakes and creates softer, natural-looking edges.
| Tool Type | Best For… | Key Characteristic |
|---|---|---|
| Straight Shears | Precision lines and blunt cuts | Sharp, straight blades for clean edges |
| Thinning Shears | Removing bulk and blending | One notched blade that only cuts some hairs |
| Texturizing Shears | Adding movement and “shagginess” | Jagged edges to prevent harsh lines |
Straight shears are essential for blunt and angled cuts to get clean lines. Thinning shears help reduce thickness after the main cut. Texturizing shears create soft edges.
Use these tools for a lighter, smoother finish. Using the right tool matters for your cut’s final look and feel.
Layering Long Hair at Home: Techniques for Adding Dimension
Adding layers to long hair at home gives your hair volume and shape. Hold hair at a 45-degree angle and cut upward to create soft, natural layers. Adjust your technique based on hair type for the best results.
Cutting Long Layers Using Vertical Sections
Start by dividing your hair into vertical sections from front to back. Cutting vertically helps you see the layers form naturally as you work. Small sections let you control the shape and avoid cutting too much at once.
Here’s a simple step-by-step to follow:
- Comb your hair straight and part it vertically down the middle.
- Clip one side away to work on small vertical sections on the other side.
- Take a thin section, hold it at about a 45-degree angle from your head.
- Using sharp scissors, cut the ends upward in small snips to soften the edge.
- Move to the next section, repeating the 45-degree hold and upward snips.
- After one side is done, release the clipped side and repeat the process.
- Check for evenness by combing and comparing both sides.
Work slowly through each vertical section to keep your layers consistent and balanced.
Creating Soft Layers with Angled Cuts
Angles change how visible your layers will be. Cutting at a 45-degree angle breaks up blunt lines, smoothing the transition between layers. This gives hair movement without harsh edges.
For subtle layers, start with smaller angles for a gentle slope. Larger angles create more dramatic layers. Angle your scissors slightly upward and make gentle snips instead of one straight cut.
Layering Tips for Curly vs Straight Hair
Curly hair benefits from layers that remove weight and encourage bounce. Cutting at sharper angles reduces bulk to prevent curls from looking heavy. Work in small sections and cut while dry to see how curls fall naturally.
Straight hair layers add visual volume by improving light and shadow. Use softer angles and cut while hair is damp. This helps you achieve a smooth transition among layers that look natural when styled.
Choose products based on your hairstyle goal. Use volumizing mousse for body. Smoothing serum works great for sleek looks, while curl cream defines layers.
How to Trim Split Ends Without Sacrificing Length
Split ends look like tiny frays at the hair tips. Sometimes one strand splits into two or more pieces. Check your hair by sliding your fingers down each strand slowly.
Stop when you feel rough or see thin, wispy ends. These are the spots where damage has started to travel up the hair shaft.
Trimming to remove split ends means cutting about ¼ inch at the tips. Cut only the very ends to save length. Cutting beyond that usually means losing noticeable length.
Only trim the ragged tips. Avoid cutting healthy ends. This keeps your hair long and smooth.
Try this checklist to spot split ends on your long hair:
- Look for hairs that taper unusually or fork at the ends
- Feel for rough or dry texture near the tips
- Check for strands that split into more than two pieces
- Use a bright light or natural daylight for better visibility
- Gather sections and blow-dry; watch for extra frizz at the ends
Plan to trim your hair every 8 to 12 weeks, depending on your hair health. Trim closer to every 8 weeks if your hair is dry or heat-styled often. Healthier hair with less damage can stretch to 12 weeks between trims.
Section your hair well to avoid mistakes. Trim only the very bottom ends with split ends. Wrap your hair in small ponytails just above damage.
Use multiple elastics to stop shifting. Trim the ends carefully. This keeps the length while cutting the damage away.
Common Mistakes When Cutting Long Hair and How to Fix Them
Cutting too much hair at once is a common mistake. It often leads to removing more length than intended. Cut small amounts, about a quarter-inch.
Check the hair’s length often. Make sure the shape looks right as you go. This way, you won’t risk a big cut you can’t undo.
Uneven sections cause inconsistent cuts. Large sections make it hard to keep tension equal.
Cutting with uneven tension results in choppy or crooked edges. Break the hair into smaller parts before cutting to keep control and accuracy.
Using the wrong scissors can ruin a fresh haircut quickly. Hair scissors designed for cutting should be sharp and precise. Dull or regular household scissors crush hair, causing split ends and uneven lines.
Professional styling shears, like ARC Professional Scissors, cost about $30 to $100. But they protect hair health and ensure a clean cut.
- Cut small amounts at a time, start with ¼ inch or less
- Use sharp, designed hair scissors, never kitchen or craft scissors
- Section hair into smaller, even parts to avoid uneven cuts
- Only cut with the tips of the scissors to prevent obvious lines
- Keep tension consistent while cutting to maintain straight lines
- Fix uneven areas by trimming little by little, checking symmetry
- Use a comb to smooth hair before each snip for better control
To correct uneven cuts at home, separate the hair again and look closely. Trim lightly along the uneven parts using the points of your scissors. Avoid cutting along obvious lines.
Trim just a tiny bit at a time to blend any high or low spots. So the difference looks natural.
Using only the tips of your scissors lets you avoid sharp lines. This helps fix mistakes without losing too much length. Good scissors glide through hair smoothly.
This means the cut is clean and the hair stays healthy longer. Dull scissors snag or pull, causing split ends and frizz.
When to Maintain Your Cut or See a Professional Stylist
Trim long hair every 6 to 8 weeks to keep it healthy and neat. This schedule removes split ends before they damage hair further. Regular trims help your hair grow stronger and reduce breakage over time.
Do a simple DIY trim for small trims or split ends. Keep your scissors clean and sharp for best results. Trim just the ends carefully, removing little sections at a time.
Cut no more than a half-inch at a time to avoid taking off too much. Use sharp scissors and section hair well, so your cuts stay even and controlled.
Visit a professional stylist when you want big changes, like layers, bangs, or fixing uneven cuts. Also, see a stylist if your hair has damage that needs special care. Pros can blend layers and style cuts that are harder to do yourself.
After cutting your hair at home, keep it healthy by using gentle shampoo and conditioner. Avoid heat styling for a few days to let your hair recover fully. You can also use a leave-in conditioner or hair oil to prevent dryness and split ends.
Set reminders on your phone for your next trim to maintain your cut on time. Hair that feels rough, frizzy, or thin at the ends needs trimming soon. This helps keep hair healthy and stops damage from spreading.
Check your ends often to catch damage early. Sticking to a schedule avoids big repairs down the line.
Cut less than you think, you can always trim more later. But you can’t fix a too-short cut.
Step-by-Step Action Plan for Cutting Your Long Hair
Follow this simple plan to trim your long hair safely and get the look you want. Each step helps you check your progress and avoid mistakes.
- Before You Begin: Get all your tools ready. Use sharp scissors, a fine-tooth comb, and clips for sectioning. Make sure your hair is clean and slightly damp to cut more evenly.
- Section Your Hair: Divide your hair into four or six sections using clips. This helps you cut each area precisely without missing spots.
- Start with Straight Cuts: Cut a small amount from your ends. Aim for about a quarter inch. Use the straight cutting method. Check that the cut looks even across each section.
- Add Layers if Desired: Hold your hair straight up. Cut it at an angle to add layers. Feel for added movement and dimension as you go.
- Trim Split Ends: Look closely for split ends. Snip them carefully. Don’t cut too much length. Run your fingers down the strands to spot frays.
- Fix Any Mistakes: Examine your hair for uneven edges or blunt lines. Blend any harsh lines gently with small snips and check from different angles to confirm.
- After Cutting: Style your hair and look for any spots needing touch-up. Small trims every 6 to 8 weeks keep your ends healthy and shape fresh.
Frequently Asked Questions
How to Cut Long Hair Yourself for Beginners?
Start by trimming small sections while your hair is dry or slightly damp. Use sharp haircutting scissors and cut slowly to avoid mistakes. Keep checking your results in a mirror for evenness and adjust as you go.
What Is the 3:2:1 Rule for Haircuts?
The 3:2:1 rule guides haircut proportions for balanced layering. You cut hair in three main sections at first. Then, reduce to two sections.
Finally, cut one section for a natural flow. This helps create smooth, gradual layers in long hair.
How Should Long Hair Be Cut?
Long hair should be cut in sections using small, vertical snips at a slight angle. Avoid blunt horizontal lines to keep hair looking natural. Use point cutting techniques to add texture and prevent a harsh edge.
Is It Better to Cut Long Hair Wet or Dry?
Cutting long hair dry gives a more accurate length and shape view. Wet hair looks longer and shrinks when dry, causing length mistakes. Use slightly damp hair for thick hair, dry hair for fine or curly types.
How to Trim Split Ends Without Losing Length?
Trim split ends by snipping just the damaged tips with sharp scissors. Work in small sections to avoid cutting too much. Doing this regularly keeps your hair healthy without sacrificing noticeable length.
Can I Layer My Hair Without Professional Tools?
You can layer hair using sharp haircutting scissors and clips at home. Section hair carefully and cut vertically at a slight angle to blend layers. Avoid dull or non-hair scissors for a cleaner, safer cut.
The Bottom Line
Cutting your long hair at home takes patience and the right steps. Try a small trim first to build confidence. Keep your scissors sharp and your sections neat for the best results.