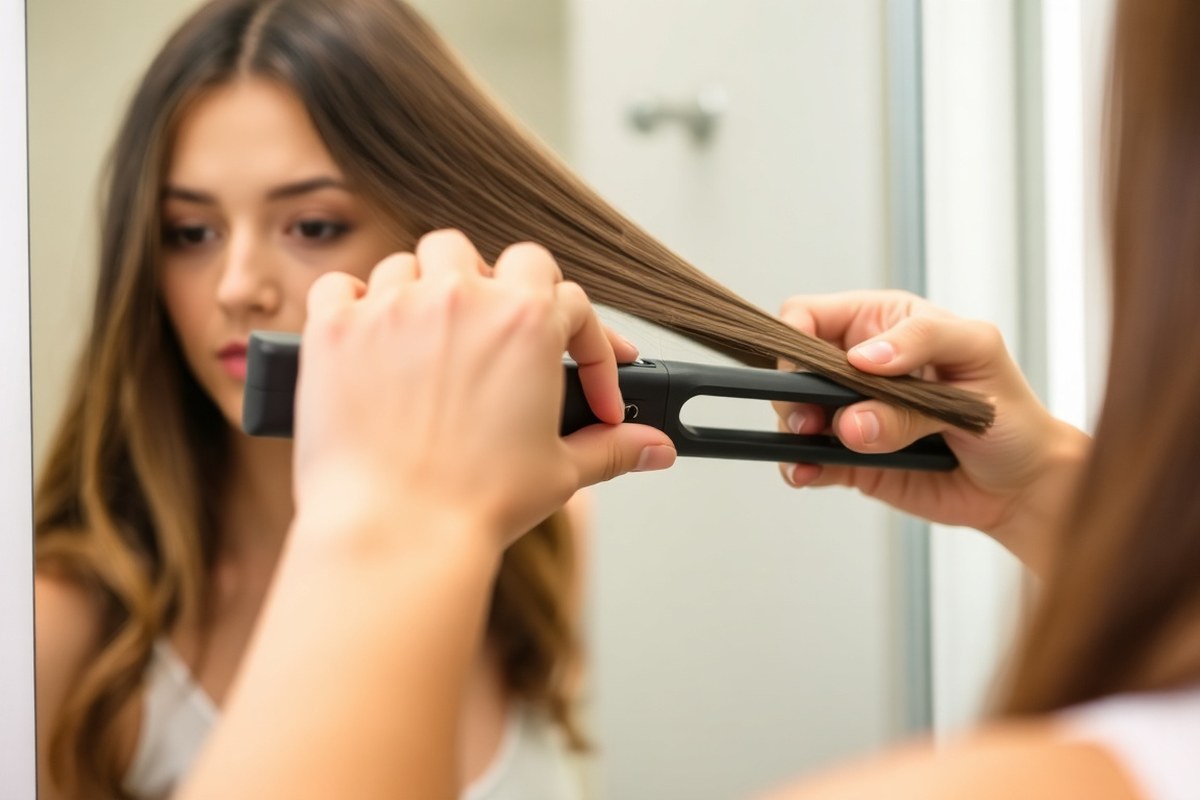
How to Use a Straightener to Straighten Hair: Simple Steps for Safe, Smooth Results
How to use a straightener to straighten hair begins with picking the right heat. Set your straightener based on your hair type to avoid damage.
For fine or short hair, lower temperatures between 250°F and 300°F work best. Thicker or coarse hair needs higher heat, usually up to 400°F, to get smooth results.
Always dry your hair fully before straightening to prevent burns and breakage. Use a towel to remove excess water, then finish drying with a blow dryer on medium heat. Spray a heat protectant evenly before styling to guard your hair and keep it sleek.
Sectioning your hair before straightening leads to even and faster results. Separate hair into small, manageable sections about one inch wide. This helps make sure every strand gets straightened properly, preventing missed spots and cutting down on styling time.
Key Takeaways
- Use 250, 300°F for fine or short hair to avoid heat damage.
- Set 300, 350°F for normal hair to get effective straightening.
- For thick hair, temperatures up to 410°F (210°C) may be needed.
- Always dry hair fully before straightening to prevent breakage.
- Apply a heat protectant spray before using your straightener.
- Section hair into small parts for even and quicker styling.
How to Use a Straightener to Straighten Hair Step-by-Step
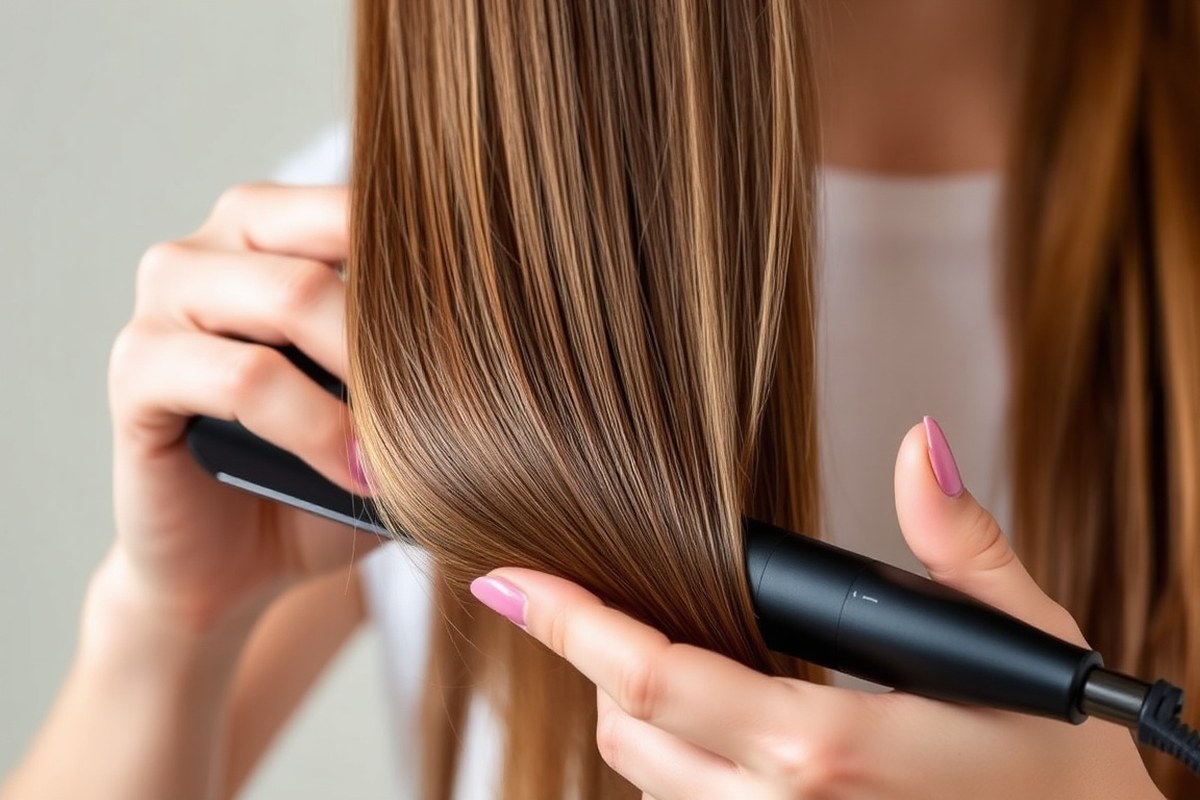
Start with dry, clean hair. Make sure your hair feels cool to the touch after blow drying. Keeping your hair taut helps the straightener work faster and reduces passes.
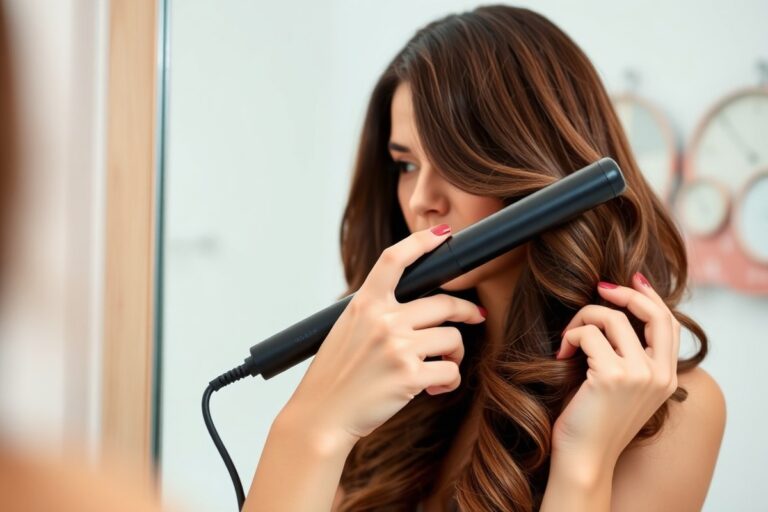
Use a flat iron with ceramic plates if possible. Hold the straightener so the plates lie flat and parallel to your hair strands. Move slowly from roots to ends to avoid heat spots.
- Divide your hair into small 1-2 inch sections. Work with manageable sections for even heat and better control. Use clips to keep other hair out of the way.
- Clamp the flat iron near your roots, but not too close. Start about ½ inch from the scalp to avoid burns or sizzle. Hold the straightener perpendicular to the hair section.
- Slowly glide the iron down the hair strand in one smooth pass. Keep the hair taut by holding it with your free hand. Let the flat iron pull the hair straight as it moves.
- Repeat the process once more in the same section if needed. Avoid more than two passes to reduce heat damage. Use only three passes tops if your hair stays curly after two.
- Set aside the straightened section. Hold the newly straightened part away to prevent it from mixing with unstraightened hair. This keeps your work tidy.
- Move to the next ½ inch section and repeat. Continue these steps until all hair sections are sleek and smooth. Take your time to avoid rushing.
Good results look shiny and smooth with no heat spots or uneven patches. Don’t hold the flat iron still on your hair. Pressing too hard can cause burns.
It can also damage your hair. Keeping your sections small makes styling easier and reduces extra heat exposure.
Choosing the Right Temperature Based on Hair Type and Thickness

Choosing the right temperature for your hair type helps prevent heat damage. Thinner or damaged hair needs less heat to straighten without breaking. Thicker or coarse hair usually requires higher temperatures to smooth effectively.
Here’s a simple table to guide your temperature choice. Start on the lower end for your hair type and increase only if needed. Avoid the highest heat for fine or damaged hair to keep it healthy.
| Hair Type or Condition | Starting Temperature (°F) |
|---|---|
| Fine, fragile, bleached, or damaged hair | 250, 300°F |
| Medium or average-textured hair | 300, 350°F |
| Thick or coarse hair | 350, 375°F |
| Very thick, coarse, or frizzy hair | 350, 400°F |
| Straightening damp (not soaking) hair | 350, 375°F |
Lower temperatures between 250, 300°F suit fine or damaged hair best. Use moderate heat, around 300, 350°F, for average hair. For thick or coarse strands, raise it to 350, 375°F or higher if needed.
Straightening damp hair calls for high heat, between 350 and 375°F. The hair must be only slightly damp, never wet or soaking, for best results without damage. Higher temperatures allow faster drying and smoothing in this case.
Start low and test your hair. Increase the heat slowly if the style doesn’t hold well.
Getting the temperature right saves time and avoids breakage. Use an adjustable straightener so you can set the heat precisely. Make sure your straightener heats up fast.
Check it holds the set temperature well. This helps you avoid going over the same hair twice.
How to Prepare Your Hair for Straightening
Preparing your hair right is key for smooth straightening and to avoid damage. Wash, dry, and protect your hair fully before applying heat. These steps help your straightener work better and keep hair healthy.
Washing and Conditioning Recommendations
Begin with shampoo and conditioner suited for your hair type. Use a moisturizing or smoothing formula if your hair is dry or frizzy. After washing, put a pea-sized amount of hair oil on curls.
This helps the straightening process go smoothly. It makes curls easier to straighten.
Leave-in treatments help maintain moisture and protect strands. They also prime your hair for heat tools without weighing it down. You don’t need many products, but heat protection is a must.
How to Dry Hair Before Straightening
Never straighten damp or towel-dried hair directly. Heat on wet hair causes serious damage to the cuticle and shafts. Blow dry your hair fully before straightening to avoid frying the strands.
Spray heat protectant before you blow dry your hair. This defends against heat damage. It also helps keep moisture locked in.
Let your hair dry completely. This takes about 10 to 20 minutes on a medium dryer setting for most hair types.
- Blow dry hair in sections to speed up drying and reduce heat exposure.
- Keep the blow dryer about 6 inches from your hair to prevent overheating.
- Point the dryer downward to smooth the cuticles and reduce frizz.
- Use a brush to detangle while drying for straighter results.
- Lower the speed and heat at the end to cool and seal the hair.
Applying Heat Protectant Correctly
Apply heat protectant evenly over completely dry hair before using your straightener. Hold spray cans about 6 inches from your head. This spreads the spray in a thin, fine layer.
It helps cover hair evenly. This keeps your hair from drying out and breaking under heat.
Wait a few minutes for the product to absorb fully before you start straightening. Using a heat protectant every time you straighten reduces damage and keeps hair looking smoother. Skip this step, and your hair risks becoming dry and frizzy over time.
Sectioning Hair for Even and Efficient Straightening
Dividing your hair into sections helps you straighten without missing strands. Usually, three sections work well for most hair types. Tools like clips and combs make the process cleaner and faster.
Using Clips and Combs for Clean Sections
Sectioning works best when your hair is dry and brushed out. Use hair clips to hold parts of your hair away from the sections you’re working on. A fine-tooth comb helps create straight, neat lines so each section is clear.
Pinning the hair you’re not working on avoids mixing strands. Use one or two clips to secure the top of your head while you straighten underneath. This method keeps your process smooth and efficient.
Section Size Tips for Different Hair Lengths
Your hair length affects how many sections you should make. For short hair, divide your hair into three roughly equal sections. For medium to long hair, you might want four or five smaller sections for better control.
Make sections about 2 to 3 inches wide. Wider sections can miss strands or cause uneven heat. Smaller sections take longer but give you smoother, more consistent results.
Why Sectioning Prevents Uneven Results
Sectioning stops you from trying to straighten too much hair at once. This helps the heat reach every strand evenly. It also cuts down repeated passes, which can damage your hair.
Dividing your hair this way avoids leaving out strands. Repeating heat on the same section weakens hair, so careful sectioning protects it. This technique ensures a smooth, polished look.
Here’s a simple way to section your hair before straightening:
- Brush your hair thoroughly to remove knots.
- Part your hair horizontally from ear to ear.
- Clip the top half of your hair up, leaving the bottom free.
- Divide the top half into two or three smaller sections and clip them up.
- Work with small 2-3 inch wide sections, unclipping one at a time.
- Straighten each small section, then move to the next.
- Release the clipped layers gradually to straighten from bottom to top.
Common Mistakes When Using a Straightener and How to Fix Them
Using a straightener on wet or damp hair causes breakage and frizz. This is a common mistake many people make. Always make sure your hair is dry first.
The moisture inside the hair shaft heats up and expands, causing damage. Dry your hair completely before starting to straighten it.
Use a blow dryer to smooth curls or waves. Only start straightening when hair feels dry and soft.
Another problem is using too high a temperature without adjusting for your hair type. Thick or resistant hair may need more heat.
But fine or damaged hair should be set to 300°F or lower. Always check if your straightener has adjustable heat settings to protect your strands from unnecessary damage.
Moving the straightener too fast or too slow can cause uneven results or heat damage. Glide your straightener steadily, around one inch per second. This keeps heat consistent and prevents hot spots, which cause wavy patches or burnt areas.
- Never straighten wet hair; dry it completely first
- Use the lowest effective heat setting for your hair type
- Divide hair into small sections for even straightening
- Maintain a steady pace, about one inch per second
- Avoid using oils or heavy products right before straightening
- Straighten the lower sections first, then the top layer
- Do not straighten hair daily; limit to 2, 3 times a week
Heating damp hair can cause severe breakage; always dry your hair fully before straightening.
Uneven or wavy straightening usually happens when sections are too large or when speed varies. Smaller sections let the plates smooth hair thoroughly. Notice waves?
Go quickly over the strands at the right temperature. This helps smooth the waves effectively without damage. Avoid slow passes, as they increase damage risk.
Using a straightener more than three times a week raises the chances of heat damage. Give your hair breaks to recover and use heat protectant sprays every time. Avoid using heavy styling products before straightening.
They can weigh your hair down. This leads to poorer straightening results over time.
Finishing Touches and Post-Straightening Hair Care
After straightening your hair, apply finishing products to lock in shine and reduce frizz. These steps keep your hair smooth and help your style last longer, even in humid conditions. Use the right serums, sprays, and maintenance techniques to protect your sleek look.
Using Serums and Oils for Smoothness
Use a small amount of light serum or oil on your hair’s mid-lengths and ends. This helps keep your hair moist and tightens the cuticles to stop frizz. Take a pea-sized drop, rub it in your hands, then spread it over your hair gently.
Choose products with ingredients like argan oil or silicone for extra shine and protection. Avoid applying serum directly to your roots to keep your hair from looking greasy. Serums not only boost shine but also protect against humidity.
Choosing the Right Hairspray or Finishing Spray
Use a light hairspray to set your style without stiffness or crunchiness. Hold the spray about 8 to 12 inches away and mist evenly over your hair. This locks your style in place and helps reduce flyaways.
Follow the hairspray with a shine spray to add a glossy finish. Shine sprays improve your hair’s smooth, polished look without weighing it down. Look for sprays labeled for humidity resistance if you often deal with frizz.
Maintenance Tips for Longevity
To keep your hair straight longer, avoid touching it too much. Oils from your hands and humidity can cause frizz and curls to return quickly. When sleeping, wrap your hair in a silk or satin scarf to reduce friction.
Twisting your hair into a loose bun after straightening can control waves and frizz. This holds the hair in place and smooths out its texture. Keep the twist loose to avoid marks or dents on your strands.
Secure with bobby pins and let it cool before releasing. This extra step temporarily helps smooth the hair cuticles and extends your straight look.
Cleaning and Maintaining Your Hair Straightener for Best Performance
Cleaning your straightener regularly keeps it working well and protects your hair. After each use, wait for it to cool completely before checking the plates for residue. Leftover hair products can build up and cause uneven heat or snagging.
Use a soft cloth or cotton pad dampened with rubbing alcohol. You can also use a mild cleaner safe for electronics. Wipe gently to clean the surface.
Wipe the plates gently but thoroughly to remove any buildup. Avoid abrasive tools or lots of water, which can damage the device.
- Clean plates after every 5-10 uses or when residue appears
- Unplug and cool your straightener before cleaning
- Use rubbing alcohol on a soft cloth for safe cleaning
- Don’t soak or use abrasive scrubbers on the plates
- Keep the cord untangled and check for wear regularly
- Store straightener in a dry place, not near water
- Use a heat-resistant pouch or case for safe storage
Proper storage helps protect your straightener from damage and dust. Coil the cord loosely without tight knots to prevent breaks. Store it in a dry place away from sinks.
Keep it far from humid areas. Moisture can damage electrical parts.
Regular cleaning and careful storage can extend your straightener’s life by years. You’ll notice smoother gliding and more consistent heat on your hair. Neglecting these steps might cause your straightener to perform poorly or even break down earlier.
When to Consult a Professional for Hair Straightening Needs
Hair that feels dry or shows split ends may be too damaged. It can break easily. Avoid straightening these at home.
These signs often mean heat will only worsen the breakage. Your hair frizzes or snaps after straightening. Ask a pro for advice.
To spot heat damage, look for rough strands or a change in texture. Hair may lose shine and get brittle or straw-like. Several sections react badly to heat?
A pro can check damage safely. They can suggest suitable treatments.
Salon experts offer treatments like keratin smoothing. They also provide deep conditioning. These help repair and protect weak hair.
These treatments often smooth hair for weeks, reducing the need for daily heat styling. Prices typically range from $100 to $300 depending on your location and hair length.
Stylists also have tools and know-how to adjust heat levels and straightening techniques for weak hair. They can even recommend styles that require less heat or better protect your hair. Visiting a professional can save you from frequent breakage and costly haircuts.
You feel pain or burning when straightening. Stop right away. Get a professional to check.
You might need a trim or professional-grade products to prevent further damage. Regular use of heat protectants cuts damage by up to 50%. But it doesn’t fix already damaged strands.
Stop using heat on hair that bends sharply, cracks, or feels rough. These are clear damage signs needing a stylist’s care.
Step-by-Step Action Plan for Straightening Your Hair
Follow these clear steps today to straighten your hair safely and well. Check your hair’s look after each step to see if it’s working.
- Before you start: Wash and dry your hair completely. Your hair should be dry to avoid heat damage.
- Right before straightening: Apply a heat protectant spray evenly through your hair. This prevents burns and dryness.
- Start straightening: Section your hair into small parts, about 1 inch wide. Small sections help you straighten evenly.
- During straightening: Set your straightener to the correct temperature for your hair type. Fine hair needs around 300°F, thick hair can take 350°F and above.
- After each section: Glide the straightener slowly and smoothly from root to tip once or twice. Check the temperature or try another pass carefully when your hair is still wavy.
- Finishing up: Run your fingers or a wide-tooth comb through your hair after straightening. This removes clumps and adds shine.
- Post-straightening care: Apply a light serum to the ends. This helps keep hair smooth and protected.
- Clean your straightener weekly: Wipe the plates with a damp cloth after it cools. This keeps it working well and prevents buildup.
Frequently Asked Questions
How Long Should I Wait Before Using a Straightener on Freshly Washed Hair?
Wait until your hair is completely dry or slightly damp. Using a straightener on soaking wet hair can damage it and cause uneven results.
Can I Straighten Hair with a Straightener Brush Instead of a Flat Iron?
Yes, a straightener brush works well for slightly wavy or curly hair. It smooths hair gently and causes less damage compared to flat irons.
Is It Better to Straighten My Hair in Small or Large Sections?
Smaller sections give you more control and a more even finish. Large sections might leave some spots still curly or wavy.
How Often Can I Safely Straighten My Hair Without Causing Damage?
Limit straightening to 2-3 times a week to reduce heat damage. Using heat protectant products helps maintain hair health between sessions.
Should I Adjust the Straightener Temperature If My Hair Is Colored or Treated?
Lower the temperature to 250-300°F for color-treated or damaged hair. High heat can strip color and dry hair out faster.
Can Applying Serum Before Straightening Improve My Hair’s Look?
Yes, serums can smooth frizz and add shine before straightening. Just use a small amount to avoid weighing hair down.
Wrapping Up
Using a hair straightener carefully can protect your hair and give a smooth look you want. Start with the right heat and protection to avoid damage. Keep practicing this plan to see better, lasting results each time you straighten your hair.