How to Sharpen Barber Scissors: 8 Proven Methods with Expert Tips
Knowing how to sharpen barber scissors keeps your cuts clean and precise. The best way is to sharpen them at their original bevel angle. This angle is usually between 20 and 30 degrees.
Keep the angle steady when sharpening. Use a sharpening stone from 1000 to 6000 grit for smooth, sharp edges that last.
Always clean your scissors before you start sharpening. Remove hair, dirt, and any residue to prevent damage during sharpening.
Hold the blades steady and follow the angle exactly to avoid ruining the edge. Use a firm grip, but don’t apply too much pressure on the blades.
Sharp scissors reduce hand fatigue and speed up your work. Dull blades force you to use extra force, which can cause strain and uneven cuts.
Regular sharpening keeps your scissors in good shape and extends their lifespan. It also improves safety by reducing slips while cutting.
Key Takeaways
- Sharpen barber scissors every 2 to 4 months for regular users.
- Maintain the original bevel angle of about 20 to 30 degrees.
- Use a sharpening stone with grit between 1000 and 6000 for best results.
- Clean blades thoroughly before sharpening to avoid damage.
- Use smooth, even strokes following the bevel angle to sharpen.
- Regular sharpening prevents hand fatigue and speeds up cutting.
1. How to Sharpen Barber Scissors Correctly at Home
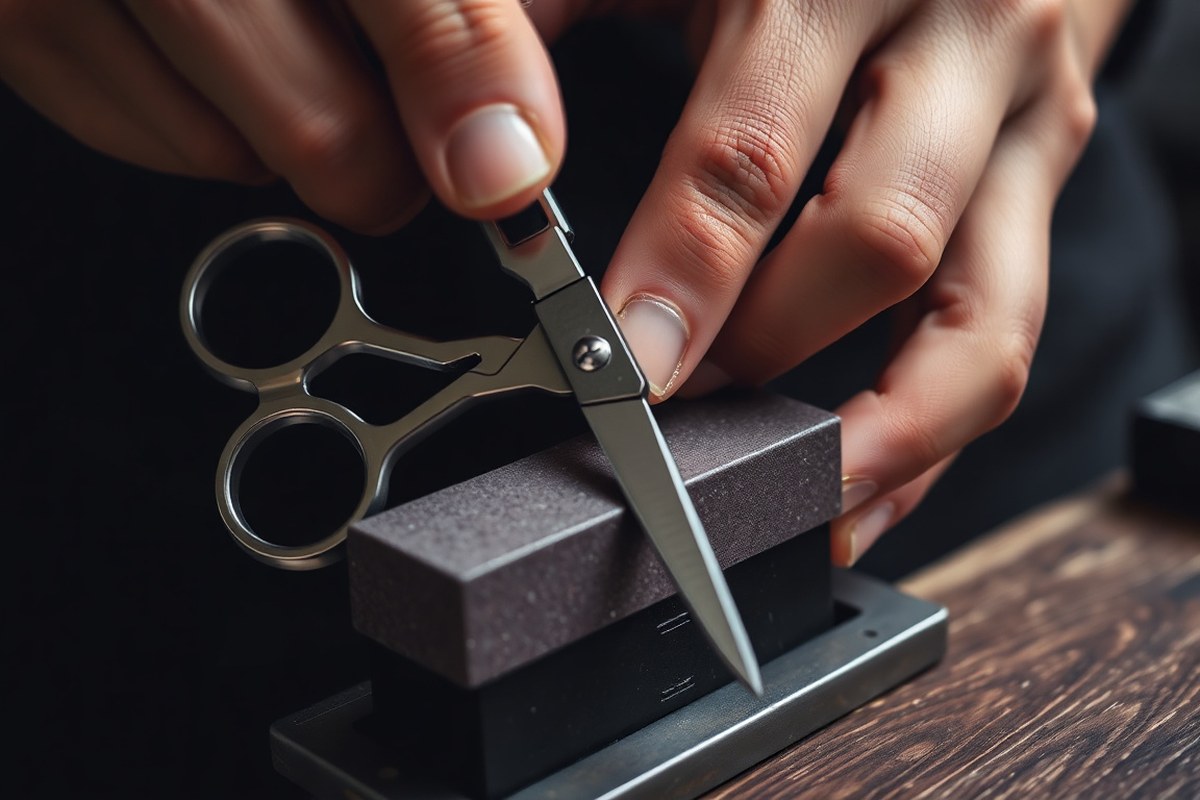
Sharpen barber scissors correctly by maintaining the original bevel angle, usually around 30 degrees. Use smooth, even strokes from tip to base on a wet sharpening stone. After 10 to 15 strokes on each side, stop sharpening.
Test the blade’s sharpness by cutting a single hair. You can also try cutting a strip of paper to check.
Setting the Proper Sharpening Angle
Most barber scissors come with a factory bevel angle between 20 and 30 degrees. Keeping this angle during sharpening keeps the original edge intact and prevents damage.
Hold the blade so the flat side rests against the sharpening stone at about 30 degrees. You can check this by eye or use a small angle guide to be precise.
Using the Sharpening Stone Correctly
Wet the sharpening stone with fresh water before starting to avoid overheating the blade. Rest the blade flat with the bevel side down on the stone.
Apply moderate pressure and stroke from the scissors tip toward the base. Use 10 to 15 smooth strokes per blade side to evenly sharpen the edge.
Avoid back-and-forth motions that can change the bevel angle or create an uneven edge. Let the stone do the work, not force.
Finishing and Testing Your Sharp Edge
Sharpen both blades fully before moving on. Use a leather strop or a fine grit stone to hone.
Do this only if the edges still need refining. This removes burrs and polishes the cutting surface.
Rinse and dry your scissors thoroughly to remove any stone residue or metal filings. Sanitise the blades to prevent rust and keep them hygienic.
Test sharpness by cutting a single hair or a thin strip of paper. Both should slice cleanly without twisting or snagging.
- Wet the whetstone with clean water.
- Hold the scissors blade at a 30-degree angle against the stone.
- Stroke the blade from tip to base with moderate, even pressure.
- Repeat 10 to 15 strokes per blade side, keeping angle steady.
- Hone edges lightly if burrs appear using a finer grit or strop.
- Rinse, dry, and sanitise the scissors to prevent corrosion.
- Test sharpness by cleanly cutting a stray hair or strip of paper.
2. Common Signs Your Barber Scissors Need Sharpening
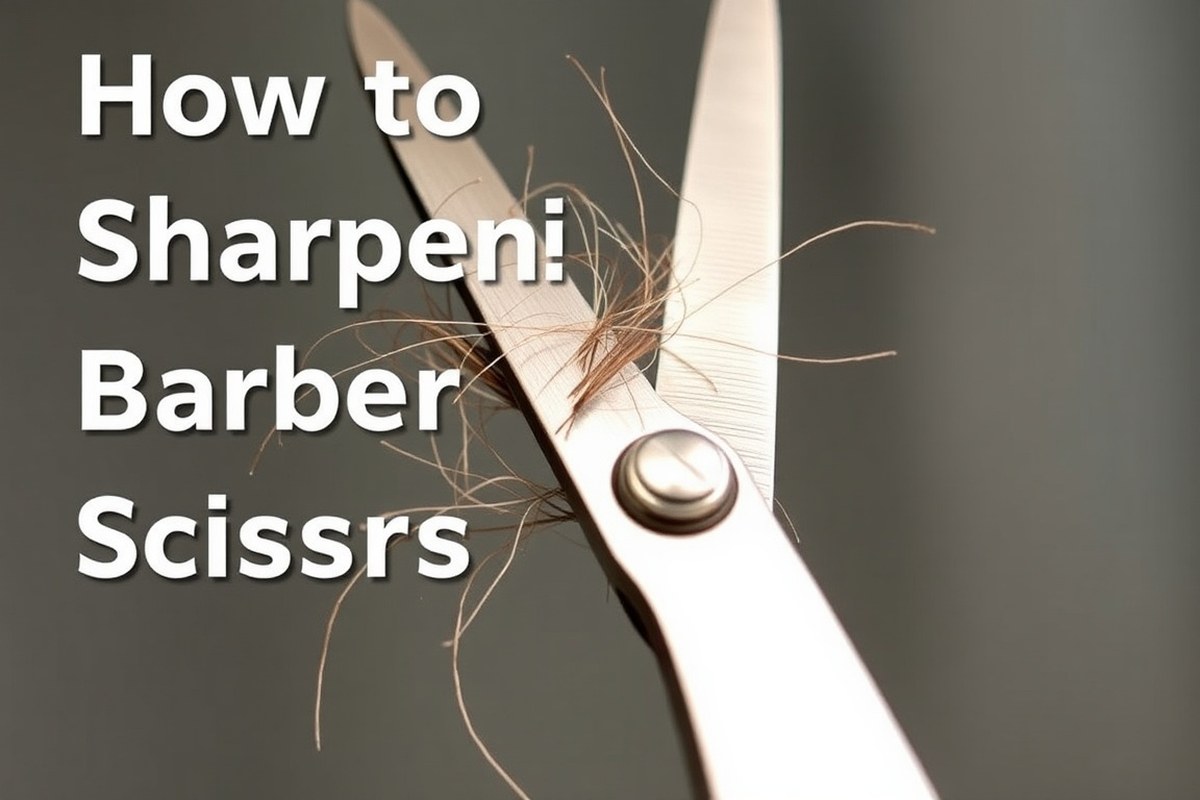
A clear sign your barber scissors need sharpening is when hair folds instead of cutting cleanly. This happens because the edge has dulled and lost its fine angle.
You might also notice the scissors push hair away rather than cutting through it smoothly. This suggests the blade edge is rolled or the cutting angle is off.
Snagging or catching on hair signals tiny nicks or burrs on the blade edge. A rough or uneven feel when closing scissors shows tension issues. The blades might be too tight or stuck together.
Adjusting the tension usually fixes this problem. Uneven cuts often point to one blade being sharper than the other, making trimming inconsistent.
- Hair folds rather than slicing, dull edge needs honing
- Scissors push hair away, blade edge rolled or wrong angle
- Snagging during cuts, nicks or burrs on blades
- Rough feel when closing, too much tension or binding blades
- Uneven cuts, one blade sharper than the other
Look closely at the blade edges under good light. You might see small chips or rolled metal edges.
Feel the blade edges gently with your fingertip (careful not to cut yourself). Dull edges feel rough or rounded instead of sharp and smooth.
At some point, scissors become too dull for home sharpening. Deep nicks, very rolled edges, or uneven blades often need professional tools for proper honing. A professional service costs $10 to $30 but saves time and prevents damage.
Go for professional sharpening if you feel unsure about doing it yourself. You should also choose it if DIY sharpening didn’t bring back sharpness. Getting a pro to sharpen can save your scissors.
Keep your scissors clean and well-oiled. This delays dullness and helps you spot damage early.
3. Tools and Materials Needed for Sharpening Barber Scissors
Sharpening barber scissors requires the right tools to get clean, precise edges. You’ll want a range of sharpening stones, typically with grit sizes from 800 to 3000. Starting with coarser stones around 800 grit removes nicks and dullness fast.
Next, move to medium stones, about 1500 to 2000 grit. Then, use fine stones up to 3000 grit. These will polish the blades smooth.
A small screwdriver is often necessary for loosening the pivot screw on barber scissors. That allows you to separate the blades for easier cleaning and sharpening. Your scissors may not have adjustable screws.
If so, skip this step. Keep your screwdriver handy as it helps with a thorough job.
Professional sharpening tools for hair scissors are normally worth the investment. These might include diamond sharpener rods, fine ceramic stones, or specialized leather strops.
Such tools usually cost $15 to $40 online but provide more control and last longer. Pros spend around $5 to $15 every few weeks on sharpening to keep their tools flawless.
You can also use some household items in a pinch. Glass jars, aluminum foil, and even iron nails can help touch up blades.
Rubbing the scissors gently on a glass surface works as a basic sharpening method. These tricks don’t replace proper stones, but they help between full sharpenings.
Here’s a quick table with key barber scissors tools. It shows their pros, cons, and cost ranges.
| Tool | Pros | Cons | Cost (USD) |
|---|---|---|---|
| Sharpening stones (800-3000 grit) | Effective for thorough sharpening; smooth polish | Requires technique; wetting necessary | 10-30 |
| Small screwdriver | Easy blade disassembly; essential for adjustment | Only for screw-based scissors | 3-8 |
| Professional strops and diamond rods | Precise edge finishing; durable | Higher upfront cost; skill needed | 15-40 |
| Household items (glass, foil, nails) | Immediate, low-cost touch-ups | Not precise; may wear blades | Free-5 |
The right combination depends on your sharpening habits and budget. Stones and a screwdriver cover most needs for home use. Professionals may prefer investing in specialty tools for faster, finer results.
Cheap home methods help only for quick fixes and do not replace proper sharpening. Using a poor tool or skipping blade disassembly can damage scissors or dull them faster. Take your time to pick quality stones with good grit progression for best results.
4. Popular Methods to Sharpen Barber Scissors Explained
Six popular ways to sharpen barber scissors provide different results, costs, and skill needs. Knowing which fits your situation can save time and money. Methods range from easy home tricks to pro services that ensure a perfect cut.
Professional Sharpening Services
Professional sharpening usually takes your scissors to a specialist with machines and fine skill. They reshape the blade edges carefully, often removing metal for a clean, sharp finish. The cost generally runs between $10 and $15, with a quick turnaround of a few days.
This method suits barber shops with frequent use or poor blade condition. Pros deliver consistent, high-quality results that maintain optimal cutting performance. It costs more than home methods but avoids damage from poor technique or wrong tools.
Whetstone and Sandpaper Sharpening
Soak the whetstone in water before you use it. Then slide the scissor blades at the correct angle carefully. This method sharpens the scissors well.
The whetstone provides excellent edge control and a sharp, lasting finish if done right. Sandpaper is a simpler alternative but wears blades faster and needs caution to avoid uneven sharpening.
This method suits barbers comfortable with hands-on sharpening. Buy a whetstone for around $10 to $20. Sandpaper costs less but works faster.
Sharpening takes 10 to 20 minutes each time. The exact time depends on how dull the blades are. Your skill level also affects the time needed.
Home Sharpening Hacks and Tools
Some quick fixes like aluminum foil and metal pins can touch up scissors in a pinch. Fold foil several times before cutting through it. This action imitates a sharpening effect but only a little.
It helps slightly restore the blade edges. A metal pin slipped between the blades while closing can realign minor nicks.
Gently file the blade’s edge with a nail file. It smooths small dull spots on scissors. Don’t use this for deep sharpening.
These options are cheap and require no skills but don’t replace professional or whetstone sharpening. They work for emergencies or maintenance only.
| Method | Effectiveness | Cost | Skill Level Required | Best For |
|---|---|---|---|---|
| Whetstones | Very High | $ – $$ | High | Barbers seeking full control |
| Dedicated Sharpeners (Pro Service) | High & Consistent | $$$ – $$$$ | Low to Medium | Busy shops needing reliability |
| Honing Rods | Maintenance Only | $ | Low | Daily edge realignment |
| Aluminum Foil | Very Low | $ | None | Emergency touch-ups |
| Metal Pin | Low | $ | Low | Realigning blades only |
| File | Low to Medium | $ | Medium | Quick rough sharpening |
Choosing a sharpening method depends on your skills, time, and how dull the scissors are. Pro services offer the best consistent sharpness without risk. Whetstones work well if you want hands-on precision and have some practice.
Quick home tools cost less but only fix minor edge issues or nicks. Files and pins take little time but can damage blades without care. Aluminum foil is handy for sudden fixes, not for real sharpening.
5. Preparing and Maintaining Scissors Before and After Sharpening
- Remove hair and debris using a damp cloth and mild soap. Dry scissors thoroughly before proceeding to avoid rust or water damage.
- Assess the screw to decide if you need to disassemble the scissors. Usually, loosening or removing the screw helps sharpen each blade evenly.
- Carefully disassemble the scissors by unscrewing and separating the blades. Keep track of small parts to reassemble properly later.
- Adjust tension by twisting the screw gently until the blades move smoothly but don’t wobble. Too tight or loose tension affects sharpening accuracy.
- Sharpen the beveled edge at its original angle. Use a fine sharpening stone or a multi-grind tool. Repeat this step a few times for best results.
- Clean off residue and sharpening stone particles with a damp cloth. Check that blades are clean and dry before reassembling.
- Reassemble the scissors by securing the screw firmly but not overly tight. The blades should glide easily without any play.
- After sharpening, test blade tension by opening and closing scissors. Adjust tension slightly if cutting feels stiff or too loose.
Before sharpening, cleaning your scissors removes oils and dirt that block proper sharpening contact. This step makes the edge sharper and extends blade life. Take care to dry all parts to prevent rust, which could ruin hard steel edges.
Proper tension adjustment matters because it controls how the blades slide together during cutting and sharpening. Loose tension causes blades to miss and dull faster. Tight tension makes scissors hard to operate and may wear parts unevenly.
Clean your blades daily after each use. This removes hair and product buildup. It helps keep your blades sharp longer.
Store scissors in a dry place, preferably closed with the blades touching lightly. Occasional lubrication of the pivot screw with a tiny amount of clipper oil can reduce wear.
Never sharpen scissors while the blades are loose or completely disassembled. Slight tension helps maintain blade alignment.
6. Common Sharpening Mistakes and How to Fix Them
Sharpening barber scissors sounds simple but small mistakes can cause big problems. One common error is holding the blade at the wrong angle. When the angle changes during filing, your scissors get uneven edges.
These rough edges can catch or cut poorly. 2 | The ideal pressure lets scissors slide smoothly on the stone. You shouldn’t push hard or force the movement.
This way, you get a clean sharpening process. 3 | Apply gentle, steady pressure. Let the stone or file do the work.
Avoid bending or denting the blades. 4 | Use a fine-grit stone above 1000 grit to smooth the blades. Stropping the blades on leather also helps smooth them out.
5 | Spot nicks need fixing with a coarse stone briefly. Then use finer grit to restore a sharp, clean edge.
To fix this, rest the scissors on a stable surface and keep your filing angle steady. Use light, steady strokes and check often to keep the angle consistent.
Pressure is another tricky point. Too much pressure wears down the blades fast and can damage the metal. Too little pressure means no sharpening happens.
The right amount feels like the scissors slide smoothly against a jar or stone without forcing it. Use gentle, even pressure to let the sharpening stone or file do the work without bending or denting the blades.
- Using a low-grit stone (around 400) helps fix nicks or uneven edges faster.
- Avoid pressing hard when closing scissors; letting them glide over each other sharpens better.
- Check blades often for burrs, which are tiny metal edges left after sharpening.
- Remove burrs gently by running a fine stone or soft cloth along the blade edges.
- Don’t over-sharpen; sharpening too much reduces blade life and may warp the scissors.
- Fix nicks carefully with a coarse stone, then smooth edges with a finer stone or leather.
Burrs and nicks often show up after sharpening if you aren’t careful. Burrs feel rough and catch on fabric or hair.
Use a fine-grit stone (above 1000 grit) or strop the blades on leather to smooth these out. If you spot nicks, fix them with a coarse stone briefly, then finish with finer grit to restore a clean edge.
Over-sharpening is a mistake that wears down the metal too fast. You might think sharper is better, but every filing removes some metal permanently. Excess filing can thin the blades and cause warping.
Pay attention to how the scissors cut. When they slice smoothly without tugging, stop sharpening there to save the blades for longer.
7. How Often Should You Sharpen Barber Scissors and Why
How often you sharpen your barber scissors depends on use. The type of steel also affects this. The more you cut, the sooner they need sharpening.
Barbers working daily should sharpen every 3 to 6 months. This keeps scissors sharp for smooth cutting. It prevents dull blades from pulling or snagging.
You can stretch sharpening to 6 or 9 months if you cut less. This helps avoid unnecessary blade wear. Check scissors often for any dull spots.
Higher-quality scissors with harder steel need sharpening less often. They wear down more slowly, so the blade stays sharper longer. Lower-quality or softer blades dull faster.
Heavy use means sharpening every 2 to 3 months is needed. This keeps blades cutting cleanly and easily. Don’t wait until the scissors feel rough.
Sharpen too rarely and your scissors will struggle to cut hair cleanly. You’ll notice having to cut the same spot several times or applying extra force. Over time, dull blades can cause split ends and damage hair, plus strain your hand muscles.
Sharpening too often can wear down your scissors too fast. This reduces their life and sharpness over time. Avoid sharpening without a clear need.
Signs to sharpen include more effort to cut hair or tugging. Also watch for uneven cuts or small nicks on blades. These mean the scissors need attention soon.
As soon as you notice these, it’s time for sharpening. Don’t wait for scissors to feel blunt to act. Regular inspection helps you avoid damage to both your tools and clients’ hair.
Professional sharpening costs usually range from $10 to $20 per session. But it’s worth paying for good results. A sharp edge means less pull and better precision.
Clean and oil scissors after each use to keep them sharp longer. This daily care can stretch time between sharpenings. It helps prevent rust and blade damage.
8. When to Choose Professional Sharpening Services
Send your barber scissors to a professional when the damage is severe. They can fix issues you shouldn’t handle yourself. This keeps your scissors safe from further harm.
Professionals handle hard or high-quality steel well and avoid damaging sensitive parts like non-adjustable screws. Choosing expert sharpening saves money in the long run.
It protects your scissors and keeps the blade edges aligned. This ensures a smooth, clean cut every time.
Signs You Need Professional Help
Look for deep nicks, chips, or uneven edges that you cannot smooth at home. Scissors with complex blade shapes or thinning shears often need specialist sharpening tools and skills. Professionals can safely sharpen scissors with non-adjustable screws.
They avoid harming the tension mechanism during the process. This protects the scissors’ performance and lifespan.
Scissors that are misaligned, have bent blades, or uneven tightening should not be sharpened yourself. Trying to fix these issues without training can cause permanent damage. Professionals will properly realign blades and restore sharpness evenly across the cutting edges.
Never sharpen scissors with non-removable screws at home; you risk permanent damage.
Choosing a Reliable Sharpening Service
Check reviews online to find services that specialize in barber or hairdressing scissors. Look for clear guarantees on the quality of sharpening and free corrections if issues arise. A reputable service will communicate turnaround times and keep your scissors safe during shipping or drop-off.
Ask if the service uses equipment designed for high-quality steel to prevent overheating or dulling. Confirm whether they sharpen each blade evenly and perform tension adjustments if necessary. Make sure they offer a return policy or inspection period after sharpening to fix any problems.
Cost and Time Expectations
Professional sharpening typically costs between $15 and $50 depending on the scissors’ condition and steel quality. Basic edge touch-ups run faster and cost less. Major repairs or realignments take longer.
Most services return scissors within 3 to 7 business days. But expedited options may be available for an extra fee.
Shipping your scissors to a specialist may add a few days. The extra time can be worth it for expert sharpening results. Quality work often needs more careful handling.
Local shops often offer quicker service but verify their expertise with hair cutting tools specifically. Quality and care affect cost. So avoid the cheapest options that might damage your scissors.
Step-by-Step Action Plan for Sharpening Barber Scissors
Follow these steps to sharpen your barber scissors and keep them in top shape. Check each step’s result to ensure success before moving on.
- Before you start: Clean your scissors well with warm soapy water. Dry completely to avoid rust during sharpening.
- Day 1: Use a sharpening stone or tool to carefully sharpen the blades. Test by cutting a thin paper strip; it should slice smoothly without tearing.
- After sharpening: Oil the pivot point and blades with scissor oil. Check that the blades move smoothly without stiffness.
- Week 1: Use your scissors normally, then clean and oil them again. Notice if cutting feels easier and cleaner than before.
- Week 2: Inspect blades for any dullness or rough cuts. Repeat sharpening if you see rough edges or feel resistance.
- Monthly: Adjust scissor tension screw to keep the blades aligned. Proper tension avoids uneven cuts and damage.
- Every 3 months: Consider professional sharpening if your scissors show deep nicks or need realignment. Professionals can fix hard-to-repair damage safely.
Frequently Asked Questions
Can I Use a Whetstone That’s Coarser Than 1000 Grit?
It’s best to use a whetstone between 1000 and 6000 grit for barber scissors. Coarser stones can damage the blade’s edge instead of sharpening it gently.
What Angle Should I Set for Sharpening Most Barber Scissors?
The typical bevel angle is between 20 and 30 degrees. Keeping this angle consistent preserves the original cut and makes sharpening effective.
Is It Safe to Sharpen Scissors with Aluminum Foil?
Yes, aluminum foil can work but only for minor touch-ups. It’s not a replacement for regular sharpening with proper stones or tools.
How Can I Tell If My Scissors Need Tension Adjustment After Sharpening?
Check for smooth closing without gaps or looseness. Sharp blades only cut well when tension is properly balanced after sharpening.
Why Shouldn’t I Sharpen My Barber Scissors Too Often?
Over-sharpening wears down the blade faster and shortens scissors’ life. Stick to every 2 to 4 months of use for most barbers.
Can I Sharpen My Scissors Using an Electric Sharpener?
Electric sharpeners may not maintain the original bevel angle or sharpness. Better to use manual methods or professional services tailored for barber scissors.
Wrapping Up
Keep sharpening your barber scissors regularly to maintain sharp, clean cuts. Check your scissors after each use to spot any dullness early. Start with cleaning and oiling today to protect your investment and improve cutting performance.