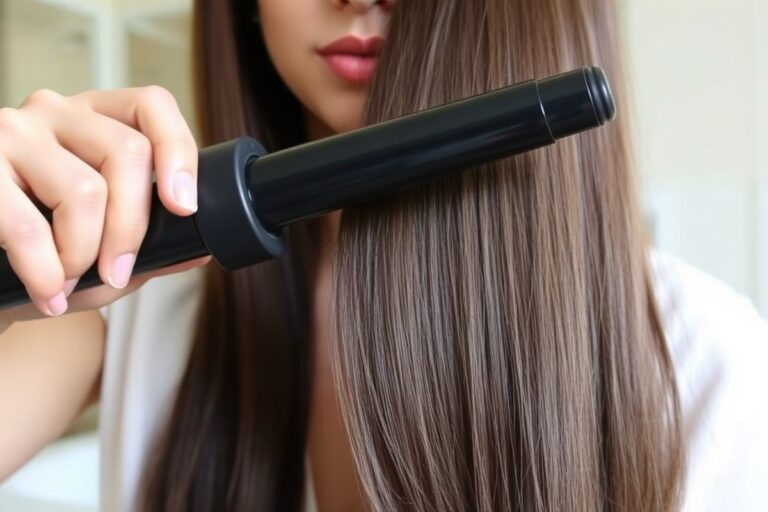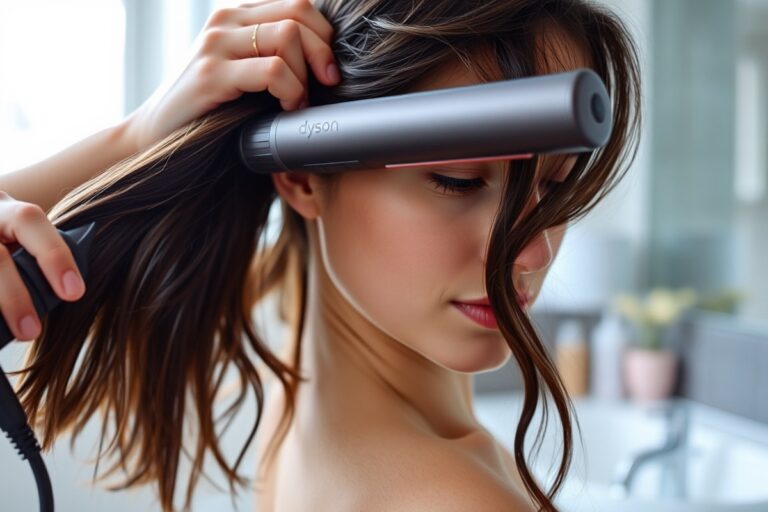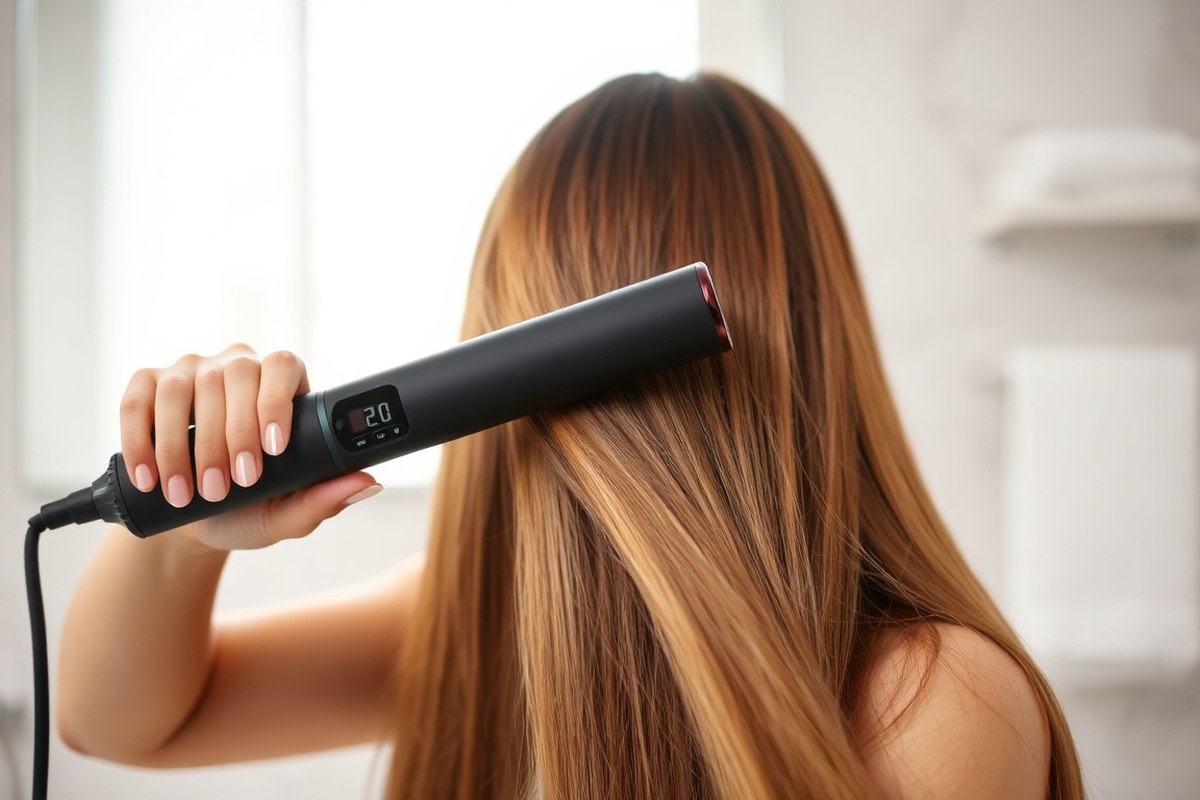
How to Style Hair with Straightener: 8 Techniques for Perfect Looks
How to style hair with straightener starts with choosing the right temperature. Too hot and you risk damage; too cool and the style won’t hold. You want smooth, shiny hair, not crispy ends or fried strands.
Use a straightener with adjustable heat settings to match your hair type. Fine or damaged hair needs lower heat around 300°F. Thick hair tolerates up to 400°F. Checking the temperature helps avoid unnecessary damage.
Next, prepare your hair by washing and drying it completely. Damp hair leads to breakage and uneven results. Using a heat protectant spray is a must for keeping hair healthy and shiny.
When you’re ready, section your hair and clamp the straightener firmly on each part. For curls or waves, twist the iron 180 degrees as you glide down. This method gives you quick, stylish looks without special tools.
Key Takeaways
- Always dry your hair fully before using a straightener.
- Use a heat protectant spray to prevent damage and boost shine.
- Set the iron temperature based on your hair type and thickness.
- Clamp hair firmly, then twist the straightener 180 degrees for curls.
- Work in sections for even styling and better control.
- Avoid pausing on a clamp to prevent dents or marks.
How to Style Hair with a Straightener: Basic Techniques

You can style your hair with a straightener in several ways. It works well for straightening, curling, and creating waves. Knowing how to handle the tool correctly keeps your hair healthy and looking smooth.
Straightening is simply gliding the straightener down each section once. For curls and waves, you twist the iron as you slide it down. This method produces lasting, shiny curls that often beat curling irons for smoothness.
Start with dry hair and use a heat-protectant product. Smaller sections let you control the shape better, especially for short hair. The curl direction, toward or away from your face, changes your hair.
Section size also affects how your hair moves and looks. These two factors change your hairstyle’s appearance.
- Divide your hair into small, manageable sections using clips or ties.
- Clamp the straightener near the roots, keeping one smooth motion down the strand for straightening.
- For curls, put the straightener close to the roots. Then twist it half a turn away from your face. This helps create the curl shape.
- Slowly glide the iron down while turning it slightly to wrap hair around the plates.
- Release the hair gently and avoid stopping mid-section to prevent damage or burns.
- For waves, use vertical sections and turn the straightener at a gentle angle while sliding down.
- Alternate the curl direction on sections to add volume and texture.
- Finish by running your fingers through to loosen curls or waves for a natural look.
Always keep the straightener moving to protect your hair from heat damage. Using smooth, steady motions avoids frizz and breakage. You can also run the straightener over braids for soft, natural waves.
Long-lasting curls come from wrapping hair firmly but without too much heat. Curled hair often lasts longer with a straightener because of even heat distribution. Both sides of your hair get heated between the iron plates.
This makes your hair straighter and shinier. The heat smooths your hair’s surface.
Choosing the Right Heat and Protectant for Your Hair Type

Different hair types need different heat settings to avoid damage. Fine hair should stay under 300°F. Thicker hair handles 350°F to 400°F. Curly hair benefits from 350°F to 375°F for smooth styling without dryness or breakage.
Applying a heat protectant before straightening is key. These products form a barrier that reduces heat damage and locks in moisture. Use a spray if your hair is fine.
For thick hair, apply an oil-based product. Curly hair needs a hydrating treatment to stay healthy.
| Hair Type | Recommended Heat Protectant | Features |
|---|---|---|
| Fine Hair | Lightweight Spray | Protects up to 450°F |
| Thick Hair | Oil-Based Product | Adds moisture and shine |
| Curly Hair | Hydrating Treatment | Provides extra hydration and frizz control |
Never use a straightener on wet or damp hair. The water inside the hair can boil from high heat and cause permanent damage. Always wait for your hair to dry completely before straightening.
Start by spritzing your hair evenly with the heat protectant. Then, use small sections about one to two inches wide for better control. Adjust your straightener’s temperature to match your hair type and avoid going higher than recommended.
Using too much heat on fine or damaged hair easily causes split ends and breakage.
Preparing Hair Properly Before Using a Straightener
Preparing Hair Properly Before Using a Straightener
Start with clean, dry hair to protect your strands from heat damage. Always apply heat protectant spray before using your straightener. Doing these steps right helps your hair stay healthy and look shiny.
Wash and Condition Thoroughly
Washing your hair removes dirt, oil, and buildup that can block heat from styling tools. Use a shampoo and conditioner suited for your hair type to keep strands soft and manageable. Clean hair takes styling products better and looks smoother.
Try not to over-wash, which can dry out your hair and increase heat damage risk. Washing every two to three days usually works well for most people. Skip heavy conditioners near your roots to avoid greasy roots that flatten styles.
Dry Hair Completely
Never use a straightener on wet or damp hair. Water changes to steam and can cause major heat damage when heated directly. Use a blow dryer or air dry until your hair is fully dry.
Check your hair with your hand to be sure no damp sections remain. It should feel smooth but dry.
Use a microfiber towel to gently squeeze out excess water. This helps speed drying without causing frizz.
Apply Heat Protectant Evenly
Spray a heat protectant on dry hair before you style. Use several spritzes, focusing on all strands for full coverage. This spray acts as a shield against high heat and helps keep hair shiny and soft.
A fine mist protector like Oribe Gold Lust Dry Heat Protection Spray doesn’t weigh hair down. It also doesn’t make your hair feel wet. Comb through your hair after spraying to spread the product evenly, reaching every strand.
- Spray about 4 to 6 generous pumps over dry hair
- Use a wide-tooth comb or detangling brush to spread product
- Focus on mid-lengths and ends, which are the most fragile spots
- Avoid applying too much near roots to prevent greasy feel
- Reapply protectant if you plan to restyle your hair within hours
Skip heat protectants only if your tool stays below 250°F. But most straighteners run hotter than that. Protectant keeps your hair safer and makes styles last longer.
Comb and Section Hair
Detangle your hair with a gentle comb or brush before styling. This prevents snags and makes straightening easier and faster. Start from the bottom, working upward to avoid breakage.
Divide your hair into small sections, around 1 inch wide each. Use clips to hold sections out of the way. Straightening tiny sections ensures even heat and a sleeker look.
Set Up Your Styling Space
Choose a well-lit, clean spot with a mirror and an outlet near your chair or table. Arrange all your tools and products within easy reach to move smoothly through your routine. Having a comb, clips, and a heat protectant nearby speeds up your work.
Place a heat-resistant mat or towel on your surface to rest your straightener safely. Keep your straightener cord untangled to avoid tripping or pulling during styling. A good setup saves time and keeps your tools safe and ready.
Mastering Curling Techniques with a Straightener
Curling hair with a straightener is about controlling how you hold and twist the iron. Doing this evenly on both sides creates balanced curls that look natural. You can change the curl size by adjusting your rotation speed and angle while curling.
Positioning the Iron and Starting Point
Start by choosing a one-inch flat iron with rounded edges. It offers good control and versatility for curls. Position the iron at the mid-length of the strand to avoid heat damage near roots.
Hold the iron vertically or at a slight angle to create different curl shapes. Clamping the hair gently but firmly helps wrap the strand around the plates smoothly. This positioning sets the foundation for curls or waves that last.
Curling the Dominant Side Method
On your dominant side, speed and confidence make a difference. Clamp the hair section at mid-length. Twist the iron 180 degrees.
Angle it away from your face. Glide the straightener slowly toward your ends, keeping tension on the hair.
Hold the hair ends with your free hand as you pull. This prevents curls from unraveling. Moving at a steady pace helps curls set tightly but naturally.
- Separate a one-inch section of hair.
- Clamp the iron at the mid-length of the strand.
- Rotate the iron 180 degrees away from your face.
- Smoothly glide the iron down toward the ends.
- Hold the end of hair to keep tension.
- Release the iron gently once curled.
Curling the Non-Dominant Side Method
Use slightly slower motions on the non-dominant side. This helps the curl set evenly and match the dominant side. Tilt the iron inward slightly if this feels more natural for you.
Follow the same twisting and gliding movement but go a bit slower. Holding the ends steady remains important to keep the curl shape intact. Practicing this will make curls symmetrical and polished.
Adjusting Rotation for Different Curl Styles
For loose waves, hold the iron horizontally and create C-shaped bends. Move down the strand, alternating curl directions for natural flow. Holding the iron at an angle softens the curl, creating beachy waves.
Tighter curls need a full 180-degree rotation with slower pulling. Wrapping the hair around the iron fully increases curl hold and bounce. Mixing loose and tight curls adds dimension and a polished look.
Using a Straightener to Add Volume and Lift
To add volume at your roots, lift small hair sections straight up. Pull them slightly back. Use your straightener on these sections.
Hold the straightener vertically close to your scalp but avoid touching the skin to prevent burns. Clamp the straightener at your roots.
Turn it half away from your face. This adds a soft bump and more body.
Work in sections to ensure every root area gets lifted evenly. Moving in one smooth motion helps avoid crimps or kinks in your hair. This works best on hair that is clean and dry.
Use a root-lifting spray first. It helps hold and adds extra height.
Next, create soft curls or waves in the middle of your hair. This adds more texture and volume. Twist the straightener half a turn while sliding down your hair.
This makes a soft bend, not straight strands. Shake your hair gently after styling.
This mixes curls together. Then spray with light-texture mist or sea salt spray.
A light hold hairspray finishes the look without weighing hair down. Run a small amount of smoothing serum over your hair tips.
It adds shine and helps control frizz. This method transforms flat hair roots into lifted, bouncy strands with a natural feel.
Always keep the straightener moving to avoid heat damage and unnatural crimps near the roots.
Styling Bangs and Fringes with a Straightener
Styling bangs with a straightener helps you get a sleek or softly curved look fast. You can shape them smooth or add a gentle bend to frame your face. The right plate size and technique ensure a neat finish without flyaways or damage.
Choosing the Right Plate Size for Bangs
Smaller plate sizes work best for bangs and fringes. They allow precise control and reach smaller sections easily. Look for plates around 0.5 to 1 inch wide to style your bangs without pulling or bunching.
A mini straightener fits perfectly in your hand and heats up quickly. It gets close to your roots without burning your skin. Regular-sized plates are too wide and clumsy for bangs.
Straightening Bangs for Sleekness
Heat protectant keeps your bangs safe from damage during styling. Use a lightweight spray for better slip and shine. Make sure each small section is dry before straightening to avoid crispy ends.
Follow these steps to get sleek bangs:
- Comb your bangs straight down and divide them into ¼-inch sections.
- Set the straightener to 300, 350°F, a safe range for most hair types.
- Clamp the straightener near the roots, close but not touching skin.
- Slowly glide the straightener down the hair, keeping even pressure.
- Run a comb down right after the straightener to smooth hair and catch flyaways.
- Repeat on all sections until bangs look smooth and shiny.
- Finish with a small amount of anti-frizz serum to keep strands sleek.
Adding a Curved Fringe Shape
To create a soft curve in your bangs, start by rotating the straightener slightly. Focus on the ends for the swoop effect. This technique shapes your bangs gently.
This bends the hair inward or outward for a natural look. Avoid clamping too tightly or moving too slow to prevent dents or creases.
Here’s how to get a curved fringe:
- Comb dry bangs straight down and section into thin parts.
- Heat the iron to 320, 350°F to allow smooth bending without burn.
- Place straightener at the root, then glide down.
- As you near the ends, gently twist the iron inward or outward.
- Hold the twist for one to two seconds to set the curve.
- Release and comb bangs forward or to the side to check shape.
- Use light hairspray to hold the curve if needed.
Curved bangs look great with face-framing layers or curtain bangs. A mini straightener has smaller plates for better control. It’s great for short or thick bangs.
This helps you style bangs neatly and easily. Avoid repeatedly heating the same section to minimize damage.
Common Mistakes and How to Fix Them Quickly
Dents in your hair usually happen when you clamp the straightener too long in one spot. These dents create sharp bends that don’t smooth out with brushing or styling. To fix dents fast, slide the straightener slowly over the dent.
Use a light touch. Repeat a few times for best results. Avoid pressing hard or staying in one spot too long, or you’ll cause more damage.
Uneven curls happen when sections are too big. Not turning the straightener enough also causes them. Grab smaller sections and twist evenly.
Smaller sections, about 1 to 1.5 inches wide, give more control. When curling, twist your wrist evenly. Keep the hair around the plates to shape curls smoothly.
This helps curls look natural. Using a straightener with narrow plates helps especially for short hair, allowing tighter and neater curls.
- Divide hair into small sections to avoid uneven curls and dents.
- Keep the straightener moving steadily to prevent marks and uneven heat.
- Use a heat protectant spray to avoid heat damage and frizz.
- Twist curls under if you want softer, controlled waves that don’t flick out.
- Use narrow flat irons on short hair for better curl control.
- Avoid touching hair too soon after styling; warm hair can cause curls to fall.
Flat hairstyles get frizzy or lifeless if the straightener is too hot. Dry hair also causes this problem. Keep the heat moderate and hair moisturized.
Use medium heat between 300°F and 350°F for thick, damaged, or colored hair. Fine hair needs lower heat, around 250°F to 300°F. A good heat protectant spray helps protect strands and smooth the style.
Curls falling out in 10 minutes means hair was warm when styled. It also means the curling technique wasn’t tight enough. Cool, firm curls hold longer.
Wait for hair to cool fully before touching, brushing, or styling. Hold the straightener on each curl a bit longer. You can also wrap hair tighter around the plate.
This helps curls last longer. Using cold air from a blow dryer at the end helps set curls.
This trick makes curls stay longer. Finish by cooling your hair down.
Selecting the Right Straightener and Accessories for Your Style
Choosing the right straightener plate size depends on your hair length and style goals. Plates between one and two inches work well for most people. Smaller plates allow better control for short hair or precise styling, like curls or bangs.
Wider plates cover more hair at once, making them best for long, thick hair. Rounded plate designs help with creating curls and waves, not just straightening. Straight, flat plates usually give a sleeker finish.
| Plate Size | Best For | Styling Results | Approximate Price Range |
|---|---|---|---|
| 0.5 to 1 inch | Short hair, bangs, detailed curls | Precise curls, tight styling | $20 – $60 |
| 1 to 1.5 inches | Medium length hair, versatile styles | Balance between speed and control | $40 – $120 |
| 1.5 to 2 inches | Long, thick hair | Quick straightening, loose waves | $50 – $150+ |
| Rounded plates | All lengths; better for curling | Smooth curls, waves, glides easily | $60 – $200+ |
| Flat plates | All hair types, straight styles | Sharp, sleek finish | $30 – $150+ |
Some straighteners, like ghd’s Platinum+, come with slightly rounded barrels. This design helps the straightener glide better and creates curls or waves with fewer snags. Look for adjustable heat settings to match your hair type and reduce damage.
Using accessories can improve your hairstyle and protect your hair. A light-hold hairspray or texture spray helps keep styles in place, especially if you battle frizz. A silk pillowcase reduces friction and keeps your style intact overnight.
Avoid using the highest heat setting if your hair is fine or damaged to prevent breakage.
Step-by-Step Action Plan to Style Hair Confidently with a Straightener
Follow these steps to practice and build your straightener skills confidently. Each step helps you see real progress fast.
- Before You Start: Pick a straightener that suits your hair type and style needs. Check that it has adjustable heat settings and ceramic plates for even heat.
- Day 1: Wash and dry your hair completely. Apply a heat protectant and section hair evenly. Straighten one section fully and notice if it feels smooth and shiny.
- Week 1: Practice creating curls using your straightener. Wrap smaller sections of hair around the plates. You’ll know it worked when your curls hold their shape for hours.
- Week 2: Use your straightener to add volume at the roots. Lift small sections at the scalp and glide your straightener carefully. Check if your hair looks fuller and lifts away from your scalp.
- Week 3: Style your bangs using short, precise passes with the straightener. The hair should lay smooth and frame your face naturally without frizz.
- Every Use: Avoid common mistakes like using too high heat or skipping the protectant. If you notice dryness or damage, lower the heat and add extra conditioning treatments.
- After 4 Weeks: Assess your straightener and accessories. Replace any worn-out heat protectants or change plates if needed to keep your hair safe.
Frequently Asked Questions
Can You Curl Your Hair with a Straightener?
You can curl your hair with a straightener. Twist the tool as you glide it through your hair.
This creates curls easily. It works fast and lets you create different curls depending on the angle and section size.
What Is the Prettiest Type of Hair?
Beauty is personal, so there is no one prettiest hair type. Every hair type looks great when healthy and styled well. Focus on caring for your hair’s unique texture to make it shine.
Does Curly Hair Make You Look Older or Younger?
Curly hair doesn’t really make you look older or younger. It depends more on the hairstyle and care you choose. Healthy, well-defined curls usually look fresh and youthful.
Is Straightening Hair 2 Times a Week Bad?
Straightening twice a week is usually fine. Use heat protectant every time.
Don’t set the heat too high. Overdoing heat styling can cause damage, so give your hair breaks to stay healthy.
How Do I Keep Curls from a Straightener Lasting All Day?
To keep curls all day, don’t shampoo the same day. Use a light hairspray to hold the curl.
This helps the style last. Also, let curls cool before touching them to help them set.
Can Short Hair Be Styled Easily with a Straightener?
Yes, short hair can be styled with smaller sections and adjusting the straightener’s angle. This helps you control the shape and get smooth or curled looks with ease.
Wrapping Up
Your hair can look great with a straightener when you use the right techniques and care. Keep practicing these steps while protecting your hair. Start now by choosing the best straightener for your hair type and see the difference yourself.