How to Straighten Hair with a Curling Iron: 8 Key Tips for Smooth Results
Knowing how to straighten hair with a curling iron starts with choosing the right tool. Use a curling iron with a large barrel. Choose one about 1 to 2 inches wide.
This size helps smooth hair faster. Smaller barrels can work but take more time and patience.
Set the heat based on your hair type to avoid damage. Fine or color-treated hair needs lower heat, below 200°F. Thicker hair tolerates higher settings. Always apply heat protectant first to keep your hair safe.
Work on dry, detangled hair for the best results. Use small sections and slowly glide the curling iron down each. This method helps straighten even curly or thick hair without extra tools.
Key Takeaways
- Choose a curling iron barrel at least 1 to 2 inches wide for quicker straightening.
- Use lower heat settings under 200°F for fine or color-treated hair to prevent damage.
- Apply a heat protectant product before using any heat styling tools.
- Work only on dry, fully detangled hair to avoid uneven straightening.
- Straighten hair in small sections for thorough and smooth results.
- Hold the curling iron briefly, about 5, 10 seconds, on each section.
1. How to Straighten Hair Using a Curling Iron Safely
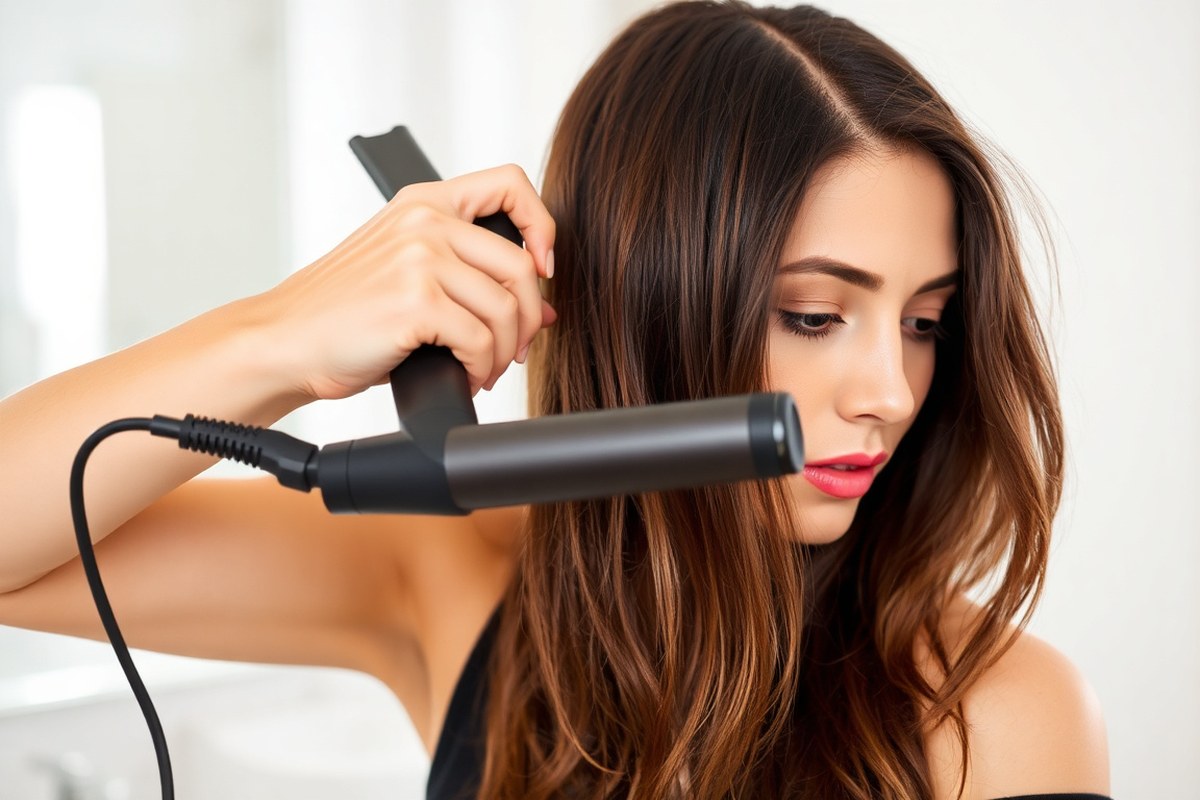
Use a curling iron only on completely dry hair. Damp hair risks burning and damage. Apply heat protectant spray before starting to shield your strands.
Sectioning your hair helps get even straightening. Work in 1- to 2-inch sections for better control. Smaller sections take more time but straighten more thoroughly.
Creating tension is key to straightening with a curling iron. Hold the section taut with one hand. Clamp the iron near the roots with the other.
- Plug in and heat your curling iron to a temperature suitable for your hair type. Use below 200°F for fine or color-treated hair. 300°F to 365°F for thicker, coarse hair.
- Part your hair into 1- to 2-inch sections using clips for easy handling. Start with the bottom layers, then move upward.
- Clamp the curling iron at the root area of the first section. Keep your fingers away from the hot barrel.
- Hold the hair taut with your free hand to create tension. This tension helps smooth curls and waves.
- Slowly glide the iron downward, following the hair strand to the ends. Hold the clamp for about 5 to 10 seconds only.
- Release the clamp and gently pull the hair free to avoid crimps or kinks.
- Repeat on each section, moving around your head till fully straightened.
It’s normal to repeat the process on very curly hair. But avoid excessive heat exposure. Using a wider barrel iron around 1.5 to 2 inches helps cover more hair and speeds up the process.
Good straightened hair looks smooth, shiny, and free of burns or rough edges. Avoid holding the iron too long, as it can cause breakage or frizz. Practice steady, gentle pulls for the best results.
2. Choosing the Right Curling Iron and Heat Settings
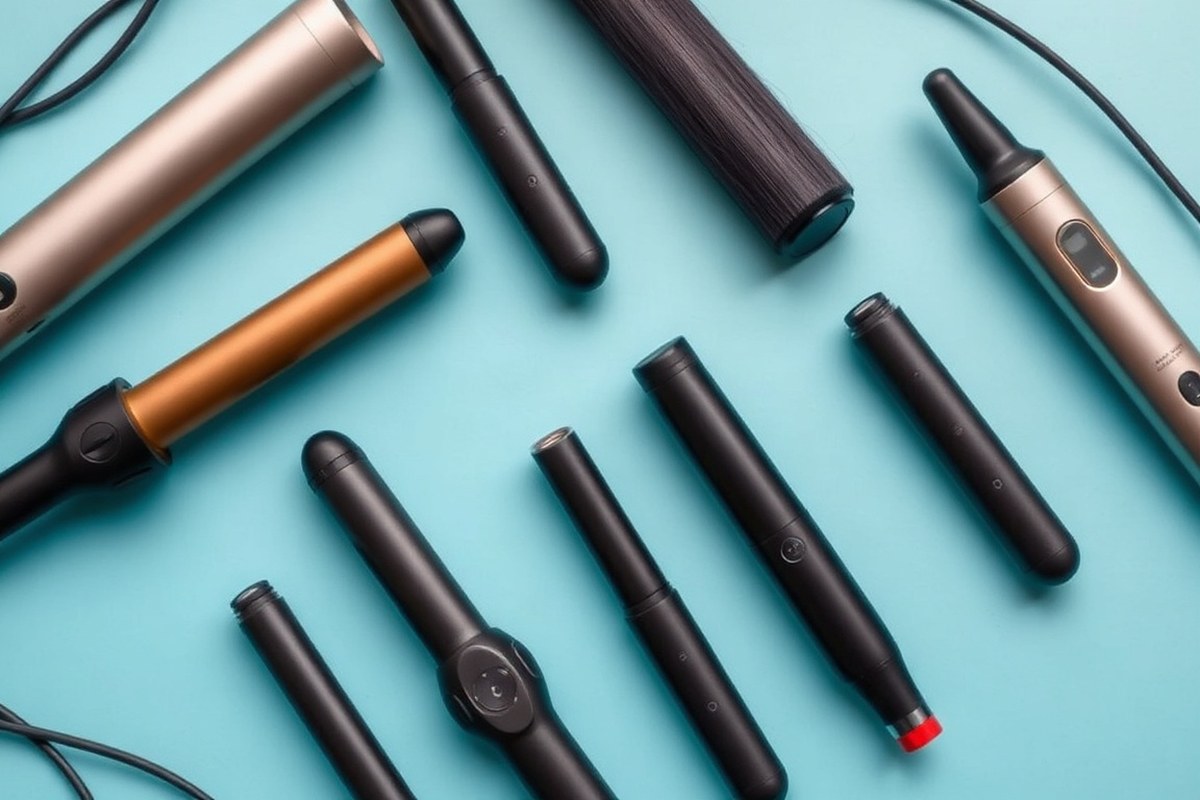
Choose a curling iron barrel between 1 to 1.5 inches wide to straighten hair best. Smaller barrels, like ¾ to 1 inch, can straighten hair. But they take longer and might create slight waves.
A larger barrel covers more hair at once. You can pull the iron straight down. This gives a smooth finish to your hair.
How hot you set the iron depends on your hair type. Fine or color-treated hair needs lower heat, around 280 to 320°F, to avoid damage.
Thick or curly hair may need higher heat. But don’t go above 400°F unless your iron allows careful control.
| Hair Type | Recommended Temperature | Barrel Size |
|---|---|---|
| Fine or Color-Treated | 280 to 320°F | ~1 inch |
| Medium Thickness | 320 to 360°F | 1 to 1.5 inches |
| Thick or Curly | 360 to 400°F | 1.5 inches or more |
Before heating the curling iron, check it has multiple settings to match your hair needs. Adjust the iron to your hair’s ideal heat. Avoid the highest heat setting on your iron.
Only use it if your hair handles heat well. Always apply heat protectant before styling.
Using too high a temperature risks burning your hair, especially if it’s color-treated or heat-sensitive. Never hold the iron in one place longer than a few seconds. Clamp a small hair section near the root.
Slowly pull the iron down to the tips. This method straightens hair best.
Always start at the lowest effective heat setting and work up to avoid damage.
Hair texture changes how heat works on your strands. Fine hair can straighten quickly at low heat. Thick curly hair needs more heat and slower pulls.
Choose the right barrel size and temperature. This helps straighten hair without extra damage. It also reduces frizz while styling.
3. Preparing Your Hair and Tools Before Straightening
Getting your hair ready is key to smooth, shiny straightening. Wash, dry, and protect your hair well before you use a curling iron. These steps keep your hair safe from heat and give you better results.
Washing and Conditioning Tips
Start with clean hair by washing it thoroughly using a gentle shampoo. Follow with a good conditioner to smooth the strands and reduce tangles. This makes the hair easier to comb and style later.
Detangling while in the shower helps avoid breakage. Use a wide-tooth comb or your fingers to gently work through knots. Clean, conditioned hair lays the foundation for neat, straight locks.
Drying Methods and Timing
Hair must be completely dry before applying heat from a curling iron. Blow dry your hair on a medium setting for best results. This cuts drying time and prevents damage from overexposure to heat.
Some volume can come by blow drying damp hair while running your fingers through it. Avoid straightening any damp or wet hair with the curling iron. Water and heat cause breakage and frizz.
- Blow dry on medium heat until hair is fully dry
- Run fingers through hair to detangle and add volume
- Use a microfiber towel to remove excess water after washing
- Avoid air drying if you plan to straighten the same day
- Wait at least 24 hours after straightening before wetting hair again
Must-Have Heat Protectant Products
Apply a heat protectant spray or serum after hair is dry but before heat styling. Use a product that covers hair evenly, from roots to ends. This acts as a barrier, reducing damage from the curling iron’s heat.
Work the protectant into damp hair first if you blow dry afterwards. For dry hair, apply a light layer and wait for it to absorb fully. These small steps reduce split ends and keep your hair smooth.
Cleaning Your Curling Iron Properly
Regular cleaning of your curling iron keeps it working at top heat without harming your hair. Wipe the plates with a damp cloth after every few uses to remove product buildup. Avoid harsh cleaners which damage the iron.
Clean your curling iron only when it’s unplugged and fully cooled. For tough residue, use a paste of baking soda and water, then wipe it off gently. This simple upkeep prevents uneven heating and extends your tool’s life.
4. Techniques to Straighten Curly or Thick Hair Efficiently
Yes, you can straighten curly or thick hair using a curling iron. The key is to manage tension carefully. Section your hair properly.
Choose the right heat setting. These steps help you get smooth results faster with less heat damage.
Sectioning for Thick and Curly Hair
Split your hair into small sections to work more efficiently. Thick or tightly curled hair takes longer to straighten if you try large chunks at once. Use clips to hold the sections you’re not working on.
Start with a bottom layer, and work your way up. Thin sections let the heat reach every strand evenly. This way you avoid multiple passes with the iron, reducing possible damage.
Creating Tension and Pulling Technique
Tension helps straighten hair faster and holds it straight longer. Clamp the curling iron near the roots with one hand. Pull gently down.
Hold the hair taut with your other hand below. This keeps the hair straight as the heat sets in.
Don’t rush. Pull the hair smoothly and steadily, about 1 inch per second.
Avoid going over the same section many times. Good tension means one or two passes should be enough.
Handling Shorter or Face-Framing Hair
Short or fine hair near your face needs more care to avoid burns or breakage. Work with smaller sections and use a lower heat setting for those parts. Hold the curling iron vertically and pull downward to prevent awkward bends.
Keep the iron moving slowly and precisely around your hairline. This area heats faster and is more fragile. So be gentle and patient to get a smooth finish.
Optimal Heat Settings for Thick Hair
Set your curling iron to a high temperature if your hair is thick or very curly. Around 375 to 400°F works best. These higher settings help loosen curls faster and create straighter strands with fewer passes.
Check your iron’s heat options before starting. Using the highest heat too long can damage hair.
So apply heat just as long as needed until your hair is straight. For damaged or color-treated hair, aim for a heat setting near 375°F.
Follow these steps to straighten thick or curly hair with a curling iron:
- Divide hair into small, manageable sections using clips.
- Start from the bottom layer and work upwards.
- Clamp the curling iron near your hair roots on one section.
- Pull the iron down slowly while holding the hair taut with your other hand.
- Make one or two slow passes until the hair feels smooth and straightened.
- Lower heat settings for fine or shorter hair near the face.
- Keep the curling iron moving steadily to avoid heat spots.
- Repeat with all sections until your hair is fully straightened.
5. Common Mistakes When Straightening with a Curling Iron
Using the wrong heat setting on your curling iron is a common mistake. Setting the temperature too high can damage hair strands quickly.
Keep the temperature between 300°F and 350°F for most hair types. Lower for thinner or damaged hair.
Straightening wet or damp hair is risky. Heat can break the weaker wet bonds, causing frizz and damage. Always dry your hair completely before using a curling iron to avoid this problem.
Trying to straighten large sections wastes time and delivers uneven results. Stick to 1 to 2-inch sections for smoother, more consistent straightening. Smaller sections straighten faster and with fewer passes, cutting down damage from repeated heat.
- Use a curling iron made of ceramic, titanium, or tourmaline for even heat.
- Clamp the curling iron firmly to keep hair taut during straightening.
- Avoid multiple passes on the same section to protect hair health.
- Apply a heat protectant spray before styling to reduce damage.
- Use a comb to help guide and smooth hair after each pass.
Heat damage happens when hair isn’t dry or sections are too big. Take your time. Be gentle with each section.
Frizz after straightening usually means the hair got overheated or wasn’t protected. Fix frizz with a light serum or smoothing balm after styling. Don’t go over the hair repeatedly; one good pass is best.
Keeping your hair pulled taut while using the curling iron helps you straighten with fewer passes. This technique saves time and keeps hair softer and shinier. Your curls stay in better shape when you protect your hair from rough handling.
6. Extending the Life and Shine of Your Straightened Hair
To keep your hair straight for longer, avoid moisture like rain, sweat, or steam. Water will make your hair curl or frizz quickly. Before heading outside, lightly mist your hair with a silicone-based anti-humidity spray.
These sprays form a thin barrier that blocks moisture. They help hold the straight style better. The sprays don’t weigh your hair down.
After straightening, put a small amount of lightweight serum on your hair. It smooths flyaways and adds shine. Use only a little for best results.
Focus on mid-lengths to ends to stop oil buildup near your scalp. Use just a dime-sized drop to avoid greasiness. Choose products with argan or jojoba oil in them.
These oils add softness and lasting gloss. They keep your hair looking good all day. Skip heavy creams on fine hair, as they can make it look flat or oily.
Handle your hair gently to keep the straight look neat. Don’t touch or run your fingers through your hair too much. Oils and humidity from your hands cause frizz.
This also makes your hair lose smoothness. Use a wide-tooth comb or a detangling brush to brush your hair. Start from the ends and work upward to prevent breaks and keep strands sleek.
Don’t straighten your hair every day to avoid heat damage. It’s safer to straighten hair two or three times a week. Use heat protectant sprays and stay below 350°F for best care.
Straightening too often can dry your hair and cause split ends. On rest days, tie your hair gently with a silk scrunchie.
Sleep on a satin pillowcase to reduce friction. This helps keep your shine.
For quick touch-ups, set your curling iron to cool or medium heat. Use it only on needed spots to avoid damage. Overheating can damage strands and dull the straight finish.
Let your hair cool completely after styling before applying finishing products. This helps the products lock in your straight look.
Use dry shampoo at your roots to refresh oily or flat hair. It adds no moisture and lifts volume.
Protect your hair from moisture and heat to keep it straight. Use good finishing products and handle your hair gently.
Small habits like these can keep your style for days. They save you time and keep hair glossy and healthy.
7. When to Choose a Flat Iron Instead of a Curling Iron
Flat irons are generally better for straightening hair quickly and evenly. They have two heated plates that press hair flat. This smooths waves and curls.
It works more directly than a curling iron. One or two slow passes often work with a flat iron.
You run it through each hair section. This usually does the job.
Curling irons heat a rounded barrel, designed to shape hair into curls or waves. You can use them for straightening, but it takes more skill and time. Wrap hair tightly around the barrel first.
Then slide the iron down carefully. Keep tension to pull the strand straight.
Flat irons give hair a sleeker, shinier look. Their plates spread heat evenly. These plates clamp hair firmly while styling.
Curling irons may leave some bends or waves, especially in thick or curly hair. Your hair is very curly or frizzy. A flat iron usually smooths hair faster.
Flat irons cost $20 to over $150. Price depends on size and material. Features like temperature control also change the cost.
Curling irons also range widely but are typically less expensive for basic models. The cost difference matters if you want one tool for both straightening and curling. But a quality flat iron better handles straightening alone.
Choosing the right heat is key. Flat irons often run between 300°F and 450°F. You want 350°F or lower for fine hair and closer to 400°F for coarse hair. Curling irons usually reach similar temperatures but focus heat on small, rounded barrels, not flat plates.
For a beginner, flat irons are more beginner-friendly for straightening. Curling irons require practice to keep hair wrapped and tensioned evenly without creating loops or waves. You want straightening sometimes only.
A curling iron can work for you. But it takes longer than a flat iron.
Use a flat iron if you want sleek, pin-straight hair fast with fewer passes. Curling irons fit you if you like mixed styles. They offer gentle straightening with waves.
This is good if you want variety. The goal and hair type should guide your choice.
8. Safety Tips and Best Practices for Heat Styling Hair
Using a curling iron to straighten hair takes careful steps to avoid damage. Dry hair and the right heat level make all the difference. Protecting your hair before heat and limiting styling frequency keeps it healthy.
Checking Hair Dryness and Health
Never use a curling iron on wet or damp hair. Passing heat through wet strands quickly causes breakage and frizz. Hair should be completely dry, ideally air-dried or blow-dried on a cool setting.
Assess your hair’s condition before styling. Heat-sensitive or color-treated hair needs gentle care. Test a small strand first and check for dryness or brittleness.
Healthy hair holds style better and suffers less damage from heat. Avoid styling if hair feels very dry or has split ends.
Monitoring and Adjusting Heat Levels
The higher the temperature, the faster you risk damaging your hair. Set the curling iron temperature to suit your hair type. Fine or damaged hair should stay at 250°F to 300°F. Thick or coarse hair can handle 350°F to 400°F.
Use tools with ceramic or tourmaline plates for even heat and less frizz. These materials help lock in moisture and protect strands. Limit each pass to one or two times to avoid excess heat exposure.
- Start with a lower heat setting and increase cautiously
- Keep the curling iron moving steadily, don’t hold it too long
- Use ceramic or tourmaline curling irons to reduce damage
- Check your hair often for signs of heat stress
- Only style small sections at a time
- Do a quick test pass on a hidden strand
Quick tip: unplug your curling iron right after use. This helps avoid accidents. Keep it safe by always disconnecting the device soon as you’re done.
Limits on Frequency of Heat Styling
Styling your hair daily with heat tools can cause dryness and breakage. Aim to limit heat styling to two or three times a week max. Give your hair breaks between sessions to recover moisture.
Your hair is very sensitive, use heat styling less often. This helps prevent damage and keeps hair healthier longer.
Overuse leads to dullness and split ends. Try air-drying or protective styles on off days.
Follow a schedule that allows for occasional heat-free days to maintain strength.
Using Protectants and Aftercare
Always apply a heat protectant spray or serum before styling. These products create a barrier on your hair, reducing moisture loss and heat damage. Spread the protectant evenly through dry hair before using the curling iron.
After styling, use nourishing leave-in conditioners or oils to hydrate your hair. Avoid washing your hair daily to preserve natural oils. Regular trims remove damaged ends caused by heat.
Consistent care supports long-term hair health while you enjoy straightened looks using your curling iron.
Step-by-Step Action Plan to Straighten Hair with a Curling Iron
Follow these steps to get straight hair using a curling iron without damage. Check each step to ensure you are on track.
- Before You Start: Wash and dry your hair completely. Hair must be dry to prevent damage and achieve smooth straightening.
- Before Heating the Iron: Apply a heat protectant spray evenly on your hair. Your hair should feel coated but not sticky for protection.
- Heat Setting: Set the curling iron temperature between 300°F and 350°F. Adjust lower for fine hair and higher for thick hair to reduce damage.
- Section Your Hair: Divide your hair into small sections about 1 inch thick. Small sections help straighten hair evenly and quickly.
- Straightening Technique: Clamp the curling iron near the roots and slowly pull down to the ends. The hair should feel smooth, not crunchy or tight.
- Repeat if Needed: Go over each section once or twice maximum. More passes risk damage and don’t add much straightening.
- Finishing Touch: Let hair cool before touching or styling. This helps your hair hold its straight shape longer.
- After Styling: Apply a light serum for shine and to reduce frizz. Your hair should look glossy without feeling heavy.
Frequently Asked Questions
Can You Use Any Curling Iron to Straighten Hair?
You can use most curling irons to straighten hair, but larger barrels work best. A 1 to 2-inch barrel holds more hair and smooths better than smaller ones.
How Do You Avoid Kinks When Straightening with a Curling Iron?
To avoid kinks, glide the curling iron slowly and steadily through each hair section. Quick or jerky moves can cause bends or lines in your hair.
Is It Necessary to Use Heat Protectant When Straightening with a Curling Iron?
Yes, using a heat protectant reduces damage from high heat. It also keeps your hair smoother and shinier after styling.
How Do You Handle Shorter Hairs or Baby Hairs When Straightening?
Use smaller sections and a smaller barrel around your face for shorter hairs. This helps you catch all strands without missing any.
Can You Straighten Wet or Damp Hair with a Curling Iron?
No, always dry your hair completely before using a curling iron. Wet hair is more prone to damage from direct heat.
Will Straightening with a Curling Iron Last as Long as with a Flat Iron?
It usually lasts shorter because a flat iron presses hair more evenly. Touch-ups might be needed sooner with a curling iron.
Final Thoughts
You can straighten your hair well using a curling iron if you follow safe steps. Protect your hair and use the right heat setting every time. Next, practice your technique on a small section to build confidence before doing your whole head.