How to Use a Wand Curling Iron: Simple Steps for Lasting, Beautiful Curls
How to use a wand curling iron can seem tricky at first. But it’s simple once you know the basics. Start by picking the right heat for your hair type.
Make sure your hair is fully dry. This helps protect your hair from damage. Using the right temperature helps avoid damage while giving you curls that last.
Next, section your hair into manageable pieces. Smaller sections curl better and look more natural. Always use a heat protectant spray before curling to shield your hair from heat damage.
Hold the wand vertically and wrap your hair around the barrel without touching the hot tip. Keep the curl wrapped for about 8-12 seconds, then gently release. This method gives you beautiful curls without burns or frizz.
Key Takeaways
- Always use a heat protectant that protects at least up to 400°F before curling.
- Set your curling wand between 200°F and 300°F for thick hair. Under 200°F for fine hair.
- Make sure your hair is 100% dry before using the curling wand to avoid damage.
- Start with a small section of hair, about 1-2 inches, for controlled curls.
- Hold each curl for 8 to 12 seconds for the best shape and lasting hold.
- Use a one-inch ceramic barrel curling wand for classic, easy-to-manage curls.
What Is a Wand Curling Iron and How Does It Work?
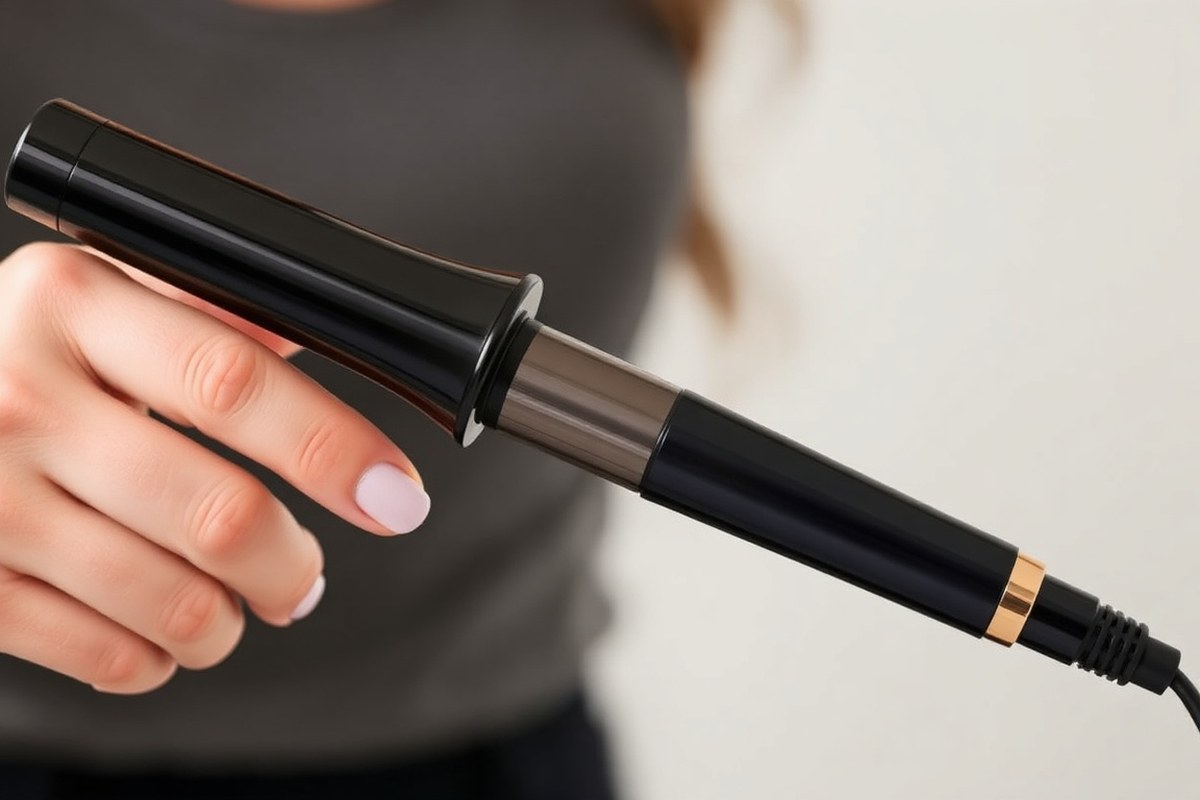
A wand curling iron shapes curls by wrapping hair around its barrel. The barrel gets hot to style your hair. It creates curls by heating your hair strands.
Unlike traditional curling irons, it doesn’t have a clamp to hold your hair in place. You manually wrap each section of hair around the wand, which heats it to form curls.
The main difference between a wand and a regular curling iron is the clamp. A curling iron uses a clamp to hold hair in place. The clamp makes curling easier for many people.
It keeps the hair secure while curling. A wand needs you to wrap your hair around it.
You hold the hair tight and control the tension. It takes practice but gives more styling control.
Many people pick a wand over a curling iron because they want looser, natural-looking curls. Wands also reduce the chance of clamp marks or dents in your hair. Wands make waves and spirals using different barrel sizes.
They work well on many hair lengths and textures. You can get various curl styles with them.
To use a wand effectively, your hair needs to be completely dry. Wrapping damp hair could cause damage since the heat reacts differently with wet strands. Good results show smooth, soft curls without lines or kinks from a clamp grabbing your hair.
Wands usually come in barrels ranging from about 10mm to 32mm wide. Smaller barrels make tight curls; larger ones create loose waves. Choosing the right size depends on your hair length and the curl style you want.
Wands can be harder to learn than clamp curling irons. This is true if you have fine or slippery hair. It might take longer to get the hang of it.
It’s easy to wrap hair unevenly, which can cause curls to fall out faster. Practice helps you change curl tightness with a wand.
How much hair you wrap affects the curl size. The longer you heat it, the tighter the curl.
How to Prepare Your Hair for Curling with a Wand
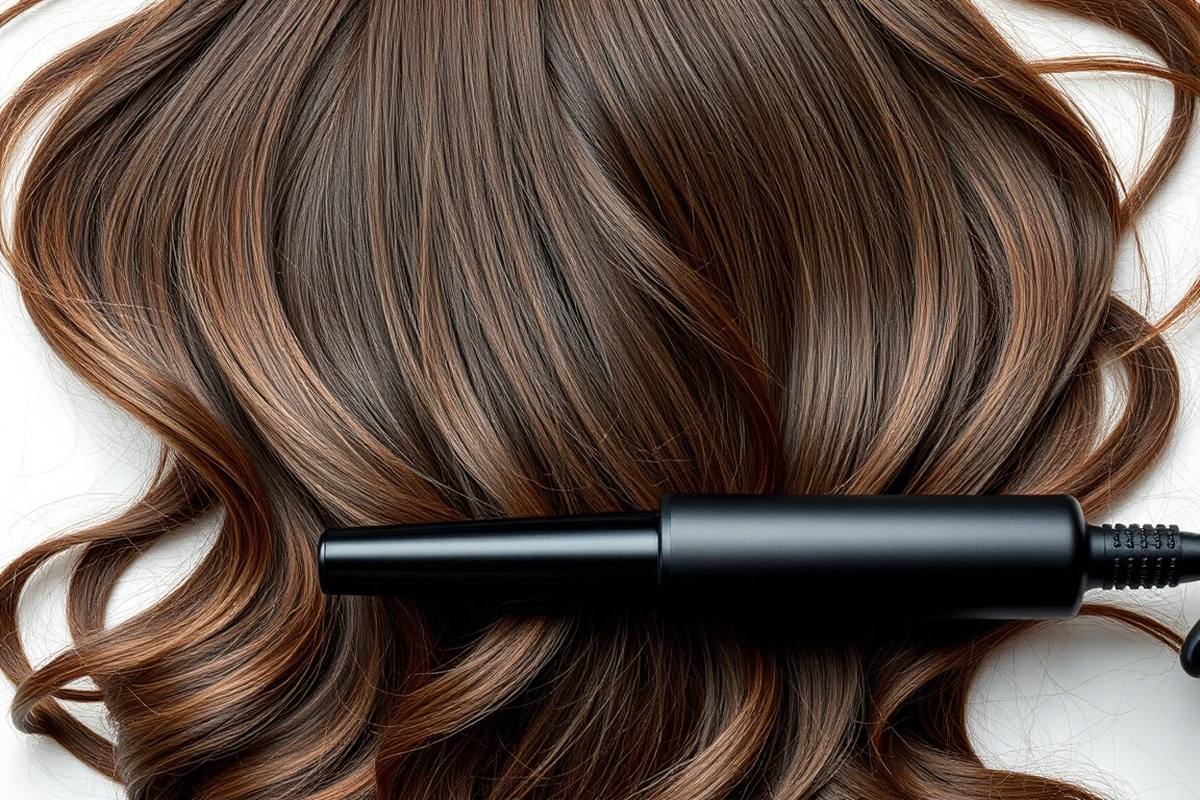
Make sure your hair is fully dry before using a wand curling iron. Damp or wet hair won’t hold curls well and can get heat damage. Use the right products and separate hair into small sections to curl better and keep curls longer.
Choosing the Right Hair Products
Heat protectant spray is essential. Apply it evenly to dry hair to shield strands from damaging heat. Choose a lightweight spray that won’t weigh hair down or make it greasy.
For fine or straight hair, a volumizing mousse can boost grip and help curls hold better. Use just a small amount before blow-drying to avoid heaviness. Thick or slippery hair needs a texture spray.
It adds grip so curls hold better. This helps curls catch and stay in place.
Never skip heat protectant spray; it prevents damage and helps curls last.
Drying and Prepping Hair for Heat Styling
Start with clean hair that is fully dry. Blow-dry if needed to remove all moisture. Curling damp hair may cause uneven heat and burns.
Some people find second-day hair easier to curl because natural oils help hold the shape. When the hair is freshly washed, wait until it’s completely dry and styled before curling. This cuts down on heat damage and improves results.
Begin styling at the lowest heat setting, especially if you’re new to curling. Increase the heat slowly based on your hair’s thickness and how it responds.
Sectioning Tips for Easy Handling
Divide your hair into manageable layers: top, middle, and bottom. Use sectioning clips to keep hair separated. This makes working with small amounts easier and ensures even heat on each curl.
Smaller sections usually curl more evenly. Thick hair requires smaller pieces to avoid outer strands curling before inner hair heats. For fine hair, medium-sized sections work well without weighing curls down.
A helpful trick is to tie the top layers up and curl the bottom ones first. This lets you focus on neat, controlled curling and prevents tangles.
Selecting the Right Barrel Size and Heat Setting for Your Hair
Pick a barrel size based on the curls you want and your hair length. Small barrels (around ¾ inch) create tight curls.
Big barrels (one inch or larger) make loose waves or big curls. Hair length also counts: short hair needs smaller barrels to avoid awkward bunching.
Heat settings depend on your hair type and damage level. Fine or damaged hair should stay under 280°F to avoid frying your strands.
Thick or coarse hair handles 300°F or up to 400°F safely. Color-treated hair acts like damaged hair, so keep the temperature low.
| Hair Type | Barrel Size | Heat Setting (°F) | Notes |
|---|---|---|---|
| Fine or Thin | ¾ to 1 inch | Under 280 | Lower heat avoids breakage |
| Normal | 1 inch | 280 to 320 | Medium heat works well |
| Thick or Coarse | 1 inch or larger | 300 to 400 | Higher heat needed for lasting curls |
| Damaged or Color-Treated | ¾ to 1 inch | Under 280 | Gentle heat to protect fragile hair |
| Desired Style: Tight Curls | ¾ inch or less | Depends on hair type | Smaller barrel curls tightly |
| Desired Style: Loose Waves | 1 inch or larger | Depends on hair type | Bigger barrels create waves |
Test heat on a small hair section first. Hold the wand wrapped for 10 to 15 seconds max. Hot enough curls set, too hot causes frizz or damage.
With damaged hair, use a heat protectant spray before anything. It shields your hair each time you curl.
Choose a curling wand with adjustable temperature, if possible. That way, you can match its heat to your hair’s needs.
Adjust when your hair changes or after damage. Using the right barrel and heat protects your hair and saves styling time.
Step-by-Step Guide to Curling Hair with a Wand
Holding your hair right helps you use a wand curling iron safely. Time your curls just right for the best results. Then, gently let your hair go without pulling.
Holding the wand downward and wrapping your hair correctly keeps curls tight and prevents burns. Holding each section about 8 to 12 seconds creates lasting curls without damage.
Holding the Wand and Wrapping Hair
Hold the wand so the barrel points downward. This stops heat from running up to your scalp or fingers. Use the opposite hand to the side of your head you’re curling.
Take a small hair section and wrap it around the barrel. Start close to the roots and move toward the ends. Make sure the wrap is smooth without kinks.
Keep the hair taut but not tight. For a looser curl, wrap less tightly or skip the last inch of hair.
Optimal Timing to Hold Each Section
Hold the hair on the wand for 8 to 12 seconds to set the curl well. Holding too short won’t form the wave, and too long risks heat damage.
Thin or fine hair should stay nearer to 8 seconds. Thicker hair can hold closer to 12.
Avoid clamping or pressing your hair against the wand for too long. Let heat shape your hair so curls hold longer.
The hair keeps the new shape even after removing the wand. This helps curls stay defined for hours.
Releasing and Setting the Curls
After the time is up, gently release the curl with the wand still pointing downward. This keeps curls smooth and prevents frizz. Let the curl cool in your hand for a few seconds before dropping it.
Once you release, don’t rush to comb or touch your hair. Cool curls set better and last longer when left alone to cool fully.
- Section your hair into small, even parts for smooth curling.
- Hold your wand downward with your dominant hand.
- Use your free hand to wrap a small hair section around the barrel starting near roots.
- Hold the hair on the barrel for 8 to 12 seconds depending on hair thickness.
- Release the curl slowly with the wand still pointing downward.
- Hold the curl in your hand until it cools completely. Cooling locks in the curl shape well. Then, you can release the curl onto your head.
- Repeat evenly across all sections.
How to Create Different Curl Styles Using a Wand
You can create different curls with a wand curling iron. Change the barrel size to get a new look. How you wrap your hair also makes a difference.
Bigger barrels produce loose waves, while smaller barrels make tight curls. Try varying your wrap method to get beachy waves.
Wrap only parts of your hair, leaving ends out. This creates a soft, natural wave look.
Loose Waves with Large Barrels and Loose Wraps
Use a curling wand with a barrel wider than one inch for loose waves. Wrap bigger sections of hair around the barrel.
But do it loosely and avoid wrapping tightly. Let the curls fall naturally for a relaxed, bouncy look.
A larger barrel smooths out the curl, creating wide, soft waves that flow. Wrap your hair around the barrel vertically to help make those gentle curls. Hold for 8 to 10 seconds, then release carefully.
Tight Curls with Smaller Barrels and Tighter Wraps
For tight curls, pick a smaller barrel, about 0.5 to 0.75 inches wide. Wrap smaller pieces of hair tightly around the barrel for more springy curls. Make sure to wrap each section fully to get that classic ringlet shape.
Hold your hair on the barrel for 6 to 8 seconds. This time helps you avoid heat damage. It also gives you enough curl.
You can tilt your wand vertically to get strong, spiral curls that hold better. Don’t forget to dry your hair well before curling to avoid frizz.
Beachy Waves with Partial Wraps and Leaving Ends Out
For beachy waves, start wrapping hair from the middle. Leave about an inch of ends out of the wrap. This gives a relaxed, easy style.
This creates a laid-back wave with natural movement. Use a 1-inch or larger barrel, which works well for tousled styles.
Wrap your hair a few times around the barrel loosely and keep the wand horizontal. This wrapping way gives you easy waves. They look like you spent a day at the beach.
These waves appear natural and carefree. Let your hair cool down, then finger-comb for a piecey effect.
Always avoid wrapping the ends tightly, especially for beachy waves, to keep them soft and natural.
How to Make Your Curls Last Longer and Stay Healthy
To keep your curls lasting longer, use a lightweight, flexible hold hairspray. Spray it lightly after curling and once more when the curls have cooled. This holds the shape without making your hair stiff or sticky, so curls bounce naturally.
Locking in curls also means knowing when to let them set. Avoid brushing curls right away. Instead, give them about 10 to 15 minutes to cool and set.
This extra time helps your hair hold its curl shape longer. It also stops the curls from falling flat too fast.
Preventing heat damage starts before you curl. Always use a heat protectant spray on damp or dry hair.
This adds a barrier that reduces damage from temperatures between 300°F and 400°F. Choose a wand with adjustable heat settings. Keep it at the lowest necessary heat.
Avoid overusing hot tools. Curl only sections you need, rather than your whole head every day.
Let your hair rest at least 48 hours between curling sessions. This reduces heat damage and keeps your strands healthy.
Refreshing curls over time is simple. Lightly mist curls with water or a mix of water and leave-in conditioner.
Apply a bit of curl cream or styling mousse to revive bounce and reduce frizz. Avoid heavy products that weigh curls down or make hair oily.
Curls start falling flat midday? Gently scrunch them with your fingers. Or use a wide-tooth comb to lift roots.
Use a small amount of dry shampoo at your roots. It adds texture and helps curls last longer.
After curling, sleep on a satin or silk pillowcase to reduce friction and maintain curls. Tie your hair loosely in a “pineapple” style on top. Use a soft scrunchie to keep curls nice overnight.
Common Mistakes and How to Fix Them When Using a Wand
Using a wand curling iron comes with some common mistakes that affect your curls. Curling damp hair can cause uneven results and damage. If you hold the wand too briefly, curls may fall fast.
Using big hair sections also causes messy-looking curls. Use smaller sections and hold the wand longer for better curls.
Heating your hair at the wrong temperature also ruins curls. Too high heat burns hair; too low heat won’t form curls that hold.
You want the iron to stay on each section for five to seven seconds. This time lets the heat set the curl properly without harming your hair.
Here is a list of common mistakes and practical fixes that help you get better curls:
| Mistake | What Happens | How to Fix It |
|---|---|---|
| Curling damp hair | Curls don’t hold; hair feels frizzy or damaged | Always dry hair fully before curling to avoid steam damage |
| Using big sections of hair | Curls look uneven and fall flat quickly | Divide hair into smaller sections for even heat and hold |
| Wrong heat setting | High heat burns; low heat doesn’t set curls | Choose moderate heat; adjust based on hair thickness |
| Holding wand too briefly | Curls don’t form or relax too fast | Keep iron on hair for 5, 7 seconds per section |
| Not using heat protectant | Hair gets dry and damaged faster | Apply heat protectant; it burns off before hair does |
| Not using hold spray on thick hair | Curls drop quickly or fall unevenly | Use stronger hold spray and curl smaller sections for even heat |
Frizzy or damaged curls often result from skipping the heat protectant or curling damp hair. Heat protectants create a shield. The wand burns off this layer first, saving your hair.
Use a spray before styling. Let hair dry completely, then section it in small pieces.
Applying a strong hold spray, especially for thick hair, helps curls last longer. Smaller sections heat evenly, so each curl sets well.
These steps keep curls bouncy and neat instead of frizzy or limp. You’ll see smoother, firmer curls with less damage over time.
Adjusting Curling Techniques for Different Hair Types
Fine or thin hair needs lower heat to avoid damage. Set your wand between 250 °F and 300 °F. Use smaller sections, about half an inch wide, for better curling control.
Keep the wand on each section for 5 to 8 seconds only. Avoid going hotter or leaving heat on longer to protect delicate strands.
Thick or coarse hair can handle more heat. So set the wand from 350 °F to 420 °F. Larger sections, around one inch wide, work better to save time. Hold the wand on the hair for about 10 to 12 seconds.
But watch for any signs of burning or dryness. Using a heat protectant spray is important to prevent damage.
Short hair needs smaller barrel sizes, like ¾ inch or less. It’s easier to curl if you take very thin sections, about a quarter inch wide. Wrap the hair around the wand carefully.
Start near the roots. Don’t wrap too tight to avoid burns. Hold the hair on the wand for 5 to 7 seconds.
Use about 300 °F heat for safety. Lower heat protects your hair.
For naturally wavy hair, adjust your technique to work with your texture. Choose a medium heat setting between 300 °F and 350 °F. Using sections about three-quarters of an inch wide will help define curls without overdoing it. Wrap the hair loosely around the wand.
Hold for 6 to 8 seconds. This helps make waves and cuts frizz.
Too much heat or holding the wand too long damages hair. Fine or short hair needs extra care. Avoid overheating.
Curls last longer when your hair is dry and clean before styling. Fine hair holds curls better when you avoid heavy products. Thick hair benefits from a light mist of hairspray after curling to lock in shape.
Wavy hair looks natural with softer curls. So don’t wrap the hair too tightly around the wand.
Adjust your curling technique based on what your hair needs. Lower heat and smaller sections help fine and short hair. Higher heat and bigger sections work well for thick hair.
Wavy hair looks great with medium heat and a looser wrap. Always watch your hair closely to avoid damage and get the curls you want.
Step-by-Step Action Plan for Using a Wand Curling Iron
Follow these steps in order to curl your hair quickly and safely. Each step guides you to check the results before moving on.
- Before you start: Wash and dry your hair completely. Your hair should feel dry and smooth to touch.
- 5 minutes before curling: Apply heat protectant spray evenly. Your hair will feel slightly coated but not greasy.
- First curl: Set your wand to the right heat for your hair type. Start with medium heat and adjust if curls don’t hold.
- During curling: Wrap 1-inch sections of hair around the wand for 8-10 seconds. Let the curl cool in your hand before releasing it.
- After curling all hair: Gently run your fingers through curls to separate them. Curls should feel soft and bouncy, not stiff.
- 10 minutes after curling: Spray a light hairspray to hold curls longer. Curls should stay intact but still touchable.
- End of the day: Avoid brushing curls harshly. Comb with wide-tooth when removing curls to keep hair healthy.
Frequently Asked Questions
What Is the Difference Between a Curling Wand and a Curling Iron?
A curling wand has no clamp, while a curling iron does. Wands let you wrap hair around the barrel easily.
They don’t have a clamp in the way. This gives you more styling freedom.
Can I Use a Curling Wand on Wet Hair?
You should never use a curling wand on wet hair. Always make sure your hair is completely dry before curling to avoid heat damage.
What Temperature Should I Set My Curling Wand To?
Heat your wand between 400 °F and 420 °F for most hair types. This range helps create long-lasting curls without burning your hair.
How Do I Avoid Burning My Fingers When Using a Curling Wand?
Use a heat-resistant glove while wrapping your hair around the wand. This prevents accidental burns from touching the hot barrel.
Can I Turn a Regular Curling Iron into a Curling Wand?
Yes, by opening the clamp and not using it, your iron works like a wand. This gives clamp-free curls without buying a new tool.
How Do I Cool Curls After Using a Wand?
Let curls cool completely before touching or styling. Cooling sets the curl shape, making it last longer.
Key Points to Remember
Using a wand curling iron gets easier the more you practice. Start with simple curls, then try different sizes or angles. Take your time and enjoy the process for the best results.