How to Use Curling Iron: A Complete Guide for Perfect Curls Every Time
Learning how to use curling iron can change your daily hair routine fast. It means getting perfect curls without stressing your hair or wasting time. The key is picking the right heat and technique for your hair type.
Start by choosing a curling iron with adjustable temperature. Use lower heat for fine hair and higher heat for thick hair to avoid damage. Always apply heat protectant before curling to keep your hair healthy and shiny.
Section your hair into 2- to 3-inch wide pieces for even curls. Hold the curling iron on each hair section for 5 to 10 seconds. Then, gently let go to release the curl.
Avoid keeping it too long to prevent damage. This simple timing helps curls hold longer without overheating your hair.
Key Takeaways
- Set the curling iron to 320°F for fine hair and up to 430°F for thick hair.
- Apply a heat-protective spray rated for your iron’s temperature before curling.
- Divide hair into 2, 3 inch wide sections before curling for better results.
- Hold the curling iron on your hair for 5 to 10 seconds per section.
- Use a curling iron with adjustable temperature between 250°F and 300°F for most hair types.
- Check heat by testing on a paper towel: scorching means the iron is too hot.
How to Use a Curling Iron Step-by-Step

Curling hair starts with small, dry sections close to the roots. Use gentle tension to wrap hair around the barrel and hold it there. You can pick a curling iron with a clamp for better control.
Or try a clamp-free wand to get loose, natural curls. Both tools create different curl styles you can enjoy.
Preparing and Sectioning Your Hair
Start with completely dry hair, as damp strands won’t hold curls well. Brush to remove knots and create smooth sections for even heating.
Divide your hair into top and bottom layers using clips. Smaller sections make your curls look uniform and last longer.
Curling with a Clamp Iron
Hold the curling iron with the clip open near the root of a small hair section. Wrap the hair around the barrel from the base to the tip. Close the clamp on the hair as you wrap it to hold it securely.
- Turn on the curling iron and set it to a suitable temperature.
- Take a 1- to 2-inch section of hair, holding it straight.
- Open the clamp and position the iron near your scalp.
- Wrap the hair around the barrel toward the iron’s clip.
- Close the clamp to hold the hair in place on the barrel.
- Hold for 5 to 10 seconds, feeling heat through the hair.
- Slowly release the clamp and slide the iron out.
Be careful not to clamp the ends up first and wrap upward. This often causes uneven curls or bends. Holding the clamp open while wrapping prevents kinks.
Clamp-Free Curling Wand Technique
Take a small, dry section of hair. Wrap a section of hair around the wand barrel going away from your head.
Hold the hair in place using your fingers while curling. This method helps create smooth, even curls.
Create an ‘S’ shape by wrapping your hair around the wand in different directions. This helps make natural, loose waves instead of tight spirals.
- Set your curling wand at the right temperature.
- Part a 1- to 2-inch dry hair section.
- Starting at the root, wrap the hair around the wand barrel.
- Hold hair firmly on the barrel with your fingers.
- Keep it wrapped for 5 to 10 seconds to let the curl form.
- Release the hair by sliding it off gently from the wand.
- Pin curls to your head if you want longer lasting waves.
This technique gives softer curls but takes more care to hold hair in place. It works well if you want beachy waves or volume without defined ringlets.
Choosing the Right Barrel Size and Temperature
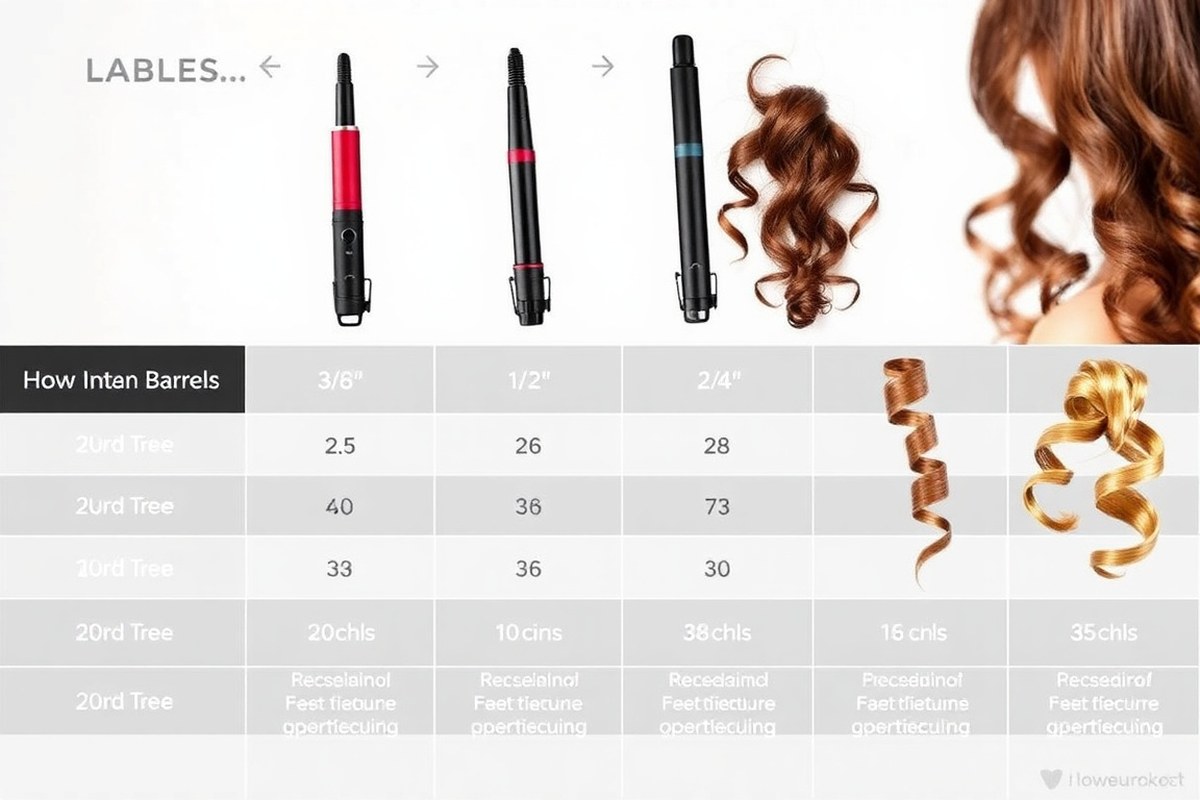
Choose your curling iron barrel size based on how tight or loose you want your curls. Pick the temperature based on your hair thickness and type to avoid damage. Testing your iron’s heat before styling helps find the safest, most effective setting.
Barrel Sizes and Curl Types
Smaller barrels, about ¾ inch or less, create tight, defined curls. Larger barrels around 1 inch or bigger give you loose waves or big beachy curls. For long hair, use a barrel size of 1½ to 2 inches.
This size makes soft waves without too much curl. It works well to create natural-looking waves.
Different curls need different barrel sizes:
| Barrel Size | Hair Length | Resulting Curl Type |
|---|---|---|
| ¾ inch or smaller | Any length | Tight, formal curls or spirals |
| 1 inch | Short to medium | Classic curls, natural waves |
| 1½ to 2 inches | Long | Loose waves, beachy style |
Wrapping all your hair tightly around the barrel gives old-school glamour curls. Wrapping hair loosely or skipping a full wrap creates natural waves.
Temperature Ranges by Hair Type
Fine or damaged hair needs lower heat closer to 320°F. Thicker, coarse hair copes better with higher heat near 430°F for effective curling. Medium hair types fall between these temperatures. Match the temperature range to your hair type like this:
| Hair Type | Recommended Temperature |
|---|---|
| Fine or damaged | 320°F, 350°F |
| Medium | 350°F, 390°F |
| Thick or coarse | 390°F, 430°F |
Heating your hair too much can cause damage and fried ends. Always start at the lowest temperature and work up if needed.
Testing and Adjusting Your Curling Iron Heat
Start curling a small section of hair with the lowest heat setting. Hold the iron on the hair for 7 to 12 seconds before releasing the curl.
Try increasing heat in 10-degree increments. This helps if curls fall flat or won’t hold.
Look for smoke, a burning smell, or dryness. These show heat may be too high.
Avoid damage by lowering the temperature. Adjust down immediately if your hair feels crispy or looks damaged.
Begin with the lowest heat setting and test on a small hair strand. This prevents damage and finds your ideal temperature.
Preparing Hair to Protect from Heat Damage
Always curl hair when it is completely dry to avoid damage. Use heat protectant products to create a shield between your hair and the curling iron. Proper washing, drying, and protecting help keep your curls healthy and shiny.
Washing and Conditioning Best Practices
Washing hair two to three times a week prevents buildup but avoids drying out your strands. Use moisturizing shampoos and conditioners to keep hair hydrated and smooth. Skip heavy conditioners close to the roots to avoid weighing your hair down before styling.
Clean hair holds curls better, but too much washing can strip natural oils. Your hair gets oily fast.
Use gentle dry shampoos on non-wash days. These balance cleanliness without needing daily shampoos, which can dry and damage hair over time.
Selecting and Applying Heat Protectants
Pick heat protectants based on your curling iron’s temperature setting. Products that protect up to 300°F work well for lower heats. Higher temperatures need stronger formulas.
Apply a cream before drying your hair. Use a spray once dry. This gives full protection.
Spray heat protector evenly on hair in small sections. Cover every strand well. Spread it around 2 to 3 inches wide.
This keeps the curling iron from burning or drying hair out. Heat protectants also add shine and lock in moisture.
- Use a leave-in cream before blow-drying
- Apply a heat protection spray after hair is dry
- Choose products rated for your iron’s heat level
- Don’t forget the ends of your hair
- Avoid heavy oils that can weigh curls down
Start with a low heat setting to see how hair reacts. Raise heat if needed.
This test helps avoid damage. Heat protectants create a barrier that helps curls last and hair stay healthy.
Drying Techniques Before Curling
Make sure hair is 100% dry before you start curling to avoid sizzling and damage. Blow-dry your hair using a brush to smooth out knots and help curls last longer. Leaving any dampness in your hair leads to breakage and poor curl shape.
When short on time, wrap dry towels or microfiber towels around hair. These remove extra water fast. Let hair air dry fully if you prefer.
But don’t use curling irons on damp strands. Dry hair curls better and looks shinier after styling.
Sectioning Hair and Curling Techniques for Best Results
Sectioning your hair properly makes curling easier and results more consistent. Use clips to divide hair into manageable layers.
For thick hair, create two to three layers stacked horizontally. Fine hair needs fewer layers because it curls faster.
Take 1-inch sections for thick hair, which lets heat distribute evenly. For thinner hair, sections can be a bit wider but not more than 1.5 inches. Smaller sections mean tighter, longer-lasting curls, while bigger ones create loose waves.
Angle the curling iron perpendicular to your hair for natural-looking curls. For waves, hold the iron vertically when curling each section. Wrap one section under the barrel.
Wrap the next section over it. This switch makes curls blend naturally and bounce more.
- Clip hair into two or three horizontal layers, starting from the bottom.
- Work with one layer at a time, unclipping just one section.
- Take 1-inch wide sections for thick hair, or slightly bigger for thin hair.
- Open the curling iron clamp and place it near the roots of a section.
- Wrap the section around the iron, alternating under and over the barrel for varied curl directions.
- Hold the iron perpendicular to the hair, or vertically for a wavy look.
- Hold for 8 to 10 seconds, then release and clip the curl to cool.
- Repeat for the rest of your hair, working layer by layer from bottom to top.
Clipping curls after curling helps them set and last longer. For short hair under shoulder length, use a ¾-inch or 1-inch iron for easier handling. Thick, coarse hair may need slightly longer holds or higher heat to form curls well.
How Long to Hold the Curling Iron on Hair
Hold your hair on the curling iron for five to seven seconds. This lets the heat set the curl without causing damage. Avoid exceeding 15 seconds, or your hair could get burned and dry.
Thicker hair usually needs about seven seconds to curl well. This is because it takes longer to heat fully.
Fine or thin hair curls faster, so stay closer to five seconds. Always use the lowest effective temperature to reduce heat harm.
Holding the iron too short, like under five seconds, leaves curls loose and less lasting. Holding it too long leads to brittle, frizzy hair with split ends.
Your hair needs less time if it feels too hot or shiny. Reduce the curling time next round.
Do not keep the curling iron on one spot for more than 10 seconds. This helps stop damage.
For short hair, hold curls toward five seconds since there’s less hair to warm up. Long hair might need a bit more time near seven seconds, especially on thick ends. Work in small sections to heat evenly and get consistent curls.
Spray a light heat protectant when your hair won’t hold curls. This can help curls last longer.
After curling, finish with styling spray to lock the shape. These small steps help curls last longer without adding time on the iron.
Post-Curl Styling and Maintenance for Long-Lasting Curls
Fresh curls need time to cool before you style them. Hold each curl gently in your palm for about 10 to 15 seconds. Doing this helps the curl set and last longer throughout the day or night.
Pinning curls up right after curling keeps their shape better. Use hair clips to loosely pin each curl on your scalp after cooling it. Leave them pinned for at least 15 minutes or until your hair cools completely.
To keep curls soft and bouncy, use a light styling product. A flexible hairspray works well for holding curls without making them stiff or crunchy. You can also apply a small amount of curl-improving mousse before curling for extra hold.
- Allow curls to cool in your hand for 10-15 seconds
- Pin curls against the scalp for at least 15 minutes
- Apply flexible hairspray to maintain shape without stiffness
- Use curl mousse before curling for added hold and bounce
- Avoid brushing curls; instead, separate gently with fingers
- Refresh curls next day with light mist of water or curl spray
- Re-curl only small sections to avoid heat damage on day two
On the day after curling, avoid redoing your whole head. Spray curls lightly with water or curl refresher to revive the shape. Then gently scrunch or finger-comb parts that look flat or frizzy.
If you need to touch up curls, only curl small sections. Focus on areas that lost bounce after sleeping or humidity. Using heat on your entire head again can cause dryness and damage.
Using these steps takes around 20 to 30 extra minutes after curling. This small effort helps curls last from morning until night without falling flat. Good curls look shiny, bouncy, and soft, never stiff or crunchy.
Adjusting Techniques for Different Hair Types and Lengths
Short hair curls best when you use smaller sections, around half an inch wide. Hold the curling iron about halfway down from your ear length, not at the roots. Fine hair needs less heat, so keep your iron below 300°F to avoid damage.
For thicker, coarser hair, raise the temperature to between 350°F and 400°F. These hair types take longer. Hold the iron on each hair section for 8 to 10 seconds. Avoid holding it for just 5 to 7 seconds.
This helps create better curls without damage. Using heat protectant spray helps prevent dryness, especially for color-treated hair.
Avoid curling if your hair is very damaged or brittle since heat can worsen breakage. Alternative methods like heatless braids or rollers can give waves without harm. For hair prone to breakage, try setting curls overnight with foam rollers instead of hot tools.
Common Curling Iron Mistakes and How to Fix Them
Flat curls that fall out fast usually come from curling unprepared hair. Hair needs to be clean, dry, and prepped with a heat protectant. Damp or dirty hair won’t hold curls, no matter how good your curling iron is.
Crimps and kinks happen when you pull the curling iron fast. Yanking your hair can cause these issues too. Take your time to avoid pulling hair.
Instead of pulling, try gently unwinding the iron to keep the curl smooth. Also, clamp curls can create harsh dents. So use the clamp carefully or curl without it for softer waves.
Scorched or damaged hair means the heat was too high. It also happens when heat stays too long on hair. Lower the temperature and curl faster to protect strands.
Lower your curling iron temperature to 300-350°F for medium to fine hair. Hold each section for about 8-10 seconds at most.
- Work on small, neat 2-inch strands for better curl control.
- Alternate curling directions between clockwise and counterclockwise.
- Don’t rush; hold the iron steady without yanking or pulling.
- Use a heat protectant spray before styling every time.
- Let curls cool on your hand or pin them briefly to set.
- Avoid curling dirty or damp hair to keep curls bouncy.
- Choose a barrel size fitting your hair length and style goals.
When curls fall out quickly, check your hair prep first. Use clean, dry hair and heat protectant spray every time. Small, even sections also help curls last longer and look more polished.
Always cool your curls before touching to avoid flattening them right away.
Step-by-Step Action Plan
Follow these steps to get started with your curling iron safely and well. Stick to the order to avoid damage and get lasting curls.
- Before you start: Wash and dry your hair completely. Check that hair feels smooth and healthy to touch.
- Right before curling: Spray a heat protectant all over your hair. You should notice a light, even mist on strands.
- First curls: Section your hair into small parts. Curl about 1-inch sections for best hold and shape.
- During curling: Hold the curling iron on each section 8, 12 seconds. Hair should feel warm but not hot or burning.
- After curling: Let your curls cool without touching for 5 minutes. This sets the shape and helps curls last longer.
- Styling: Gently run fingers through curls or use a wide-tooth comb. Avoid brushing, which breaks curls into frizz.
- Daily care: Sleep on a silk or satin pillowcase. You’ll keep curls from flattening and reduce frizz overnight.
Frequently Asked Questions
How Do I Choose the Right Curling Iron Barrel for My Hair Length?
For short hair, pick a ¾-inch or 1-inch barrel. Longer hair works well with barrels from 1 to 2 inches for looser curls. The larger the barrel, the bigger and less tight the curls will be.
Can I Use a Curling Iron on Wet or Damp Hair?
Avoid curling wet hair because the heat can cause damage. Hair should be completely dry to prevent breakage and get smooth, lasting curls. Dry hair curls better and keeps your strands healthy.
What Temperature Setting Should I Use on a Curling Iron for Fine Hair?
Set the curling iron to about 320 degrees Fahrenheit for fine hair. This lower heat protects delicate strands from damage. Using heat protection spray helps even more.
How Can I Make My Curls Last All Day?
Spray a flexible hold hairspray after curling to keep curls bouncy without stiffness. Let your curls cool completely before styling. This helps curls set and last longer.
What’s the Best Way to Clean My Curling Iron?
Wait until it cools completely before cleaning. Use a damp cloth with mild soap to wipe the barrel carefully. Avoid harsh chemicals that can damage the barrel’s coating.
Can I Use a Curling Iron on Color-Treated Hair?
Yes, but use a lower heat setting to avoid fading color. Always apply heat protectant spray. Treat your hair extra gently to keep it healthy and vibrant.
Final Thoughts
Using a curling iron well is about care and timing more than speed. Focus on protecting your hair and setting curls right. Try this plan with your curling iron and see the difference tomorrow.