How to Dye Hair at Home: 8 Essential Steps for Perfect Color
Learning how to dye hair at home can save time and money. Use a clear step-by-step method to avoid common mistakes easily.
Start by washing your hair at least 24 hours before you dye it. This helps the color stick better.
Choose your hair dye type and shade wisely for the best result. Always do a patch test 48 hours before to check for any skin reactions. Set aside one to one and a half hours for dye day.
This prevents rushing the process. You’ll have enough time to do it right.
Follow the dye instructions exactly and leave it on for the full recommended time. After rinsing, avoid washing your hair for two days to let the color settle. Pin your hair up with a shower cap on during this wait period.
Key Takeaways
- Wash your hair twice 24-48 hours before dyeing to remove dirt and oils.
- Do a patch test on your forearm or neck 48 hours before coloring.
- Pin hair up with a shower cap after applying dye for better absorption.
- Keep dye on your hair for the full time suggested in the instructions.
- Don’t wash your hair for at least two days after dyeing to keep color.
- Leave stubborn grey coverage dye in for 10 extra minutes if needed.
1. Step-By-Step Guide to Dye Your Hair at Home
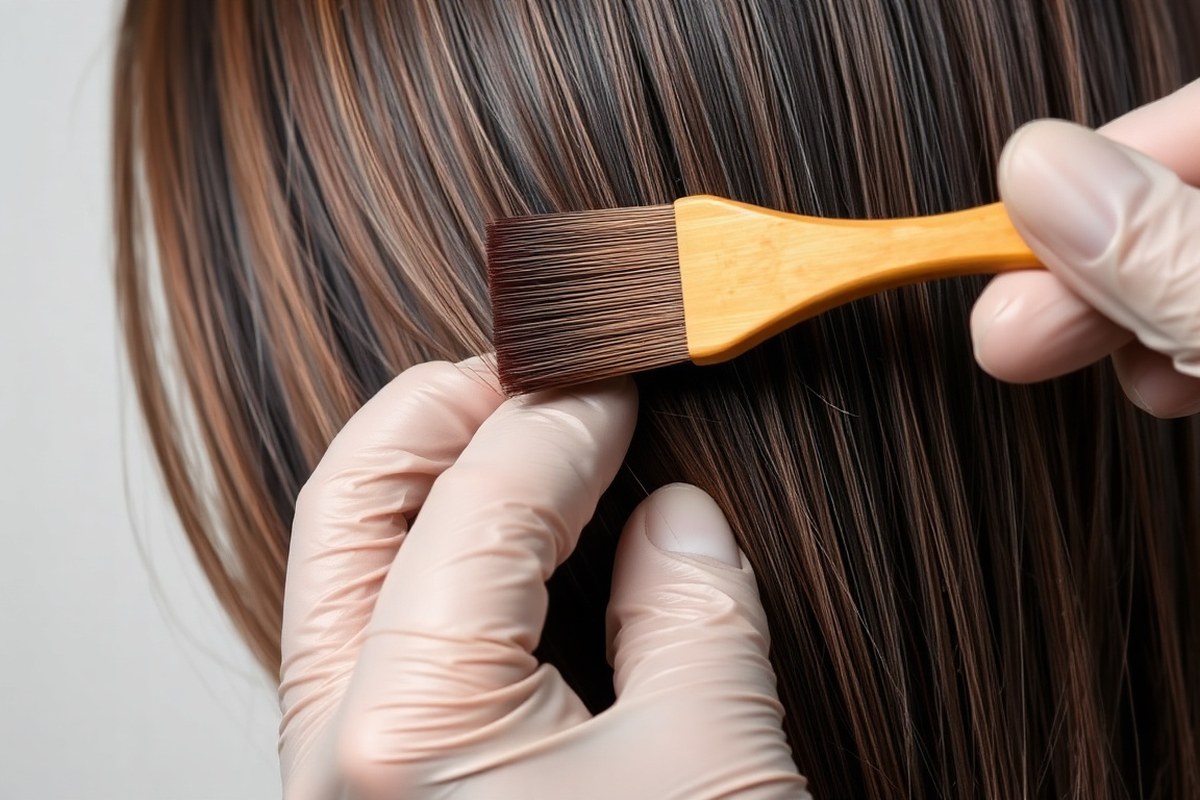
Getting your hair dyed at home can look great if you follow the right steps. Taking your time and applying dye carefully helps you avoid uneven color or damage. You will need a tint brush, gloves, an old towel, and a wide-toothed comb.
Start by splitting your hair into four sections. Make two parts near your temples. Then part two sections at the back of your head.
Use clips or hair ties to keep these sections separate. This lets you apply color evenly and reach your roots easily.
- Mix the dye according to the box instructions. Use the tint brush to blend the color and developer thoroughly, ensuring even results.
- Apply dye to your roots first. Roots are less porous and need more processing time. Start at your front hairline and work toward the back in each section.
- Work the dye from roots to tips.Use a brush on each section first. Then comb hair with a wide-toothed comb. This helps spread the dye evenly down the hair.
- Cover all sections completely.Look for any spots you missed with dye. Pay close attention around your ears and neck. These spots are harder to see.
- Let the color sit for the recommended time. This usually ranges from 30 to 45 minutes. Follow package instructions carefully to avoid over-processing.
- Rinse your hair in lukewarm water until it runs clear. Avoid shampooing right away to help the color set. Use the conditioner included in the kit.
- Dry and style as usual. Avoid heat styling right after dyeing if you can. Let your hair rest to reduce damage.
The whole dye process usually takes 45 to 60 minutes. It depends on how long your hair is. Your dye’s instructions can also change timing.
Applying color to your roots first matters because fresh hair growth absorbs dye slower. Leaving dye on your roots longer helps match them with other hair.
It creates a more even color look. Check dye instructions to avoid damage.
Semi-permanent dyes are easier to fix if you’re new to this. Rubbing coconut oil on your forehead and neck forms a barrier. This helps keep dye from staining your skin.
Apply before starting the dyeing process. Don’t rush, and double-check every step to get the color you want without surprises.
2. Types of Hair Dye and When to Use Each
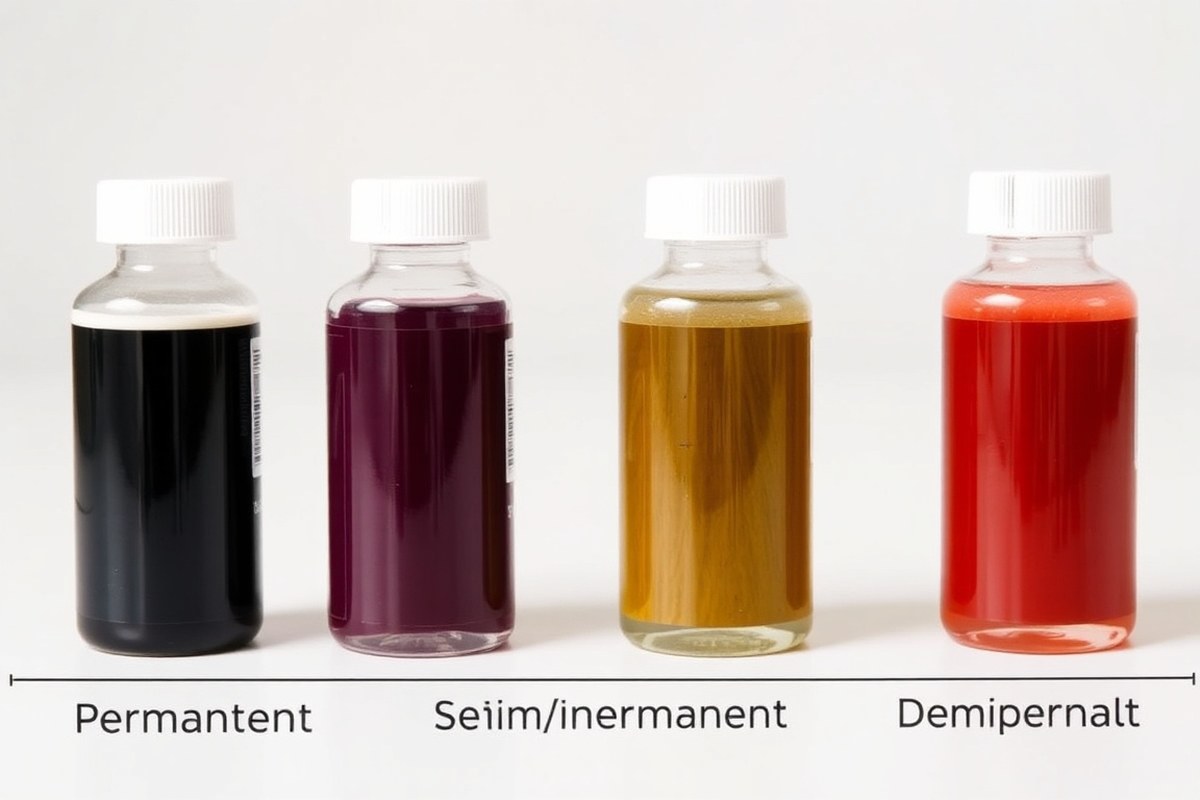
Hair dye comes in three main types: permanent, demi-permanent, and semi-permanent. Each type changes hair color differently and suits different goals and hair types. Choosing the right type depends on how long you want the color.
It also depends on how much change you want in your hair. Think about both before picking a dye.
Semi-permanent dye coats the outer layer of your hair. It lasts for about 4 to 6 weeks and fades gradually with washing.
This dye is good if you want to try a new shade without a big commitment. It doesn’t require mixing with a developer and is gentler on hair.
Demi-permanent color lasts longer than semi-permanent, usually 24 to 28 washes. It penetrates the hair cuticle but doesn’t strip your natural pigment fully.
This dye works well if you want to enrich your natural color or cover slight grays. It’s less damaging than permanent dye and fades smoothly over time.
Permanent dye changes hair color by opening the hair cuticle and changing the natural pigment inside. It lasts until your hair grows out or is cut.
Permanent dye works best for full coverage, **dramatic color changes**, or gray coverage. This type often needs a developer and may require more care to maintain.
| Type | Lasts | Effect | Best For | Hair Damage |
|---|---|---|---|---|
| Semi-permanent | 4-6 weeks | Coats the hair surface | Trying new colors, fun shades | Low damage |
| Demi-permanent | 24-28 washes | Penetrates cuticle, no bleach | Improving natural shade, slight gray coverage | Moderate damage |
| Permanent | Until hair grows out | Changes hair pigment fully | Full coverage, gray coverage, major color change | Higher damage |
You might want semi-permanent color to test a bold look or add a fun tint. It’s quick and less risky. So try it if you have fine or fragile hair.
Demi-permanent dye works well for coarse or curly hair types. It can help avoid the ashiness that permanent dyes sometimes cause. This helps keep the color looking natural.
Choose permanent dye when you need to cover grays fully or want a longer-lasting result. Pick a shade a little darker than your desired color. Permanent dyes can lift or deepen your natural hair tone.
Choosing darker helps get closer to your goal. Use permanent hair dye every 4 to 6 weeks to keep color fresh.
Take breaks to avoid overprocessing your hair. This helps protect your hair’s health.
Always test your chosen dye on a small patch of skin. Do this at least 48 hours before applying dye to your hair. Testing helps prevent allergic reactions.
3. Choosing the Right Shade for Your Skin Tone and Hair
Pick a shade that suits your skin tone and natural hair. Cool skin tones match cool shades; warm tones look great with warm shades. Keep color changes small, usually two shades darker or half a shade lighter.
Identifying Your Skin Undertone
Look at the veins on your wrist in natural light. They look blue or purple, so you probably have a cool undertone. Greenish veins usually mean a warm skin tone.
Another way is to think about how your skin reacts to sun. Cool tones tend to burn before tanning, while warm tones tan easily. Your natural skin colour might also hint if you suit golden or ashy hair shades.
Matching Hair Colors to Undertones
People with cool undertones can pick shades like ashy blondes, icy platinum or burgundy. These colors bring out a natural brightness and prevent a washed-out look. For warm undertones, golden brown, copper or strawberry blonde add warmth and glow.
Your hair is curly or frizzy, so try warm tones lighter than natural. Your hair is straight and fine, so cooler tones darker than base suit best. This balance helps the color blend well and look natural.
Tips for Trying Bold or Non-Natural Shades
You can go for bold colors at home. But start by improving your natural tone first.
Going darker or tweaking your base shade slightly is easier. Lightening hair more than two shades or bright vivid colors may need a pro’s help.
Pick section-friendly application when using bold colors to avoid uneven patches. Protect your skin with petroleum jelly around your hairline to stop stains. Remember to keep hair loose while the color develops for better coverage.
4. Preparing Your Hair Properly Before Dyeing
Clean your hair one to two days before applying dye. Shampoo twice to remove oils, dirt, and leftover styling products. Let your hair rest before dyeing so natural oils protect your scalp.
Natural oils also help the color stick better and prevent irritation. Don’t use hairspray, mousse, or any styling products before dyeing. These can block the dye from fully penetrating your hair strands, leading to uneven color.
- Wash hair twice with shampoo 24-48 hours before dyeing
- Skip washing hair for 1-2 days before dyeing to keep natural oils
- Do not use styling products like hairspray or mousse before dyeing
- Detangle hair gently with a wide-tooth comb before dyeing
- Use a moisturizing shampoo during the last wash to keep hair soft
- Blow-dry and style hair as usual before applying dye
Detangling your hair helps the dye apply evenly. Use a wide-tooth comb to avoid breakage. Moisturized, tangle-free hair lets the dye spread smoothly from roots to ends.
Good prep leads to longer-lasting color and vibrant results. Waiting 24 to 48 hours after washing ensures your scalp is healthy and protected. Skipping these steps might cause uneven color and itchy scalp problems.
5. How to Do Strand and Patch Tests Safely
Doing a patch test and strand test helps you avoid allergic reactions. Do this at least 48 hours before dyeing. You also get an idea of how the color will look.
The patch test checks for redness or irritation on your skin. The strand test shows how the dye affects your current hair color and texture.
Performing a Patch Test on Skin
Choose a small skin area near your ear or inner elbow to test for allergies. Follow the hair dye box instructions exactly for mixing the dye properly. Applying the dye mixture here mimics what happens on your scalp without full exposure.
- Clean a small patch of skin with mild soap and water and dry it well.
- Mix a small amount of hair dye and developer, following the box directions.
- Apply a drop or small amount of the mixture on the chosen skin area.
- Leave the spot uncovered and do not wash it off immediately.
- Wait 48 hours without rinsing or disturbing the test patch.
Watch the test spot closely for redness, itching, or swelling during 48 hours.
Testing Hair Strand Color Impact
Select a few tip ends of strands that are hidden or less visible for testing color. Mix the dye as instructed to replicate the real dyeing process. This test shows the real color outcome and how your hair reacts to the formula.
- Choose a section of hair about 1 inch wide at the ends, avoiding tangles or knots.
- Mix the hair dye and developer according to the instructions on the box.
- Apply dye evenly to the selected strand section using an applicator brush or fingers.
- Set a timer for the processing time on the dye box. This is usually 25 to 45 minutes. Watch the time closely to get the best result.
- Rinse the strand after the time ends, using lukewarm water and no shampoo.
- Dry the strand and examine the final color and hair condition.
A strand test helps prevent surprises with uneven color or texture changes.
Interpreting Test Results and Next Steps
Do not use the dye if your patch test causes redness, itching, or swelling. This means you may have an allergic reaction requiring a different product or a professional consult. Clear skin after 48 hours means you can safely proceed with the hair dye.
The strand test should show an even color and smooth texture. Patchy color or damaged strands mean you should change the timing.
Try a different shade or product if problems continue. Keep taking notes on your results for better dyeing next time.
6. Preventing and Fixing Common Hair Dye Mistakes
Uneven color or patchiness often happens when dye is applied unevenly or missed spots. Mix a small amount of dye. Apply it only to light, patchy areas.
Keep checking every 5 to 10 minutes, rinse when the color matches your hair. Don’t overdo a second application, or hair can dry out and look blotchy.
Brassiness shows up as unwanted orange or yellow tones, especially on bleached or lightened hair. Use a purple or blue shampoo to tone down brassiness at home. Wash with this shampoo two to three times weekly.
Leave it on for 2 to 3 minutes. Avoid daily use because it can dry out your hair and make it feel brittle.
Rub oil-based makeup remover, coconut oil, or petroleum jelly on stains right away. Use a cotton ball or cloth to gently wipe away the stain. Avoid harsh scrubbing, which can irritate skin.
Make a paste of baking soda and water for tough stains. Test it on a small patch first.
Many forget they need more than one dye box for thick or long hair. Running out mid-application can cause uneven color tones.
Buy two boxes if hair is past shoulder length. This is key for tricky shades.
Apply dye on dry hair for even coverage. Damp hair can dilute the color and cause patchiness. Section your hair into four or more parts before dyeing to cover all areas thoroughly.
Use a dye brush to spread the product evenly. Focus on roots and ends that fade fast.
Leaving dye on longer than 30 to 45 minutes may seem to deepen color. But this can backfire, causing overly dark or damaged hair.
Stick to the timing on the package. Rinsing too soon, under 20 minutes, can cause fading and uneven shades.
7. Maintaining and Caring for Color-Treated Hair
Keeping your dyed hair vibrant longer takes smart care. Use proper washing routines, the right products, and sun protection. This helps your color stay rich and your hair healthy.
Washing and Conditioning Tips
Skip washing your hair daily to protect the color. Water fades dye quickly, so use dry shampoo on non-wash days to freshen roots.
Always rinse hair with cool or lukewarm water. Hot water strips oils and causes more fading. After washing, apply a conditioner made for color-treated hair.
- Wash hair 2 to 3 times a week maximum
- Use sulfate-free shampoos designed for dyed hair
- Apply conditioner only on mid-shaft and ends
- Avoid scrubbing scalp harshly during shampooing
- Rinse hair with cool water to seal the cuticle
- Pat hair dry lightly with a towel instead of rubbing
- Use a deep conditioning mask once a week
These steps lock color in and keep hair soft. Dry hair dulls color, so moisturizing is key.
Protecting Color from Environmental Damage
Sun exposure and chlorine bleach color and dry hair. Cover hair with a hat before heading outdoors or swimming. UV filters in hair sprays also help shield color.
Indoor heat tools like flat irons can weaken dyed hair. Use heat protectants every time you style. Reapply if you use tools for over 10 minutes.
Applying coconut oil or a deep conditioning mask on mid-lengths and ends nourishes hair. This helps protect color fade in lighter or bleached areas.
When and How to Retouch Roots Safely
Touch up roots every 6 to 8 weeks for full color refresh. This timing keeps your hair healthy and prevents color buildup. Avoid dyeing too often, it can cause dryness and breakage.
Apply dye first at the roots, then work down if your whole head needs coloring. For gray coverage on coarse hair, start with the grays and leave dye longer there.
Treat mid-lengths and ends with conditioner or oil to protect previous dye. Always do a patch test before retouching to avoid reactions, especially with repeated use.
8. When to Consult a Professional Hair Colorist
Drastic color changes usually need a professional’s hand. For example, going from dark brown to platinum blonde can require several steps. A colorist knows how to protect your hair.
They get the right tone. They avoid brassiness and damage.
Heavy damage is another sign to see a professional. Your hair feels dry, brittle, or breaks easily.
Dyeing at home can make it worse. Professionals use treatments and gentler techniques that protect fragile hair.
Covering gray hair often demands more skill than simple home dyes offer. A colorist can pick the right type of dye and apply it carefully for even coverage. Semi-permanent dyes might work for small patches, but full gray coverage is tricky.
Professionals can fix bad dye jobs. Your color is too dark, uneven, or patchy.
A stylist can fix it with color correction. They use special products and tools to adjust or remove unwanted tones safely.
DIY dyeing risks include allergic reactions, uneven color, or scalp burns. Mixing the wrong amounts or leaving dye on too long causes damage, dryness, and hair breakage. Experts know how long to leave dye on.
It’s usually about 30 to 45 minutes. This protects your hair and scalp.
Costs vary. A professional dye job can cost $50 to $150 or more. Prices depend on location.
Hair length affects the cost too. This is more than home kits but often means less damage and a better look. Sessions can last 1 to 3 hours when multiple steps are involved.
Talk to a stylist if your hair dye feels risky. Also, speak up if your hair is in poor shape.
Booking a consultation before a big change can save time and hair damage. They’ll also advise how to maintain your color afterward.
Never leave home dye on longer than the package states. It can ruin your hair and scalp health.
Step-by-Step Action Plan for Dyeing Your Hair at Home
Follow these simple steps to dye your hair safely and get the color you want. Check each step to know you’re on track.
- Before you start: Do a patch test with your chosen dye 48 hours before dyeing. No itching or redness means you’re good to go.
- The day before: Wash your hair but skip conditioner. Slightly dirty hair holds color better than freshly washed.
- Right before application: Put on old clothes and gloves. Apply petroleum jelly around your hairline to stop stains.
- During application: Section your hair and apply dye evenly from roots to ends. Follow the time on the box to avoid over-processing.
- After dyeing: Rinse with cool water until water runs clear. Use a color-safe shampoo to lock in the dye.
- Day after: Avoid washing your hair again to let the color settle. Use a deep conditioner to keep hair soft and shiny.
- After 1 week: Use sulfate-free shampoo and avoid heat styling too often. This helps maintain your new color longer.
- After 4 weeks: Check your roots and touch up if needed. Protect your hair from sun and chlorine to prevent fading.
Frequently Asked Questions
How Long Should You Wait Between Hair Dye Sessions?
You should wait about 4 to 6 weeks between dye sessions. This helps your hair recover and keeps color looking fresh.
Can You Dye Your Hair If It’s Oily or Dirty?
You can dye slightly dirty hair but not too oily or greasy. Washing your hair 24 hours before helps dye stick without damaging strands.
Should You Dye Your Hair When It’s Wet or Dry?
Always dye your hair when it’s dry for the best color results. Wet hair dilutes the dye and affects how well it absorbs.
Why Is Applying Dye to Roots First Important?
Roots are less porous and need more processing time. Applying dye there first ensures even color between roots and ends.
Can You Use Semi-Permanent Dye over Permanent Dye?
Yes, semi-permanent color can go over permanent to adjust tone or add shine. It won’t lighten hair but freshens up color easily.
How Do You Avoid Patchy Color When Dyeing at Home?
Make sure your hair is detangled before applying dye evenly. Saturate strands fully, leave your hair down to avoid uneven color spots.
Key Points to Remember
Dyeing your hair at home works best when you follow each step with care. Getting the right tools and preparation makes a big difference. Start by doing that patch test today to keep your scalp safe.