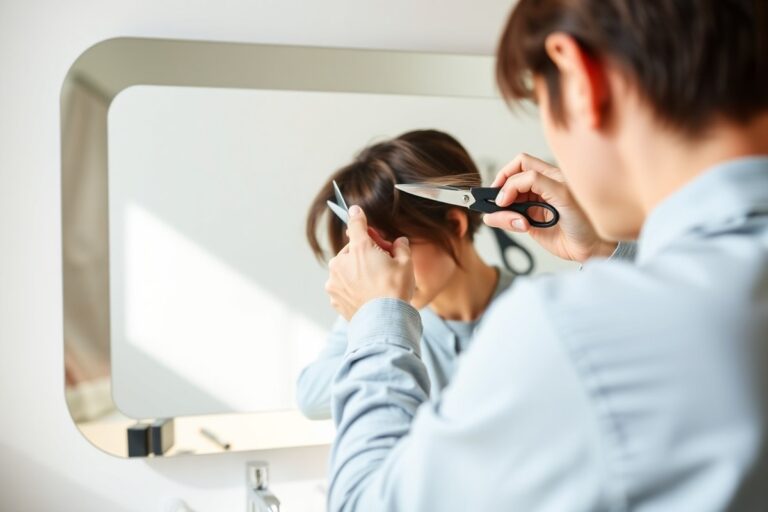
How to Cut Hair at Home with Confidence: 9 Essential Steps for Perfect DIY Trims
Learning how to cut hair at home can save you time and money. The key is to have the right tools and a clear plan before you start. Working slowly and cutting small amounts reduces mistakes and keeps your hair healthy.
Begin by gathering sharp scissors, a comb, and clips to section your hair. Make sure your hair is clean and tangle-free for a smoother cut. Pay attention to even sections to get a balanced trim that looks professional.
Check your work regularly using mirrors, especially when trimming the back. Cutting little by little lets you adjust as you go and prevents over-cutting. Taking your time is the trick to a haircut you’ll feel confident about.
Key Takeaways
- Use clean, sharp scissors designed specifically for hair cutting.
- Wash and detangle hair before cutting for a more precise trim.
- Divide hair into 4, 6 sections and secure them with clips.
- Cut very small amounts, about ¼ inch, to avoid mistakes.
- Trim in dry hair to see natural fall or wet hair for sharp lines.
- Use two mirrors to check the back and maintain even length.
1. What You Need to Cut Hair at Home Safely and Effectively
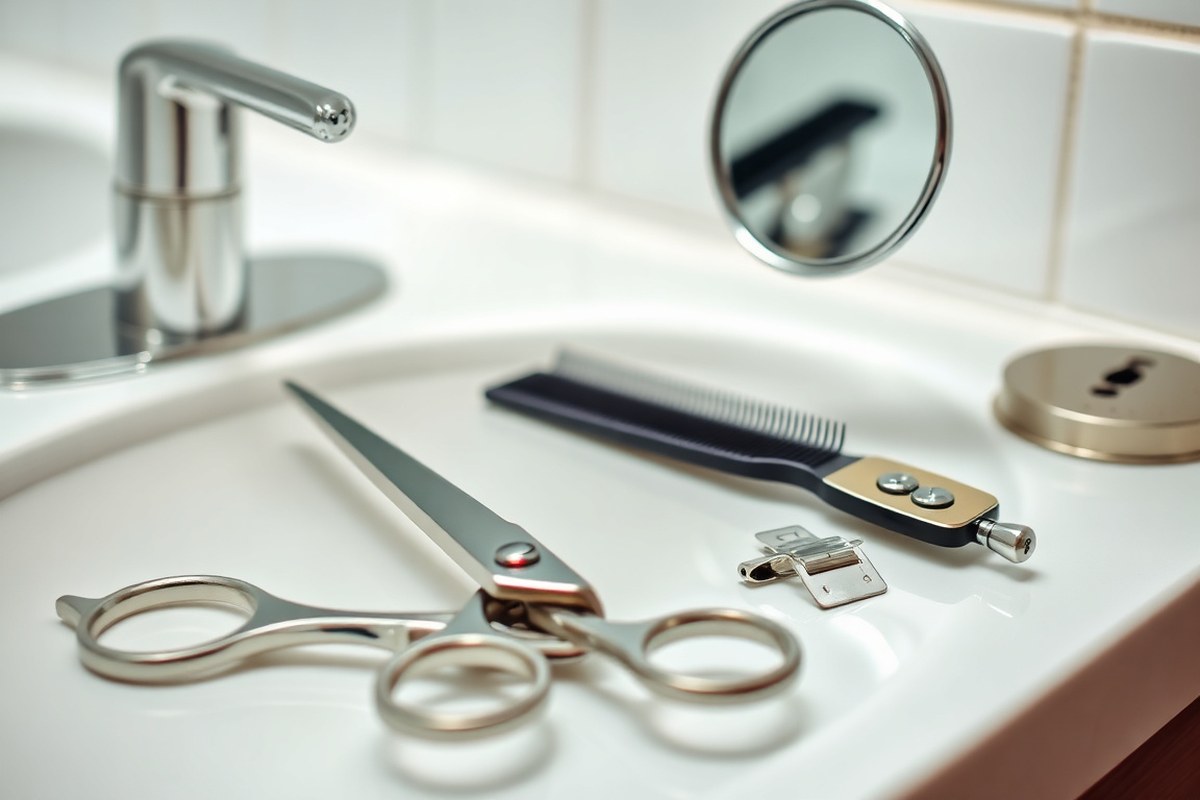
To cut your hair at home safely and effectively, gather the right tools first. Hair shears designed for cutting hair give a cleaner cut than regular scissors.
You’ll need a fine-tooth comb and hair clips to hold sections. Good lighting is also important to see your hair clearly.
Preparing your hair helps achieve a neat result. Detangle your hair fully using a comb. Decide if you want to cut it dry or slightly damp.
Dry cuts show exactly how the hair will lay. Damp hair is easier to handle for straight cuts.
- Hair shears (costs range from $10 to $30 for good quality) for sharp, precise cutting
- Fine-tooth comb to smooth and section hair evenly
- Multiple hair clips or small clamps to keep hair sections separate
- Two mirrors or a second mirror or phone camera to check angles, especially the back
- Bright, natural light or a daylight lamp to avoid shadows
- A clean, flat surface or countertop to place tools within easy reach
- A towel or cape to catch cut hair for easier cleanup
Setup matters a lot. Position yourself facing a window or use a daylight bulb nearby.
Stand or sit in front of a clean mirror. Use a secondary mirror or your phone camera behind you to check the back and sides.
Keep your hair well sectioned using clips to manage small portions. Trimming thick or long hair in smaller, controlled sections helps avoid uneven cuts. Check your work after each snip and compare both sides often to keep them balanced.
2. Wet or Dry Hair: Choosing the Best Cutting Method for Your Hair Type
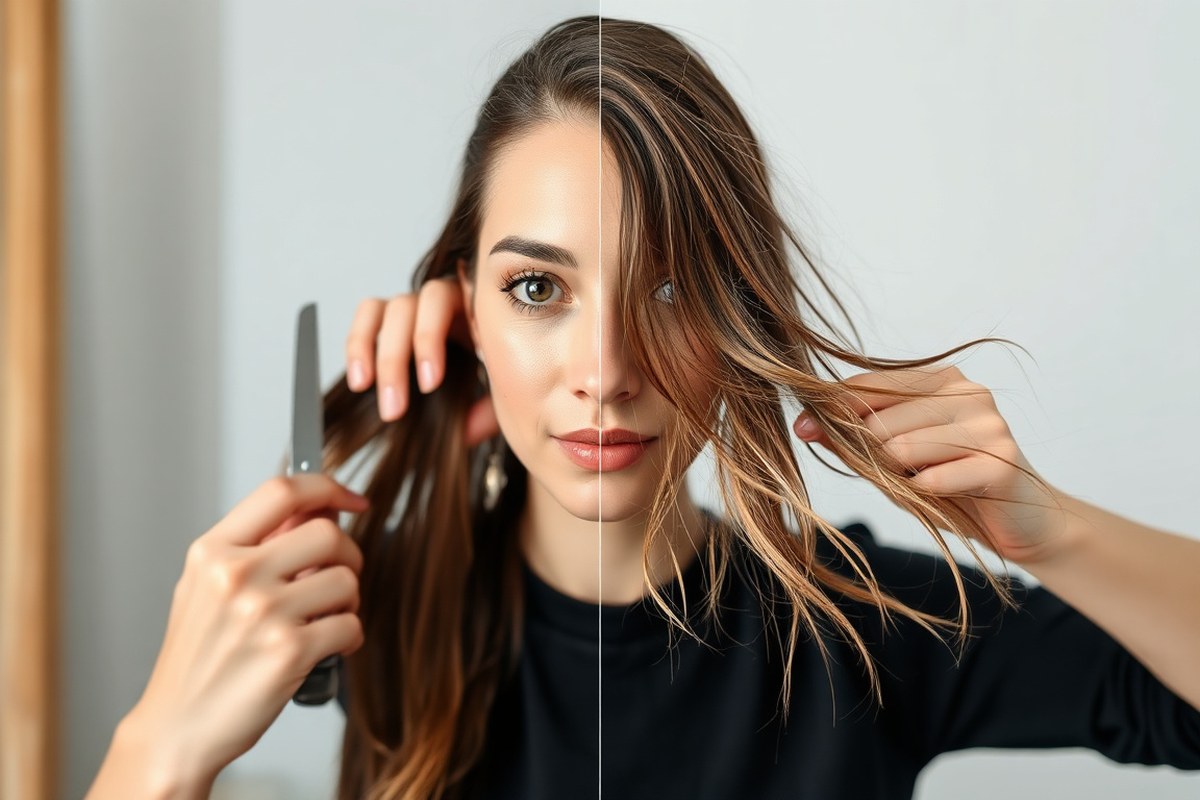
Choosing to cut hair wet or dry depends on your hair type and style goal. Straight hair gets an even, precise cut when wet. Curly hair changes shape a lot when wet, so dry cutting gives more control.
Cutting straight hair wet helps avoid uneven results from shrinking. Wet hair stretches, making it look longer; it snaps back shorter when dry.
For curly hair, cutting dry means you see the natural shape and length. That way, you don’t accidentally cut too much.
| Hair Type | Cutting Method | Why | Tip |
|---|---|---|---|
| Straight | Wet | More precise and even cut | Wash or dampen hair fully before cutting |
| Curly | Dry | Hair’s natural shrinkage visible, better control | Style the curls before trimming for accuracy |
| Thick | Damp or Dry* | Depends on texture; damp aids precision, dry shows volume | Cut small sections to avoid unevenness |
| Layered Styles | Usually Damp | Allows blending layers smoothly | Use a rocking motion when cutting between layers |
*Thick hair variation: For dense curls, dry cutting works best. For very dense straight or wavies, damp lets you cut sharply.
When cutting dry, your hands have to move slowly. This lets you gauge how hair falls naturally.
Wet cuts are faster but require trimming less at first. Cut ¼ inch or less to avoid mistakes on curls.
Start with trimming less than you think. Dry curly hair shrinks a lot more than straight.
Style your hair as you want it worn when cutting curly hair dry. This helps guide your scissors along natural lines. For straight or layered cuts, work on damp hair only.
Part your hair clearly. Section it so you can control each cut.
Use sharp scissors for all types to avoid split ends. Dull scissors cause uneven cuts and damage. Clean scissors after every few snips to prevent snagging, especially on thick hair.
3. Sectioning Your Hair for a Balanced At-Home Cut
Dividing your hair into even sections is key to an even cut. You’ll gain more control and avoid missing spots when trimming. Four to six separate sections are usually best, depending on your hair’s thickness and length.
Four-Section Method for Most Styles
This method works well for many hair lengths like bobs and shoulder cuts. Start by parting your hair straight down the middle from forehead to nape. Then, make a horizontal part from ear to ear.
Cross it over the middle part. This creates four sections.
Each section should be clipped or tied back safely. You’ll work on one section at a time to keep your cut consistent. Bring your hair to the front.
Secure it with small elastics. This helps when trimming lob or shoulder-length hair.
Additional Sections for Thick or Curly Hair
Thicker or curlier hair needs smaller sections to keep control. Divide hair into at least six sections or more if your hair is dense.
Use a pin tail comb with its pointed end to separate hair cleanly. This lets you lift sections away from your face and cut each one precisely. Cut upward from the nape area to blend sections smoothly.
Tools to Hold Sections Securely While Cutting
Use hair clips or small elastics to secure sections firmly. Clips that open wide hold thick or curly hair better without slipping.
A pin tail comb helps to part hair sharply and manage sections. Sharp, dedicated hair-cutting scissors let you trim with control and avoid jagged edges. Hold scissors vertically when point-cutting to blend ends smoothly, especially with curls.
Follow these steps to section your hair:
- Comb hair thoroughly to remove tangles.
- Create a middle part from forehead to nape.
- Make a horizontal part from ear to ear.
- Clip each of the four sections away securely.
- For thick or curly hair, divide each section further as needed.
- Work on one section at a time, releasing it carefully.
- Lift hair and match newly cut sections to ensure even length.
- Use point-cutting with scissors held vertically for a natural finish.
4. How to Trim Split Ends at Home Without Losing Length
Trimming split ends regularly helps keep hair healthy without losing length. Aim to cut just ¼ inch or less every 6 to 8 weeks. This removes damaged ends while letting your hair grow longer and stronger.
Before you start, dry your hair completely. Wet hair stretches, which can cause you to cut too much. Use sharp, professional hair scissors to avoid rough or jagged cuts that worsen damage.
Identify split ends by twisting small sections of hair. The damaged ends usually stick out from the twist. Cut only the ragged tips, not the entire length of each strand.
- Separate your hair into small sections and twist each one gently.
- Look closely for ends that split or fray beyond the twist.
- Hold the twisted section steady and use sharp hair scissors.
- Trim just the split ends that stick out, removing no more than ¼ inch.
- Work section by section around your head to catch all splits.
- Comb through your hair after trimming to spot any missed split ends.
- Repeat the process every 6 to 8 weeks, or sooner if your hair feels dry.
Don’t pull or stretch the hair when trimming. Cutting stretched hair can remove more length than you want. Trim in small amounts for a subtle, healthy look.
Using dull or household scissors will damage hair further. Investing in professional scissors costs about $20 to $40 but lasts for years. It’s worth it to keep your hair healthy.
5. Easiest Haircuts to Do Yourself: From Blunt Bobs to Pixie Trims
Simple haircuts suit beginners well and you can do them safely at home. Blunt bobs, pixie trims, and basic layered cuts all work with just a few tools. Each style needs a careful approach to avoid mistakes and keep your look fresh.
Cutting a Blunt Bob Step-by-Step
A blunt bob means cutting your hair straight across with no layers. It fits anyone with straight or slightly wavy hair. You’ll want to cut wet hair for clean, even results.
Start by combing all your hair down and parting it evenly. Use sharp scissors and cut straight at the length you want. For most people, 2 to 4 inches above the shoulders looks tidy and manageable.
- Wash and towel-dry your hair until damp
- Comb hair straight and clip sections for control
- Cut across slowly at the same level from ear to ear
- Double-check with a mirror to keep both sides even
- Use point cuts to soften the edges slightly if needed
- Finish with a cold water rinse to seal ends
The simple cut means you avoid hard-to-master layers or angles. Mistakes are easy to fix by trimming a tiny bit more.
But don’t go too short. A blunt bob with uneven edges looks messy and grows out oddly.
Maintaining a Short Pixie Cut at Home
Short pixie cuts need frequent trims to stay sharp. Clippers help maintain the sides while scissors work well for the top layers. To keep the shape, trim every 4 to 6 weeks at home.
Use plenty of clips to separate the hair. Hold the hair at a 180-degree angle and cut carefully to blend the top. This scoop motion softens the line between shorter sides and longer top.
Take your time with clippers and scissors; rushing causes uneven cuts and rough edges.
Regular clipping trims the length but don’t remove too much at once. Clipping around the ears and neckline ensures a neat look. Finish by combing through to spot any uneven parts and snip as needed.
Basic Layered Cuts Using the Ponytail Method
The ponytail method works well for easy layers with no fuss. Gather your hair into a ponytail at the front. Then cut straight across the ends to remove bulk and add light layers.
For thick hair, this DIY cut is practical and saves time. You get softer edges without messing with difficult angles. The ponytail cut suits straight or wavy hair best.
It creates simple layers quickly. Curly hair may not get clean, precise layers with this method.
- Gather hair into a tight, front ponytail
- Comb through to remove knots inside the ponytail
- Snip the bottom straight across carefully
- Release hair and check for evenness
- Trim any stray long hairs for balance
This method creates subtle layering and is manageable for first-timers. Avoid cutting too much at once or very uneven layers might appear. The ponytail cut helps you refresh your look without full salon visits.
6. How to Cut Bangs and Layers at Home with Low Risk
Cutting bangs and layers at home can feel tricky but gets easier with the right steps. Trim bangs slowly, checking often to avoid too-short results. Use the ponytail method to add soft layers that blend well without sharp lines.
Trimming Straight Bangs Safely
Start with dry hair since bangs shrink as they dry. Use sharp hair scissors, not kitchen or craft scissors, for cleaner cuts. Comb bangs straight down.
Pin back the rest of your hair. This keeps hair out of your face.
Cutting bangs in small amounts avoids mistakes. Trim less now; you can always cut more later if needed. Keep the scissors horizontal and slightly curve the ends for a softer look.
- Comb bangs straight down and separate them from the rest.
- Pin back the rest of your hair for a clear view.
- Use sharp scissors to cut bangs in small sections.
- Cut slowly, starting ¼ inch longer than your goal length.
- Check the length with bangs relaxed and natural.
- Use point cutting by snipping vertically into ends for softness.
- Make minor trims as necessary to even out the length.
Using the Unicorn Ponytail Method for Layers
The ponytail method helps you cut layers evenly. Pull your hair into a high ponytail on top of your head. This gathers all your hair to cut gradually for blended layers.
Keep scissors slightly angled while cutting the ponytail. Start by trimming small amounts off the end, checking the length. This method creates natural-looking layers and avoids harsh step cuts.
- Gather all your hair into a high ponytail on top.
- Secure it tightly with a hair tie.
- Decide how much length to remove, starting small.
- Angle scissors slightly and trim the ponytail end little by little.
- Release ponytail and comb hair down to check layers.
- Repeat trimming if needed to blend layers smoothly.
Vertical Cutting Technique for Soft Layers
This technique adds soft layers by cutting hair held straight down. Use vertical snips, which means cutting ends gently with scissors pointing up and down, not across. This creates a feathered effect, avoiding blunt lines.
Work with dry hair for better control. Part hair into sections and cut small amounts vertically at the tips. This works well for long or medium hair to give shape without losing too much length.
- Comb a small section of hair straight down away from the head.
- Hold scissors vertically, tip pointing down.
- Snip small vertical cuts into the hair ends.
- Move on to the next section, repeating the steps evenly.
- Check for consistent layer blending as you trim.
7. Tricks to Cutting the Back of Your Own Hair Precisely
Cutting the back of your hair evenly can feel tricky without a clear view. Use two mirrors to see the back by positioning one behind you and facing the other. Good lighting helps spot uneven strands better.
Comb your hair back tightly and section it carefully before cutting. Part your hair evenly down the middle and clip the sides up. Pull the middle section straight down.
Trim about ½ inch from the ends. This creates an even cut.
Different hair types need slightly different handling. Thick or curly hair should be cut dry to avoid shrinking later.
Cut straight or fine hair when wet for a cleaner line. Be careful not to cut too much at once.
- Set up a handheld mirror behind you for a clear view.
- Part hair in the middle and clip sides securely.
- Comb hair straight down before trimming the center section.
- Use sharp scissors to avoid frayed ends.
- Cut small amounts, around ½ inch at a time.
- Work in layers, lifting hair off the face and point cutting.
- Brush out hair after cutting to spot uneven spots.
Barry suggests letting each section rest on your face to see where to cut. Lift the section away and use point cutting to shape the ends accurately. Cutting one section at a time keeps your lengths consistent.
After finishing, brush your hair out again. Trim any stray hairs that stick out past the edges. This final touch helps create a neat, even line at the back that looks polished.
8. Common At-Home Haircut Mistakes and How to Fix Them
Cutting hair at home often leads to uneven lengths or accidentally cutting too much off. This happens because you can’t see every angle well. You guess how much to trim.
The back is the hardest part to judge. You can fix uneven spots by carefully snipping tiny amounts from longer strands with sharp scissors.
Rushing or using dull scissors makes mistakes worse. Cut slowly to avoid mistakes. Trim 1/4 inch or less at a time.
This helps you avoid big errors. Checking your work with a hand mirror and good lighting helps catch uneven areas early. When the back feels too short, blend the edges.
Trim lightly upward with scissors angled away from the scalp. This softens harsh lines.
- Cut small sections at a time to control length
- Use sharp scissors, not kitchen or crafting ones
- Work under good light and check regularly with a mirror
- Keep your head still and avoid guessing length
- Trim dry hair for easier length control
- When you overcut, let your hair grow a little first. Then you can fix the look better.
- Stop and visit a salon if mistakes pile up or hair feels too thin
Trying to fix major overcuts can make hair look uneven or thinner in spots. Wait a few weeks before trimming again. This lets your hair grow more evenly.
Then even out any rough spots. Get a professional haircut if you see big gaps or uneven layers.
Avoid cutting too much around your crown or bangs yourself. A pro can fix major mistakes.
A stylist can reshape your hair so it looks natural and balanced. Professionals charge around $30 to $100 or more for a cut depending on location and style. But it’s a good investment if your DIY efforts don’t work out.
Salons have sharp, proper tools for cutting hair. They know how to blend lines you might miss. This makes your haircut look smoother and neater.
Only cut a small amount at once to avoid big mistakes you can’t easily fix later.
9. When to Call a Professional Instead of Cutting Your Hair Yourself
Complex styles like fades, intricate layers, or precision cuts need a professional’s skill. These require steady angles and detailed blending that are hard to master at home. Attempting them alone often causes uneven results or harsh lines that are tough to fix.
Your hair has severe split ends, breakage, or uneven texture. A pro can fix those problems properly. They use special treatments and cutting techniques to restore health and shape.
Cutting damaged hair yourself can make it worse. You might also lose too much length. Trying to even it out can cause more harm.
Look out for signs like uneven spots, patchiness, or frustration during your cut. Missing the right angles or cutting too much can show you need expert help. Want a big style change or trendy look?
A pro lowers risks. You get more confidence with their help.
Local beauty schools offer affordable haircuts. Students cut hair under supervision. Prices usually range from $10 to $20.
Community salons often offer discounts or package deals too. Booking a quick trim after a DIY cut helps clean up mistakes without spending a lot.
To decide, think: Is the style simple enough to follow step-by-step? Confident with scissors? Make sure you have good lighting too.
Not confident or poorly lit? Stop and book a pro instead. Choosing a pro protects your hair and saves time.
It avoids uneven or patchy cuts. Those take weeks to grow out.
Step-by-Step Action Plan to Cut Your Hair at Home
Follow these steps to start your at-home haircut with confidence. Each step helps you check your progress and keep control.
- Before you start: Gather scissors, a comb, mirrors, and clips. Make sure your tools are sharp and your hair is clean.
- Day 1: Decide if you’ll cut wet or dry hair based on your hair type. Wet works better for curly or thick hair, dry for straight or layered cuts.
- Day 1: Section your hair into clean parts using clips. Check the sections even out for a balanced cut.
- During your cut: Start by trimming small amounts from the ends. Focus on split ends or small layers to avoid cutting too much. Stop often and check your progress in the mirror.
- After you finish: Style your hair as usual to see the final shape. Fix small uneven spots with tiny trims.
- After 1 week: Watch how your hair grows or falls as you wash and style. Notice any parts needing touch-ups.
- After 2 weeks: Trim any new split ends to keep your style fresh. Avoid cutting large sections unless confident.
Frequently Asked Questions
How Do I Avoid Mistakes Cutting My Hair at Home?
Always cut small amounts first and use sharp scissors. Section hair evenly to keep the cut balanced. Avoid rushing to prevent uneven or choppy results.
What Is the 2 Inch Hair Rule?
It means not cutting more than 2 inches at once to avoid drastic changes. This helps prevent mistakes and allows you to adjust gradually.
Does Cutting Your Hair Make You Look Older or Younger?
Trimming hair can make you look younger if it refreshes your style. Cutting the wrong style or length can age your appearance instead.
How Often Should I Trim My Hair?
Trim about every 6 to 8 weeks or when ends feel dry or tangled. Regular small trims keep hair healthy without losing much length.
What Is the 7 Day Haircut Rule?
It suggests waiting 7 days after washing to cut your hair for better hold. This can help give a more accurate cut if hair is less slippery.
Can I Use Regular Scissors to Cut My Hair at Home?
It’s best to use hair cutting scissors for cleaner, safer cuts. Regular scissors may cause split ends and uneven trimming.
Final Thoughts
Cutting your hair at home can save time and money while keeping your style fresh. Take your time, use sharp tools, and work in small steps. Try a simple trim first, and you’ll build skills quickly.