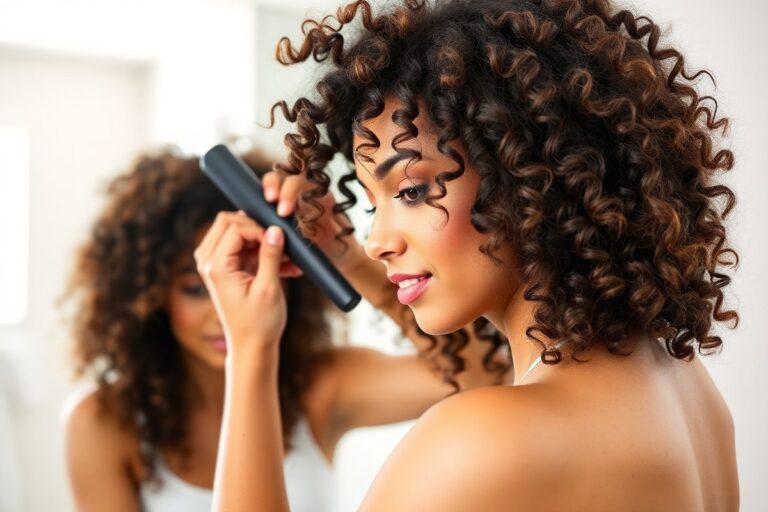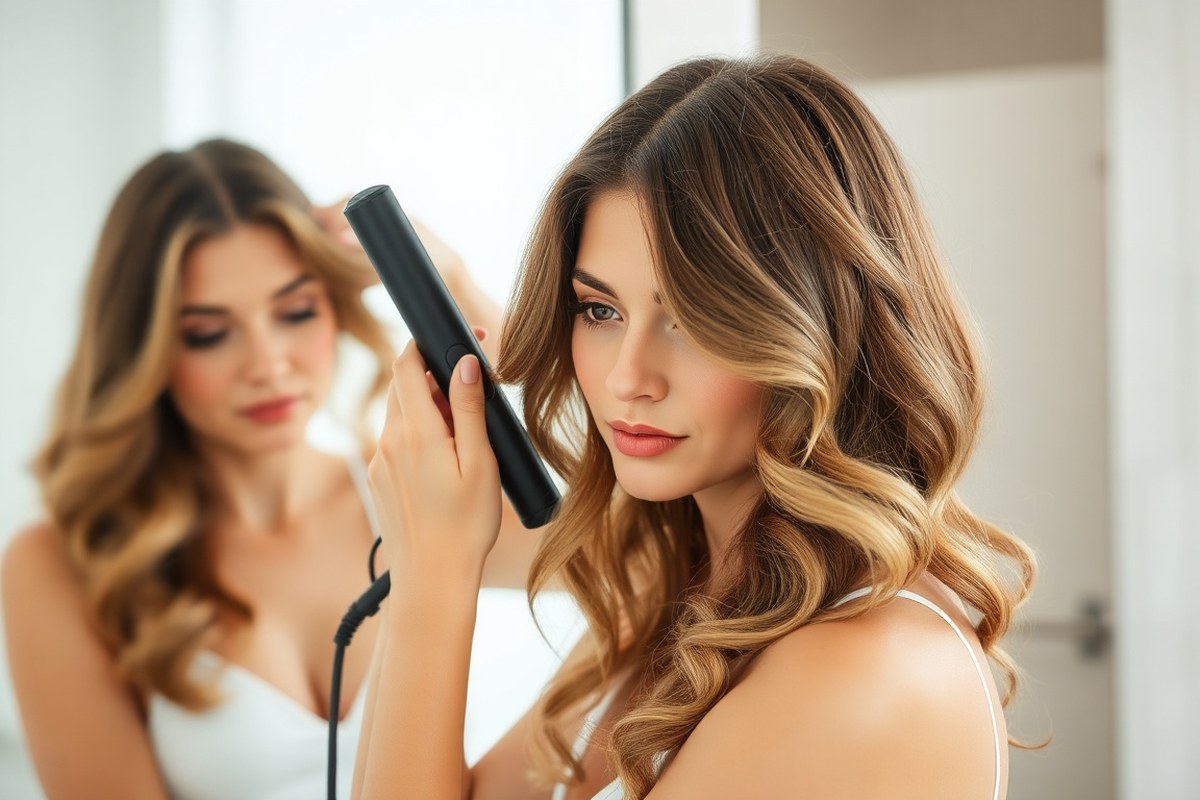
How to Create Beachy Waves with Flat Iron: Simple Steps for Natural Waves
Wondering how to create beachy waves with flat iron? It’s simpler than it sounds. Use a small, rounded flat iron to twist small hair sections.
This creates waves that look natural. It’s easy when you work with even sections. This method gives you smoother, “s-shaped” waves compared to a curling wand’s rounded curls.
Dry, smooth hair works best for making waves. Hold the iron close to roots on small sections.
Then curl hair away from your face about 180 degrees. Let it go to reveal loose, chunky waves that look beachy.
Be careful to use the right flat iron. A 1- to 1.25-inch rounded-edge flat iron works best for natural waves. Avoid burning your fingers by keeping your hand steady and twisting slowly.
Key Takeaways
- Use a 1- to 1.25-inch flat iron with rounded edges to create smooth waves.
- Always start with 100% dry hair for safer heat styling and better waves.
- Clamp the iron near your roots on 1- to 2-inch sections of hair.
- Twist the flat iron 180 degrees away from your face before pulling down.
- Release the iron gently to reveal natural, chunkier beach waves.
- Choose a flat iron with adjustable heat; 400°F is often the max setting.
How to Create Beachy Waves Using a Flat Iron

Creating beachy waves with a flat iron takes practice, but the steps are simple. Using smaller sections of hair about 1 inch wide helps make defined, long-lasting waves. Use a flat iron with rounded edges.
It helps make smooth S-shaped waves. These waves look natural and beachy.
Hold the flat iron at an angle. Twist your wrist gently as you move it down. This bends the hair while gliding.
This movement shapes the waves instead of tight curls. Start the wave by putting the middle of the hair in the iron first. Dropping this middle bends the hair naturally.
- Divide your hair into manageable sections, about 1 inch wide each. This size creates a balanced wave with good hold.
- Hold the flat iron at a 45-degree angle from your head. Clamp the middle of a hair section firmly in it.
- Twist your wrist to turn the iron away from your face. This makes the first bend in the wave.
- Slide the flat iron slowly down the hair length. Keep twisting your wrist for a smooth S-shape.
- Release the hair once you reach the ends, letting the wave settle naturally.
- Do this on every hair section. Change the twist direction for a tousled, natural wave look.
- Finish by running your fingers through the waves to separate and soften them if needed.
Using medium heat settings avoids heat damage while styling. Apply a heat protectant before you start to keep hair healthy.
Smaller sections make waves last longer but take more time. Larger sections move faster but give looser waves.
Good waves look soft with gentle bends, not tight or uniform curls. Avoid holding the iron too long or your waves might look stiff or get damaged. Practice the wrist movement to get smooth, natural beach waves every time.
Choosing the Right Flat Iron for Beach Waves

Choose a flat iron that has beveled edges and floating plates for smooth glide. This design lets the iron twist and slide easily without snagging your hair. Narrow plates about 1 inch wide are best for natural waves and even bends.
Choosing the plate material matters. Ceramic heats evenly but can take longer to heat up. Titanium heats up fast and stays hotter longer than other materials.
This makes it useful for thick, coarse hair types. Fine hair risks damage because of the strong heat. Tourmaline adds shine and reduces frizz, fitting most hair types well.
Here’s a simple table comparing flat iron features for beachy waves:
| Feature | Effect on Waves | Best For | Price Range |
|---|---|---|---|
| Beveled Edges | Easy gliding and twisting | All hair types, less snagging | $30 to $100 |
| 1-Inch Width | Natural, defined bends | Most hair lengths | Standard |
| Ceramic Plates | Even heat, less damage | Fine to medium hair | $25 to $150 |
| Titanium Plates | Hotter, faster waves | Coarse or thick hair | $50 to $200 |
| Tourmaline Plates | Shinier, less frizz | Dry or damaged hair | $70 to $180 |
Match the plate type to your hair’s needs. Use ceramic if your hair is thin or prone to heat damage.
Pick titanium if your hair is thick or hard to curl. Tourmaline suits hair that frizzes easily or looks dull.
Take care when curling with a flat iron. The surfaces get very hot. Be extra cautious around the beveled edges to avoid burns.
Floating plates help protect your hair by adjusting to your wrist’s pressure. This means smoother, less damaging waves.
Test the iron’s heat settings too. Avoid using the highest if your hair is fine.
Look for a flat iron you can hold comfortably for a while. Styling beach waves takes practice and time.
It might cost $30 to $200. But a good iron saves you from bad hair days and damage.
Preparing Your Hair for Heat Styling and Beach Waves
Start with clean, dry hair before using your flat iron for beach waves. Using heat on wet hair risks damage and won’t hold waves well. Blow-dry your hair fully and add the right products for protection and texture.
Using Heat Protectants: Sprays vs Serums
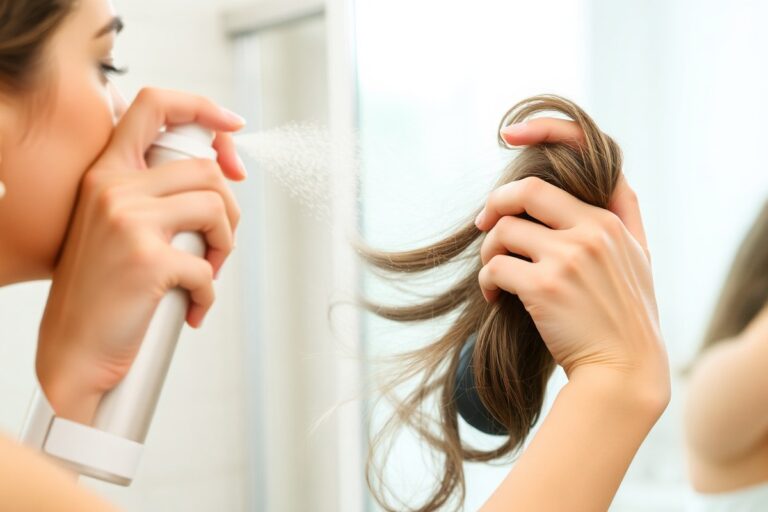
Apply a heat protectant spray or serum before styling to shield your hair. Sprays often cover hair evenly and add light hold.
Serums smooth frizz and add shine. Choose based on your hair type and the texture you want after styling.
For beach waves, use a dry aerosol spray like Kenra Professional Platinum Heat Cast Spray 12. It helps protect your hair from heat damage. It also gives your waves hold.
Spray your fingertips first, then lightly apply to hair to avoid over-saturation. This method helps keep hair flexible and prevents stiffness.
- Use a heat protectant every time to prevent damage
- Choose sprays for thin or fine hair to avoid heaviness
- Pick serums for thick, frizz-prone hair for smoothness
- Apply heat protectants to dry hair, not wet
- Spray on fingertips then run through hair for control
Applying too much product can weigh hair down or make it greasy. A thin, even layer keeps your waves bouncy and your hair healthy.
Blow-Drying Techniques for Volume
Flip your head upside down to blow-dry your roots first. This lifts hair away from the scalp, creating natural volume. Drying from roots to ends speeds up the process and keeps your hair from falling flat.
Use a round brush or your fingers to separate hair while drying. This adds more body without flattening waves later. Focus on drying all hair evenly to avoid damp spots that mess with wave formation.
- Blow-dry hair fully until no moisture remains
- Start at roots, flipping hair down for lift
- Use medium heat and a nozzle for easy control
- Keep the dryer moving to prevent heat damage
- Finish with a cool shot to set volume
Damp hair won’t hold waves well and heats irregularly. Fully drying hair saves time and gives better, longer-lasting waves.
Detangling and Sectioning Tips
Use a wide-tooth comb or detangling brush on dry hair before styling. This removes knots without breaking strands, making waves smoother and more defined. Detangled hair also helps flat iron clamped sections work better.
Divide your hair into sections about 1 to 2 inches wide. This size is easy to handle and lets the flat iron wrap hair smoothly. Smaller sections give more defined waves, while bigger sections create looser waves.
- Comb through hair gently to avoid breakage
- Clip hair in manageable top, middle, and bottom sections
- Work with 1-inch strands from each section
- Allow the flat iron to fully heat before styling sections
- Repeat waves on smaller pieces at the top for volume
Hair that’s tangled or poorly sectioned results in uneven waves. Proper detangling and sectioning speeds up styling and improves your wave’s look.
Flat Iron Techniques to Create Different Beach Wave Styles
Using different flat iron twists lets you make waves from loose to tight. Twisting the iron away from your face helps curls look natural. You can adjust pressure and speed for beachy or sharper S waves.
Creating the ‘S’ Wave Pattern
‘S’ waves look defined and stylish with curvy, doubled bends. The flat iron twists create this sleek S shape along your hair strand. This style needs steady twisting and slow pulling to shape well.
Start clamping the flat iron at the hair’s middle. Twist the iron away from your face while winding it up toward your scalp.
Pull the flat iron straight down slowly. Repeat with each section to keep waves consistent.
- Divide hair into small sections for better control.
- Clamp mid-strand, twist iron away from your face upward.
- Hold twist for 3-5 seconds to set curl shape.
- Slowly pull the iron toward hair ends without twisting.
- Repeat steps on all sections for uniform waves.
- Finish by running fingers gently to soften waves.
Twist and Pull Method for Loose Waves
For loose, undone waves, keep the iron twisting quick and loose. The twist-away technique makes shapes look relaxed and natural. Moving the iron faster and not holding heat long avoids stiff curls.
Hold the iron close to your hair roots. Turn it away from your face as you slide down. Use a light grip with a swift move for loose, beachy waves.
- Section hair into medium pieces for easy waves.
- Clamp iron near roots, twist it away from your face.
- Slide the iron down slowly but with less hold time.
- Release clamp before reaching ends for softer wave ends.
- Finger-comb waves to break up curls for “messy” look.
- Apply light texturizing spray to hold shape without stiffness.
Combining Techniques for Natural Texture
You can mix S waves and loose waves to add extra texture. Alternate tighter twists with quick pulls down some strands. This creates a layered wave effect that looks like natural beach hair.
Try twisting some sections fully for defined S waves. Leave others loosely twisted and pulled for soft bends. Vary the size of sections too to avoid uniform curls.
- Start on lower hair with tight S wave twists.
- Switch to loose twist-and-pull moves on top layers.
- Use smaller sections where you want more definition.
- Finish by tousling hair with fingers for natural breaks.
- Add sea salt spray to boost texture and hold.
Heat Settings and Timing for Safe, Effective Styling
Set your flat iron temperature based on your hair type. Fine or damaged hair needs 250°F to 300°F to avoid burning.
For normal hair, aim for 300°F to 350°F. Thick or coarse hair can handle 350°F to 400°F. Don’t use the highest setting all the time. Lower heat often works better.
Hold the iron on each 1-inch hair section just 3 to 5 seconds. Move the flat iron steadily without pausing too long. Longer heat causes damage, dullness, and breakage, so quick passes work better.
Avoid multiple passes over the same section. One smooth pass usually creates the best wave without extra heat harm.
Wait a few seconds before trying the curl again. Gently try curling it once more if it’s not tight enough.
Use 1- to 2-inch sections when styling to spread heat evenly. Tight sections need more time but increase damage risk. Larger sections reduce heat exposure while still forming natural waves.
Never set your flat iron above 400°F, and always spray heat protectant first.
Start styling from the nape and move upward. Wrap the hair around one flat iron prong, leaving the ends free for a beachier look. Roll it bigger so you have more hair to grip and create looser waves.
You can reduce overheating by clipping off top and side hair. Work on lower sections first to avoid excess heat on already styled parts. This way, you protect fragile strands near the crown and hairline.
Wait for your hair to cool completely before touching the waves. This locks the shape and helps your style last longer. Running fingers through the waves gently after cooling creates that easy beach vibe.
Products to improve and Hold Beachy Waves
To get beachy waves that last, use the right products. Start with prepping, then apply texturizer. Finish with a product that holds your style well.
Use a heat protectant first to prevent damage. Then add texture sprays to boost volume and shape. Finish your look with a light hairspray.
Add a serum or oil for shine. Use them if you want to control frizz.
Top Heat Protectant Sprays
Heat protectants shield your hair from damage. Flat irons can reach temperatures up to 450°F. Use spray before styling to keep hair safe. Good sprays create a barrier that reduces breakage and dryness.
Spray heat protectant evenly before styling your hair. Let it dry completely to avoid damp spots. Damp hair can flatten your waves.
Look for products labeled to protect up to at least 450°F. You only need a light mist. Too much spray can weigh hair down. Some protectants also add a slight hold, helping your waves last longer.
Best Texture and Sea Salt Sprays
Texture sprays add volume and grip, helping waves stay tousled and natural. Sea salt sprays are popular for adding roughness that mimics the beach feel. Use them right after styling or on dry hair to avoid soggy waves.
Be careful not to use too much sea salt spray. Its wetness can flatten your waves if you apply thick layers. Apply lightly for better texture.
Spritz lightly or mist on your fingers then scrunch into hair. Try a texturizing spray for more lift.
It has less salt but adds volume. Use it when you want body without extra salt.
- Use sea salt spray or beach spray sparingly to avoid weighing hair down
- Add texture spray after waves cool for best shape
- Mist into dry hair for touch-ups without heat
- Use a wide-toothed comb or fingers to loosen waves gently
- Look for sprays with lightweight formulas and added hold
These sprays absorb oils and give your waves body. They also help them last through humidity or wind by keeping strands separated.
Finishing Sprays and Serums
Hairsprays lock in waves without crunchiness if applied lightly. Spray a mist from 8 to 10 inches away and let dry fully. You can touch up waves mid-day with a quick spritz.
Serums or light hair oils add shine and smooth frizz at the end. Use just a drop, rubbing between hands then running through ends carefully. Avoid roots to keep volume.
For best results, finish with hairspray first to set the style. Then add serum only if your hair feels dry or fuzzy. This combo keeps waves soft and shiny without stiffness or grease.
Common Mistakes and How to Fix Flat Iron Beach Waves
Waves looking too tight or uniform usually mean the iron stayed in one spot too long. Moving the flat iron steadily down your hair helps avoid tight curls. Pull the iron only about three-quarters down the hair length for a looser beach wave.
Limp or flat waves often happen if your hair is too heavy or lacks product grip. Spraying a lightweight texturizer before styling adds hold without weighing hair. Also, let each wave cool completely before touching it to keep its shape.
Hair that feels damaged or frizzy after flat ironing got too much heat. It may also have missed heat protection. Both can cause harm to your hair.
Use a heat protectant spray covering all strands before styling. Set your iron’s heat at no more than 350 to 375°F for fine hair.
Use 375 to 400°F if your hair is thicker. This helps avoid damage.
It’s common to burn skin or hair when the iron touches your scalp. Mishandling the flat iron can also cause burns. Be careful as you use it.
Hold the flat iron with care, keeping fingers clear of the plates. Move the iron gently under and over your hair as you go down.
This helps avoid pinching your skin or pulling your hair. Take slow, smooth strokes.
- Start with dry, detangled hair for even waves
- Use heat protectant spray fully covering strands
- Set iron temperature based on hair thickness
- Pull hair through iron steadily, don’t pause too long
- Wrap hair only three-quarters down for natural waves
- Cool waves before touching to hold shape
- Avoid skin contact by angling iron carefully
Flat ironing requires patience to get comfortable with the movement and timing. Consistent practice helps you notice the sweet spot between loose waves and tight curls. Adjust your speed and iron angle if waves look too perfect or too messy.
Maintaining and Refreshing Beach Waves Throughout the Day
To keep your flat iron waves fresh, mist hair lightly with sea salt spray. Use texturizing spray for extra hold. This helps waves last all day.
These products add grip and hold without weighing your hair down. Spritz gently every few hours or whenever you notice the waves relaxing.
Refreshing your waves without heat is easy and safer for your hair. Use your fingers or a wide-tooth comb to softly reshape the waves.
Twist sections around your finger to restore the curl pattern. Add a little texturizing spray to set the waves.
- Apply a light sea salt spray before heading out
- Use dry shampoo to add volume and absorb oil
- Refresh waves by twisting hair sections with fingers
- Avoid brushing waves with a fine-tooth comb or brush
- Sleep on a silk pillowcase or loosely braid hair overnight
- Use a light hairspray for extra hold
- Protect hair ends with a leave-in conditioner
Sleeping on a silk or satin pillowcase helps keep waves intact overnight. Loosely braid your hair to make natural waves. These waves blend well with flat iron waves.
You can do this the night before. Combining these methods reduces heat styling frequency and helps preserve hair health.
When you want to remove the style, gently run fingers through your hair to loosen waves. Avoid brushing because it can cause frizz and breakage. Washing hair with a mild shampoo resets your hair texture and removes product buildup safely.
Don’t apply flat iron heat to already styled waves for touch-ups. It risks heat damage and breaks the wave pattern.
Maintaining waves takes simple and gentle care. Use the right product regularly to keep your waves soft. Touch up your waves carefully to look natural.
This helps your style last longer. Proper removal prevents damage and prepares your hair for the next styling day.
Step-by-Step Action Plan for Perfect Beachy Waves
Follow these easy steps to get beachy waves with your flat iron today. Each step helps you know you’re on the right track.
- Before You Start: Wash and dry your hair completely. Make sure it’s free of product build-up so waves hold better.
- 5 Minutes Before Styling: Apply heat protectant spray evenly. Your hair will stay healthy and shiny after heat styling.
- Right Before Styling: Set your flat iron to a medium heat (around 300, 350°F). Hot enough to curl without damage.
- During Styling: Take 1-inch sections of hair. Clamp the flat iron on each section. Twist the flat iron away from your face, then slowly pull it down. Check that your hair forms loose, natural waves.
- After Styling Each Section: Let waves cool fully before touching. This helps the curls hold their shape longer.
- Right After Styling: Scrunch in a light sea salt spray or texturizing spray. It adds volume and the “beach” feel.
- Throughout the Day: Refresh waves with a small spritz of water and finger scrunching. Avoid brushing to keep waves intact.
- End of the Day: Loosely braid your hair before going to bed. This helps keep some waves for the morning.
Frequently Asked Questions
Can I Use Any Flat Iron to Make Beachy Waves?
Not all flat irons work well for beach waves. Use a 1-inch rounded-edge iron for smooth, natural waves that last longer.
How Long Do Beachy Waves Last When Styled with a Flat Iron?
Beachy waves from a flat iron usually last a day or more. Using products to hold the waves helps keep them defined throughout the day.
Is It Better to Use Dry or Slightly Damp Hair for Flat Iron Waves?
Use dry hair when creating beachy waves with a flat iron. Damp hair risks damage and won’t hold the waves as well.
Can I Create Beachy Waves on Very Short Hair with a Flat Iron?
Short hair can be waved with a flat iron but may need smaller sections. Results depend on hair length and flat iron size.
Should I Wash My Hair Right Before Making Beachy Waves?
Washing right before isn’t necessary. Hair that feels soft and healthy styles better and lasts longer.
How Do I Avoid Frizz When Creating Beachy Waves with a Flat Iron?
Use a heat protectant and light styling products to reduce frizz. Avoid too-high heat to keep waves smooth.
Wrapping Up
Beachy waves look best when you keep styling simple and protect your hair. Start with a good heat protectant and use medium heat for better results.
Try styling one wave section today. This shows how easy soft, natural waves are with a flat iron.