How Can I Color My Hair at Home: A Complete Guide with Easy Steps
How can I color my hair at home? You can do it safely and well by following simple steps and choosing the right products. Test the dye on your skin first.
Do this 48 hours before use. This helps prevent allergic reactions. Set aside 1 to 1.5 hours on your dye day to finish the process without rushing.
Wash your hair twice a day or two before dyeing to clear oils and dirt. This step helps the color stick better and look even. Healthy hair lets you color every 2 months or so, giving it time to recover.
Choose hair dye based on your goals. Use semi-permanent for slight changes. Pick permanent for full coverage.
Keep in mind that permanent colors need root touch-ups every 4 to 6 weeks. Covering gray hair may take extra dye time to ensure good results.
Key Takeaways
- Always do a skin patch test 48 hours before coloring your hair.
- Set aside at least 1 to 1.5 hours for the whole hair dye process.
- Wash your hair twice 24, 48 hours before dyeing to remove oils and build-up.
- Use semi-permanent dye for shorter-lasting color or permanent for full gray coverage.
- Wait 4, 6 weeks before touching up roots with permanent hair color.
- Leave dye in 10 minutes longer on stubborn gray hair for better coverage.
How to Color Your Hair at Home Step by Step

Start with clean, dry hair that hasn’t been washed for at least 24 hours. Natural oils help protect your scalp and make the color last longer. Avoid products like conditioners or styling sprays on the day you dye your hair.
Put petroleum jelly or thick moisturizer around your hairline and ears. Apply it to your neck too. This protects your skin from dye stains.
This blocks the dye from staining your skin. Also, wear an old shirt and gloves to avoid dye on your hands and clothes.
Follow the product instructions closely. But here’s the basic order for coloring your hair at home. This method avoids patchy color and ensures even coverage, especially when covering roots or gray hair.
- Mix the dye. Combine the color and developer in a non-metal bowl. Use the exact ratio suggested in the instructions for proper color development.
- Apply dye to the roots first. Roots need more time to process because they’re less porous. Start at the crown and work toward the sides and back.
- Spread dye through the mid-lengths and ends. Use a comb or your gloved fingers to ensure even coverage and saturation.
- Let the color develop. Keep your hair down to avoid lines or uneven spots. Set a timer for the recommended processing time, usually 25 to 45 minutes.
- Rinse with lukewarm water. Rinse until the water runs clear. Avoid hot water, which can strip the color and dry your hair.
- Apply conditioner.Use the conditioner that came with your dye kit. Or pick a color-safe conditioner instead. This seals in moisture and locks the color.
- Dry and style gently. Towel dry with care and avoid heat tools right after dyeing to prevent damage.
Use a damp cloth or makeup remover to clean any dye stains on your skin quickly. Sometimes the dye needs a few washes before disappearing completely. Wipe down surfaces you used during hair dyeing.
Wash brushes and bowls as soon as you’re done. This keeps your space clean.
Setting aside 1 to 1.5 hours makes sure you don’t rush. Rushing often causes uneven color or missed spots. Follow the timing instructions exactly for best results.
Choosing the Right Hair Dye Type for Your Needs
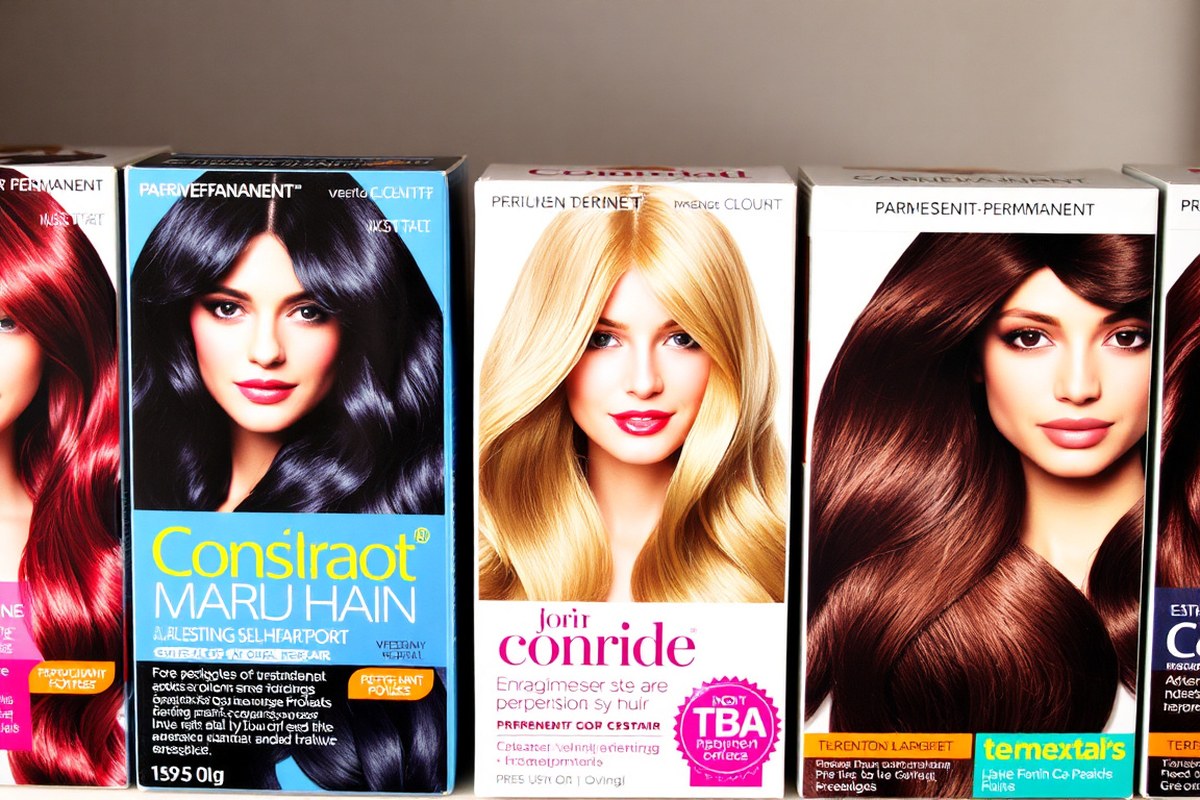
Choosing the right hair dye depends on your color goals. It also depends on how long you want it to last. Plus, consider how much damage you want to avoid.
Permanent, semi-permanent, and temporary dyes differ in durability, color strength, and ease of use. Your choice also affects gray coverage and the chance to find vegan or cruelty-free options.
Permanent Dye Characteristics and Uses
Permanent hair dye changes your natural color by penetrating the hair shaft. It lasts until your hair grows out, usually needing a touch-up every 4 to 6 weeks.
This type works best for covering over 25% gray hair. Use it when you want a big change, like going lighter.
Since permanent dye uses ammonia and a developer, it can damage hair more than others. To limit damage, pick a shade close to your natural color. Wait 7 to 10 days after a perm before applying permanent dye to avoid extra stress.
Semi-Permanent Dye Pros and Cons
Semi-permanent dyes coat the outside of your hair instead of penetrating it. They last about 20 to 26 washes. These dyes cause less damage.
They don’t use ammonia or a developer. These dyes are good if you want to try a new color. They don’t have much risk or commitment.
Semi-permanent dyes don’t cover gray hair as well as permanent types. Still, they can refresh natural shades or add fun tints, like reds or blues. Many options are vegan or cruelty-free.
Temporary Color Options and Benefits
Temporary hair color includes sprays, gels, and color-depositing shampoos. These wash out after one or two shampoos. They let you try bold or unusual colors for special occasions without any damage.
Temporary colors don’t cover gray hair or change your natural color. They only coat the hair’s surface. Look for vegan and cruelty-free labels, especially with these products.
| Hair Dye Type | Durability | Gray Hair Coverage | Damage Risk | Ease of Use | Color Impact | Vegan/Cruelty-Free Options |
|---|---|---|---|---|---|---|
| Permanent | Lasts until hair grows out (4-6 weeks) | Best for 25%+ gray coverage | Higher damage risk (uses ammonia/developer) | Requires mixing and precise timing | Strong, dramatic color changes | Some brands offer vegan options |
| Semi-Permanent | 20-26 washes | Limited gray coverage | Lower damage risk (no ammonia) | Easy, no mixing needed | Natural or fun stain effect | Many vegan/cruelty-free choices |
| Temporary | 1-2 washes | No gray coverage | No damage | Very easy, just apply | Surface coating, for fun colors | Usually vegan and cruelty-free |
Pick permanent dye if you want long-lasting, natural color or cover gray hair fully. Choose semi-permanent for easier, less damaging color changes or fun hues. Try temporary color if you want a quick, damage-free change for special days only.
Always patch test new dyes to avoid allergic reactions, especially with permanent products.
Picking the Best Hair Color for Your Skin Tone and Style
Picking the best hair color starts with knowing your skin tone and natural hair. Match shades to your undertone and hair texture. Decide if you want a subtle change or a bold new color before buying dye.
Understanding Warm vs Cool Undertones
Find your skin undertone by checking your veins: blue means cool, green means warm. Cool undertones work well with ash blondes or chestnut browns. Warm undertones look great with golden blondes, copper, or bronze shades.
Knowing this helps your hair color complement your skin instead of clashing. You can also match your hair to your eye color to boost your look.
For example, warm hazel eyes pair nicely with warm hair colors. Blue eyes often shine with cooler tones.
Tips for Choosing Shades to Cover Gray Hair
Gray hair needs a color that blends naturally for the best results. Choose a shade close to your natural color or go up to two shades darker. This avoids harsh lines and keeps hair healthy by not over-processing.
Think about texture too. Thick, coarse gray hair might need longer processing time on gray areas. Start dyeing those spots first to make sure the color covers evenly.
You can refresh grays at home by improving your natural tone. This means choosing subtle changes instead of drastic ones. It keeps your look natural and simpler to manage.
When to Start with a Natural Color Shade
Starting with a natural shade is best if you want to keep hair damage low. Dyeing two shades darker or a bit lighter is safer. It lowers the risk of mistakes and fixes.
This approach also keeps your hair looking natural. It also suits those new to hair coloring at home.
Bold colors or bleach require more care and skill. So they are less recommended for beginners.
Your hair’s condition matters; weak or brittle hair should avoid big color jumps. Use a strand test every time to check for unwanted results before doing full color.
Essential Tools and Supplies You Need at Home
Start by checking your hair dye kit. It usually includes the hair color cream or liquid and the developer.
You also get instructions, gloves, and sometimes a small mixing tray and applicator brush. These basics cover most root touch-ups and simple all-over color jobs.
Extra tools make the job neater and easier. A plastic or glass bowl helps you mix the dye without a mess. Using a brush with firm bristles spreads the color evenly, especially on thicker hair.
Old towels protect your clothes from stains and remove spills quickly. Avoid fabric towels you care about, they stain for good.
- Disposable gloves for protecting your hands from stains
- Plastic or glass bowl to mix dye and developer
- Applicator brush with firm bristles for even color
- Old towels or cape to protect your clothes and skin
- Wide-tooth comb to blend the color and avoid clumps
- Sectioning clips to separate hair for a uniform dye job
Protection is a must. Use gloves to keep your hands safe from chemicals and staining. Lay down towels on floors or counters for easy cleanup.
Wear an old t-shirt you won’t mind staining. When your skin is sensitive, apply petroleum jelly along your hairline first. This helps stop dye stains on your skin.
Remember to divide your hair into 4 to 6 sections using clips. This makes it easier to apply color evenly and catch every strand. Mixing dye and developer in the bowl before starting is best.
Doing this outside the bottle gives more control over the dye amount. It also helps keep the application smooth and easy.
Avoiding Common Home Hair Dyeing Mistakes
Patchy or brassy color often happens when the dye doesn’t spread evenly. Tangled or knotted hair blocks the dye, making some spots lighter or dull. Brassy tones happen with dark blondes or dark hair using blonde box dye.
The hair may lift to an orange shade. This is not the tone you want.
Damage from dye comes from over-processing or using harsh products. Fine hair soaks up color faster. So applying a dark shade could lead to overly dark results.
Long hair ends absorb color more deeply. So cutting processing time there helps prevent uneven darkness. Always follow the box’s timing carefully.
Adjust it if your hair is fine or long. This helps avoid damage or uneven color.
Fixing color that’s too dark or patchy takes a few steps. Applying a color remover or clarifying shampoo can tone down or even out the shade. You can refresh your color with a gloss.
Use a semi-permanent dye in a closer shade. It helps blend patches better. Trying to fix these issues by piling on more dye usually makes things worse.
Mixing dyes or brands is risky and can cause bad chemical reactions. Different ingredients in each box don’t always work well together.
This can leave your hair damaged or colored in strange hues. Stick to one brand and follow their instructions.
- Brush and detangle your hair before dyeing to ensure even coverage
- Cut the processing time for ends of long hair by 5 to 10 minutes
- Choose a color one or two shades lighter if you have fine hair
- Use color remover carefully to fix overly dark tones
- Don’t use more than one brand or mix different dyes
- Wear gloves and use a timer to avoid over-processing
- Do a patch test 48 hours before dyeing to check skin reactions
Mixing different hair dye brands can damage your hair or cause weird colors. Always use products from the same brand in one session.
Good results come from proper prep and careful timing. Avoid rushing or skipping steps to prevent uneven color or damage. Visit a salon once before trying at-home dye.
It shows you how to apply it right. You learn how to handle your hair best. This prep investment can save money and frustration later.
How to Cover Gray Hair Effectively at Home
To cover gray hair well at home, use a permanent dye with strong pigment. Apply the dye carefully to your roots. Leave it on for the full recommended time.
You can leave it on a little longer if needed. Retouch the gray roots every four to six weeks to keep a natural look.
Choosing Gray-Covering Permanent Colors
Permanent hair dye works best for gray hair because it penetrates the hair shaft fully. Look for dyes made specifically for gray coverage, as they have stronger pigments. Avoid semi-permanent dyes if you want thorough, lasting results on stubborn grays.
Pick a color slightly lighter or darker than your natural shade for the most natural look. This helps blend the gray without a harsh line. Brands with root-touch products can also give you good options for complete coverage.
Root Application Techniques for Gray Hair
Apply dye first to your dry roots, where gray hair shows the most. Use a brush to separate hair in small sections for even coverage. Start applying the dye at the back roots.
Move to the sides next. Finish at the front to keep the timing right.
Add 10 more minutes to the dye time for very stubborn grays. Pin your hair up and cover it with a shower cap afterward. Follow the instructions on the box for total processing time to get full color coverage.
Apply conditioner to your highlighted hair or ends before coloring your roots. This helps protect those areas during dyeing. Coloring only your roots helps avoid over-processing and keeps the rest of your hair healthier.
Maintenance and Retouching Timeline
Gray roots usually show within four to six weeks after dyeing. Plan to retouch during that time to keep the color even and fresh. Retouch only the roots rather than the whole head to reduce damage.
Using a color-depositing shampoo or conditioner weekly can help maintain vibrancy between dye jobs. These products refresh color and cover slight fading without needing more dye.
Follow each product’s instructions carefully, especially on timing and temperature. Dyeing too much or leaving it on too long dries out your hair.
Your hair can become brittle instead of smooth. Follow the timing to avoid damage.
Maintaining and Caring for Color-Treated Hair
After coloring your hair, wait at least two days before washing it. Your natural oils help protect the new color.
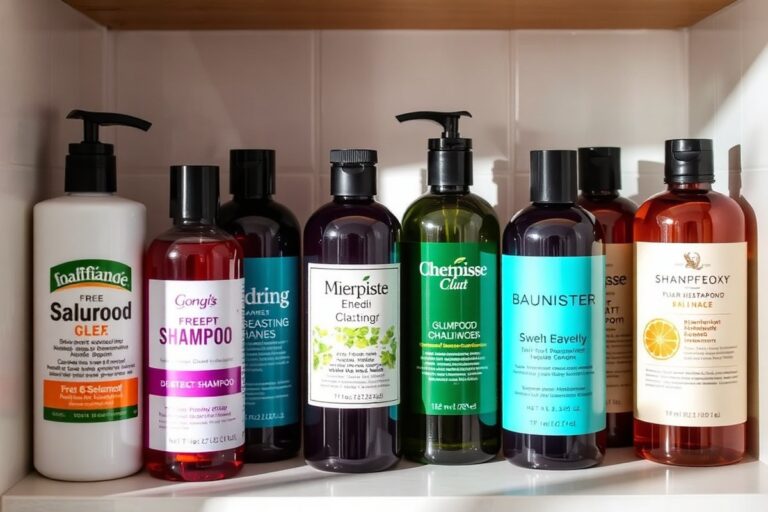
When you do wash, use a shampoo made for color-treated hair. These shampoos have gentle ingredients that lock in your shade.
Try washing your hair only two to three times a week. Frequent washing strips the dye and fades your color faster.
Use lukewarm or cool water to rinse your hair. Hot water can open the hair cuticle and cause more color to wash out.
Condition your hair every time you wash it with a product for dyed hair. It helps seal the color and adds moisture.
Deep condition once a week if your hair feels dry or looks dull. You can find good conditioners for $10 to $20 at drugstores.
Heat styling tools like straighteners and curling irons can affect hair color. High heat causes the dye to break down faster, making your color look faded.
Use heat protectant spray first before applying any heat to your hair. Set your tools to the lowest effective temperature, often 300°F or below.
Products that reduce fading often contain UV filters or antioxidants. Look for leave-in sprays or serums labeled for color protection.
These help block sun damage that bleaches your color. You can buy them for about $15 to $25, depending on the brand.
For blonde or light-colored hair, purple shampoo helps reduce brassiness between dye jobs. Use it once a week instead of your regular shampoo.
For darker hair, a blue shampoo can tone down red or orange tones. Test these once or twice to avoid unwanted shades.
Protect your hair from chlorine and saltwater by wearing a swim cap. Rinse your hair right after swimming to reduce damage. Both can strip color and dry out your hair.
Don’t use heavy hairsprays or mousses before dyeing your hair. Buildup from these products can block the dye from working properly.
Keep your dyed hair looking vibrant by avoiding harsh chemicals in shampoos like sulfates. These chemicals remove oils and fade color quickly.
Look for sulfate-free formulas marked safe for color-treated hair. They might cost a few dollars more but save your color for longer.
When to Seek Professional Hair Color Help
Don’t try home dyeing if your hair has many previous colors or damage. You risk uneven color, breakage, or worse. Professionals assess your hair’s health and history with tests before coloring.
Check your hair’s condition carefully. Extreme dryness, breakage, or scalp irritation means you need a pro. They can repair your hair or recommend treatments before adding dye.
Tell the colorist exactly what products and colors you used at home. Details help them choose the right formulas and prevent unexpected results. Honesty avoids damage and saves time and money.
Big color changes or fixes need experts. Going much lighter or darker at once can lead to hair damage or patchiness. Pros use safer techniques and quality tools to get precise, lasting color.
On average, a professional color session can take 1 to 3 hours, costing $50 to $200. Home dye kits cost less but risk uneven tone or damage without skill. Notice patchy color or scalp burns?
Stop home treatments right away. Book a visit with a salon to fix it.
Tell your colorist about any home coloring you’ve done. Being honest helps get safer, better results.
Step-by-Step Action Plan for Coloring Your Hair at Home
Use this plan to get the best results from your home hair dye. Follow each step carefully and check your progress along the way.
- Before you start: Get all your tools ready. Pick hair dye that matches your skin tone. Make sure your hair is clean and dry for even color.
- Day 1: Do a patch test 48 hours before dyeing. Look for no redness or itching to avoid allergic reactions.
- Day 3: Apply the dye following the instructions exactly. Watch the color change during the recommended time.
- Immediately after dyeing: Rinse with lukewarm water until it runs clear. Check that your hair feels smooth and looks evenly colored.
- After 24 hours: Use a color-safe shampoo and conditioner. Notice how the color sets and your hair stays soft.
- After 1 week: Avoid heat styling and sun exposure to keep the color fresh. Observe if any fading occurs and adjust care if needed.
- After 2 weeks: Apply a deep conditioning treatment once. See if your hair regains softness and shine.
- Every 3-4 weeks: Touch up the roots or refresh color. Monitor for uniform color and healthy scalp.
Frequently Asked Questions
How Long Does It Take to Color My Hair at Home?
It usually takes between 1 to 1.5 hours to color your hair at home. This includes preparation, application, and rinsing.
Can I Safely Dye My Hair at Home If It’s Damaged?
Dyeing damaged hair at home isn’t safe and may cause breakage. Wait until your hair is healthier or see a pro. Coloring healthy hair every two months is generally okay.
How Do I Fix Hair Dye Stains on My Skin Quickly?
Use a cotton ball with rubbing alcohol or makeup remover to clean dye off skin. Act fast to avoid long-lasting stains.
Can I Add Highlights or Lowlights Myself at Home?
Major changes like highlights are best left to salons for safety and quality. For subtle tones, you can try light painting with a tooth brush.
How Often Can I Safely Color My Hair at Home?
You can safely color your hair every two months if it stays healthy. Avoid over-processing to prevent damage and breakage.
Is It Okay to Mix Different Hair Dye Brands at Home?
It’s best not to mix brands because formulas vary and may cause uneven color. Stick with one brand’s system for best results.
Key Points to Remember
Coloring your hair at home can be rewarding with the right care. Take your time and trust the steps you’ve learned. Start today by choosing a dye that matches your skin tone perfectly.