How to Put on Extensions with Clips: A Complete Step-by-Step Guide
Knowing how to put on extensions with clips is simpler than you think. Start by choosing high-quality clip-ins made from 100% human hair. This ensures your natural hair stays healthy and blends well with the extensions.
Begin by sectioning your hair about 2 inches above your ears and working upward. Clip the hair extensions securely close to your scalp for a natural look. Make sure you attach each weft firmly, or they may slip out throughout the day.
Practice takes the edge off. Most people get the hang of it in 10 to 20 minutes.
Watch out for clipping too close to your scalp, which can cause discomfort. With the right technique and care, clip-ins add volume and length fast and safely.
Key Takeaways
- Choose clip-in extensions made from 100% human hair for the best results.
- Create clean horizontal sections about 2 inches wide for easy clipping.
- Attach clips firmly to avoid slipping but not too tight to hurt your scalp.
- Use one pack with 7 to 10 wefts for a full, natural-looking head of hair.
- Practice applying clip-ins several times to speed up the process to under 20 minutes.
- Blend extensions by releasing hair from the crown and layering it over clips.
Step-By-Step Process to Put on Clip-In Hair Extensions
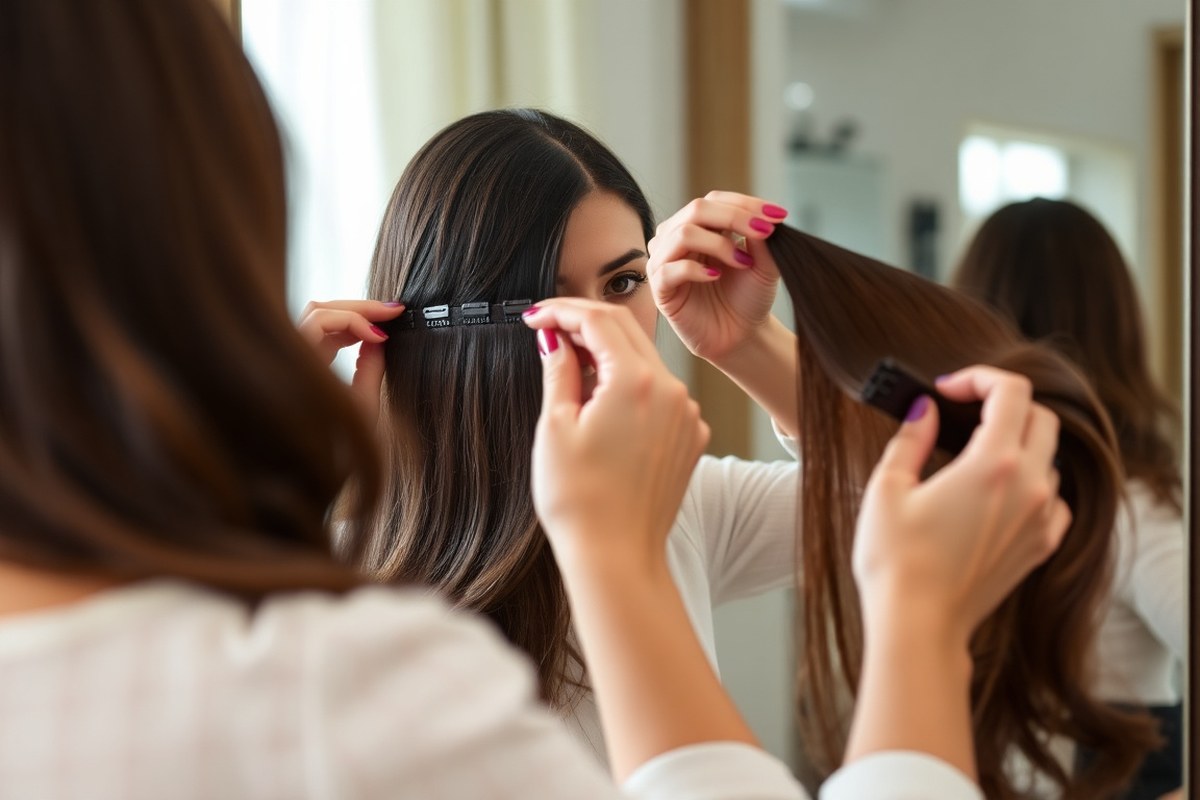
Start attaching clip-in hair extensions at the nape of your neck. Work your way up in sections to layer them properly. This method helps secure the extensions firmly.
Clip in the largest wefts first, then add smaller pieces on the sides and crown. Proper sectioning and secure clipping keep the extensions hidden and comfortable.
Preparing Your Work Area and Tools
Organize a clean space with good lighting and a mirror in front of you. Gather your clip-in extensions, fine-tooth comb, hair ties or clips, and optional heat styling tools.
Keeping everything handy makes the application process faster and less frustrating. A claw clip will help hold your natural hair out of the way as you work.
Sectioning Your Hair for Applying Extensions
Start by combing your hair thoroughly to remove tangles. Use a fine-tooth comb to part your hair horizontally about 1 inch above the nape.
Clip the top hair out of the way using a hair tie or claw clip. For smaller side wefts, part above each ear to isolate thin sections.
Clipping in Wefts Starting from the Nape Upwards
Begin with the largest weft at the lowest section near your neck. Snap the clip open, place it against your scalp, then snap it closed securely.
Work your way upward in horizontal layers, clipping from the middle then the sides. This order ensures even volume and natural layering.
- Comb out your hair and part a horizontal section near the nape.
- Open clips on the largest weft and snap it on along the part.
- Release the top hair and part another section about 1 inch above the first.
- Secure next largest weft, clipping from center to sides.
- Continue layering, moving upward toward the crown.
Securing Side and Crown Extensions
Part the hair above your ears for the smaller side wefts. Snap open clips, position them close to the scalp, and snap them closed gently.
For the crown area, part a small horizontal section at the top of your head. Use the smallest wefts here to avoid a bulky look and secure natural blending.
Final Blending and Styling Tips
Cover the clips by allowing your top hair layer to fall over. Use a wide-tooth comb to softly blend your real hair and the extensions. This helps keep the look natural and smooth.
Use heat styling tools if needed to match the texture and shape of your natural hair. Avoid brushing too hard to keep the clips secure and hair smooth.
Essential Tools and Preparation Before Applying Clip-Ins
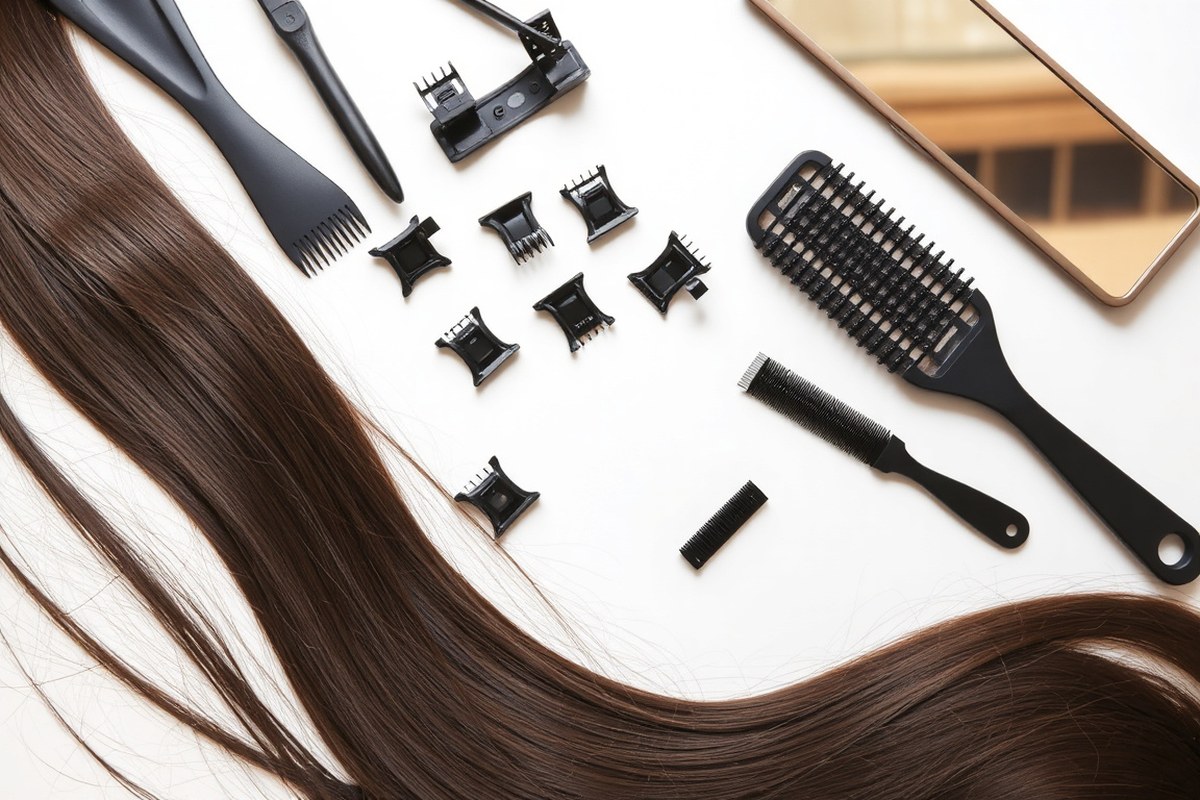
Start by gathering all the tools you’ll need before you apply clip-in hair extensions. This makes the process smoother and saves time. You mainly need a comb or brush, clips for sectioning, and the clip-in extensions themselves.
Cleaning and detangling your hair is essential. Gently comb through your hair to remove all knots and tangles. This prevents your natural hair from snagging when you clip in the extensions.
- Wide-tooth comb or soft brush for detangling
- Sectioning clips to hold hair in place
- Clip-in hair extension set that matches your hair texture and color
- Heat protectant spray if you plan to style with hot tools
- Optional: flat iron or curling iron for pre-styling
- Mirror to check your progress
Use sectioning clips to divide your hair into layers for an even application. This helps you attach the extensions neatly and securely.
If you like your hairstyle straight or wavy, use heat tools to style your hair before applying clips. But always spray heat protectant first.
Be gentle when clipping and unclipping to avoid pulling your hair.
Applying clip-ins on clean, dry hair works best. Hair that’s damp or oily can make the clips slip or not hold well. Preparing your hair this way ensures the extensions stay put longer and look natural.
How to Section and Prep Natural Hair for Clip-In Extensions
Sectioning your hair properly and prepping the roots help your clip-in extensions hold longer. Start by creating clean horizontal parts from the nape of your neck to the crown.
Lightly teasing the roots at each section gives the clips a better grip. Keep the rest of your hair clipped away while you attach the wefts below.
Parting Hair from Nape to Crown
Start with dry, detangled hair to make neat parts easier. Use your fingers or a comb to measure about one-inch sections for each weft.
Working from the bottom at the nape, move upward toward the crown with horizontal parts. This keeps the extensions even and balanced.
A fine-tooth comb works best for clean lines. The straight parts give clips a flat surface to grip tightly. You should keep parts small and precise with thinner hair to avoid bulky layers.
Teasing Roots for Clip Security
Slightly backcomb the roots where you will clip each extension for extra hold. Take a teasing comb and gently tease a little hair section.
This section should be about half an inch above the part. This builds texture that prevents clips from slipping out.
Don’t overdo it. Tease only enough to add grip without damaging the hair.
Spray a light texture spray on these teased spots to improve the clips’ hold further. This is especially useful for fine or silky hair.
Securing Hair Sections During Application
Clip away the rest of your hair above each section you are working on. Use a larger claw clip or section clip for this. This keeps your natural hair out of the way while you attach the wefts below.
Make sure the clipped hair stays smooth but loose enough to cover the extensions. Add a weft, then gently tease the top natural hair layer. Smooth it down to hide the clips for a natural look.
Follow this step-by-step to prep your hair for clip-in extensions:
- Comb hair thoroughly to remove tangles.
- Create a horizontal part about one inch from the nape.
- Clip away the top hair to expose the section below.
- Lightly tease roots along the part for grip.
- Apply a light texture spray over teased roots.
- Attach the clip-in extension to the prepared section.
- Release clipped hair and cover the extension.
- Repeat parts moving upward toward the crown.
Types and Sizes of Clip-In Extensions and Their Ideal Placement
Clip-in hair extensions come in different sizes and styles to match your hair needs. You’ll find small, medium, and large wefts, each fitting a certain part of your head. Knowing where to place each size helps your extensions look natural and feel secure.
Small (1-2 Clip) Wefts
Small wefts usually have one or two clips attached. They work best for adding volume on the sides or filling in thin spots. These wefts are easy to place around your face and ears without adding bulk.
Use them to add volume around your temples. They also help blend extensions with your natural hair.
Place them near your part for the best look. Their size lets you target delicate areas without pulling or tugging.
Medium (3-4 Clip) Wefts
Three to four clip wefts cover more hair than smaller ones. They are still easy to handle. This size offers a good balance.
These wefts shine for mid-head layers and the nape of your neck. They add noticeable length and fullness without overpowering your natural hair.
It’s smart to place these just below your crown or around the back sides. This helps you get even volume all over.
It also creates a smooth blend between your hair and the wefts. Large base wefts work best this way.
Large (5+ Clip) Wefts
Large wefts come with five or more clips and cover wider areas in one go. Use these for your base layers where you want serious length and volume fast. They keep your extensions secure while evenly spreading thickness.
These wefts usually attach around the lower back of your head. Large wefts cover a bigger area of your hair.
Avoid clipping them too high because they may look heavy. High placement can also appear fake.
Here’s a simple comparison table. It shows how clip-in types match hair goals. It also covers placement tips.
| Type | Clips per Weft | Best Placement | Primary Purpose | Typical Coverage |
|---|---|---|---|---|
| Small | 1-2 | Sides, temples, delicate areas | Adds volume, fills thin spots | Small sections |
| Medium | 3-4 | Mid-head, nape | Lengthens, adds fullness | Medium areas |
| Large | 5 or more | Lower back, base layers | Gives length and overall volume | Large sections |
One full head typically needs 7 to 10 wefts weighing 120g to 160g total. That’s enough for a natural, full look without overloading your hair.
Choosing the right weft sizes helps you avoid a top-heavy or chunky effect. Match the weft sizes to your hair’s texture and style goals for smoother blending.
Blending and Styling Clip-In Extensions for a Natural Look
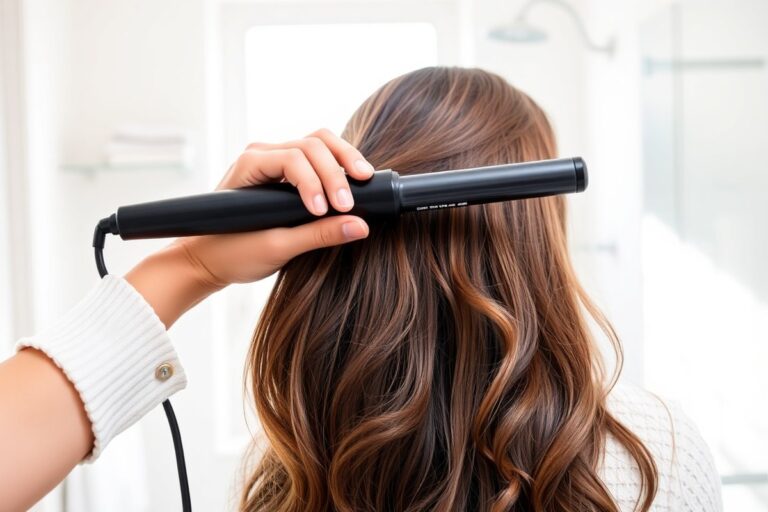
To blend your clip-in extensions with natural hair, start by matching the texture. When your hair is straight, straighten extensions and your hair. Use a flat iron set to about 350°F. Use a curling iron for wavy or curly hair.
Curl loose waves on your hair. Do the same for your extensions. This helps the extensions blend smoothly into your natural hair.
After installing the extensions, brush your hair with a Smooth Finish Extension Brush. This helps remove tangles and merges the clip-ins with your natural hair strands. Hold the brush at your hair roots.
Gently comb through the lengths. Avoid pulling clips or causing damage.
Curled or straightened clip-in extensions blend more naturally because they mimic your hair’s movement. Curl your natural hair and clip-ins together. Work in sections about 1 inch wide.
This gives an easy style. Curling hides visible weft lines.
It smooths the finish. Extensions become hard to spot.
Always avoid using heat above 350°F on clip-in extensions to prevent damage and maintain hair quality.
Avoid having extensions that are more than 4 to 6 inches longer than your natural hair. To get extra length, layer your extensions carefully.
This helps them blend well into your hair. This layered look also adds volume without the extensions standing out as a separate piece.
Styling your hair with extensions is easier when you choose clip-ins made from 100% human hair. Real human hair extensions hold curls and styles better and blend smoothly. They also react like your natural hair to styling products, making the final look more authentic.
Keep your hair and extensions moisturized. Avoid heavy products near clips to stop slippage. Light serums or leave-in conditioners work best.
Moisturized hair stays soft and glossy. It improves the finish. Extensions feel comfy all day.
Common Mistakes and How to Avoid Them with Clip-In Extensions
Many people clip hair extensions too close to the scalp. This can cause discomfort and make clips show through your hair. Place clips at least half an inch from your scalp.
This helps avoid pulling. It also keeps clips from showing.
Also, avoid attaching extensions to slick or oily hair. Clean hair helps clips grip securely and lasts longer during wear.
Using heavy wefts on thin or fine hair adds too much weight. This pulls your natural hair and risks damage. Choose lighter weft pieces designed for fine hair to keep your scalp comfortable.
Smaller sections also blend better and stay hidden. Try flipping the clip direction before snapping it closed.
This can ease discomfort. That changes the grip and reduces pressure points.
Clip visibility happens often when you place extensions over thin or flat areas. To mask clips, tease your roots slightly before clipping in extensions. Teasing adds volume, making clips less noticeable.
You can also clip the extensions underneath a thicker top layer of hair. Pinch the top layer to cover the clips well. This layering step is important for a natural finish with shorter or layered hairstyles.
- Avoid clipping extensions too close to the scalp, leave half an inch.
- Attach clips to clean, dry hair for better hold and comfort.
- Use lighter wefts on fine or thin hair to prevent pulling.
- Try flipping clip direction if clips pinch or feel too tight.
- Tease roots gently to add volume and hide clip bases.
- Cover clips by clipping extensions under thicker layers of natural hair.
- Be gentle and avoid pulling hair when clipping in extensions.
Misplaced or heavy clip-ins can cause headaches or damage your hair. Take time to check that clips don’t pull or show after snapping them closed. Use a mirror to examine all angles and part your hair to peek inside.
Adjust any clips that look loose or feel rough against your scalp immediately. Good clip-in technique feels comfortable and looks like your natural hair.
Tips for Safe Clip-In Extension Use and Maintenance
Clip-in extensions won’t damage your natural hair if you handle them gently. Always make sure your natural hair is dry and detangled before clipping them in. When removing, open each clip carefully.
Pull the extension away from your scalp gently. This helps avoid pulling and breakage.
Take off your clip-ins every night. Sleeping with them in causes tangling and matting, which damages both your hair and the extensions. Let your hair rest overnight after removal.
This keeps your scalp healthy. It also prevents problems when you reapply them.
Clean your extensions regularly with a sulfate-free, hydrating shampoo and conditioner. Wash them only after about 15 to 20 wears or when they look dirty. Avoid hot water over 110°F. Cool or lukewarm water keeps hair cuticles smooth and lasting longer.
Use a wide-tooth comb or a brush made for extensions to remove tangles. Start at the ends and work your way up gently. Never brush extensions when wet, since wet hair stretches and breaks more easily.
Store your extensions properly between uses to stop them from getting tangled or dusty. Lay them flat on a clean surface or hang them on a special holder. Store extensions away from direct sunlight.
Keep them away from heat sources too. Heat and sun dry out hair and reduce shine.
You can reuse clip-in extensions multiple times if you care for them well. Good human hair extensions last 6 to 12 months. How long depends on wear frequency and care.
Proper care helps them last longer. Treat extensions like your real hair.
Wash them regularly and protect them well. Handle gently for the longest life possible.
For curly or textured extensions, keep their natural pattern. Use moisturizing sprays often. Scrunch the hair instead of brushing it.
Use products designed for your hair type to keep curls bouncy and soft. Avoid heavy oils or anything that weighs the hair down.
Before removing clip-in ponytail extensions or wefts, check your natural hair. Make sure none is caught in clips or seams. This avoids pulling and pain.
Pulling extensions too hard or in the wrong direction can create breakage or pain. Take your time and be thorough to protect your scalp and hair.
Adjusting Clip-In Extensions for Different Hair Lengths and Textures
Short hair needs a careful clip-in approach to avoid visible seams. You should pick smaller wefts and place them closer to your scalp. Use the tail comb to create very thin horizontal parts right near your neckline and crowns.
Fine hair can struggle to hold clips without slipping or showing clips through. Light mousse or flexible styling gel helps anchor hair around clip bases, keeping them secure.
Spray mousse on dry hair first. Then pinch clips firmly into styled hair for better grip.
Hair textures vary so clip-ins must match to blend well and feel comfy all day. Curly or coarser hair looks best with extensions of similar curl and thickness. Straight clip-ins on curly hair will stand out and feel awkward.
For coarse hair, you might need to warm the clips slightly with your hands before clipping. This softens the metal and stops pinching.
For layered or textured hair, tease the hair lightly under where each clip goes. This adds volume around the clip and hides it.
Your hair is fine and straight. Avoid heavy teasing since it stresses fragile strands.
People with thick or heavy hair may need stronger clip constructions like smooth clip-ins. These spread the weight evenly and hold better without sliding or pulling. Lace clip-ins work best on thin to medium hair.
They give a natural scalp look. Dense hair might not hold these clips well.
Place clips on dry, styled hair, never damp, to avoid slippage and discomfort all day.
Before clipping, make sure your hair is free of heavy oils or conditioners. These can cause clips to slide or catch. Clean, lightly styled hair lets clips grip securely and stay hidden without tension.
Changing placement works for different lengths. For short hair, start at the nape and work upward in thin layers. Longer hair can use wider clips.
Place them on lower to mid-head. Avoid top crown areas to keep clips hidden. Matching clip size and placement to hair length makes extensions less noticeable.
Step-by-Step Action Plan for Putting on Clip-In Hair Extensions
Follow this simple plan to add clip-in extensions smoothly for a natural look.
- Before you start: Gather your clip-ins, comb, and clips. Make sure your hair is dry and tangle-free.
- Sectioning time: Part your hair horizontally near the nape. Clip up the top section to expose the area.
- Applying clips: Attach the biggest weft closest to your neck. Listen for the snap to confirm it’s secure.
- Move upward: Release the next section of hair. Clip in smaller wefts along your head, leaving a small gap between each.
- Check the fit: Run your fingers gently over your head to feel for loose clips. Adjust if needed to keep them tight.
- Blending step: Style your extensions using a curling iron or straightener. Match them with your natural hair texture. Check the mirror for any visible lines or gaps.
- Final touch: Spray a light hairspray to set your hairstyle. Use dry shampoo to reduce slipping. This helps keep hair in place longer.
Frequently Asked Questions
How Do I Put in Hair Extensions?
Start by sectioning your natural hair in small layers. Clip the extensions close to your scalp and move upward, adding pieces as you go. Use a fine-tooth comb and mirror for precise placement.
What Are the Downsides of Using Clip-In Hair Extensions?
Clip-ins can put tension on your natural hair if worn too long. They might slip out if not clipped securely. Also, frequent use without breaks can stress your scalp and hair roots.
How Many Clip-In Extensions Do I Need for a Full Head?
Typically, one pack with 7 to 10 wefts covers a full head. That gives you about 120g to 160g of hair. More or less depends on your natural hair’s thickness and desired volume.
What Is the Healthiest Way to Put in Hair Extensions?
The healthiest way is to avoid too much tension on your scalp. Don’t clip them too close to your roots or wear them day and night. Give your hair breaks between wears to prevent damage.
How to Put on Extensions with Clips?
Section your hair in clean horizontal layers first. Attach each clip-in piece starting from the bottom, clipping securely to your roots. Blend the extensions with your natural hair afterward for a natural look.
Can I Sleep with Clip-In Hair Extensions On?
It is best to remove clip-ins before sleeping. Leaving them in overnight can cause tangling and strain your natural hair. Sleeping without extensions helps protect your scalp and hair health.
Key Points to Remember
Putting on clip-in extensions right makes a big difference in how natural they look. Take your time and test each clip’s hold. Try your first full set today and see the new length and volume for yourself.