How to Use Hair Curling Iron: Simple Steps for Lasting Perfect Curls
Learning how to use hair curling iron starts with choosing the right temperature. Set your iron between 320°F for fine hair and 430°F for thick hair to avoid damage. Starting with the correct heat gets you curls that last longer and look better.
Begin by dividing your hair into 2 to 3-inch sections to make curling manageable. Always use a heat-protective spray before curling to guard against damage. This helps keep your hair healthy and the curls shiny.
Hold each hair section around the barrel for about 10 seconds, then gently release. Using a 1-inch barrel is best for creating classic spiral curls that hold. Keep your curling iron moving between sections to avoid overheating any spot.
Key Takeaways
- Set curling iron heat to 320°F for fine hair, up to 430°F for thick hair.
- Use a 1-inch barrel for classic spiral curls with a flat wrap technique.
- Apply heat-protective spray rated for your curling iron’s temperature.
- Divide hair into 2, 3 inch sections for easier, even curling.
- Hold hair on the barrel for up to 10 seconds for well-set curls.
- Avoid leaving the iron on the same hair section too long to prevent damage.
How to Use a Hair Curling Iron Step-by-Step
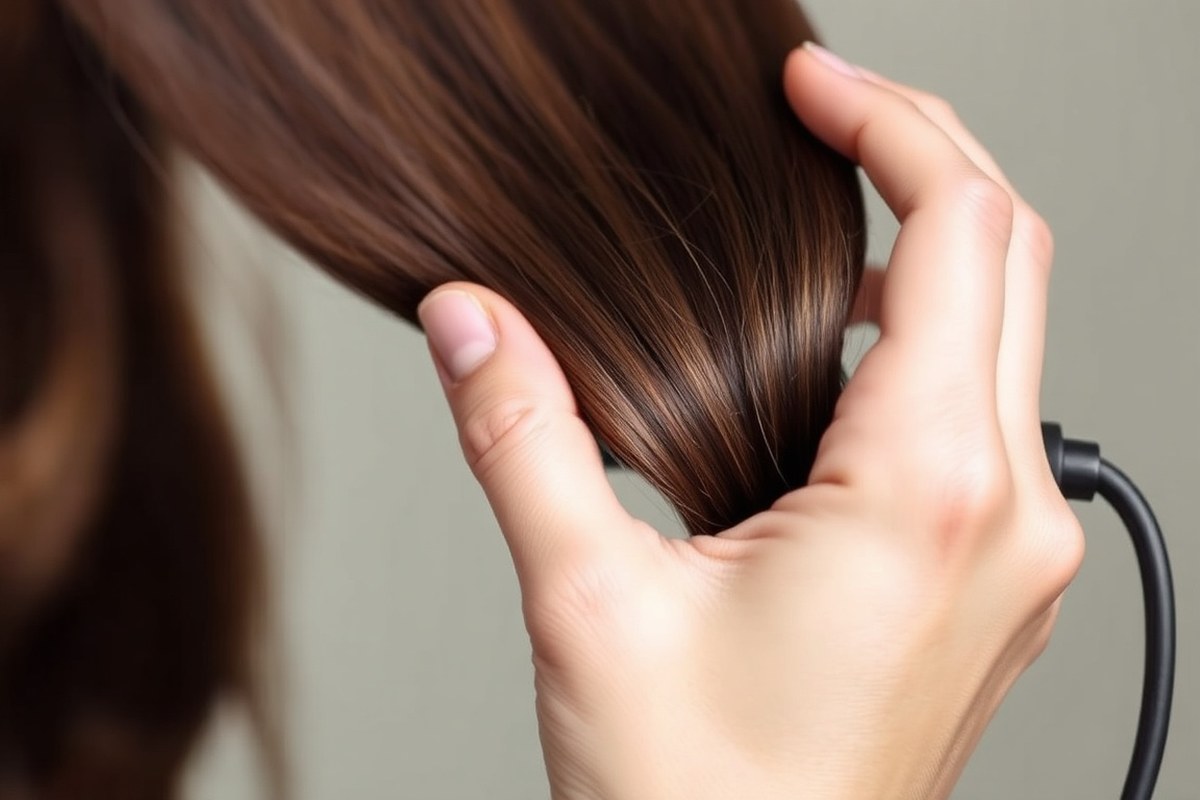
Start with fully dry, heat-protected hair. Divide your hair into small, manageable sections. Small sections heat evenly and curl better than large clumps.
Hold the curling iron around 320°F for fine hair. Use up to 430°F for thick hair. Choose a temperature that suits your hair type.
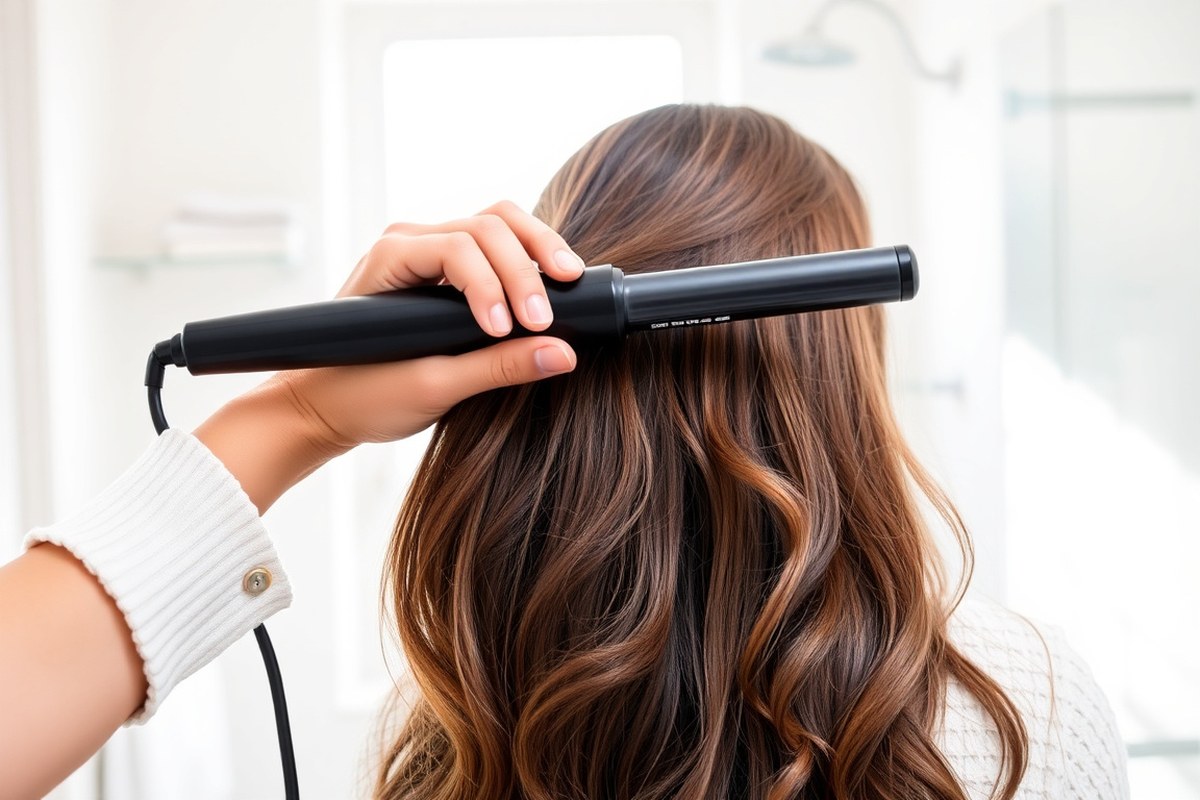
Clamp the section near its roots, then wrap the hair flat around the barrel. Don’t twist the section or the curl won’t look smooth.
- Section your hair. Part your hair into 1-inch wide sections. Clip away the rest to keep it out of the way.
- Heat the curling iron. Turn it on and set it between 320°F and 430°F, based on your hair thickness.
- Clamp the hair at the roots. Open the iron, place it near the scalp, and hold the hair flat along the barrel.
- Wrap the hair without twisting. Wrap the hair smoothly around the barrel, holding it flat for even heat.
- Hold for 10 to 15 seconds. This timing is enough to set the curl without causing heat damage.
- Release and clip. Slip the curl off the iron carefully and clip it in place to cool and set.
- Repeat all over. Work through your sections, curling and clipping as you go.
- Finish with hairspray. Let curls cool completely, then spray lightly to hold the shape.
Using small sections helps the heat reach all your hair evenly. Holding the iron more than 15 seconds risks damage. Too short, and the curl may not hold.
Choosing the Right Curling Iron and Barrel Size

Pick a curling iron barrel size by the curl style you want and your hair length. Smaller barrels, around 3/4 inch, create tight, defined curls. For loose curls or natural waves, use a 1 1/4 to 2-inch barrel.
Larger barrels create softer curls. They give more natural-looking waves. Hair length also guides barrel choice, the longer your hair, the bigger the barrel you’ll want.
Calculate barrel size based on hair texture too. Fine or thin hair can hold curls from lower heat and smaller barrels.
Thick or coarse hair needs higher heat and sometimes a bigger barrel to curl well. Choose the curling iron type based on your comfort and the curls you want.
Clamp irons are easier for beginners. Wands offer more natural wave styles but need practice.
| Barrel Size | Curl Style | Best Hair Length |
|---|---|---|
| 3/4 inch | Tight, spiral curls | Short to medium |
| 1 inch | Defined curls, some waves | Medium length |
| 1 1/4 to 2 inches | Loose curls, beach waves | Medium to long |
Clamp curling irons hold your hair in place for control and are best for defined curls. They make wrapping hair easier, especially near roots. Curling wands don’t have clamps, so you wrap your hair directly around the barrel.
Wands work well for loose waves and a natural look. They take more skill to use safely. Be careful to avoid burns.
Pick an iron that heats to the right temperature for your hair thickness. Lower heat (around 280, 320°F) works on fine hair.
Thick or coarse hair sometimes requires 360, 400°F heat. Remember to separate your hair into layers as thick hair needs fewer layers for easier curling.
Preparing Your Hair and Choosing Heat Settings
You should always curl your hair when it’s completely dry, never wet or damp. Preparing your hair with the right heat protectant products is key to avoid damage. Pick a heat setting that matches your hair type.
This helps curls last longer. It also protects your hair from damage.
Dry Hair Thoroughly Before Curling
Wet hair is fragile and can get damaged easily by the curling iron’s heat. Make sure your hair is fully dry before you start curling. Use a blow dryer or let your hair air dry until no moisture remains.
Check by running your fingers through your hair. Dry your hair more when it feels cool or damp. Starting with dry hair also helps your curls last longer without frizz.
Apply Heat Protectant Products
Heat protectants shield your hair from damage caused by curling irons. Apply a heat protection cream before drying your hair to create a barrier. Once your hair is dry, mist a heat protectant spray evenly all over before curling.
Using both cream and spray protects hair twice: the cream coats hair during drying. The spray blocks heat during curling. This double step lowers the chance of damage and keeps hair shiny.
- Apply a pea-sized amount of heat protectant cream on damp hair.
- Comb through to spread evenly before blow drying.
- Spray light mist of heat protectant on dry hair before curling.
- Use a lightweight spray for less residue and buildup.
- Use texture spray if hair is slippery to help curls hold better.
This routine adds grip and saves your strands from the curling iron’s heat.
Set Temperature by Hair Type
Choosing the right heat setting depends on whether your hair is fine, normal, or thick. Fine hair needs the lowest heat, usually between 250°F and 300°F. This reduces damage risk while still styling well.
Normal hair handles medium heat, about 300°F to 375°F. Thick or coarse hair may require high heat, from 375°F to 410°F, to form curls properly. Always start with the lowest setting and raise it gradually as needed.
Holding your curl for 5 to 7 seconds lets the heat set your style without burning. Pay attention to the warm feeling through your hair. That signals you to let go of the iron.
Curling Techniques for Different Hair Types
Curling your hair looks best when you adjust your technique for your hair type. Fine, thick, wavy, and short hair need different methods. Each type requires a unique way to hold curls.
This helps you avoid hair damage. Knowing how heat affects your hair improves your results.
Section size also changes the curl outcome. Curling direction matters too.
Fine and Color-Treated Hair
Fine hair curls easily but heats up quickly. So use lower temperatures around 280°F to 320°F. Hold the curling iron on hair for 5 to 8 seconds. This time creates curls without causing damage.
Avoid holding it longer. Choose small, manageable sections about ½ to 1 inch wide to avoid over-curling or heat buildup.
Spray heat protectant before curling fragile strands. This is very important for color-treated hair. It helps reduce damage.
Avoid curling dirty or oily hair; slightly clean hair holds curls better. Let the curls cool completely before touching. This helps fine hair keep its shape longer.
Thick or Coarse Hair
Thicker hair takes more heat and time to curl. So set your curling iron to 350°F to 400°F. Use larger sections, about 1 to 1½ inches wide. This allows heat to reach inside fully.
Smaller sections may not curl well. Hold the curling iron on each section for 10 to 15 seconds.
This creates strong curls that last longer. Don’t hold it too short.
Divide dense hair into smaller sections before curling. Curl each piece carefully to avoid uneven curls. This ensures a neat look.
Apply a light styling product before curling, like mousse or curl cream. This helps define curls.
It also fights frizz. Let curls cool fully before brushing or styling to keep the shape intact.
Short and Naturally Wavy Hair
For short hair, use a curling iron with a ¾-inch or 1-inch barrel. This size gives the best control. It creates perfect curl size.
Curl hair in vertical sections for loose waves. Use horizontal sections for tighter curls.
Choose based on the look you want. Keep heat moderate at 300°F to 350°F to avoid heat damage to the shorter strands.
Turn waves into curls by wrapping smaller sections around the barrel. Hold for 6 to 10 seconds. This shapes defined curls.
Use a texturizing spray after curling to add volume and help curls last longer. Short hair loses curls faster than long hair.
Touch up curls every day or two. Don’t wait until after washing.
Making Curls Last Longer: Products and Finishing Steps
Using the right products and techniques helps your curls hold shape and texture all day. Spray lightweight products on your curls. Let them cool completely.
Try simple tricks to keep them fresh overnight. These steps make curls last longer without feeling heavy or sticky.
Best Hold Sprays and Serums
Start with a texture spray or volumizing root boost before curling for added grip. These products give your hair some hold without weighing it down. After curling, use a light mist of flexible hold hairspray to keep curls bouncy and natural-looking.
Serums with silicone smooth frizz while locking in moisture, which helps curls stay defined. Only use a small amount, about a pea size, to avoid greasy or heavy hair. Avoid heavy creams or oils after curling, they flatten curls and reduce bounce.
Proper Cooling and Setting of Curls
After curling a strand, hold the curl in your palm until it cools completely. Cooling sets the curl shape so it lasts longer and doesn’t fall out quickly. Avoid running your fingers through curls too soon, or they will lose their spring.
Once curls cool, gently separate them with your fingers or a wide-tooth comb to add volume. Lock curls with a short burst of hairspray, holding the can about 10 inches away.
Set your curling iron to the lowest heat. Hold it on your hair for 8 to 10 seconds.
Overnight Curl Preservation Methods
Tie your hair loosely in a high ponytail. You can also make a “pineapple” on top of your head. Wrap short or medium hair in a loose silk scarf or bonnet.
This cuts down friction. It stops curls from stretching.
Use a smaller curling iron to refresh curls on day two. It works better than re-curling all your hair. Avoid sleeping with your curls down on cotton pillowcases, which absorb moisture and cause frizz.
Tightly wrapping hair overnight can pull curls flat. So always choose loose scarves or ponytails.
Common Curling Iron Mistakes and How to Fix Them
Curls often fall flat because hair is dirty, damp, or unprepared. Curling unclean or wet hair traps moisture, causing curls to lose shape fast. Use dry, clean hair that has had the right prep products for lasting curls.
Heat damage occurs when hair gets too hot or stays heated too long. Choose a curling iron that lets you adjust the temperature.
Keep the heat between 250° and 300° Fahrenheit. Don’t hold the iron on one spot for more than 10 seconds to protect your hair.
Uneven or unnatural curls usually mean inconsistent section size or barrel use. Stick to uniform hair sections and use a 1-inch barrel for balanced, natural-looking waves. The flat wrap technique works well here and helps curls look smooth.
- Don’t curl damp hair; wait until fully dry.
- Use heat protectant spray before styling.
- Choose a curling iron with adjustable heat control.
- Section hair evenly, no thicker than 1-inch pieces.
- Limit iron contact to 8-10 seconds per section.
- Roll hair smoothly around the barrel without kinks.
- Let curls cool before touching to set shape.
To fix already flat curls, lightly mist with hairspray and pinch curls while warm. Avoid hitting curls with too much product or your fingers, which can break up shape. Reheat only small sections if curls loosen during the day, never all at once.
Burnt hair or dark patches mean the iron was too hot. You might also be holding the iron incorrectly. These signs show your hair is getting damaged by heat.
Lower the temperature, and always glide the iron smoothly with minimal pressure. Use deep conditioning treatments to bring back moisture if your hair feels dry or damaged.
These treatments help fix some heat harm. Apply them once damage appears.
Safety Tips for Using a Curling Iron Without Damage
You’ll want to use heat protectant spray before curling. It forms a shield that helps stop heat damage and adds shine to your hair. Choose one made for higher temperatures if your iron hits over 300°F.
Always make sure your hair is totally dry before curling. Curling damp hair causes serious damage and won’t hold curls well. It’s safer to wait or use a quick dry method if you’re in a rush.
Handle your curling iron with care to avoid burns. Keep the curling iron on a heat-proof surface when not using it. Always hold it by the handle only.
Avoid touching hot parts directly. Wear a heat-resistant glove to protect your fingers.
This is helpful when wrapping hair tightly around the barrel. It prevents burns on your skin.
- Apply heat protectant spray evenly before using the iron
- Keep your hair completely dry to prevent damage
- Hold the iron only by its cool handle
- Wear a heat-resistant glove on the hand that wraps hair
- Place the iron on a heat-proof mat or surface when resting
- Check hair for signs of damage like split ends or breakage
- Lower iron temperature if you notice extra tangling or dryness
Watch for split ends, extra tangles, or hair breakage near the middle. These signs mean you should stop heat styling for a while. Let your hair rest and recover.
You can lower your iron’s heat setting to help prevent damage. Many curling irons go up to 400°F. But keeping it below 375°F helps reduce risk.
Watch your skin and scalp during use. Stop using the iron right away if you feel burning or see redness. These are signs your skin is getting hurt.
Take a break before you continue. Curling irons can burn skin quickly if left too long.
Take your time and keep the iron moving to avoid hot spots. This prevents painful burns and protects your hair’s health.
Refreshing and Reusing Curls Without Reapplying Heat
On day two or three, avoid using a curling iron on your entire head. Reapplying heat too often can dry and damage your hair. Instead, focus on reviving curls gently with no heat.
Use a light mist of water mixed with a curl refreshing spray or a leave-in conditioner. Spray over your curls from root to tip, then scrunch your hair with your hands. This technique brings back bounce without breaking up the curl pattern.
Flip your head upside down and shake gently to lift flat curls. This helps lift roots and adds volume without heat.
A few sprays of a lightweight volumizing spray can support the lift. Avoid heavy products that weigh hair down.
For curls that have lost shape, finger twist a few strands to reshape them. Use a touch of curl cream or mousse for hold and definition after. Let your hair dry on its own.
You can also use a diffuser. Set it to cool to freshen curls quickly.
Re-curl individual sections with a curling iron only if necessary. Always set your iron to a lower heat, around 300°F to 350°F, to minimize damage.
Limit this touch-up to just small pieces that really need reshaping. Doing more can cause brittleness.
Don’t skip the protective product before touching curls with heat again. It helps stop breakage and split ends.
To keep curls longer when sleeping, use a loose pineapple tie. Place it above your head. This helps protect curls overnight.
Use a satin or silk pillowcase to reduce friction and frizz. This cuts down curl loss overnight and reduces the need for heat styling in the morning.
Products matter here. A curl refresher or water with a little leave-in conditioner costs about $10 to $20.
It usually lasts a few months with normal use. Avoid heavy oils or gels that can flatten curls or cause buildup.
Refreshing curls this way saves time and lowers heat exposure. Your curls stay softer and healthier for longer.
Keep product buildup low and avoid over-dampening hair. Too much wetness can cause your style to slump and dry slower.
Step-by-Step Action Plan
Follow these steps today to curl your hair confidently and safely. Each step helps you get better results and protect your hair.
- Before you start: Choose a curling iron barrel size that fits your desired look. Smaller barrels make tight curls; bigger ones create loose waves.
- Right before curling: Apply a heat protectant spray on dry hair. When your hair feels dry and not sticky, it’s ready for heat.
- During curling: Use medium heat for fine hair. Use higher heat for thick hair. The curls should form quickly without burning your hair.
- While curling: Hold each section in the iron for 8 to 12 seconds. The curl stays shaped and smooth afterward when your timing is good.
- Just after curling: Let curls cool before touching them. Once cool, the curls hold longer and look sharper.
- Finishing touches: Lightly spray curls with a flexible hold hairspray. The curls move naturally and last hours when you pick the right product.
- Next morning: Refresh curls without heat by misting hair lightly and scrunching. Curls spring back when your method works well.
Frequently Asked Questions
How Long Should I Hold My Hair on the Curling Iron Barrel?
Hold the hair on the curling iron barrel for about 10 seconds. This timing helps create a lasting curl without overheating and damaging your hair strands.
Can I Use a Curling Iron on Damp Hair?
Avoid using a curling iron on damp hair to prevent damage. Hair must be completely dry before styling to stop sizzling and breakage.
What Is the Best Barrel Size for Short Hair Curls?
For short hair, a ¾-inch or 1-inch barrel works best. It helps create curls that suit shorter hair without looking heavy.
How Often Should I Clean My Curling Iron?
Clean your curling iron every few uses to remove product buildup. Use a damp cloth when the iron is cool to keep it working well.
Can Curling Irons Damage My Hair Even with Heat Protectant?
Yes, using a curling iron can still cause damage over time. Always use heat protectant and avoid the highest heat settings to protect your hair.
How Can I Make My Curls Last All Day?
Use a heat protectant and avoid touching curls too soon. Finishing with a light hairspray can help hold curls longer throughout the day.
The Bottom Line
Using a curling iron with the right steps protects your hair and gives you lasting curls. Practice these tips regularly to get comfortable. Try curling a small section today to start.