How to Use Auto Curling Iron: Simple Steps for Perfect Curls Every Time
Knowing how to use auto curling iron saves time and gives consistent curls. You start by heating the iron to the right temperature for your hair type. Fine hair should use around 320°F, while thicker hair needs closer to 430°F.
Next, divide your hair into 2- to 3-inch sections for even curling. Place the curling iron near the top of each section and let it curl automatically. This method keeps curls smooth and avoids burns or tugs.
Always look for irons with adjustable temperature and safety features like auto shut-off. A 9-foot swivel cord is handy for easy movement without tangling. These help you style comfortably and reduce risks.
Key Takeaways
- Heat your iron to 320°F for fine hair, 430°F for thick hair.
- Divide hair into 2, 3 inch sections for best curling results.
- Use a curling iron with adjustable settings and auto shut-off.
- Place the iron at the top of each section, then let it curl.
- Choose your curl type and direction on irons with those options.
- Start with hair washed about 24 hours ago for better hold.
What Is an Automatic Curling Iron and How It Works

An automatic curling iron pulls a small dry hair section inside. It uses a rotating chamber to curl your hair. Press the button and the barrel spins.
It wraps hair evenly around a heated tube. After 8 to 13 seconds, slide the iron down. This releases a smooth, uniform curl without twisting by hand.
This tool heats up like a regular curling iron. It ranges from 320°F for fine hair to 430°F for thick hair. The key difference is it handles the wrapping part for you, which cuts down the effort.
Insert a 1 to 1.5 cm hair section. Press the button and wait. The curl forms automatically.
Automatic curling irons give more even curls. They also reduce wrist strain compared to manual irons. It’s especially good if you don’t feel confident twisting hair around a barrel evenly.
However, it usually costs more, often between $50 and $150, depending on brand and features. But it can speed up your styling routine.
Good curls are smooth and even. They have no kinks or uneven heat spots. Wrapping too much hair or holding too long makes curls too tight.
It can also make hair feel too hot. Use small hair sections for best results. Release the curl as soon as you feel heat.
The automatic curling iron suits most hair types but works best on dry, detangled hair. With shorter or thinner hair, opt for smaller sections to avoid tangling inside the chamber.
It’s easier than traditional curling wands or clamps. You style hair faster without losing curl control.
How to Prepare Your Hair for Auto Curling
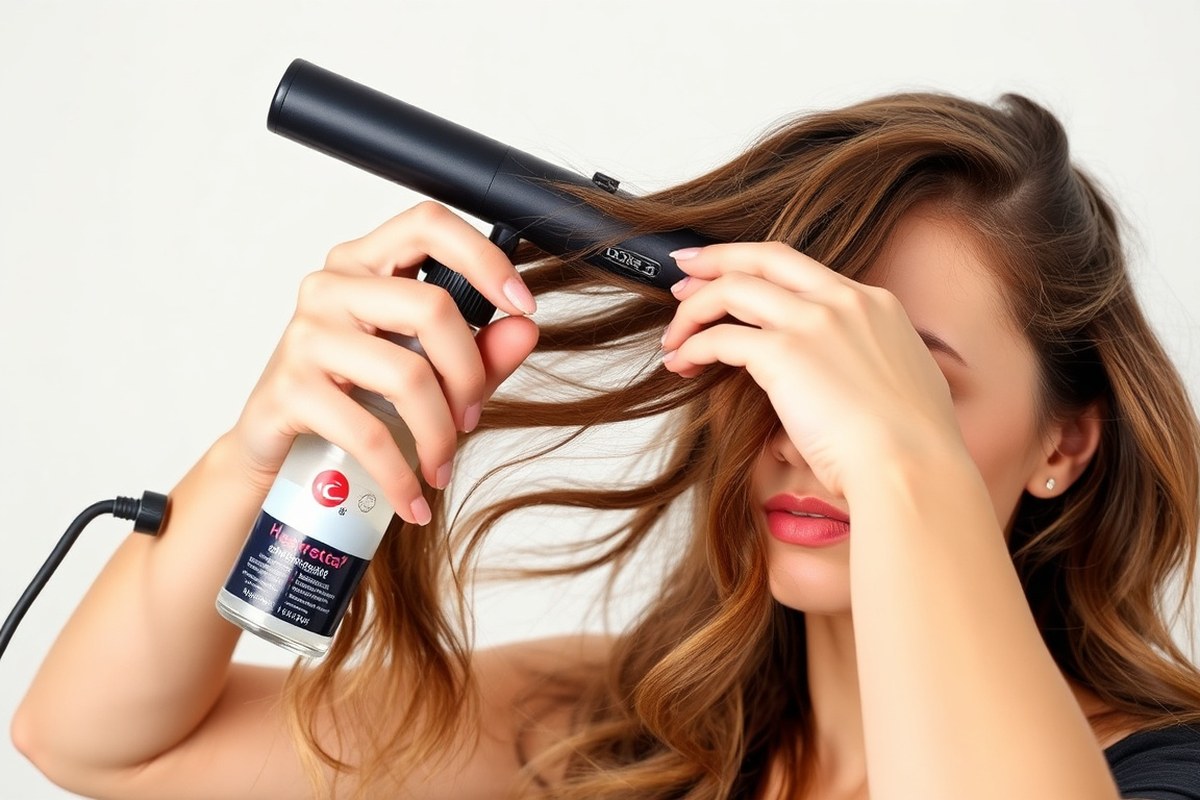
Hair must be completely dry before you use an auto curling iron. Thorough drying makes the curls last longer and prevents heat damage. Preparing with the right products and sectioning your hair evenly helps you get smooth, uniform curls.
Drying Hair Thoroughly
Start with clean, towel-dried hair. Using a blow dryer on low or medium heat, dry your hair fully. Wet or damp hair won’t hold curls well.
It can also get damaged. High heat from the iron makes this worse.
Make sure your hair feels completely dry to the touch, no cool spots or dampness. This usually takes around 10 to 20 minutes, depending on hair thickness and length. For thick or long hair, take extra time to dry each section.
Applying Heat Protectant Spray
Heat protectant spray is essential before curling. It shields your hair from temperatures that can reach 375°F or more. Choose a lightweight spray that covers mid-lengths and ends evenly for best protection.
Apply the product to dry hair; evenly spritz each section. Avoid applying it to your roots to prevent greasiness. Some sprays protect up to 300°F. So check the label and adjust your curling iron’s heat accordingly.
Optional products like volumizing mousse or texture spray add grip and help curls hold better. Use mousse on fine or straight hair. A texture spray for thick or slippery hair.
Sectioning Hair Evenly for Styling
Divide your hair into small sections that are 2 to 3 inches wide. Use sectioning clips to keep layers separate and manageable. Smaller sections heat evenly, making curls smooth and long-lasting.
Start with bottom layers, then move to the middle, finishing on top. Detangle each section carefully with a wide-tooth comb before curling. This prevents snags and uneven curls.
- Wash and towel dry your hair thoroughly.
- Blow dry completely using medium heat and a brush for smoothness.
- Comb through to remove any knots or tangles.
- Apply heat protectant spray evenly from mid-lengths to ends.
- Use mousse or texture spray if your hair needs extra grip.
- Section your hair into 2 to 3-inch wide parts using clips.
- Start curling from the bottom layers, working your way up.
Make sure your hair is completely dry before curling. Use heat protection too. Curling wet or unprotected hair can cause damage and bad curls.
Choosing the Right Temperature and Settings for Your Hair
Choosing the right temperature, timer, and barrel depends on your hair. Your hair type and the curls you want decide these settings. Adjust these for the best results.
Fine hair needs a cooler heat, while thick hair can handle more. Curl time and direction also affect how well your curls hold and how they look.
Temperature Recommendations by Hair Type
Choose your curling iron’s heat based on how thick or fragile your hair is. Lower heat keeps fine or damaged hair from burning. Thicker hair needs higher heat to create lasting curls.
| Hair Type | Temperature | Section Size |
|---|---|---|
| Fine or damaged | 300, 330°F | Small |
| Normal/medium | 350, 380°F | Medium |
| Thick or coarse | 380, 430°F | Medium |
| Very short (chin-length) | 330, 360°F | Smaller than barrel |
| Long (past shoulders) | 350, 400°F | Match barrel diameter |
Always test a small section first to avoid damage. Use the lowest heat that still curls well. Too much heat on fine hair can cause breakage and frizz.
Curl Timer Durations for Various Styles
How long you hold your hair in the iron affects the curl’s tightness and hold. Shorter hold times create loose waves, while longer times give tight curls.
| Hair Type | Temperature Setting | Recommended Hold Time |
|---|---|---|
| Fine or damaged | 360°F (180°C) | 8, 10 seconds |
| Normal or medium | 390°F (200°C) | 10, 12 seconds |
| Thick, coarse, or resistant | 450°F (230°C) | 12, 13 seconds |
| Short hair (chin-length or shorter) | 360°F (180°C) | 5, 8 seconds |
On low heat, hold hair slightly longer for a better curl. On high heat, keep the time short to avoid damage. Adjust timing as you go, starting low to protect your hair.
Deciding Curl Direction and Barrel Size
Pick your barrel size based on how tight or loose you want your curls. Small barrels make tight curls.
Medium barrels give waves or loose curls. Large barrels create big, bouncy curls.
Use smaller sections for thick hair or tight curls. For long hair, try a barrel size that matches your hair’s length to get even curls.
Press the left rotation button to wrap hair away from your face. Choose the right button to curl hair toward your face instead. Curls moving outward generally appear more flattering.
Step-by-Step Guide to Curling with an Auto Iron
Using an automatic curling iron is simple once you know the steps. It curls your hair evenly by gripping and rotating strands inside a heated barrel. Here’s how to power it on, load hair, curl, and release smoothly.
Turning on and Heating the Device
First, plug in the curling iron and press the power button. Look for a model with adjustable heat and set it between 250° and 300° Fahrenheit. This range protects your hair while giving a good curl shape.
Wait a few minutes until the device signals it’s ready. Most models have a light or beep to show when the barrel reaches the chosen temperature. Don’t start curling too soon, or your curls won’t hold well.
Loading and Rotating Hair Sections
Separate your hair into small sections about 2 inches wide. Large sections can jam or create uneven curls. Hold a single section and place the ends straight into the curling chamber or clamp.
Press the button to start the barrel’s rotation. Let the iron pull the strand in gently and wrap it around the barrel.
Keep the strand smooth and untangled for consistent curls. Avoid twisting or crossing the hair as it feeds in.
Releasing and Setting the Curl
Hold the curling iron steady until the timer shows about 5 to 10 seconds have passed. This timing allows heat to shape the curl evenly inside the chamber. Too little time means loose curls; too long risks heat damage.
Open the clamp or chamber gently to release your hair. Slide the iron out smoothly without pulling or yanking to keep curls intact. Let the curls cool before touching them for the best hold.
- Plug in the curling iron and turn on the heat to 250°, 300° Fahrenheit.
- Wait until the device’s ready signal lights up or beeps.
- Divide dry hair into 2-inch sections, no bigger.
- Place the ends of one strand straight into the chamber or clamp.
- Press the rotate button to wrap hair evenly inside the barrel.
- Hold for 5 to 10 seconds while the iron heats the curl.
- Open the clamp gently and slide the iron out to release the curl.
- Repeat on all sections, allowing curls to cool before styling.
Common Mistakes to Avoid When Using Auto Curling Irons
Using too much hair in one section often causes tangling or jamming inside the curling iron. Section your hair into smaller, manageable pieces about 1 inch wide. Smaller sections allow the iron to grip and curl your hair evenly without pulling or tangling.
Heat settings matter a lot. Higher heat works best on thick or coarse hair, usually around 360°F to 410°F. Use lower heat, between 270°F and 320°F. This protects fine or damaged hair.
It stops burns or breakage. Using the right heat setting keeps curls lasting longer and your hair healthier.
Curling hair that isn’t dry causes problems. The iron can’t dry wet hair completely.
Curls don’t hold well and heat damage can happen. Let your hair dry completely before using the iron.
- Take sections about 1 inch wide or smaller for easy wrapping.
- Set heat between 270°F and 410°F based on your hair type.
- Never use the iron on wet or damp hair; dry it fully.
- Stop curling if you hear sizzling sounds; it may mean damage.
- Hold the iron at the root and keep it perpendicular to hair.
- Use the iron’s timer function to avoid overheating sections.
Curls that don’t last might mean low heat was used. Using too-large hair sections can cause quick curl loss. Try smaller sections and higher heat.
Try smaller sections and a slightly higher heat but keep it safe for your hair type. Hold your curl until the timer ends.
This helps the curl form better. Then you can safely release it.
Never force hair into the barrel; this can cause knots and breakage.
Tips for Making Curls Last Longer and Look Better
Try curling your hair two or three days after washing it. Natural oils boost curl hold and reduce heat damage. Clean hair is easier to style but can make curls slip faster.
Let each curl cool fully before you touch it. Wait about 30 to 60 seconds after releasing your hair from the curling iron. Cooling sets the curl shape, so don’t rush this step.
Using the right finishing products helps curls last longer, especially in humid conditions. Light-hold sprays work well for fine or straight hair without weighing it down. For thicker hair, medium-hold sprays or mousse can keep curls bouncy all day.
- Apply a texture or volumizing spray before curling for grip
- Pin curls up right after curling to cool and set
- Use light-hold hairspray to finish, spraying from 8 to 12 inches
- Avoid touching curls too much; it causes frizz and loses shape
- Refresh curls by re-curling small sections or using a curling wand on day two
Pinning curls immediately after styling helps them keep their shape longer. Use bobby pins or clips to hold them up until completely cool.
This trick works well with an automatic curling iron. It lets you relax while your curls set.
Don’t load curls with heavy products or too much spray. It can make hair stiff and greasy. Light layers of styling products give hold but stay flexible, leaving curls soft and natural-looking.
Touching your curls while they cool or throughout the day makes them fall faster. Wait until curls are set before combing or running fingers through. To revive curls after a day or two, lightly mist hair with water.
Use a curl refresher spray if you have one. Then, touch up loose parts with a curling wand.
Using Auto Curling Irons Safely and Minimizing Heat Damage
Using an automatic curling iron can be safe. Just take steps to avoid heat damage. Follow simple rules to protect your hair.
Never curl damp or wet hair. Only use wet-to-dry tools if designed for that. Even then, heat damage can still happen.
Always apply a heat protectant spray before curling. It forms a shield that keeps hair from overheating and adds shine.
Daily use of an automatic curler is not recommended. Giving your hair breaks helps prevent dryness and breakage.
Use the right temperature for your hair type. Keep fine or damaged hair under 300°F. Thicker hair can handle up to 400°F safely.
Pick auto curling irons with safety features. Look for a 30-minute auto shut-off. It activates after no use.
Some models like the TYMO RING spread heat evenly. They also include safety tips.
These help prevent burns on your scalp. Keep the iron’s cord untangled and use a heat-resistant surface when setting the device down.
- Start with completely dry hair only
- Use heat protectant spray before styling
- Set temperature based on hair thickness: 250°-300°F for fine, 350°-400°F for thick hair
- Look for auto shut-off feature to prevent accidents
- Keep curling time per section under 10 seconds to avoid overheating
- Don’t use the iron every day; allow rest days
- Hold the device by the handle and avoid touching the barrel
Hold the iron away from your skin to avoid burns. Use the safety tip as a buffer. This keeps your scalp safe from heat.
The rotating barrel pulls hair gently into the chamber, so avoid forcing it. Lower the temperature if hair feels hot or dry.
Take breaks while curling your hair. This helps prevent damage to your hair.
Choosing a curler with even heat helps avoid hot spots that scorch hair. Using protective products and following time limits per hair section will keep curls smooth and healthy. Overheating happens fast, so be mindful and patient during styling.
Can an Automatic Curling Iron Work on All Hair Types and Lengths?
Automatic curling irons work on many hair types, but results vary. Fine hair curls quicker and needs less heat or time. Thick or coarse hair takes longer and needs a hotter setting to curl well.
Short hair can also suit automatic curling irons, especially with designs like the TYMO RING. It has a 3D comb brush that helps curl even short or layered hair. For very short hair, use lower heat and shorter curl time to avoid tangling or pulling.
Different hair textures call for small adjustments. Fine hair needs less heat, typically around 300°F or lower.
Thick and coarse hair often requires 350°F to 400°F. A smoothing serum helps thick hair glide through the iron. For fine hair, adding volumizing mousse gives curls better hold.
| Hair Type | Heat Setting | Curl Time | Product Use |
|---|---|---|---|
| Fine Hair | About 300°F or lower | 4-6 seconds | Volumizing mousse for hold |
| Thick Hair | 350°F to 400°F | 6-10 seconds | Smoothing serum for glide |
| Short Hair | Lower heat to medium | Short curls, 3-5 seconds | Use 3D comb brush iron |
| Coarse/Kinky Hair | Around 375°F or higher | 7-12 seconds | Smoothing serum recommended |
Choosing the right heat and curl time varies with how your hair feels during styling. Start on lower heat and test a small section. Add seconds or increase heat only if the curl doesn’t hold or form well.
Very fine or fragile hair can burn easily. Keep the iron moving and avoid over-processing one spot.
With very thick or coarse hair, patience helps. You may need several passes at moderate heat instead of one quick curl.
Never leave hair wrapped in the curling chamber for more than 12 seconds to avoid damage.
Step-by-Step Action Plan for Using Your Auto Curling Iron
Follow these steps to get started with your auto curling iron and see results fast.
- Before you start: Wash and dry your hair completely. This protects it from heat damage.
- First use: Set the temperature to medium for fine or thin hair. Use a higher setting only if your hair is thick or coarse. Check your hair doesn’t feel scorched.
- Day 1: Section your hair into small, manageable parts. Curl one section at a time to get neat, even curls.
- Week 1: Practice holding the iron at the proper angle. Notice if the curls look uniform and smooth.
- After a few curls: Let curls cool completely before touching. This helps them stay longer.
- Every use: Use a heat protectant spray before curling. Your hair feels less dry or brittle afterward.
- After curling: Use a light hairspray to lock curls in place. Check that the curls hold for several hours.
- Weekly: Clean your curling iron to remove buildup. It should heat evenly and curl well without snagging.
Frequently Asked Questions
How Do I Clean an Automatic Curling Iron?
Unplug the iron and let it cool completely before cleaning. Use a damp cloth to wipe away any product buildup on the barrel. Avoid using harsh cleaners to prevent damage to the heating element.
Can I Use an Automatic Curling Iron on Wet Hair?
Avoid using it on wet hair as it can cause damage and steam burns. Always dry and detangle your hair fully before curling for the best results. Wet hair also doesn’t curl well and the iron might snag.
How Do I Prevent Hair from Getting Stuck in an Automatic Curling Iron?
Don’t insert too much hair into the curl chamber at once. Use small sections, about 1 to 1.5 cm wide, and keep hair detangled. This helps the iron wrap smoothly without tangles or jams.
What’s the Best Way to Hold the Curling Iron for Consistent Curls?
Hold the iron vertically and keep your wrist steady as the iron rotates. This ensures curls form evenly and don’t get twisted out of shape. Let the curl slide down slowly when releasing.
How Do I Fix Frizzy Curls Made by an Automatic Curling Iron?
Apply a small amount of anti-frizz serum or light hairspray after curling. This locks in moisture and defines curls without weighing them down. Avoid too much product to keep curls bouncy.
Can I Use an Automatic Curling Iron to Create Loose Waves Instead of Tight Curls?
Yes, by using larger sections of hair and shortening the curling time. Try holding the rotation button for fewer seconds to get looser, beachy waves. Adjust settings until you find the look you want.
The Bottom Line
Your auto curling iron can help you create lasting curls safely with practice. Start by mastering low heat and small sections for best results. Try a simple style today to build your confidence and get comfortable with your tool.