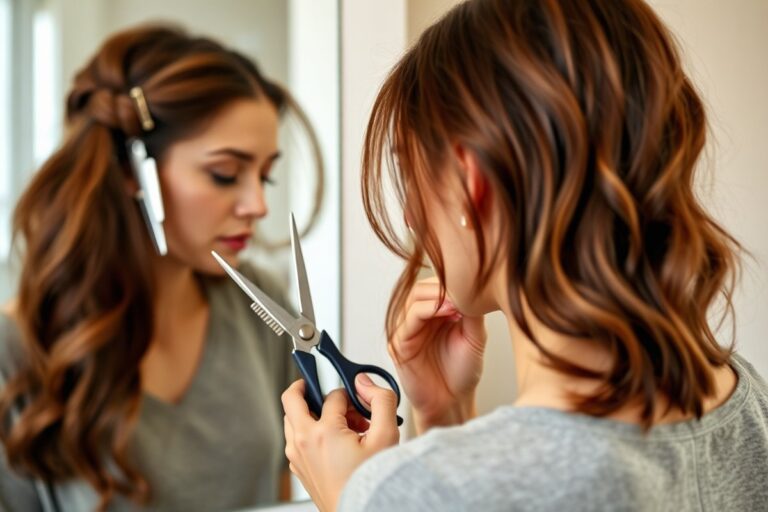
How to Trim Your Own Hair Male: Simple Steps for Clean, Professional Results
Learning how to trim your own hair male is more doable than you think. Start by picking the right clippers and guards to match your desired length. This way, you avoid mistakes and get closer to the look you want.
Cutting your hair at home takes practice. So expect your first few attempts to look rough.
Keep your clips clean and use a hand mirror to help see the back. Taking your time prevents uneven spots.
Wet hair is easier to control but may look longer. Dry hair shows the real result.
Use scissors to touch up the top and clippers on the sides, adjusting guards as needed. Patience and simple tools go a long way.
Key Takeaways
- Start with a low guard number for a shorter haircut and work up if unsure.
- Use a quality 6-inch hair shear to refine and blend the top after clipping.
- Trim hair when it’s slightly damp for easier cutting and less flyaway.
- Use a hand mirror to check hard-to-see areas at the back of your head.
- Take your time and make small adjustments to avoid cutting too much.
- Expect to mess up early haircuts but improve with each trim you do.
How to Trim Your Own Hair Male Step-by-Step
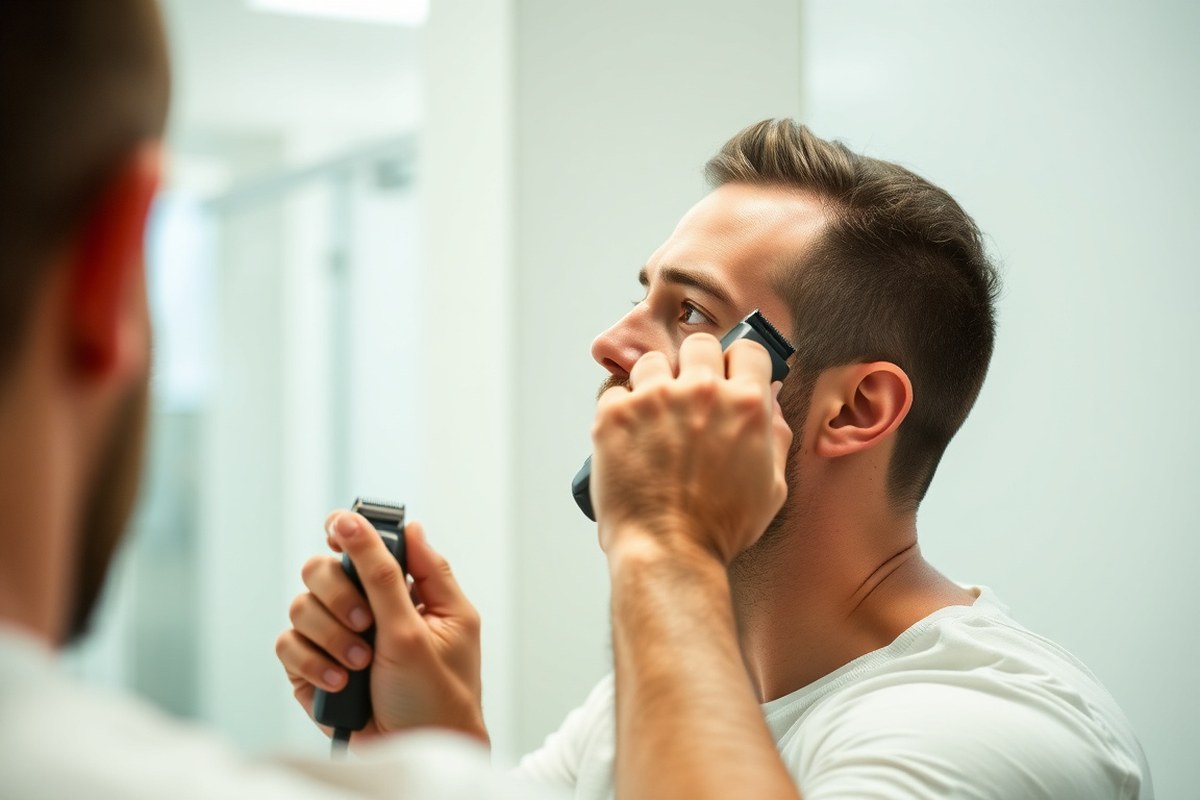
Start by preparing your workspace with a cape or towel. Use a handheld mirror along with a fixed mirror to see the back and sides. This setup helps you avoid missed spots and uneven cuts.
Trimming your hair breaks down into clear steps. Clippers do the bulk of the work on sides and back. Scissors handle the top when you need precision and texture.
- Section your hair. Divide it into at least four parts: two sides, back, and top. This keeps your process organized and manageable.
- Trim the sides with clippers. Attach the guard that matches your desired length. Start from the bottom and sweep upwards evenly, following your head’s shape.
- Cut the back next. Use the same guard if you want uniform length. Move from the bottom to the top, curving outwards as you reach the crown.
- Use scissors on the top. Comb hair straight up and trim small sections with scissors. Hold each section between fingers and use point cutting for a natural look.
- Blend the edges.Switch to a smaller clipper guard. Use scissors to soften the line. This helps blend where the top hair meets the sides. This creates a gradual transition.
- Detail around hairline and ears. Use a trimmer without guards here for sharp, clean edges. Take your time for a crisp finish.
- Check with mirrors. Look closely at your sides and back from different angles. Touch up any uneven spots with your clippers or scissors.
This routine suits most uniform or classic clipper cuts. Using clippers first gets bulk off fast.
Scissors on top prevent an overly flat or blunt look. Keeping your hand steady and working slowly helps avoid mistakes.
Essential Tools You Need Before You Begin
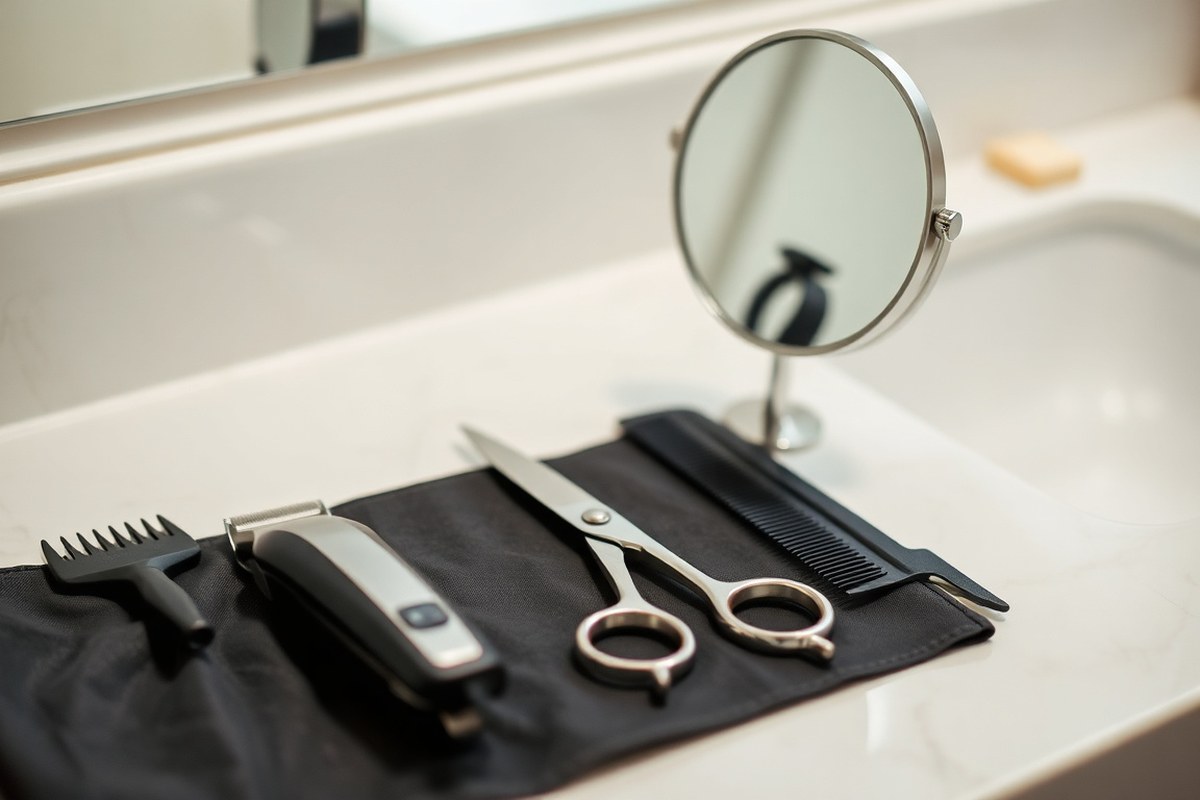
To trim your own hair well, start with the right tools. Clippers with multiple guard sizes let you control hair length easily. Choose the guard to decide how short you want your hair.
This helps you get the exact look you want. Most clipper sets include guards numbered 1 through 8. A #1 guard leaves hair about 3 millimeters or 1/8 inch.
This length works great for simple buzz cuts. It’s short but leaves a bit of hair visible. You’ll want a range of guards to get different hair lengths on top and sides.
Scissors are optional but useful for trimming the top or areas where clippers don’t reach easily. Hairdressing scissors should have sharp blades to avoid pulling or uneven cuts. A handheld mirror helps you see the back of your head clearly.
It’s easiest to have one mirror in front and another to check behind. So you don’t miss spots.
- Hair clippers with multiple guards (numbers 1 to 8)
- Sharp hairdressing scissors for detailed trimming
- Comb to loosen and style hair between cuts
- Handheld mirror to see awkward angles and back of head
- Cape or old towel to catch hair and keep clothes clean
- Clipper oil and cleaning brush to maintain your tools
A cape or towel keeps trimmed hair off your clothes and skin. It also saves clean-up time after cutting. You’ll need clipper oil to keep blades working smoothly.
A small brush helps clear hair from the blades. Both tools keep your clipper in good shape.
Clean tools cut better and last longer. So oil your clippers before and after each use.
Stop trimming if your clippers start to pull your hair, clean and oil blades before continuing.
Trimmers are smaller than clippers and good for edging around the ears and neckline. Both tools together give you the best results for a neat trim. Learning to handle your tools confidently takes time.
So practice with a handheld mirror and be patient with yourself. A good setup can cut your trimming time to less than an hour.
It also helps keep your hair even. You’ll get a sharp, clean look every time.
Choosing the Right Hair Length and Clipper Guards
Choosing the right clipper guard size controls your hair length and style. Guards measure hair length in inches and millimeters. Picking the right guard helps you get the look you want and blend cuts well.
Understanding Guard Numbers and Hair Lengths
Clipper guards come in numbers that match certain hair lengths. Those numbers usually mean the hair left after cutting. For instance, a #1 guard leaves about 1/8 inch or 3 millimeters of hair.
Here’s a quick look at common guard sizes and their lengths:
| Guard Number | Approximate Length | Typical Use |
|---|---|---|
| #1 | 1/8 inch (3 mm) | Short sides, fades |
| #2 | 1/4 inch (6 mm) | Short sides |
| #3 | 3/8 inch (10 mm) | Medium sides, short top |
| #4 | 1/2 inch (13 mm) | Longer sides, short top |
| #6 to #8 | 3/4 to 1 inch (19 to 25 mm) | Top on a clipper cut |
Knowing these sizes lets you measure and control your hair length at home. Start with a longer guard if unsure, then go shorter if you want.
Guards for Common Styles
Short buzz cuts use guards like #1 or #2 on the sides. Use the same guard on the back to keep hair the same length. That means a consistent buzz around your head.
For longer hairstyles, use guards #6 to #8 on top. Sides usually get a shorter guard like #4 or #3. A #6 guard on top with a #4 guard on sides looks clean.
It creates a balanced haircut. This combo works well for many styles.
Fades require a gradual change in guard size. Start with a longer guard near the top and shorter ones down the sides. This gradual shift creates a smooth transition.
Blending Guides for a Smooth Fade
Use guards that fall between your top and sides’ lengths to blend hair smoothly. Cut the sides with a #4 and the top with a #6. Use a #5 guard between them.
This softens the look at the edges. This softens the line where lengths meet.
Use the intermediate guard along the transition zone. This zone is where short sides meet the longer top.
Working here smooths the haircut. Move your clippers slowly and evenly through this area.
Repeating this step with a few guards helps create a natural fade effect. This takes practice, so be patient and go slowly to avoid uneven lines.
Cutting Hair Wet vs. Dry: Which Works Best?
| Aspect | Cutting Hair Wet | Cutting Hair Dry |
|---|---|---|
| Ease of Cutting | Easier to snip, hair is softer | Harder, especially with frizzy or fluffy hair |
| Hair Behavior | Hair stretches; may cut too much if rushed | Hair shows natural length and shape immediately |
| Best Use | Professional scissor cuts and certain styles | Most home trims and fade blending |
| Risks | Cutting too much due to stretch; uneven look if too wet | Takes more skill; uneven cuts if hair is very textured |
| Drying Requirement | Hair shouldn’t be dripping wet; towel dry is good | No drying needed, naturally ready |
Cutting hair while it’s wet helps if you want easier snipping. Hair feels softer and combs smoothly. You should avoid cutting hair that’s dripping wet because it will stretch too much.
This makes it tricky to gauge the true length. Hair usually shrinks back when dry, so cut less than you think. Scissor cuts by pros often happen on wet hair to get clean lines.
Dry hair shows its real shape and length right away. You can see exactly how your hair lies naturally. This is especially helpful if your hair is curly, frizzy, or fluffy.
Dry cuts take more care and skill but give a better sense of the final look. Blend fades while hair is dry; it allows for smoother transitions and better control.
Your hair type affects the choice. Straight or fine hair can work well with wet trimming. Thick or curly hair is usually best cut when it’s dry.
Wet hair stretches and can hide how long it really is. Cutting dry hair shows its true length clearly.
Start slow and use a comb to measure the hair length, especially near fade points. Adjust clipper guards gradually to avoid cutting too short fast.
How Different Hair Types Affect Your Trim
Different hair textures and densities need distinct trimming methods and tools. Adjusting your technique helps you avoid uneven cuts and get a tidy look. Using the right combs, scissors, and clippers also makes trimming easier and more effective.
Trimming Straight and Fine Hair
Scissors work best on straight, fine hair since it lies flat and shows length clearly. Cutting when the hair is wet helps you get clean lines and avoid cutting too short. Use a double-edged comb with wide and fine teeth to section hair neatly.
Pull sections of hair straight up with your comb before snipping to keep length even. Fine hair can reveal uneven spots quickly.
So take your time and check in a mirror often. Use sharp scissors that can cut smoothly without pulling or snagging.
Working with Wavy Hair
Dry trimming suits wavy hair better, because moisture can stretch waves and mislead length perception. Use clippers with guard spacers to blend sides and top smoothly without removing all wave volume. A wide-tooth comb helps detangle gently before you start trimming.
Trim small sections and blend carefully to maintain the natural shape. Avoid cutting too close, or you’ll lose the soft wave texture. You can use scissors on ends to clean up curls that clippers can’t reach well.
Approach for Curly and Coily Hair
Section your hair into manageable parts using clips. Detangle each section gently with a wide-tooth comb or detangling brush. Trim when hair is dry because curls shrink when damp, which messes with length judgment.
Use firm pressure on clippers to cut through thick or dense curls without snagging. Go slow, trimming small areas at a time to avoid uneven spots. Keep checking the shape by looking at your hair from all sides.
Use your comb to spot uneven lengths. Comb through and trim to make lengths even.
Always trim curly hair dry; wet curls shrink and give a false length.
How to Create a Fade at Home Without a Pro
Creating a fade at home means blending hair from short to longer smoothly. Use different clipper guards to control lengths and avoid sharp lines. Move the clippers carefully upward for a clean gradient.
Starting the Base with the Lowest Guard
Begin your fade at the neckline, where the shortest length sets the foundation. Use a low-number guard, such as a #1, for this area. Moving the clippers upward against hair growth helps define a clean start.
Keep the clipper blade tilted slightly to avoid harsh lines. Work on a section about an inch wide, moving slowly from the bottom up. Don’t rush; this first step shapes your fade’s base well.
Blending Upwards Using Medium Guards
Switch to a medium guard like #2 or #3 for the midsection of your sides. This creates a gradual transition from the shortest base to longer hair above. Use smooth, upward movements while slightly tilting the blade as you go.
To blend effectively, flick the clippers out near the fade line to soften edges. Repeat across both sides evenly to keep your fade balanced. These mid guards control most of the fade’s visible gradient.
Finishing with the Longest Guard on Top
Use a #4 or higher guard on top to keep that hair longer than the sides. Run the clippers from front straight to back.
Cut the top using scissors with the finger-over-comb method. This step blends the longer top into the shorter fade cleanly.
Trim a little at a time to avoid removing too much length. Make sure the top flows naturally into the fade without a harsh line. Check both sides for evenness.
Checking and Fixing Patchy Areas
Use a handheld mirror behind your head to spot any uneven spots or patchy fades. Lightly run the clipper-over-comb technique to blend areas that stand out. This method trims stray longer hairs without cutting too short.
Be patient and work slowly; stepping back often prevents missed patches. Adjust guard sizes if needed to make the fade smoother. Attention here makes your fade look clean and natural.
- Attach the lowest number guard (#1) and start at the neckline.
- Move clippers upward against hair growth in one-inch wide sections.
- Switch to a medium guard (#2 or #3) and blend upward from the base.
- Flick clippers out near fade lines to soften edges.
- Use the longest guard (#4 or more) on the top or trim with scissors.
- Blend top hair into sides carefully with scissors or clippers.
- Check your fade with a handheld mirror for any uneven spots.
- Fix patches using clipper-over-comb or adjust guards as needed.
Common Mistakes When Trimming Your Own Hair and How to Fix Them
Uneven or patchy cuts mostly happen when clippers catch crooked hair or pressure changes. Pressing too hard in some areas cuts more than in others. You can fix these by running the clippers over patchy spots again with light, even pressure.
Cutting hair too short happens when you switch guards too fast. Pressing clippers too hard on the scalp also causes this. Take your time and be gentle while trimming.
To prevent this, always start with a longer clipper guard. For example, use a #6 first.
Then cut shorter gradually if needed. Stop and check your hair often using a hand mirror to avoid surprises.
Inconsistent clipper pressure causes choppy edges and uneven hair length. Hold your clippers steady with medium pressure and use slow, smooth strokes. Your hand feeling tired means it’s time for a break.
Pause and shake out your hand to relax. Rushing leads to mistakes and uneven cuts.
| Experience Level | What to Expect | Time per Cut |
|---|---|---|
| First attempt | The haircut works but isn’t perfect. Some spots may look uneven. Neckline edges can be a little messy too. | 45 to 60 minutes |
| Cuts 2 through 5 | Noticeably better. Mirror technique becomes natural. Fewer mistakes. | 30 to 45 minutes |
| Cuts 6 through 12 | Consistent, clean results on simple styles. Friends stop noticing flaws. | 20 to 30 minutes |
| Cuts 13+ | Confident and efficient. You know your head shape and cowlicks well. | 15 to 25 minutes |
Fixing bad fades often requires using a longer guard first. This helps balance out uneven patches. Then trim carefully around problem areas.
Don’t panic and buzz off all your hair unless you want a very short cut. For edges, use no guard or a trimmer for touch-ups.
Move slowly and carefully along the lines. Clean the edges gently for a neat finish.
Stop trimming when the haircut looks balanced and feels smooth between your fingers. Overcutting tends to happen from rushing or getting too picky about tiny details. Set a time limit.
Stop cutting if you make a mistake. Use a hand mirror to check your hair. Then decide if you need to fix it.
Practice makes a huge difference in timing and quality. Your first cut may take up to an hour. But cuts get easier and faster.
Watch out for hair buildup in your clipper blade. Cleaning the blade during the cut stops pulling and keeps cuts smoother.
When to Skip DIY and See a Professional Barber
Avoid cutting your own hair if it is very thick, curly, or has uneven growth. These textures can be hard to manage without professional skills. A barber knows how to work with them to avoid patchy or uneven results.
Professional fades or detailed styles demand precise clipping and blending skills. These can be hard to do at home. Sharp lines and smooth transitions take skill.
Your look needs a fade or complex shape? Stop and book a barber.
Special occasions such as weddings or job interviews call for hairstyle perfection. A small mistake from a DIY trim might hurt your confidence on these big days. Trust a professional to deliver a polished style that looks good on camera and in person.
When your hair is unusually long or grown out, it’s smart to seek a barber’s help. Cutting off a lot of length evenly requires experience and patience. Professionals can reshape your hair without leaving awkward spots or blunt edges.
Stop your DIY attempt if you see uneven spots or choppy edges forming. It’s better to wait and visit a barber than fix a bad self-cut later.
Haircuts that involve complex fades, sharp edges, or layered styles need expert touch. Barbers practice these techniques daily and use their skill to avoid obvious DIY mistakes. They can also tailor the cut to your face shape and hair type more precisely.
Consider cost and effort before deciding to cut at home. Barbershops average about $28 for a haircut, which can be affordable for a complex style.
You might save money on simple trims. But tricky cuts often need professional care to get it right.
Step-by-Step Action Plan for Your First DIY Hair Trim
Follow this plan to get comfortable trimming your own hair. It keeps things simple and helps you avoid mistakes.
- Before you start: Gather your clippers, scissors, comb, and mirrors. Check the clippers work and the blades are clean.
- Day 1: Trim a small amount using the longest clipper guard. Stop when you see a neat, even length all around.
- After Day 1: Use your handheld mirror to check the back and sides. Fix any uneven spots with the clippers or scissors.
- Day 3: Try trimming the neckline and sideburns carefully. Use the shortest guard only on these parts for a sharp look.
- One week in: Experiment with a fade by switching guards gradually. Pause whenever you see a smooth transition.
- After two weeks: Assess your overall trim. If it looks good and feels right, keep up your new routine.
- Every trim: Clean your tools and dry your hair before starting. This avoids dull blades and messy cuts.
Frequently Asked Questions
How Do I Know When My DIY Haircut Is a Success?
A good sign is even length and no sharp edges. Check your hair from various angles with a mirror to spot missed spots.
Can I Trim My Own Hair Without a Second Mirror?
It’s tough, but a second mirror helps for the back of your head. Try using your phone’s front camera for better visibility if you don’t have another mirror.
How Often Should I Trim My Hair at Home?
Generally, trim every 3 to 6 weeks to keep a fresh look. This varies with your hair growth speed and style preference.
Should I Wash My Hair Before Trimming It?
Washing softens hair and removes product build-up. For curlier types, dry trimming might work better to see natural shape.
What’s the Best Way to Clean My Clippers After a Trim?
Brush hair off clippers immediately after use. Apply a few drops of clipper oil to keep blades sharp and running smoothly.
Can Trimming My Own Hair Damage It?
Using dull scissors or pulling hair can cause split ends. Use sharp tools and gentle handling for a healthy cut.
Before You Go
Trimming your own hair takes practice but gets easier fast. Start small and use the right tools every time. Your next step is trying your first trim with a long guard to build confidence.