How to Prepare Shampoo at Home: Simple Steps for Safe Natural Hair Care
Wondering how to prepare shampoo at home? You can make simple natural shampoo using safe, basic ingredients.
Start with gentle cleansers like castile soap mixed with water or herbal infusions. These ingredients clean your scalp without harsh chemicals.
Homemade shampoo works by combining natural cleansers, oils, and herbs for balanced hair care. It’s best to test your mix on your skin before regular use. Keep your shampoo refrigerated to keep it fresh since it lacks preservatives.
Start by picking a base, like liquid castile soap. Add moisturizing stuff like aloe or coconut oil. This makes your shampoo gentle and hydrating.
Watch your batch size and store your shampoo in a clean, airtight bottle. This helps prevent contamination and extends the shelf life of your shampoo.
Key Takeaways
- Use liquid castile soap as a gentle, natural base for homemade shampoo.
- Mix herbs steeped in hot water to create effective hair-cleansing infusions.
- Add moisturizers like aloe vera or coconut oil for softness and shine.
- Always patch-test your shampoo ingredients on skin before full use.
- Store homemade shampoo in the fridge to extend freshness for 4-6 weeks.
- Use airtight containers to prevent bacterial growth and keep shampoo safe.
What Is Homemade Shampoo and How Does It Work?
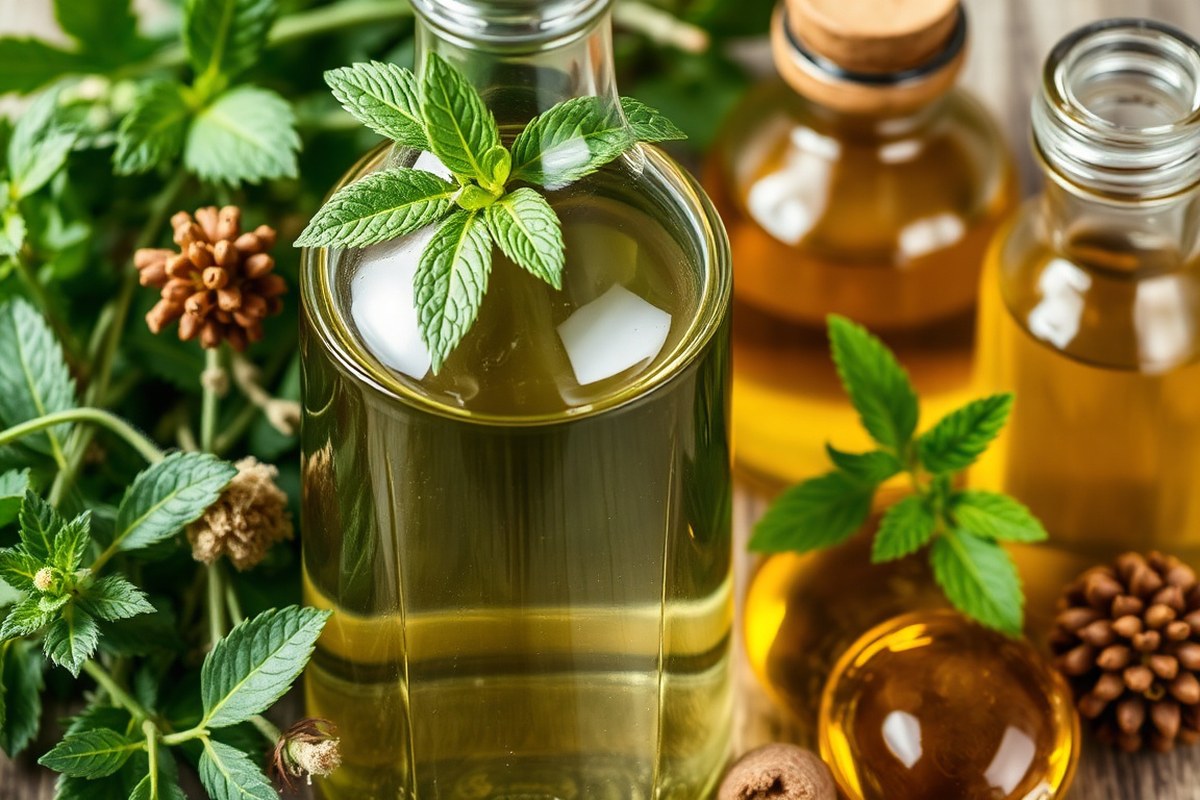
Homemade shampoo is a hair cleanser you make yourself using natural ingredients. It usually includes a gentle cleansing base like liquid castile soap or coconut milk. You add carrier oils and optional botanicals like essential oils or honey for extra care.
These natural bases clean hair by lifting dirt and oils without harsh chemicals. Liquid castile soap contains plant-based saponins that create a mild foam. This foam traps grime well.
It rinses off easily with water. Your scalp feels gentler than after commercial shampoos.
Typical store-bought shampoos use synthetic detergents and sulfates to create thick foam quickly. These chemicals can strip natural oils and irritate different scalps. Homemade shampoo skips sulfates and parabens.
It also avoids fake fragrances. This helps keep your hair’s moisture and stops itchiness.
Making shampoo at home lets you pick ingredients that suit your hair type or scalp condition. You can add coconut oil for dry hair or tea tree oil if you have dandruff. Most commercial shampoos have fixed formulas.
They don’t fit your specific needs. You can’t adjust them like homemade shampoo.
Homemade shampoo can cost about 50 cents to a dollar per 16-ounce batch, depending on ingredients. Using pantry items saves money. Castile soap, oils, and herbs work well.
This makes homemade shampoo cheap over time. It takes about 10 minutes to mix and store your shampoo in a clean bottle.
Your hair may feel different at first because it’s used to commercial products. Your scalp needs time to adjust. This can take a couple of weeks.
At first, it might produce more oil than usual. Over time, homemade shampoo helps balance natural oils without over-drying, which gives softer, healthier hair.
Some people worry about homemade shampoo affecting color-treated or chemically treated hair. To be safe, choose mild, moisturizing oils and avoid harsh botanicals if your hair is fragile. Testing a small amount first helps prevent damage or fading.
Essential Ingredients and Their Roles in DIY Shampoo
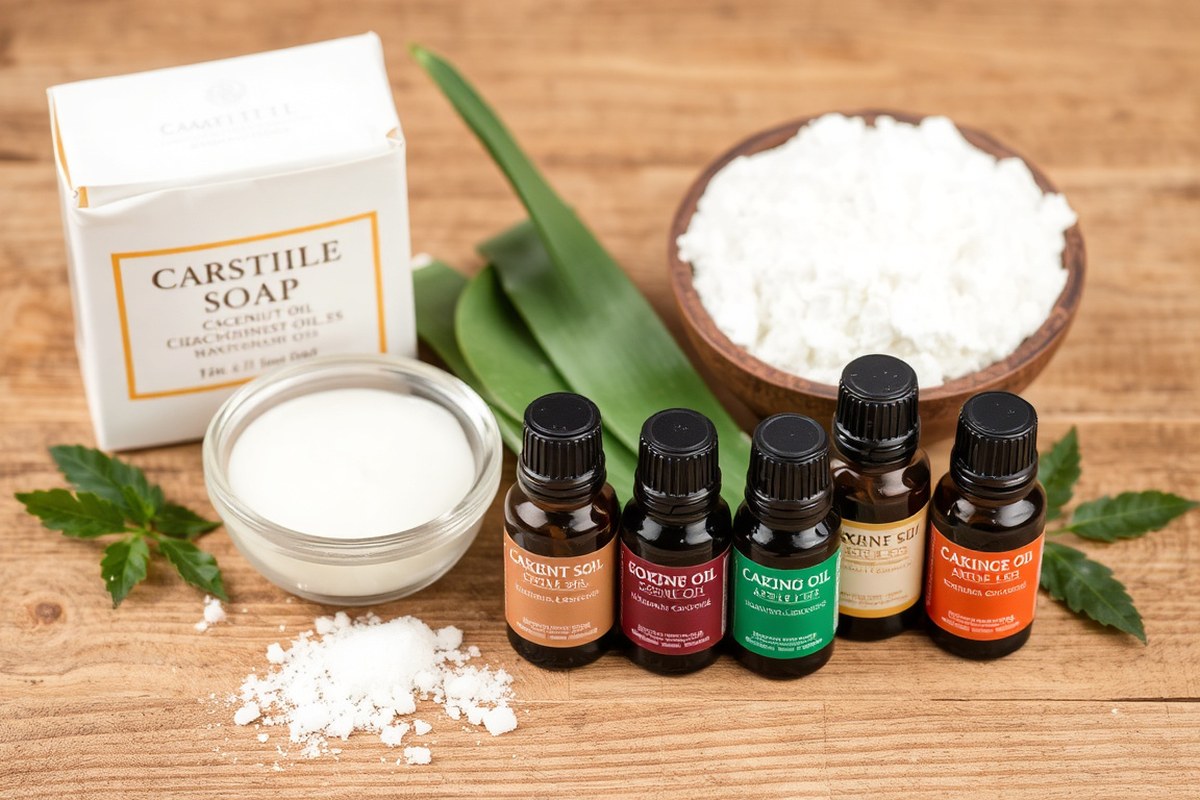
A good DIY shampoo starts with a clear liquid base that cleanses hair gently. Castile soap or liquid soap made from natural oils works well. Distilled water or herbal infusions replace harsh chemicals and keep your shampoo mild and safe.
Carrier oils add moisture and nourish your scalp and hair strands. Coconut oil supports deep nourishment and shine, while olive oil smooths dry hair. Aloe vera gel is a lighter option that soothes irritation and boosts hydration.
Essential oils do more than add fragrance. Lavender calms scalp irritation. Rosemary boosts hair growth.
Tea tree fights dandruff. Add 5 to 10 drops per batch to gain benefits without irritation.
- Castile soap or liquid soap as the shampoo base
- Distilled water or herbal infusions for liquid balance
- Coconut or olive oil for moisturizing and hair strength
- Aloe vera for scalp soothing and light hydration
- Essential oils like lavender, rosemary, tea tree for benefits and scent
- Optional ingredients like honey or apple cider vinegar for scalp health
Choose ingredients matching your hair needs. When your scalp feels dry or itchy, try aloe and tea tree oil.
For hair that needs shine and softness, coconut oil works well. You can combine oils and essential oils based on your goals.
Essential oils can cause skin reactions; always do a patch test before use.
Blending these ingredients carefully shapes your shampoo’s effects. Start with a simple recipe. Use 1/4 cup liquid soap and 1/4 cup distilled water.
Add 1 tablespoon carrier oil and 5 to 10 drops essential oil. Mix well in a clean bottle and test on a small hair section first.
Step-by-Step Guide to Making Basic Homemade Shampoo
Making a basic homemade shampoo is quick and easy. You only need a few tools and simple ingredients. Following the right steps helps you get a smooth, effective shampoo that lasts weeks.
Gathering Ingredients and Tools
Start by collecting tools and ingredients to make your shampoo. Use a digital scale for precise measurements. Glass bottles work best for storing your finished shampoo.
Get a mixing bowl and a whisk or spatula to blend everything well. A shampoo brush or scalp massager is handy when applying the shampoo. Essential ingredients include liquid Castile soap, distilled water, and optional oils.
Mixing and Blending Ingredients Safely
Mixing ingredients carefully ensures your shampoo feels smooth and produces good lather. Use the digital scale to measure each ingredient accurately. Combine them in a clean mixing bowl to avoid contamination.
Start by adding 1 cup (240 ml) of liquid Castile soap into the bowl. Then measure 1 cup (240 ml) of distilled water and pour it in slowly.
Add 1 teaspoon (5 ml) of vegetable glycerin for moisture. Stir gently using your whisk or spatula.
To add scent and hair benefits, include 10 drops of your favorite essential oil. Mix everything until fully blended but avoid excessive frothing. This entire preparation takes about 10 minutes.
Storing Homemade Shampoo Correctly
Pour your shampoo into a clean glass bottle for best storage. Label the bottle with the date so you track freshness easily. Store the shampoo in a cool, dark place like a bathroom cabinet.
Because homemade shampoo usually lacks preservatives, keeping it refrigerated extends its life. You can expect the shampoo to stay good for 4 to 6 weeks with proper care. Use it up within that time to avoid spoilage.
- Gather a digital scale, mixing bowl, whisk, and glass storage bottle.
- Use a digital scale to measure 1 cup of liquid Castile soap. Pour the soap into the bowl carefully.
- Add 1 cup of distilled water slowly to avoid creating fizz or bubbles.
- Measure and stir in 1 teaspoon of vegetable glycerin for added moisture.
- Add about 10 drops of your preferred essential oil for fragrance and benefits.
- Whisk gently but thoroughly until all ingredients blend smoothly without heavy foam.
- Pour the shampoo mixture into a clean glass bottle using a funnel if needed.
- Write the making date on the bottle’s label. Store it in a cool, dark spot or fridge.
Adjusting Shampoo Recipes for Different Hair Types
Adjusting shampoo recipes makes a big difference for your hair type and scalp condition. Dry hair usually needs more oils and conditioning ingredients. Oily hair requires stronger cleansing agents and fewer oils.
For oily hair, reduce the amount of oil-rich ingredients like jojoba or olive oil. Boost cleansing by adding herbs such as rosemary, peppermint, lemon, or cedar wood essential oils. These help remove excess oil without stripping the scalp completely.
Your scalp is dry or sensitive? Use gentle bases like oat milk or aloe vera with mild Castile soap.
Add soothing ingredients like calendula or aloe vera gel. Avoid harsh acids and fragrances that might cause irritation.
| Hair Type | Best Base | Key Add-ins | Shelf Life | Recipe Purpose |
|---|---|---|---|---|
| All hair types | Castile soap | Olive oil, honey | 2, 3 weeks | Basic cleansing and conditioning |
| Curly / textured | Coconut milk | Shea butter, aloe vera | 2 weeks | Moisturizing and smoothing curls |
| Fine / thinning | Castile + apple cider vinegar (ACV) | Rosemary EO, peppermint EO | 2, 3 weeks | Adds volume and scalp stimulation |
| Colour-treated | Chamomile tea base | Argan oil, vitamin E | 1, 2 weeks | Protects color and adds shine |
| Sensitive scalp | Oat milk + Castile soap | Calendula, aloe vera | 1, 2 weeks | Gentle cleansing without irritation |
| Oily hair | Castile soap with reduced oils | Bergamot, cedar wood, lemon EO | 2, 3 weeks | Reduces excess oil and refreshes scalp |
You can swap oils and acids depending on your scalp needs. For dry hair, add shea butter or coconut milk to boost moisture. For oily hair, reduce these and add more cleansing essential oils for balance.
Avoid mixing strong acids like baking soda with sensitive scalp recipes. These can cause irritation or dryness. Test each ingredient separately before making a full batch to make sure it suits your skin.
To handle oily hair, use less oil. Add rosemary or peppermint essential oils.
These make your scalp feel fresher and prevent buildup. For dry hair, add aloe vera or honey for softness without weight.
Using Herbs and Essential Oils for improve Hair Benefits
You can boost your shampoo by adding herbal infusions and essential oils. These help with dandruff, scalp soothing, hair growth, and shine. Making herbal infusions and mixing in essential oils is easy and adds natural benefits.
Preparing Herbal Infusions
Herbal infusions bring natural properties like calming or antifungal effects to your shampoo. You use fresh or dried herbs to make the infusion. Then, you replace the water or green tea in your recipe with it.
Prepare infusions by steeping herbs in boiling water for 30 minutes. Use one cup of boiling water. Add a handful of fresh or dried herbs.
Stir to combine. Strain out the herbs before adding the liquid to your shampoo mix.
- Boil one cup of water for each infusion batch.
- Grab a heat-safe container. Add a handful of fresh or a spoonful of dried herbs. Get ready for the next step.
- Pour the boiling water over the herbs.
- Cover and steep the herbs for 30 minutes to extract benefits.
- Strain the herbs out using a fine sieve or cheesecloth.
- Allow the infusion to cool before adding it to your shampoo base.
- Use the infusion immediately or store it in the fridge for up to three days.
Use chamomile or lavender for soothing, rosemary or nettle for hair growth.
Choosing and Adding Essential Oils
Essential oils target specific hair needs. Tea tree oil helps fight dandruff. Rosemary oil boosts hair growth and scalp circulation.
Add 15 to 20 drops of essential oils per 8 ounces of shampoo. Avoid exceeding 2% total oil in your mix to prevent irritation. You can combine oils like tea tree, rosemary, and lavender for multiple benefits.
Try lemon or sweet orange oils to control scalp oiliness. Peppermint oil can also stimulate growth and refresh your scalp. Start with smaller amounts and adjust if your scalp reacts well.
Always do a patch test before using new essential oils to avoid allergic reactions.
Blending Infusions into Shampoo Base
Replace the water in your base shampoo recipe with the cooled herbal infusions. This adds helpful plant nutrients and aroma. Use liquid Castile soap as your base for gentle cleansing.
Mix in essential oils after combining the soap and infusion. Add humectants like glycerin to keep hair from drying out. You can also add a few drops of vitamin E oil to extend shelf life.
Adjust oil amounts and herb choices gradually. Write down your ingredient mixes.
Track which recipes suit your hair best. This helps you improve over time.
Do not add essential oils directly to your scalp without dilution in shampoo or oils.
Shelf Life, Storage, and Safety Tips for Homemade Shampoo
Homemade shampoo usually lasts about 2 to 3 weeks without preservatives. Storing it in the refrigerator can extend its life up to one month.
Without preservatives, bacteria and mold may grow quickly. So using it up fast is safest.
You don’t need preservatives if you plan to use your shampoo within a few weeks. Adding natural preservatives like vitamin E or rosemary extract can help.
But they won’t work as well as commercial options. Refrigeration is more reliable and keeps the shampoo fresh.
Store homemade shampoo in clean glass bottles or jars. Old shampoo bottles work if rinsed thoroughly to avoid contamination.
Glass helps prevent chemical reactions that plastic containers can cause. Keep bottles sealed tightly to slow down spoilage.
- Keep shampoo in the fridge to last longer
- Use within 2, 3 weeks if stored at room temperature
- Shake well before each use to mix ingredients evenly
- Rinse storage containers thoroughly before refilling
- Try a small patch test on your skin before full use
- Use vitamin E or rosemary extract as a mild preservative
- Discard shampoo if it smells sour or looks cloudy
Before using new shampoo, do a patch test to watch for allergies. Apply a small amount behind your ear or on your inner elbow. Wait 24 hours to check for redness, itching, or swelling before using on your scalp.
Homemade shampoo won’t foam as much as commercial products, which is normal. It’s also normal for the texture to change slightly over time. If you see mold, or it smells off, toss it immediately to avoid scalp irritation.
Common Mistakes and How to Fix DIY Shampoo Problems
Your shampoo might turn runny or lumpy due to ingredient imbalance. Adding too much water or oils without enough thickeners causes runny texture. Lumps often form when powders or clays don’t dissolve fully.
Mix well and sift powders before adding them. Use natural thickeners like xanthan gum to firm up shampoo.
Use 1/4 teaspoon per cup. It won’t make your hair heavy.
An itchy or dry scalp usually points to pH or ingredient problems. Soap-based shampoos can be too alkaline, raising scalp pH above 7 and stripping natural oils. This leads to dryness and itching.
Rinse hair with diluted apple cider vinegar after shampooing. Use 1 tablespoon per cup of water.
This helps fix residue. It lowers scalp pH back to healthy levels near 5.5 and soothes irritation.
Hair feels greasy or dull when shampoo doesn’t clean well. It also means poor conditioning. Try adjusting the formula.
Too much oil or not enough cleansing agents can weigh hair down. Also, baking soda-based shampoo can cause dullness by disturbing your scalp’s balance. Adjust your recipe by reducing oils or balancing with a mild soap like castile soap.
Add moisturizing honey or aloe vera to prevent dullness. Use up to 2 tablespoons per cup. These won’t add grease.
Keeping your shampoo’s pH in check matters for healthy hair and scalp. Test with pH strips you can buy for under $10 online or at drugstores. Ideal shampoo pH ranges from 4.5 to 6.5 to avoid scalp issues and hair damage.
Your shampoo may be too alkaline. Use apple cider vinegar rinse to fix balancing. This helps restore pH.
Your shampoo might be too acidic. Add a pinch of baking soda. Use 1/8 teaspoon per cup to raise pH gently.
- Use natural thickeners like xanthan gum to fix runny shampoo.
- Sift powders and mix well to avoid lumps.
- Rinse with apple cider vinegar dilution to soothe dry scalp.
- Check shampoo pH with test strips available online or at stores.
- Lower shampoo pH using vinegar; raise it with baking soda as needed.
- Limit heavy oils to prevent greasy, dull hair.
- Add honey or aloe vera for natural conditioning without buildup.
Shampoo texture and scalp health issues go hand in hand with your recipe’s balance. Fixing these problems typically takes a few tries, so note changes and results. Store your shampoo in a cool, dark place to keep ingredients stable and preserve shelf life.
Sudden changes in smell or texture often mean it’s time to make fresh batches. A balanced, well-made shampoo feels smooth, cleans well, and leaves your scalp comfortable.
What to Expect When Switching to Homemade Shampoo
The transition to homemade shampoo usually takes a few weeks. Your hair and scalp need time to adjust to the natural ingredients. During this period, expect some changes in texture and oiliness.
Typical Adjustment Timeline
The first one to three weeks often show increased oiliness or dryness. This happens because your scalp stops reacting to harsh chemicals found in store-bought shampoo. Around weeks three to six, your scalp balances oil production, and hair starts feeling healthier.
Adjusting can vary by hair type. For example, curly hair might feel drier before becoming soft. Use the shampoo normally: wet hair, massage scalp, rinse thoroughly every wash.
Stick with the homemade shampoo for at least six weeks before judging its effect. Changing too soon interrupts the recalibrating process and delays benefits.
Signs of Positive Change
You may notice reduced scalp itchiness or less dandruff after a few weeks. Hair will often feel softer and look shinier as natural oils spread more evenly. Another good sign is that hair becomes easier to style with less buildup.
If you have extra shedding or oiliness, it’s usually normal for a short time. Manage these by washing regularly and avoiding heavy oils or hair products. Patience helps as your scalp resets its normal cycle.
Some people find homemade shampoo helps reduce sensitivity or irritation caused by synthetic ingredients. Well-moisturized hair and a calmer scalp often follow consistent use.
When to Seek Professional Help
Keep an eye on any worsening scalp conditions like severe dandruff or inflammation. Consult a dermatologist if homemade shampoo containing oils makes dandruff worse. A skin specialist can recommend treatments or safe alternatives tailored to your scalp.
Persistent hair loss or scalp pain after six weeks deserves professional review. These signs could indicate an underlying condition beyond shampoo adjustment. A trichologist or dermatologist can diagnose and guide treatment options.
Before starting with homemade shampoo, consider a dermatologist visit if you have scalp psoriasis or eczema. This step helps avoid reactions from certain natural ingredients that may irritate your skin.
Give your scalp at least six weeks to adjust before switching shampoos again or changing recipes.
Step-by-Step Action Plan for Making Your Own Shampoo
Follow these steps to start making homemade shampoo easily. Check each step to see your progress.
- Before You Start: Gather your ingredients like castile soap, oils, and essential oils. Having everything ready saves time and frustration.
- Day 1: Mix a small batch using the basic recipe. Test it on your hair to check for any irritation or dislike of scent.
- Week 1: Use your shampoo every other day. Notice how your hair feels, clean but not dry or oily.
- Week 2: Adjust the recipe by adding oils or herbs to fit your hair type better. Watch for improved softness or manageability.
- Week 3: Make a new batch with the adjusted recipe. See if your hair feels healthier and your scalp is comfortable.
- Week 4: Store leftover shampoo in a cool, dark place to keep it fresh. Check the scent and texture before each use.
- Ongoing: Keep notes on what works or doesn’t. Change ingredients gradually for best results over time.
Frequently Asked Questions
What Is the Best Soap Base for Homemade Shampoo?
Castile soap is the most common base for homemade shampoos. It cleans hair gently and mixes well with other natural ingredients.
Can I Add Preservatives to Homemade Shampoo?
Yes, adding natural preservatives can extend shelf life beyond 4-6 weeks. Without preservatives, store shampoo in the fridge to keep it fresh.
How Often Should I Shampoo with Homemade Products?
Shampooing 2-3 times a week works well to avoid over-drying scalp. Homemade shampoos usually don’t strip oils as harshly as commercial ones.
Can I Make Shampoo Bars Instead of Liquid Shampoos at Home?
Yes, shampoo bars can be made using oils, lye, and additives like honey. They last longer and produce less packaging waste.
Should I Dilute Homemade Shampoo Before Use?
Some homemade shampoos need dilution to reduce strength and improve rinsing. Follow your recipe instructions for the right ratio.
Is It Safe to Use Essential Oils in DIY Shampoo?
Yes, but use essential oils sparingly to avoid scalp irritation. Start with a few drops and test your skin reaction.
Wrapping Up
Making shampoo at home lets you control what touches your hair. Start small and make changes based on how your hair reacts. Try your first batch today and enjoy the simple freshness of DIY care.