How to Curl with a Straight Iron: A Complete Guide for Perfect, Long-Lasting Curls
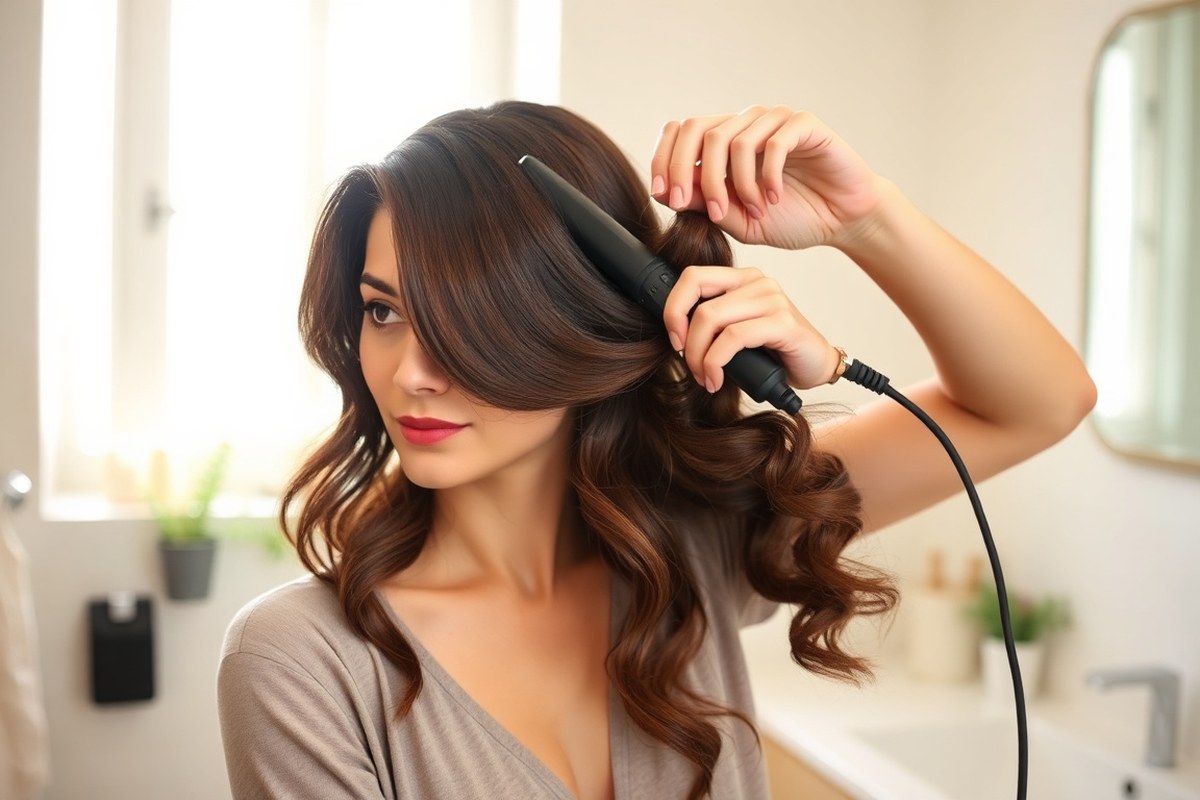
How to curl with a straight iron is simpler than you might think. Use a flat iron with rounded edges and the right temperature. Clamp a section of dry hair, twist the iron 180 degrees, then slowly pull it down.
Start with clean, fully dry hair to avoid damage and bad results. Straighteners with wider plates let you make looser curls.
Narrow plates create tighter ones. Adjust heat depending on your hair type to protect it and get the best curl hold.
Set your flat iron between 300 and 370°F for gentle but effective heat. Fine hair works best at lower temperatures to prevent frying. Thick or coarse hair may need higher heat to hold curls longer.
Use hair clips to section your hair for easier curling. Smaller sections give more defined curls. Move the iron slowly so your hair curls evenly without burning.
Key Takeaways
- Use a straightener with 1 to 2 inch plates for easy curling.
- Twist the iron 180 degrees in the curl direction before pulling.
- Always curl completely dry hair to avoid frying strands.
- Lower heat between 250-350°F suits straight or loose curls.
- Fine or thin hair should stay below 300°F heat setting.
- Long hair gets softer curls with wider plates, 1¼ to 2 inches.
How to Curl Hair with a Straight Iron Step-by-Step
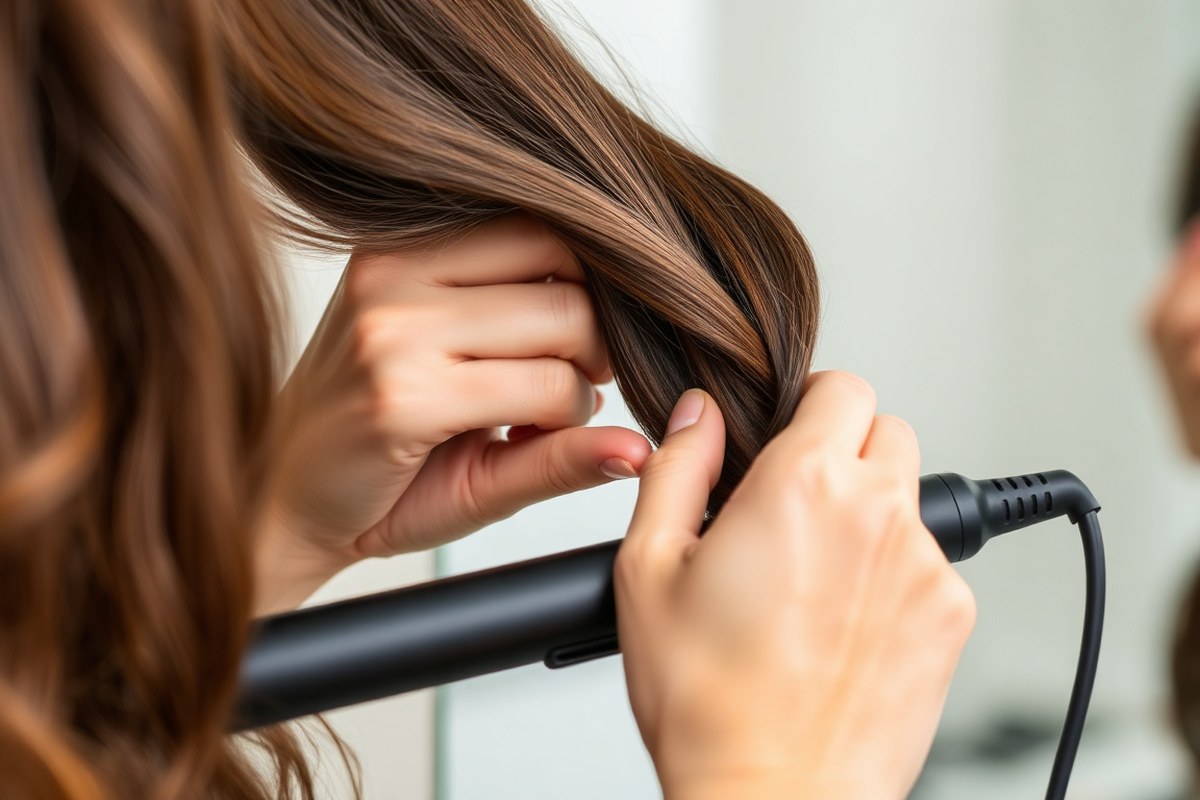
Curling hair with a flat iron takes some practice. Once you learn, it gets quick. You can style your hair faster each time.
You need to work on dry hair and divide it into manageable sections. Heating each section evenly while rotating the iron creates those smooth curls.
Holding and turning the flat iron the right way matters for even curls. Start the curl near the scalp or wherever you want the curl to begin. Hold the iron vertically.
Twist it halfway backward at the middle. Slide it slowly down to the ends without stopping.
- Section your hair into 6 to 10 parts using clips. Smaller sections curl more evenly, especially if your hair is thick.
- Place the flat iron at the base of the hair section. Hold the iron vertically so the plates are parallel to your face.
- Rotate the flat iron 180 degrees backward away from your face. The hair will wrap around the outside of the plates.
- Slide the iron down the hair length steadily, keeping it vertical and rotating as needed. Do not stop moving to avoid heat damage.
- Release the curl as soon as you reach the ends. Stop there if you want the curl to end sooner. Hold the iron on the hair 8 to 10 seconds max.
- Repeat the process on each hair section. Curl alternating directions for waves. Curl all one way for uniform curls.
- Finish by letting your curls cool completely before touching. This seals the curl shape better and helps it last longer.
You can adjust the size of each section depending on hair thickness and desired curl tightness. Fine or straight hair needs lower heat, around 250 to 350 degrees.
Thicker hair requires higher settings. Avoid overloading sections or curling damp hair to prevent uneven curls.
Choosing the Best Straightener and Settings for Your Hair
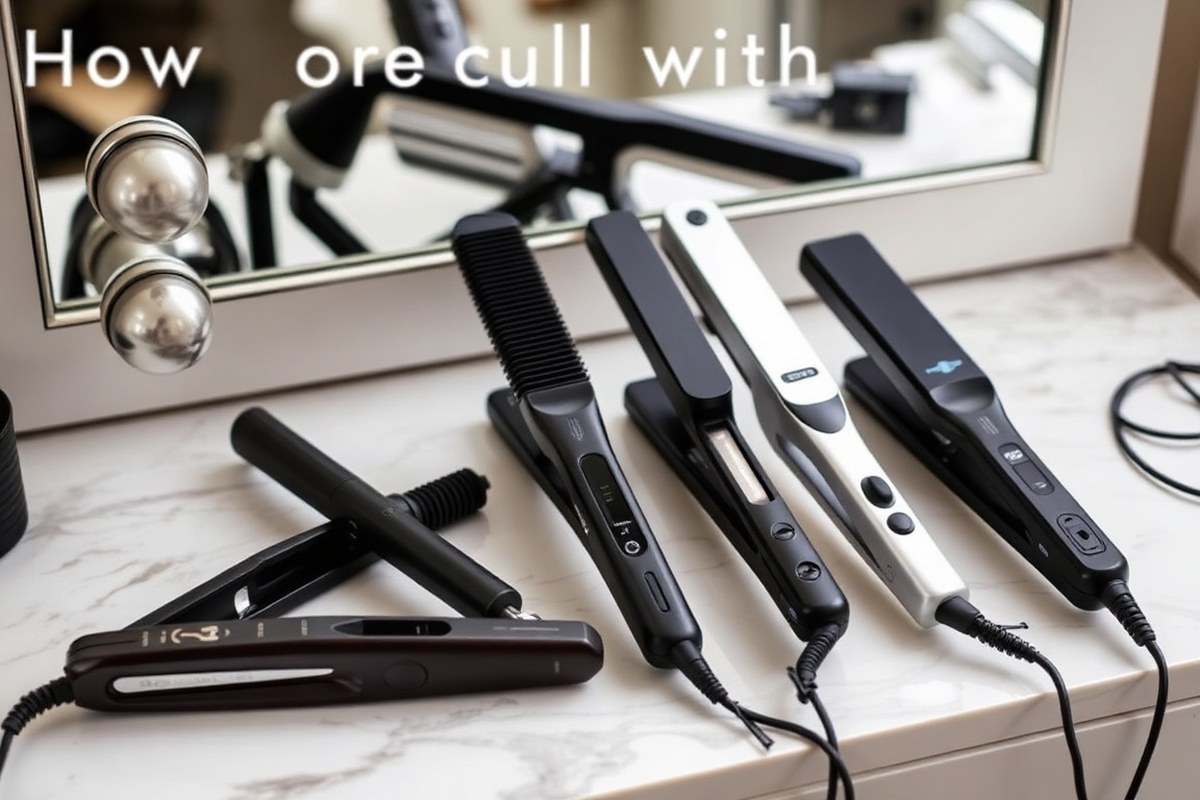
Pick the right plate size, shape, and heat for your hair texture and length. Small plates are best for short hair or tight curls.
Bigger plates work well for loose waves and long hair. Match the iron’s temperature to your hair’s thickness and damage level to avoid breakage.
Plate Width and Shape Options
Plate size decides your curl’s tightness and styling speed. Narrow plates between 0.5 and 1 inch help make tight, defined curls. Wider plates, around 1.5 to 2 inches, suit soft waves or long hair.
Rounded plates let you wrap hair smoothly without creating kinks. Straight-edged plates straighten well but tend to cause sharp bends during curling. Choose rounded plates if you want easy twisting and flowing curls.
| Plate Width | Best For | Typical Curl Style |
|---|---|---|
| 0.5 inch | Short hair, fine strands | Tighter curls, ringlets |
| 1 inch | Medium-length, all hair types | Classic curls and waves |
| 1.5, 2 inches | Long or thick hair | Loose waves, body |
Pick plate size based on your hair’s length and the curl look you want. Smaller plates take longer but curl better on short hair. Larger plates speed up styling and smooth longer hair well.
Temperature Settings by Hair Type and Condition
Thick, coarse hair needs more heat, around 350 to 450°F, to shape curls. Fine, thin, or damaged hair needs lower heat.
Set the iron to 250 to 300°F. This prevents burning and breakage. Start at the lower end for your texture to see if it works.
Always use a heat protectant spray before curling. It guards your hair when using higher temperatures.
Adjust heat to get a curl in one or two passes. Avoid holding the iron too long on one section.
Don’t crank up the heat too high. It can fry fine or damaged hair fast.
The right temperature makes curls last without frying hair. Too low and curls won’t hold; too high causes split ends and frizz.
Benefits of Ceramic, Tourmaline, and Other Materials
Ceramic plates heat evenly and glide smoothly, reducing snagging. They distribute heat gently, which lowers damage risks. Tourmaline plates emit negative ions that tame frizz and add shine to curls.
Vibrating ceramic plates spread heat up to 450°F evenly, helping curls form consistently. Titanium plates heat quickly and keep temperature steady.
They suit thick hair but can be too strong for fine hair. Pick materials that suit your hair sensitivity and styling needs.
Preparing Hair Properly Before Curling with Heat
Always start with completely dry hair before using a straightening iron to curl your hair. Damp hair combined with heat can cause damage and fail to hold curls. Getting your hair ready with the right products protects it well.
It also helps your curls stay longer. Proper prep matters for better curling results.
Drying Hair Fully for Best Curling Results
Make sure your hair is fully dry before curling with a straightener. Heat styling tools reach high temperatures that can fry damp strands, creating frizz and damage. Use a blow dryer to dry hair completely, focusing on the roots and ends.
For thick or coarse hair, drying can take 10 to 15 minutes. Low or medium heat settings on your blow dryer reduce breakage. When hair is dry, the straightener glides smoothly, and the curls set better.
Recommended Heat Protectants and Styling Sprays
Before curling, apply a heat protectant spray evenly through dry hair. A good protector shields hair from heat damage caused by the flat iron. Look for products labeled to handle temperatures up to at least 375 degrees Fahrenheit.
Apply a light mousse or setting spray next. These help give your curls extra hold. They keep your hair ready for styling.
This helps the hair hold its shape longer and prevents curls from falling flat. Texture sprays help with freshly washed hair that feels slippery.
They add grit that helps curls hold better. Use them on damp or dry hair.
- Heat protectant spray to guard hair from heat damage
- Light hold mousse or setting spray for curl structure
- Texture spray for added grip on slippery hair
- Flexible hold hairspray to set curls after styling
- Use products that suit your hair type for best results
Avoid heavy products before curling since they can weigh curls down. Spray your hair from about 8 to 10 inches away.
This spreads the product evenly without stickiness. It prevents greasy build-up while styling.
Detangling Techniques to Prevent Snagging
Detangle your hair gently before curling to avoid breakage and snagging on the straightener. Use a wide-tooth comb or a brush designed for wet or fragile hair. Start detangling at the ends and work your way up toward the roots.
For thicker or curly hair types, section your hair into manageable parts before detangling. This step makes styling faster and easier for you. It also clears knots that might pull or break hair.
Smooth hair curls better with less damage. Smooth, tangle-free hair curls evenly and looks polished.
Tailoring Curling Techniques to Hair Type and Length
Fine or thin hair needs lower heat to avoid damage. Set your straight iron between 300°F and 350°F. Use smaller hair sections, about ½ inch wide, to curl gently without overheating. Clamp the iron.
Twist it away from your face a full turn. Glide the iron down smoothly. This creates natural-looking curls without breaking your fine strands.
Thick or coarse hair demands more heat and patience. Choose a straightener setting around 375°F to 425°F, depending on how coarse your hair is. Work with slightly bigger sections, about 1 inch wide.
Clamp the hair. Twist the iron a full rotation.
Hold it 3 to 5 seconds longer. This method helps your curls last longer through the day.
Short hair needs a smaller iron, usually 1 inch or less wide. Larger irons won’t wrap short lengths properly and make curling tricky. With short hair, wrap your hair around the iron at least once fully.
Twist the iron a half rotation for soft waves or a full rotation for tighter curls. Keep your hand steady and move the iron slowly to shape curls that hold all day.
Another tip for volume on all hair types is to heat the roots first. Hold the flat iron at a 90-degree angle to your hair section while curling.
This push lifts your roots, creating a fuller, bouncier look without extra styling products. After finishing, spray a light mist of hairspray to lock your curls in place.
Choosing the right section size and temperature prevents burning or limp curls. Fine hair struggles with too much heat or big sections, turning straight instead of curly. Thick hair needs patience and more heat to curl fully.
Short hair requires a small iron to avoid awkward bends. By adjusting these details, you get better curls that suit how your hair behaves.
Different Curling Methods Using a Flat Iron
You can curl your hair with a straight iron. Different methods give different looks. Choose one based on your style choice.
The main styles are clamp curling, clamp-free curling, and flick and slide. Each method shapes your hair differently, with pros and cons for speed, hold, and style.
Clamp Curling Technique for Classic Curls
This method uses the flat iron clamp. It holds the hair tight. You twist the iron to make curls.
It gives you classic, smooth curls that sit nicely. These curls look polished and work well for volume or bouncy styles.
To get tighter curls, use smaller hair sections and twist the iron more. Larger sections and looser twists make bigger curls but take more time.
- Divide hair into 1-inch sections for uniform curls.
- Clamp the iron near the root of one section.
- Twist the iron away from your face while pulling down.
- Slowly slide the iron down to the ends.
- Release the clamp and let the curl cool.
- Repeat on all sections.
Clamp curls hold better if hair is completely dry and prepped with heat protectant.
Clamp-Free Method for Relaxed Waves
This technique skips the clamp and wraps hair around one plate of the flat iron. It creates looser, more natural waves that look beachy. The waves are relaxed, with less volume and a softer bend than the clamp method.
This method is faster and easier but offers less control on tight curls. It’s great for undone waves or casual styles.
- Hold the flat iron vertically near mid-length of your hair.
- Wrap a hair section around the top plate from front to back.
- Hold the hair for 5 to 7 seconds without clamping.
- Slowly pull the iron down while keeping hair wrapped.
- Let hair slide off the plate, releasing the wave.
- Repeat with medium to large sections for beach waves.
Be careful not to wrap hair too tightly without the clamp. It can cause pinch marks.
Flick and Slide Method to Create Loose Waves
This style starts with a quick clamp at the root. Then flick the iron outward. Finish by sliding it down the hair.
It creates loose, flowing waves with volume near the scalp. It’s a popular method for soft, casual curls with body.
Flick and slide works well on thick hair. It also suits straight hair.
It bends hair without curling fully. It’s quicker than clamp curling but adds more shape than clamp-free.
- Clamp the iron at the root of a 1- to 1.5-inch section of hair.
- Rotate the iron outward at a 45-degree angle away from your face.
- Slide the iron down slowly while twisting further outwards.
- Release the clamp once you near the ends.
- Repeat on all sections moving around your head.
Using larger sections in this technique speeds up styling but softens the wave shape.
How to Protect Hair and Avoid Damage While Curling
Keep your straight iron at a safe temperature to avoid damage. For fine or thin hair, set it between 300°F and 350°F. Thicker or coarser hair can handle 350°F to 400°F, but avoid going higher.
Always apply a heat protectant spray before curling. It forms a barrier to reduce heat damage and helps keep your curls longer. You can also lightly spray hairspray before curling for extra protection and hold.
Watch your hair for signs of damage like dryness, split ends, or breakage. When your hair feels rough or brittle after curling, try lowering the heat or curling smaller sections. Smoke or burning smell means your iron’s too hot or stayed too long on your hair.
- Use a heat protectant spray every time you curl
- Keep temperature below 350°F for fine hair
- Use 350°F to 400°F for thick hair only
- Avoid holding the iron on one section more than 5 seconds
- Spritz a light layer of hairspray before curling
- Do not curl wet or damp hair
- Check hair often for dryness or breakage signs
Handle the iron gently and avoid clamping too hard, which can cause creases or break hair. Curl small sections about 1-inch wide for even heat. Take breaks between sections to prevent overheating your hair.
Making Your Flat Iron Curls Last Longer
Using styling products can really help your curls hold their shape longer. A soft hold spray or salt spray adds definition without extra heat. You want something lightweight that won’t weigh curls down or make them stiff.
Before curling, try applying a mousse or texture spray. These give hair a little grit, making curls less likely to slip out. Texture is key for curls to last through the day and even into the next.
After curling, hold each curl in your hand until it cools completely. That usually takes about 5 to 8 seconds.
Cooling sets the curl pattern. So don’t rush this step or the curl might fall flat quickly.
To keep curls from falling out fast, avoid touching or brushing them too soon. Sweating or humidity can also loosen curls.
So a light mist of hairspray helps lock them in. Spray lightly instead of soaking hair to avoid stiffness.
Refreshing curls on day 2 without heat is easy with the right tools. Try finger combing your hair with a dry shampoo or texture spray. This adds body and revives curls without damage.
Some curls may look flat; scrunch your hair gently at roots. Twist a few strands around your finger to reshape them. These simple moves revive curls without needing to heat your hair again.
In humid weather, curls tend to loosen faster. So adding extra texture spray can help.
For very fine hair, using lightweight mousses or sprays is better. Heavy products can weigh curls down and cause limpness quickly.
By day 3, curls may look a bit loose. Re-curl the parts of hair that need it again.
This adds hold for 2 more days. This also helps save your blowout or fresh style without starting over.
Troubleshooting Common Flat Iron Curl Problems
Curls can fall flat fast when your hair feels too heavy. Not using enough heat also makes curls drop quickly. Keep hair light and apply enough heat to hold curls.
Using a flat iron that’s below 300°F often won’t hold curls well, especially on thicker hair. Try setting the iron to about 350°F for fine hair. For thick hair, raise it to 375°F or more.
This helps the curls last without damage. But never over 410°F to avoid damage.
Uneven curls occur when heat isn’t spread well on your hair. Thick hair sections can also cause curls to look uneven. Use smaller sections and even heat for smooth curls.
Smaller, uniform sections curl more consistently. Reduce each hair section size to fix uneven curls.
Glide the iron slowly and smoothly down each section. This helps curls look even and polished.
Hair damage or frizz shows when the iron moves too slow. Not prepping hair well can also cause this. Move the iron steadily and prep hair with heat protectant.
Too much heat in one spot burns hair, causing frizz and dryness. Use a heat protectant spray every time. Don’t hold the iron on the hair longer than 5 seconds per section.
- Use heat protectant spray before curling
- Choose the right temperature for your hair type
- Work on small, even sections for smooth curls
- Glide the iron steadily without pausing too long
- Don’t overload your hair with product; it weighs curls down
- Allow curls to cool before touching for longer hold
- Use a light hairspray or styling product to finish
The speed you move the iron affects your curl’s look. Pulling hair taut and moving the iron faster creates looser, beachy waves. Slow down your movements for tight curls.
Fully twist the iron around your hair strand. This makes the curls tighter and more defined.
Remember that slower means hotter and more chance for damage. Always balance speed and heat to keep hair healthy.
Never go over the same hair section multiple times with high heat; it causes breakage.
Flat iron curls look softer and more natural when you brush them out gently. Avoid heavy gels or thick creams when curling. They can weigh curls down and make them fall flat.
Use lightweight products to keep curls bouncy. For very fine hair, less product often means longer-lasting curls. Experiment with finishing sprays and mousses to find what holds best for your hair texture.
Step-by-Step Action Plan to Curl Hair with a Straight Iron
Follow this simple plan to get curls that hold and protect your hair. Take your time with each step for the best results.
- Before You Start: Pick a straightener with rounded edges. Set it to medium heat between 300 and 350°F. Test on a small hair strip to avoid damage.
- Right Before Curling: Apply a heat protectant spray evenly to dry hair. This prevents heat damage and keeps hair shiny.
- First Pass: Section hair into small parts. Wrap one section around the straightener and glide slowly for 5 seconds. Check for smooth, defined curls.
- Midway Through Curling: Hold each curl in your hand until it cools. Or spray lightly with flexible hold hairspray. This helps curls set and last longer.
- After Curling: Gently run your fingers through curls to soften them without breaking the shape. Avoid brushing which can cause frizz.
- Daily Care: Use a mild shampoo and conditioner to keep hair hydrated. Avoid washing daily to preserve curl shape.
- Every Few Days: Mist your hair lightly with water to refresh curls. Re-curl loose sections using low heat.
Frequently Asked Questions
Can You Curl Your Hair with Any Flat Iron?
Yes, most flat irons can curl hair if they have rounded edges. Flat edges make curling trickier and may cause bends instead of smooth curls.
How Often Should You Clean Your Straightener?
Clean your straightener every one to two weeks to avoid product buildup. Use a damp cloth with rubbing alcohol and unplug the device before cleaning.
Do You Need to Dry Your Hair Completely Before Curling?
Hair should be fully dry before curling to avoid heat damage and uneven curls. Using a blow dryer helps speed up the drying process.
What’s the Best Way to Hold the Iron for Loose Waves?
Hold the iron at a slight angle and clamp without twisting for loose waves. Moving the iron faster creates softer, more natural-looking curls.
Can You Curl Hair Backwards with a Flat Iron?
Yes, you can curl hair backwards by rotating the iron away from your face. This creates volume and a different curl direction.
Is It Better to Use a Heat Protectant Spray or Serum?
Heat protectant spray is better as it coats hair evenly and prevents damage. Serums often add shine but do less to protect from heat.
The Bottom Line
Curling hair with a straight iron can give you versatile, long-lasting curls when done right. Protecting your hair and choosing the correct heat setting makes a big difference. Try curling one section slowly today to see how smooth your curls turn out.