How to Use Iron Hair for Best Results: A Complete Step-by-Step Guide
Using a flat iron properly helps you save time and protect hair. Dry your hair well before applying any heat with the straightener.
Spray heat protectant on damp strands to guard against heat up to 450 degrees. This prevents dryness and breakage during styling.
Choosing the right temperature depends on your hair type. Fine hair should stay below 340 degrees, while thicker hair can handle higher heat.
Rough drying your hair about 80% before ironing helps reduce damage and speeds up styling. Avoid using the highest setting unless your hair is coarse or very curly.
Sectioning your hair into manageable parts makes straightening easier and more effective. Using smaller iron plates works best for short hair.
Wider plates suit longer hair. Taking time to separate hair evenly also prevents repeated passes that cause damage.
Key Takeaways
- Always use a heat protectant spray on damp hair before ironing.
- Dry your hair completely or at least 80% with a blow dryer first.
- Adjust iron temperature based on hair type: lower for fine, higher for thick.
- Choose flat iron plate size depending on your hair length and style goal.
- Section hair into small parts for even heat distribution and better results.
- Avoid ironing wet hair to prevent serious hair damage.
How to Use a Hair Iron Correctly Step by Step

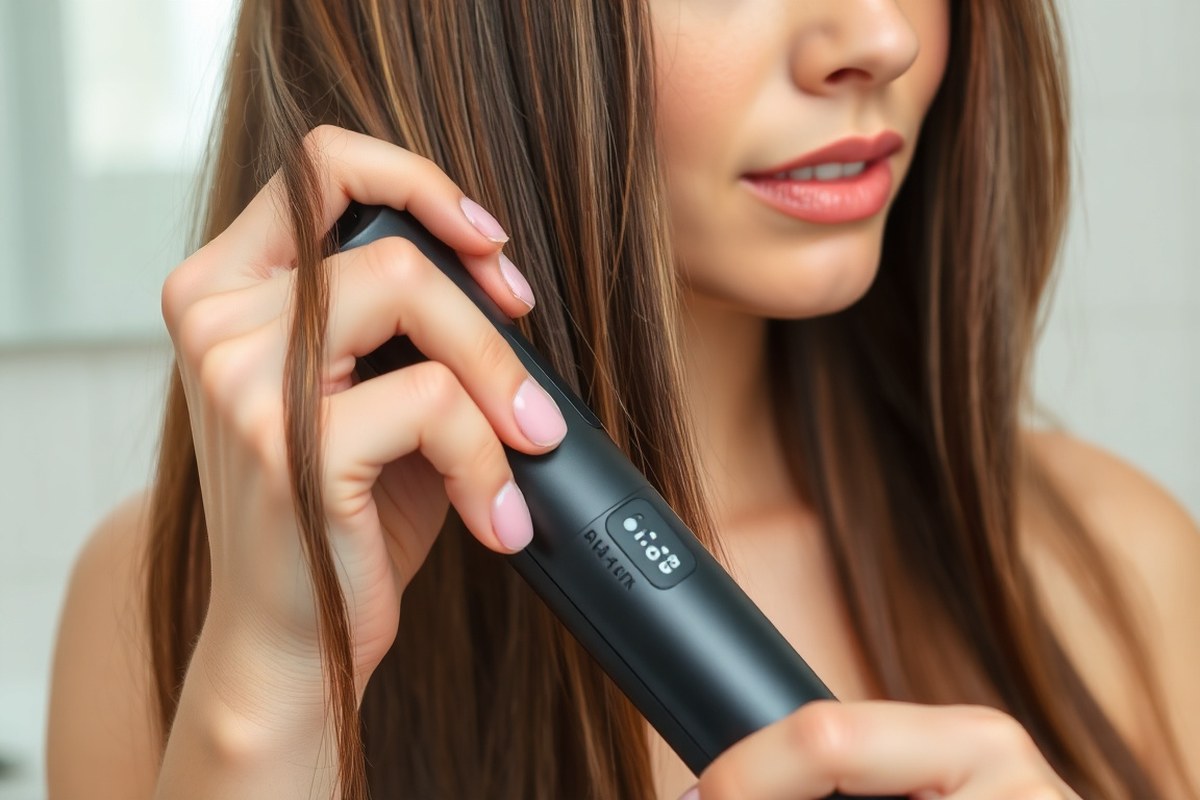
Using a flat iron on your hair takes a steady hand and the right moves. Start with small sections pulled tight. This reduces the number of passes you need, which keeps your hair healthier.
Position the flat iron close to your scalp but without touching your skin. Glide it steadily all the way down to the ends in one swipe. Avoid clamping in one spot too long to prevent heat damage.
- Pick up a 1-inch section of dry, clean hair. Keep it straight and tight between your fingers.
- Place the flat iron as close to the roots as you can, without burning your scalp.
- Clamp the flat iron and slowly pull it down the hair’s length in one smooth motion. Do not stop or slide up and down.
- Repeat on the same section only once more if it’s not perfectly straight. More than two passes can cause damage.
- Move to the next 1-inch section and repeat the process carefully.
- Straighten each hair section by pulling the iron upwards. Pull towards the ceiling to keep hair smooth and flat.
- Finish styling once all sections are smooth and no creases remain.
Using more than two passes can cause breakage and dullness. Keeping each section small and taut helps the heat spread evenly.
A good flat iron with ceramic or titanium plates works best. It helps reduce damage and smooths hair better.
Preparing Your Hair Before Using an Iron
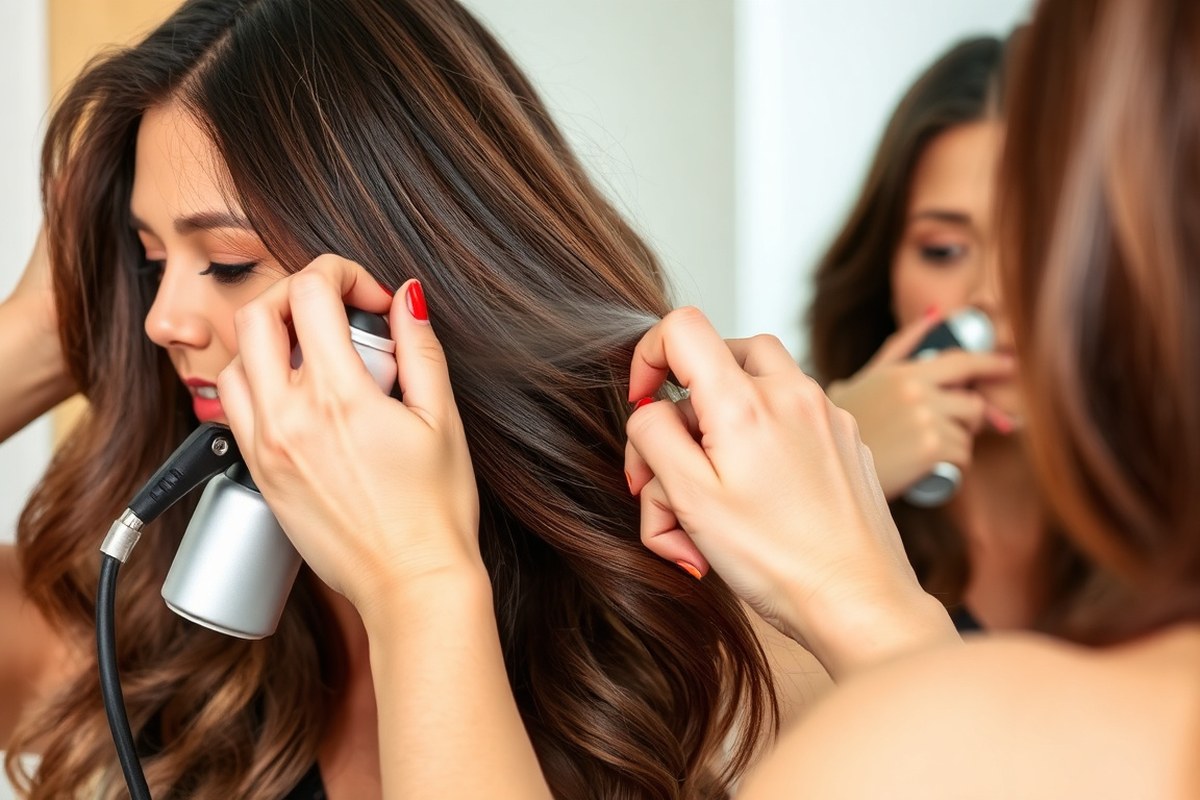
Start with clean, dry hair before using a flat iron. Wash your hair with gentle shampoo and conditioner, then dry it fully. Applying heat protectant afterward shields your strands and smooths the surface for better results.
Why Always Start with Clean Hair
Dirty hair holds onto oils and products that can burn or smoke under heat. Clean hair lets the iron glide smoothly and prevents buildup that dulls shine. Use a mild shampoo that suits your hair type to avoid extra dryness.
Hydrating conditioner helps keep moisture in and reduces frizz after straightening. Avoid heavy or oily conditioners that can weigh hair down before heat styling.
Starting fresh means your hair will respond better to heat styling. You get a smoother, longer-lasting result without risking damage from dirt and residue.
The Best Heat Protectant Products to Use
Heat protectants are a must for preventing damage and dryness. Use a thermal spray or cream to protect your hair. Pick one meant for heat up to 450°F. Most irons heat between 300 and 450°F.
Apply a thin, even layer after drying your hair completely for best absorption. Products with oils like argan or Moroccan oil help lock in moisture and add shine.
Many sprays and creams work well on dry hair. Some sprays can be used on damp hair before blow drying.
- Heat protectant spray for dry hair, sprayed evenly
- Cream-based protectants for thick or coarse hair
- Protective mists with natural oils for added moisture
- Lightweight sprays for fine hair to avoid weighing down
- Products labeled for use up to 450°F or higher
Never start ironing before the heat protectant fully soaks in and your hair is dry.
Proper Drying Techniques Before Ironing
Iron only completely dry hair to avoid heat damage and breakage. Wet hair heats unevenly and can blister the cuticle.
Blow dry hair using a nozzle attachment for control and a brush to smooth the strands. Dry sections one at a time to ensure thorough drying.
Use the cool shot button after drying your hair. It seals the hair cuticle and cuts frizz.
This helps your style last longer. Let hair fully cool before applying heat protectant.
Detangling and Sectioning Prep
Once your hair is dry, gently detangle with a wide-toothed comb to remove knots. Start from the ends and work your way up to avoid breakage.
Separate hair into small sections using clips to make straightening easier and more even. Clean sections help the iron work efficiently.
Applying heat protectant to each section before ironing ensures full coverage and protection. Avoid rushing so you don’t miss spots.
Choosing the Right Temperature for Your Hair Type
Choosing the right temperature for your hair type helps avoid damage and get smooth results. Using too high heat can burn hair strands.
It can also weaken fine or fragile hair. On the other hand, too low heat might not straighten or style your hair effectively.
Here’s a chart showing the best temperature ranges for hair types. Use it as a starting point. Adjust your iron within these limits depending on how your hair reacts.
| Temperature Setting | Hair Type |
|---|---|
| 250-290°F (121-143°C) | Fragile, Very Fine |
| 290-330°F (143-166°C) | Fine |
| 330-370°F (166-188°C) | Medium Textured |
| 370-410°F (188-210°C) | Thick |
| 410°F (210°C) | Coarse, Very Thick |
Fine or color-treated hair usually needs 280 to 320°F, never exceeding 340°F. Start at the lower end to protect fragility. Medium-textured hair works well from 330 to 370°F for even straightening. Thick or coarse hair often requires 370 to 410°F to smooth properly.
To pick the right setting, begin at the recommended level for your hair type. Raise the temperature slightly by 10 degrees steps when hair doesn’t straighten easily. Avoid exceeding the top limit; it can cause dryness and breakage.
Remember, not all irons match every hair type. Choose one offering the right temperature range for your strands. Using a flat iron made for your hair helps you style quicker and safer.
For example, fine hair heated at 300°F straightens well without damage. Coarse hair needs 400°F or more to look smooth but no higher.
Also, consider products that protect hair from heat up to the temperature you use. Applying a serum or spray shields your hair from heat damage. Keep the heat in the right range for best results.
Don’t assume higher heat always means better results. It can cause hair to fry between plates.
Effective Hair Sectioning and Ironing Techniques
Sectioning your hair properly helps speed up styling and gives better results. Using the right size sections prevents uneven heat exposure that can lead to damage. Adjust the section size based on your hair’s thickness and length for easier handling.
Using Clips to Divide Hair Neatly
Start with dry, detangled hair before sectioning. Use clips or hairbands to separate the hair into manageable parts. Keep clipped sections away from the area you’re working on to avoid mixing strands.
Vertical clips or claw clips hold hair securely during styling. You’ll avoid tugging and save time by working one section at a time. Neat sectioning keeps your flat iron passes clean and efficient for smoother results.
Section Size Recommendations for Different Hair Types
Thicker hair benefits from smaller sections, about 1 inch wide, since it handles heat slower. Fine or thin hair lets you take larger sections, about 1 to 2 inches.
Using bigger sections helps cut styling time. Long or coarse hair needs sections closer to 1.5 inches for smoother passes.
For curling or waves on thick hair, use 1-inch sections to keep control. Straightening thick or coarse hair goes faster with 1.5-inch sections on a flat iron with wide plates. Smaller sections help reach roots and get even heat distribution without overheating.
Avoiding Overlapping and Missed Strands
Work slowly by releasing one section at a time from its clip. This ensures the iron hits every strand evenly without burning the hair. Overlapping passes waste time and risk damaging already straightened hair.
Use clips to hold back styled hair. This stops restyling and keeps hair neat. Slide the iron smoothly from root to tip.
Avoid going back or missing parts. Do this with every section.
- Brush and dry hair completely before sectioning.
- Divide hair into two main halves for easier handling.
- Clip the top half using a claw clip and work with the bottom half first.
- Separate 1 to 1.5 inch wide sections within the bottom half.
- Use small clips to hold off hair you are not working on.
- Straighten one section at a time before releasing the next.
- Repeat on top half using the same section size and clip method.
Making Each Pass Count Without Damaging Hair
Keep the flat iron moving smoothly and avoid holding it on one spot for too long. Aim to hold the iron on each hair section for only 8 to 10 seconds. Holding it longer can cause damage and leave a ridge in your hair.
One solid pass over a section usually gets the hair mostly straight. But thicker or very curly hair may need 2 passes. Doing many passes on the same section increases heat damage.
So try to get it right quickly. Use gentle pressure, pressing too hard can stress the hair and cause breakage.
- Use a flat iron with ceramic plates for even heat distribution.
- Section hair into manageable pieces, about 1 inch wide.
- Place iron close to scalp but avoid burning skin.
- Move the iron steadily from roots to tips in one fluid motion.
- Apply gentle pressure, not too soft or too hard.
- Speed should let each pass take 8 to 10 seconds per section.
- For stubborn waves, one extra pass is fine, but no more than 2.
For thick or curly hair, larger plates like 1.75 inches help cover more surface quickly. Pull the iron straight down your hair without stopping. Use an upward twist near the ends.
This creates a natural bend. When straightening top layers, angle the iron upward to create volume and prevent flatness.
Too slow or too many passes cause too much heat exposure and frizz. Too fast might leave hair partially straight with more passes needed.
Finding your right speed and pressure takes practice. But it cuts styling time and keeps hair healthier.
Hold the iron on each section for no longer than 10 seconds to avoid heat damage.
Using a Hair Iron to Create Curls and Waves
You can use the same flat iron for curls, waves, or straightening. Flat irons work like curling irons when you wrap your hair around the plates. Different curls need different wrapping styles and angles.
For curls, wrap the hair tightly around the iron barrel or plates with no gaps. For waves, wrap hair more loosely or twist the iron while sliding it down. Adjust how long you hold hair in the iron based on type.
Hold it longer for tighter curls or shorter for loose curls. This helps you get the style you want.
- Heat your flat iron to 300°F, 350°F for curls, 270°F, 310°F for waves.
- Section dry hair about 1-inch wide for curls, 1.5, 2 inches for waves.
- Clamp the flat iron plates around the hair close to the roots but not touching scalp.
- For curls, wrap hair fully around the iron once. Hold it for 8 to 10 seconds. This shapes the curl well.
- For waves, clamp the iron on hair and twist your wrist 180 degrees. Slide the iron down slowly. This makes loose waves.
- Release hair gently to keep curl shape, then let cool without touching.
- Repeat around your head, varying directions to avoid a uniform look.
Holding the iron longer gives tighter curls but risks heat damage. Keep the iron moving and avoid slowing near roots, especially with curly or textured hair. For looser waves, use wider sections and hold less time.
You can change from curls to waves by how tight you wrap hair. A tighter wrap makes curls. A looser twist makes waves.
Maintaining and Cleaning Your Hair Iron for Longevity
Residue buildup on flat iron plates happens from hair products or heat exposure. Clean plates after every few uses to keep them working well. Use a soft cloth dampened with rubbing alcohol.
You can also use a mix of water and baking soda. Gently wipe the plates to clean them.
Avoid using harsh cleaners or soaking your iron in water. Let the plates dry completely before plugging in the iron. This stops rust and keeps the heating elements safe.
- Unplug the iron and let it cool fully before cleaning.
- Use a soft cloth or cotton pad with rubbing alcohol.
- Gently wipe the plates to remove product residue.
- Clean crevices using a soft toothbrush if needed.
- Dry all parts thoroughly before storage or reuse.
Store your iron in a dry, cool place and avoid wrapping the cord tightly around it. This practice keeps wires intact and prevents internal damage. Using a heat-resistant pouch or case helps stop dust buildup and accidental drops.
Replace or service your hair iron every 2 to 3 years. Do it sooner if heating becomes uneven. Also replace if the cords look frayed.
A worn iron can damage your hair or become a fire hazard. Professional servicing is rare but helpful if your iron allows for it.
Common Flat Iron Mistakes and How to Avoid Them
Common flat iron mistakes often cause heat damage or uneven styling. Knowing what to avoid helps keep your hair healthy and looking great. Let’s break down these errors and how to fix them for better results.
Ironing Wet or Damp Hair
Using a flat iron on wet or damp hair severely damages strands. Water heats up in the iron and boils inside the hair shaft, causing breakage. Always dry your hair completely before straightening to protect it.
After washing, towel dry, then use a blow dryer for at least 10 minutes. Make sure hair feels fully dry to the touch before starting. Applying heat to any moisture invites split ends and frizz.
Never use a flat iron on damp hair to avoid frying your strands.
Using Excessive Heat Settings
Many people use too much heat, thinking higher temperatures style faster. This actually burns hair, making it dry and brittle. Choose the lowest effective heat setting based on your hair type.
Fine or damaged hair should stay under 300°F (149°C). Thick, coarse hair can handle up to 400°F (204°C) but test first. Use the iron’s temperature dial or digital control to adjust precisely.
- Fine hair: 250°F to 300°F
- Normal hair: 300°F to 350°F
- Thick or coarse hair: 350°F to 400°F
- Check hair condition before each use
- Lower heat if hair feels dry or brittle
- Use irons with temperature control features
Dropping heat just 25 degrees can reduce damage significantly. Watch for signs like dryness or uneven texture to know when to turn it down.
Skipping Heat Protectant
Heat protectant sprays shield hair from direct heat damage. Skipping this step leaves hair vulnerable to burning and moisture loss. Always spritz protectant evenly on dry hair before ironing.
This creates a barrier that helps maintain hair’s natural oils and smooths cuticles. Look for products labeled “heat protectant.”
Spray enough to cover each strand lightly. Avoid soaking your hair with the spray.
- Use heat protectant spray or serum on dry hair
- Apply before every ironing session
- Comb through hair to distribute evenly
- Avoid heavy products that weigh hair down
- Reapply protectant if you straighten multiple times
Protectants cost around $10 to $25 and add a few seconds to your routine. This small effort helps prevent expensive damage repairs later.
Passing the Iron over the Same Section Too Often
Going over the same hair part several times causes excessive heat exposure. This flakes away moisture and increases breakage risk. Aim to straighten each section just once or twice for smooth results.
Use slow, steady passes to avoid repeated strokes. The section isn’t straight after two tries? Lower the iron’s temperature.
Avoid adding more passes to prevent damage. Smaller sections also straighten more evenly.
- Use clips to section hair into small, even parts
- Straighten each part once or twice only
- Keep the iron moving steadily with no pauses
- Lower heat if hair needs more passes
- Check for dryness or heat damage regularly
Repeating strokes may seem quick but actually causes lasting damage and frizz. Keep your technique smooth for healthier hair.
Step-by-Step Action Plan to Master Hair Iron Use
Start your hair straightening journey with these simple steps that build your skills. Follow each one to see real progress without damage.
- Before you start: Wash and dry hair completely. Dry hair feels smooth and looks shiny when straightened.
- Day 1: Set your iron to the right temperature for your hair type. Hair stays healthy and straight if you avoid overheating.
- Day 2: Divide hair into small sections. This helps each pass get all strands without missing spots.
- Week 1: Practice one smooth pass per section. Your hair should feel soft and smooth, not brittle.
- Week 2: Try curling or waving with your iron on low heat. Curls hold better if your hair is well-prepped and not frizzy.
- After 3 weeks: Clean your iron after every 5 uses to avoid buildup. A clean iron glides easily and protects your hair.
- Ongoing: Adjust temperature or section size based on your hair’s reaction. Healthier hair looks shinier and lasts longer.
Frequently Asked Questions
Can I Use a Hair Iron on Wet Hair?
It’s safer to use a hair iron on dry hair to avoid heat damage. You can spray heat protectant on damp hair.
Let hair dry mostly before straightening. This gives the best results.
What Is the Best Plate Size for Short Hair?
Smaller plates, like ¾-inch, work better for short hair for precise control. They allow you to get close to the roots without missing spots or burning your scalp.
How Often Should I Clean My Hair Iron?
Clean your iron at least once a month to remove product residue. Unplug the iron first before cleaning it.
Use a damp cloth for cleaning. This helps protect your hair and the iron.
Can I Use a Hair Iron to Add Volume?
Yes, you can create volume by slightly lifting roots with the iron. Gently clamp the roots and pull upwards, then smooth down to avoid creases.
Are Ceramic Plates Better for Hair Irons?
Ceramic plates distribute heat evenly and reduce hot spots that burn hair. They help your hair iron glide smoothly and cause less damage compared to metal plates.
What’s the Trick to Avoid Creases When Straightening?
Don’t hold the iron in one spot for too long to avoid creases. Slowly glide your hair iron down the strand in one smooth pass for even heat.
Key Points to Remember
Using your hair iron right improves your style and hair health. Try adjusting your technique this week and see the difference. Keep your tool clean for the best results every time.