How to Make Ringlets with a Flat Iron: Complete Guide for Perfect Curls
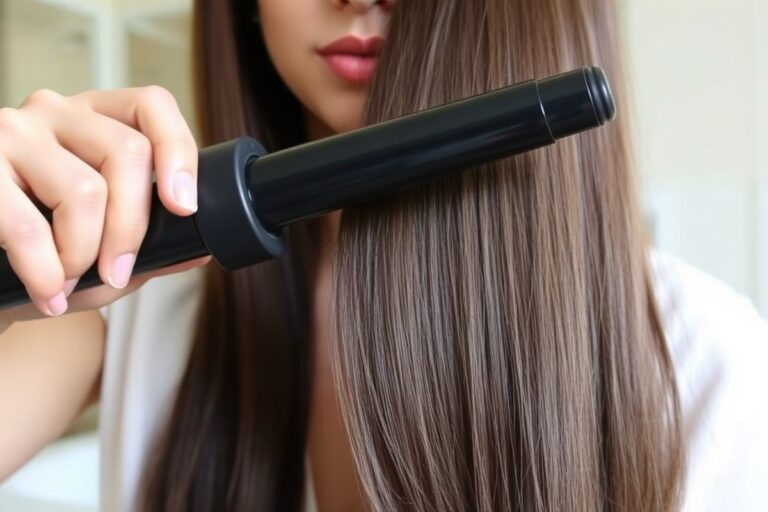
Learning how to make ringlets with a flat iron is easier than it looks. Clamp the iron near your roots, then twist it fully before sliding down.
This curls your hair into smooth, tight ringlets. These ringlets last longer than curls made with a curling iron.
Start with clean, dry hair brushed out fully for smooth curling. Use a heat protectant spray to shield hair from damage while styling.
Pick a flat iron that has rounded edges. Set it to the correct heat for your hair type.
Keep each clamp on your hair for only 7 to 10 seconds to avoid burning. After releasing the hair, twist the curl gently with your finger to shape it perfectly. Don’t touch your curls for about 20 minutes so they set properly.
Key Takeaways
- Use a 1-inch flat iron with smooth, rounded edges for easy ringlets.
- Clamp the iron about one inch from the root before curling.
- Rotate the iron a full 360 degrees before sliding it down.
- Set temperature below 300°F for fine or thin hair to protect strands.
- Apply heat protectant spray thoroughly before using the flat iron.
- Don’t keep the iron on one hair section longer than 10 seconds.
Step-By-Step Method to Make Perfect Ringlets with a Flat Iron

Creating tight, defined ringlets with a flat iron takes patience and proper technique. The trick lies in how you clamp, rotate, and move the iron through your hair. Work on small sections of hair for better control.
Time each pass to avoid heat damage. This helps you get the perfect ringlet shape.
Start your curl about one inch from the roots for a natural lift. Clamping and rotating the flat iron exactly the right way helps form that perfect spiral look. Hold the iron for 7 to 10 seconds max.
This keeps the curls intact. Avoid holding too long to prevent burning.
- Separate a 1-inch section of dry hair.Hold the flat iron horizontally about one inch from roots. This stops the scalp area from straightening. Keep the iron steady for best results.
- Clamp the iron tightly on the hair section. Grip firmly but gently to avoid slipping or pulling hair.
- Rotate the flat iron a full 360 degrees away from your face. Turn the iron slowly to wrap the hair around the plates, creating the ringlet.
- Slowly slide the iron down the hair shaft. Move at a steady pace, finishing near the tip for a uniform curl.
- Release the hair carefully from the iron. Avoid pulling to keep the curl intact.
- Use your finger to spin the curl into a tighter ringlet. This helps set the shape as it cools.
- Repeat on every section, working your way around your head. Curl all sections pointing away from your face for a natural look.
Hold the iron horizontally and rotate it fully for tight ringlets. Smaller turns only create waves. This method gives clear, defined curls.
Sliding from near roots down to the ends ensures the entire strand curls smoothly. Stir clear from clamping too close to the scalp or staying too long. Both can cause discomfort or damage.
For hair types that resist curling, try a bit of heat-protectant spray before sectioning. This helps curls last and protects your strands. After curling your full head, let curls cool untouched to keep their shape longer without frizz.
Choosing the Right Flat Iron and Heat Settings for Ringlets
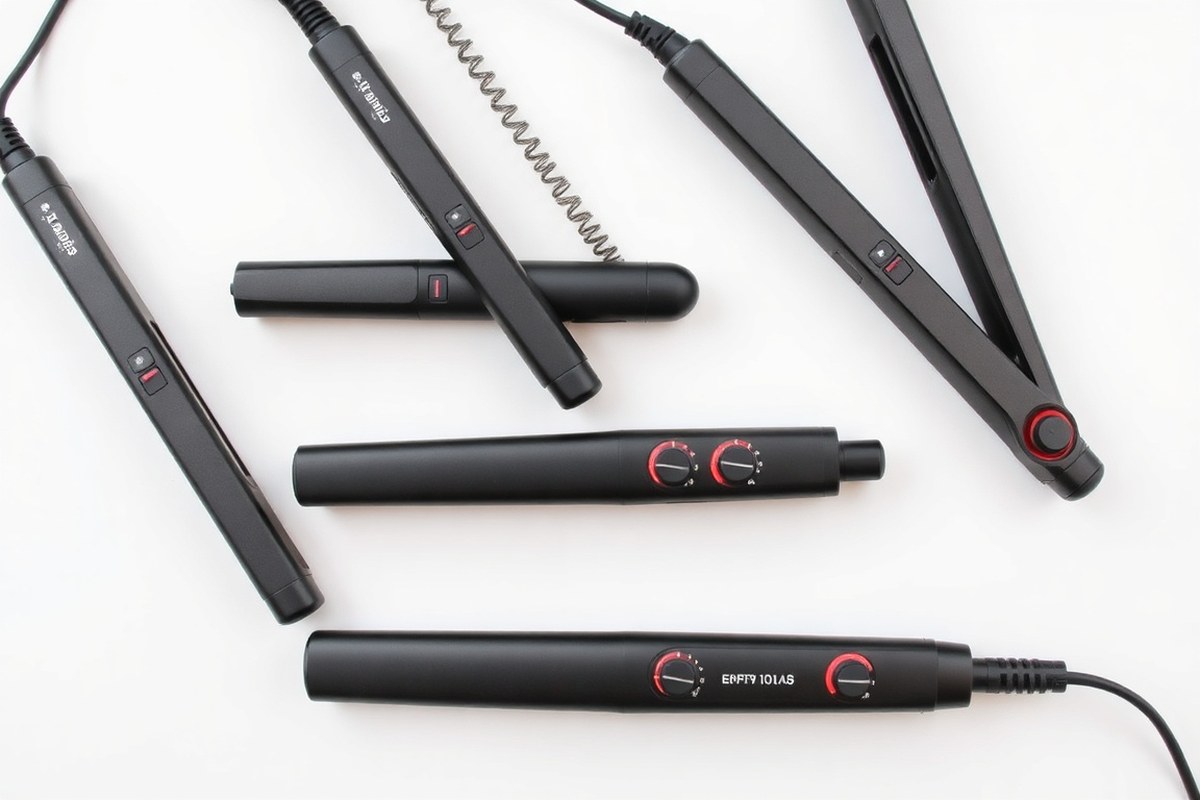
Choose a flat iron with narrow plates to make ringlets easily. Plates about 1 inch wide work best for wrapping hair around the iron. Larger plates may create loose waves or bends instead of tight curls.
A flat iron with floating or rotating plates moves with your hair. This helps shape curls better and faster. It makes curling easier and smoother.
You can use most flat irons. But one designed for styling will give better results. Wide plates on your flat iron make curling take longer.
They also make it harder to control the curls. Some flat irons let you change the heat precisely.
This matters because hair needs different temperatures for curling safely. Picking the right heat avoids damage.
Heat settings depend on your hair type to avoid damage. Fine or fragile hair needs the lowest heat.
Thick or coarse hair requires higher temperatures. Color-treated hair falls in the middle but should stay below 340°F to prevent fading or damage.
| Hair Type | Recommended Temperature (°F) |
|---|---|
| Fine or fragile | 280, 320 |
| Color-treated or bleached | 300, 340 |
| Medium or normal | 340, 370 |
| Thick or coarse | 370, 420 |
| Coily or kinky (4A, 4C) | 380, 430 |
Start with the lowest temperature recommended for your hair type. Increase heat if curls don’t hold but never exceed the safe range. Always spray heat protectant on dry hair before curling.
Avoid using a flat iron on wet or damp hair. It can damage your hair shafts. This damage weakens your curls and their hold.
Colored or fragile hair requires gentler treatment. Use a lower heat setting when curling your hair. Also, limit how long you hold the iron on one spot.
This helps protect your hair from damage. Quick smooth glides work better than holding the iron too long. This prevents heat damage and faded color.
Don’t keep the flat iron clamped in one spot for long. Holding it too long can burn your hair. Move your iron steadily while curling.
Preparing Your Hair for Flawless Flat Iron Ringlets
Start with clean, dry hair and protect it before using your flat iron. Applying the right products helps your ringlets last and stops heat damage. Follow these steps to prep your hair the right way.
Wash and Condition for Clean, Soft Hair
Choose moisturizing shampoo and conditioner to keep hair soft and flexible. Avoid heavy styling products that build up and weigh hair down. Clean hair holds curls better and looks shinier after styling.
Freshly washed hair might feel squeaky clean, so add a light texturizing spray. This gives your curls some grip and helps them last longer without stiffness.
Fully Dry Hair Before Heat Styling
Never use a flat iron on damp or wet hair. It can cause damage and frizz.
Blow dry your hair completely, especially if you have textured or thick hair. Straightening with a blow dryer first makes curling smoother and your ringlets neater.
Let air drying work only if your hair will get completely dry within minutes. Damp hair won’t hold curls and heat can create uneven waves that don’t last. Dry hair is key to flawless ringlets.
Apply Heat Protectant Spray Evenly
Spray a thermal protection product all over your hair before applying heat. Focus on the ends, where hair tends to be oldest and most fragile. Comb through to spread the spray evenly from root to tip.
Wait about 30 seconds after spraying before you start curling. This brief pause lets the protectant form a barrier for your hair. Using a flexible-hold hairspray mist on each section before curling also boosts curl hold and grip.
- Use a moisturizing shampoo and conditioner
- Avoid heavy styling products before curling
- Blow dry hair completely before using heat
- Comb through heat protectant for even coverage
- Focus protectant spray on hair ends
- Wait 30 seconds after spraying before curling
- Optionally, mist flexible-hold hairspray on each section
How to Section and Size Hair Strands for Consistent Ringlets
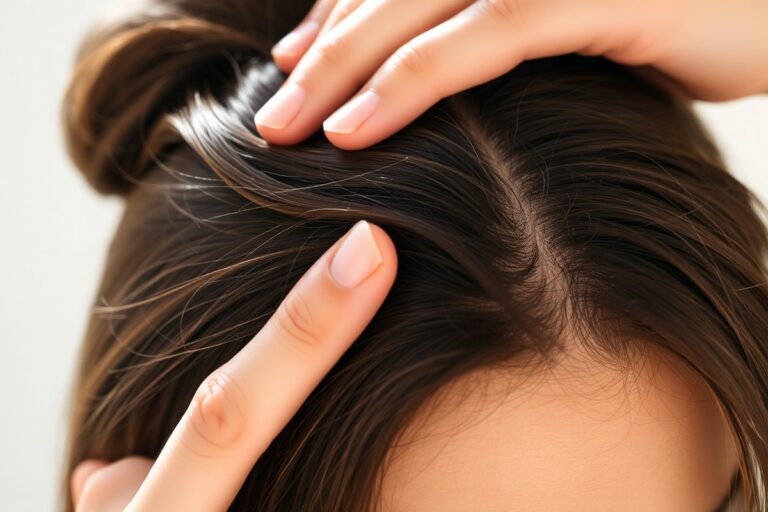
Split your hair into three layers: bottom, middle, and top. Use clips to keep each layer separated and easy to work with. Start curling from the bottom layer first, then move up.
Work with smaller sections, about 1/2 inch wide, for tight and consistent ringlets. Smaller strands fit comfortably inside your flat iron and heat evenly. Your hair is thick?
Section it more to manage the strands better. Rushing through wide chunks causes uneven curls that won’t hold well.
Use clips to hold the unclipped sections out of the way. Pick a small strand from the bottom layer. Place the flat iron near the roots.
Twist the iron and slowly pull it down the strand. Curl every strand the same way, moving to the middle layer next.
Finish with the top layer to keep control. This helps each curl get enough heat.
Don’t grab thick strands at once. Thick strands can make waves, not tight ringlets. Use smaller sections for better curls.
The tighter curls come from strands no wider than 1/2 inch. For looser curls or waves, use slightly larger sections around 1 inch wide.
Curling hair this way can take extra time, especially if you make smaller sections. Expect about 45 minutes for medium-length thick hair.
Patience is key. Better sectioning pays off with more uniform curls that last longer.
When you section well and work bottom to top, your curls stay neat and fuller. Avoid skipping clips or grabbing messy chunks. That leads to uneven curls that fall flat in a few hours.
Curling Techniques to Create Tight Ringlets Versus Waves
Tight ringlets need a full twist of the flat iron. Waves come from partial turns.
Your wrist movement guides the curl shape as you slide the iron down each strand. How fast you move the iron also changes how tight or loose your curls turn out.
Full 360-degree Rotation for Ringlets
Clamp your hair near the roots. Twist the flat iron fully, a full 360 degrees. Slide it down your hair while keeping it twisted.
Move the iron slowly to let the curls form tightly and evenly along the strand. This method creates classic, well-defined corkscrew curls with good spring and bounce.
Rotate the iron fully to wrap each hair section around the plate. This shapes tight ringlets. Make sure the whole section curls evenly.
Keep your wrist steady as you slide downward to avoid uneven coils or kinks. This takes patience, especially on longer hair. But the slow glide helps curls last longer.
Partial Rotation for Waves
Turn the iron about 90 to 180 degrees as you slide it down. This creates softer waves, not tight curls. Keep your motion steady.
This lighter twist doesn’t wrap hair fully, forming loose, beachy waves instead of tight curls. The smaller your turn, the less curl and more wave you’ll see.
Use this method for a relaxed look or when you want natural movement without tight coils. Move the iron faster than you do for ringlets. This helps the waves look light and natural.
It prevents sharp bends in your hair. Partial rotation fits well for hair styles needing volume but not strong curl hold.
Strand Size and Speed Impact
Picking smaller hair sections and pulling the iron down slowly makes curls tighter and more uniform. These small strands take more time but give those classic ringlet shapes that last. Larger sections slid quickly create loose waves with less curl definition.
Shorter hair naturally curls tighter. So try moving your iron slightly faster to avoid too tight or heavy curls.
For long hair, slow the movement for the tightest ringlets. Adjust strand size and glide speed based on your curl preference and hair length.
Always protect your ends by holding them gently when twisting to avoid breakage or unwanted bends.
Products and Aftercare for Long-Lasting Flat Iron Ringlets
Let your ringlets cool completely before spraying any product. Cooling locks the shape in place and helps them last all day. Spritzing hairspray too soon can make curls limp or sticky instead of bouncy.
Use a light mist of hairspray all over once the curls are cool. This gentle hold keeps each ringlet tight without stiffness. For more volume, try a volumizing mousse or a root lift spray before curling.
Protecting hair from heat damage helps keep ends healthy and curls looking fresh. Spray a heat protectant before using your flat iron. One light layer is enough to shield your strands without weighing them down.
- Apply heat protectant spray evenly before curling
- Wait for curls to completely cool before touching or spraying
- Use light, even mist of hairspray for hold without stiffness
- Use volumizing products only at roots for extra lift
- Choose lightweight, nourishing leave-in conditioners to maintain ends
- Avoid heavy products that can drag curls down
- Reapply hairspray lightly during the day as needed
Curls may fall if your hair is oily or weighed down. Washing hair the day before helps products stick better. Curls might soften during the day.
Use a hairspray to revive bounce. Avoid over-brushing, which breaks the ringlets and creates frizz.
For healthy ends, trim them regularly and use hydrating treatments. Dry ends show damage and make curls look frizzy or dull. Put nourishing oil on ends before styling.
It locks in moisture well. The oil won’t mess up your curl shape.
Adjusting Technique for Different Hair Types and Lengths
Different hair types and lengths need different ways to make ringlets with a flat iron. You can change the heat setting on your flat iron. Adjust the section size or change your curling motion too.
These tweaks help you get the best curls for your hair. Color-treated or fragile hair requires gentle care to avoid damage.
Fine or Thin Hair Considerations
Use a flat iron temperature below 300 degrees to protect fine hair. Smaller sections help curls hold better without extra heat. Avoid heavy creams and oils before curling; they can make curls limp and greasy.
Light styling sprays work best for fine hair to keep ringlets bouncy. Work with quick, smooth glides to prevent pulling or breaking. Give curls a few minutes to cool without touching them much.
Thick or Coarse Hair Tips
Turn the flat iron to a higher heat, often 350 to 400 degrees, for coarse hair. Take smaller hair sections so the heat spreads evenly and curls stay tight. Slow the flat iron’s movement slightly to let heat soak in fully.
Skip heavy oils on thick hair before curling because they cause ringlets to fall fast. Use light hold sprays or mousses to lock curls in place. Thick hair needs more time cooling before styling to keep curls intact.
Short Hair and Quick Curls
Choose the smallest flat iron plate you can find, about 0.5 inch wide, for short hair. Work with very thin hair strands, about 0.5 inch each, so curls form quickly. Start curling near the roots with a fast 360-degree twist for tight ringlets.
Move the flat iron quickly but smoothly to avoid burning short hair ends. Avoid clamping down too hard; you want to protect fragile tips. Short hair curls usually hold better with a light mist of heat protectant spray afterward.
Common Mistakes to Avoid When Curling Hair with a Flat Iron
Using too much heat is a common mistake that ruins flat iron curls. Heat above 350°F can cause damage, especially on dry or colour-treated hair. Lower your flat iron to 300°F or less for safer styling.
Try using an infrared ceramic straightener if you can. These steps help protect your hair. Infrared heat styles from inside out, cutting surface damage and leaving your hair shinier.
Skipping heat protectant sprays increases damage risk and weakens strands. Always apply a protective product evenly before curling to shield your hair. Adding one minute to your routine can save your hair.
It stops breakage and frizz caused by curl damage. This small step makes a big difference. Without this layer, curls may look dull and fall apart fast.
Holding the flat iron too long in one spot flattens curls. It can also burn your hair, causing damage. Keep your technique quick and smooth.
Slide the iron smoothly in one to two seconds per 1-inch strand. Using thin sections helps curls form better but takes more time. Too large sections lead to loose waves, not ringlets, and uneven curling.
- Don’t clamp too hard; it causes dents instead of curls.
- Clamp at the root and twist wrist steadily for tight ringlets.
- Use smaller sections for tighter, defined curls.
- Adjust heat setting based on your hair type and thickness.
- Apply serum lightly after curling to maintain shine and reduce frizz.
- Wait a few minutes before touching curls or hair will lose shape.
Uneven heat application is another common error. Flat irons without ceramic or infrared plates create hot spots. These hot spots can burn your hair in small areas.
Use quality plates to avoid uneven heat. A high-quality tool costs around $60 to $120 but lasts longer and protects strands better. Get a flat iron with adjustable heat and ceramic or infrared plates.
This makes your curls smoother and safer to style. Investing in good tools protects your hair.
Hair with damage or chemical treatments needs extra care. Limit heat styling to once or twice a week and always deep condition after. Curls looking lifeless or hair breaking after styling means see a pro.
A hair professional can check for damage and suggest fixes. Don’t wait if you notice these signs. They can recommend safer styling methods or treatments to restore health.
Never skip heat protectant spray, even if you plan brief styling. It’s the best guard against heat damage.
Step-by-Step Action Plan for Perfect Flat Iron Ringlets
Follow these simple steps to make defined ringlets with your flat iron today. Each step helps you get closer to long-lasting curls.
- Before you start: Wash and condition your hair with a smoothing shampoo and conditioner. Your hair should feel clean and soft.
- Right after drying: Apply a heat protectant spray evenly. Your hair should feel dry to the touch but smooth.
- First section: Divide your hair into small sections, no wider than one inch. This size ensures consistent curls.
- Initial curls: Take a strand and clamp the flat iron at the root. Twist the iron away from your face and slide down slowly. See a signed spiral shape form.
- Midway check: Curl a few strands first. Run fingers gently through. Check if curls hold shape and aren’t frizzy.
- After curling all sections: Apply a light hold hairspray to lock curls. The ringlets should bounce back when moved.
- Later in the day: Use fingers or a wide-tooth comb. Separate curls lightly. Soften curls just a bit. Check that curls stay defined without flaking.
Frequently Asked Questions
Can You Make Ringlets with Any Flat Iron?
You can use almost any flat iron to make ringlets. But smooth, rounded edges work best. Flat irons with 1-inch plates are ideal for curls.
They give you better control. They also spread heat more evenly.
How Long Do Flat Iron Ringlets Usually Last?
Flat iron ringlets last around one to three days, depending on your hair and products. Using heat protectant and a good hairspray helps curls hold longer.
Is It Better to Curl Hair Wet or Dry with a Flat Iron?
Always curl dry hair with a flat iron to avoid damage and get better curls. Damp hair doesn’t hold curls well and can burn due to direct heat.
Can I Use a Flat Iron Ringlet Technique on Short Hair?
You can make ringlets on short hair. Use smaller sections for best results.
A narrower iron creates tighter curls. Be gentle and avoid overheating the roots.
Do You Need to Brush Out Curls Made with a Flat Iron?
You shouldn’t brush out flat iron ringlets right away because curls can loosen or look frizzy. Use fingers or a wide-tooth comb to gently separate curls later.
How Do Humidity and Weather Affect Flat Iron Ringlets?
Humidity can make flat iron ringlets lose shape faster due to moisture swelling the hair. Use anti-frizz products to keep curls intact on humid days.
Final Thoughts
Flat irons can create great ringlets when used right. Start small with sections and the right heat setting. Try your first curls today and enjoy your new look.