How to Do Hair Perm: Complete Steps, Types & Aftercare That Work
Figuring out how to do hair perm starts with understanding the chemical process behind it. A perm uses chemicals to break and reform hair bonds, reshaping hair into curls. You apply a waving solution to hair wrapped around rods, then neutralize to lock the curl.
Before you begin, gather all your supplies like perm rods, solution, gloves, and a timer. Test a small hair section first to avoid unexpected damage.
Remember, perming weak or treated hair can cause brittleness. So handle with extra care or skip perming altogether.
After you apply the neutralizer, rinse your hair well. Use lukewarm water and keep the rods in your hair while rinsing.
Avoid washing or brushing your hair for at least 48 hours to let curls set properly. This prevents loosening and helps your new style last longer.
Key Takeaways
- Always perform a patch test before applying perm chemicals to your whole head.
- Use perm rods sized to match the curl pattern you want to achieve.
- Timing is important; leave the perm solution only as long as the instructions recommend.
- Rinse hair thoroughly with lukewarm water for at least five minutes while rods stay on.
- Wait 48 hours before washing or styling your permed hair to secure curls.
- Give your hair at least two months between perms to rebuild strength.
What Is a Hair Perm and How Does It Work?

A hair perm uses chemicals to turn straight or flat hair curly. The curls or waves can last from three to six months. This works by changing the hair’s internal bonds to hold a new shape.
Hair is made of protein chains linked by chemical bonds, especially disulfide bonds. Perm solution breaks these bonds inside the hair shaft, where the chemical reaction happens. The hair’s bonds break first.
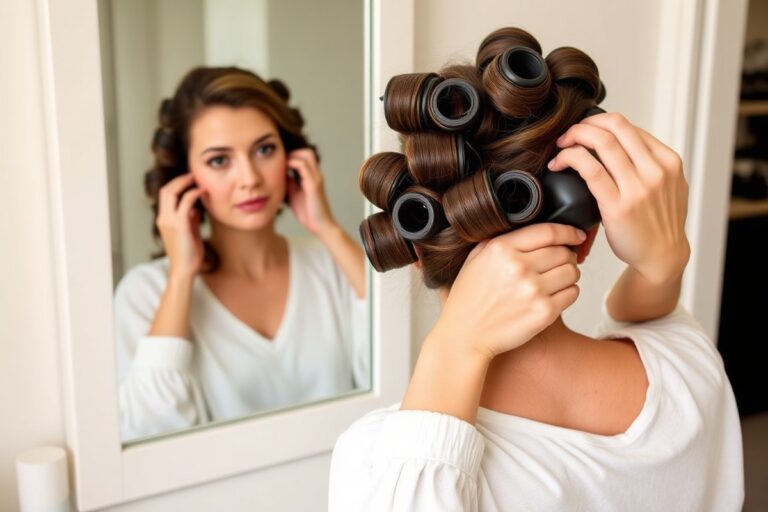
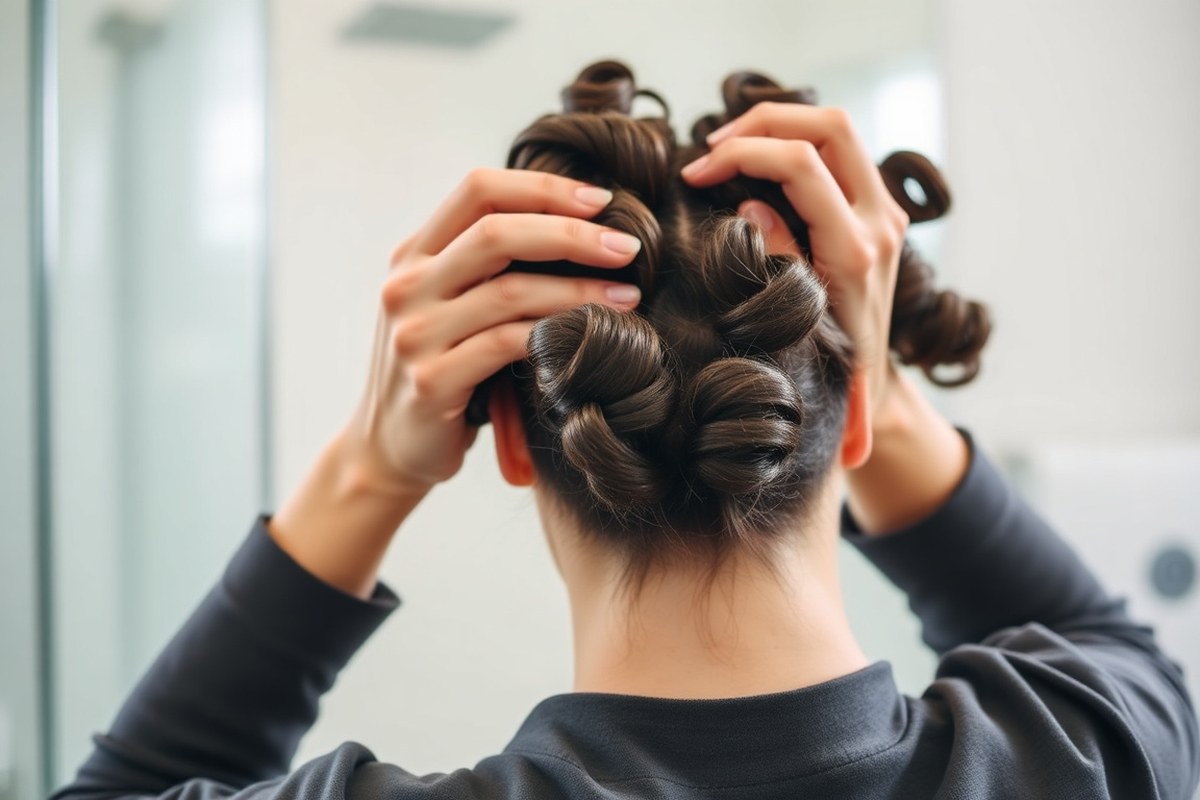
Then you wrap hair around rods or rollers. This shapes the hair into curls or waves.
After shaping, you apply a neutralizer. This rebuilds the hair’s bonds in the new curl form. It locks in the curls.
This sets your hair into the new texture until it grows out or is cut off. Since the chemical only changes the hair shaft you already have, new hair growth stays straight.
Your natural hair grows at about half an inch per month. So expect straight roots to appear after six to eight weeks. That’s why you need root touch-ups every three to four months.
You might also need a full reperm. This keeps your curls even and fresh.
The process can weaken your hair up to 30%. So damaged or treated hair needs special care or might not be suitable for perming.
Perms today use gentler chemicals than older styles did. This helps protect the hair from damage. The milder solution causes less extreme harm.
Perm types change how curls look. Beach wave or braid perms shape hair differently. Each style uses a unique curling method.
Avoid doing perms too close together. Waiting at least two months helps hair recover from the chemical change.
Essential Supplies and Tools Needed for Perming Hair
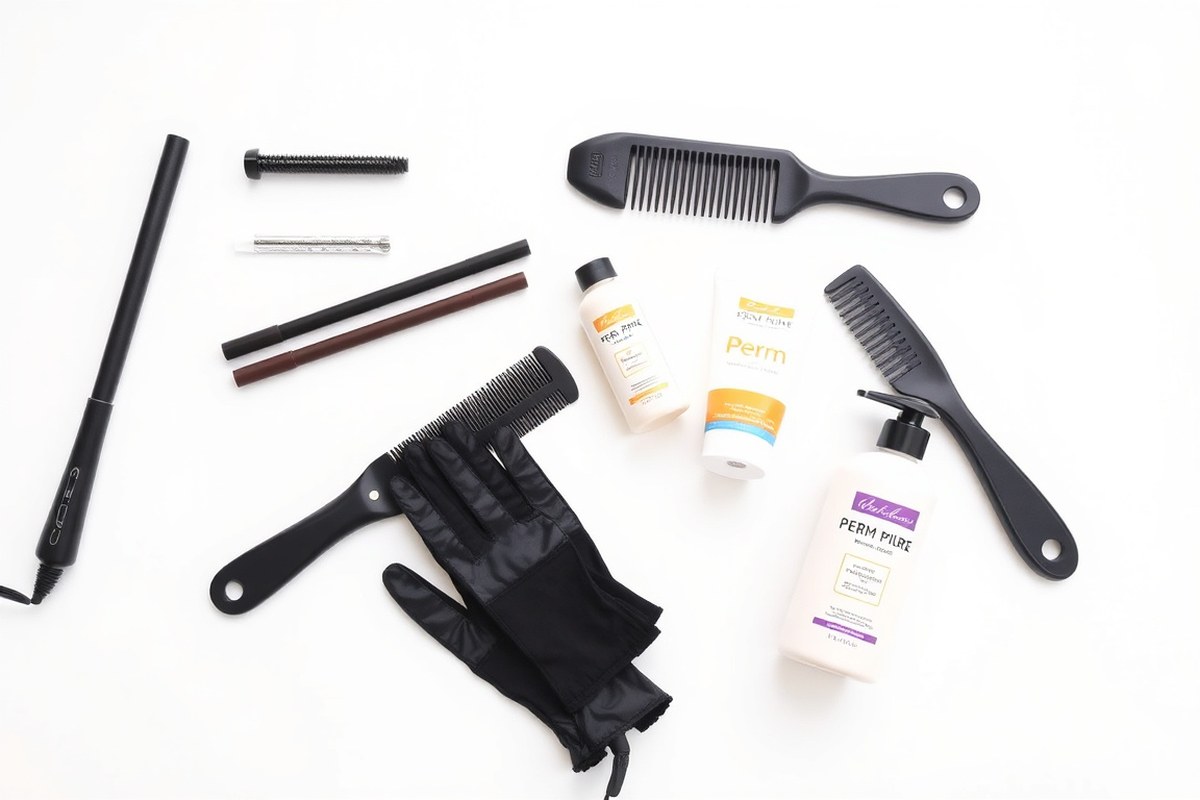
Perming hair needs several key supplies. You’ll need perm rods, which come in small, medium, and large sizes.
Small rods make tight curls, medium create classic curls, and large give loose waves. Choose rods based on your curl goal and hair length.
The perm solution is a chemical lotion that breaks hair bonds to reshape them. There are alkaline and acid perm solutions. Alkaline is stronger and works better on resistant hair.
Acid perms are gentler and suited for fragile or dry hair. Pick the right type for your hair’s condition.
- Perm rods in various sizes to control curl tightness
- Perm solution matched to your hair type (alkaline or acid)
- Plastic end papers to protect hair ends during wrapping
- Application brush and bowl for applying solution evenly
- Nitrile or vinyl gloves to keep hands safe from chemicals
- Old towels to catch drips and protect clothing
- Neutralizer to set the curls after perm solution
Plastic end papers prevent hair from snagging or breaking as you wrap it. Gloves are important because perm chemicals are strong and can irritate skin. Towels keep your workspace clean and prevent chemical spills on clothes.
Some home perm kits include rods, solution, and gloves, costing about $10 to $20. A few extra tools help, like old towels and plastic clips.
Usually, you find these around the house. At a salon, stylists use professional-strength products and a wider range of rod sizes.
Always wear gloves when you apply perm solution. It stops skin irritation. Wash your hands soon after.
Step-by-Step Guide: How to Perm Hair Safely at Home
Perming hair at home follows clear steps. First, prepare your hair. Then wrap it with rods.
Apply the perm and neutralizer solutions. Finally, rinse and condition the hair.
Following exact timing and application helps you get curls without damage. Here’s how to do it safely and well.
Preparing Your Hair Before Perming
Start with clean, dry hair that hasn’t had any heavy leave-in products. Wash your hair with a mild shampoo to remove oils or buildup. Avoid conditioner before perming because it can block the perm solution from working.
Pat your hair dry with a towel but leave it slightly damp. Your hair should feel moist but not wet for easier wrapping. This setup helps the perm solution absorb evenly and creates uniform curls.
Wrapping Hair with Perm Rods
Divide your hair into even sections for neat wrapping. Smaller rods make tighter curls; larger rods create looser waves. Choose rods based on your desired curl type and hair length.
Start wrapping hair strand by strand. Begin from the ends toward the scalp.
Keep firm tension, but do not pull too tight. Secure each rod properly to avoid slipping during processing.
- Section your hair into 6 to 8 parts, clipping rest away.
- Comb a small strand of hair from one section.
- Place the rod at the end of the strand and roll toward scalp.
- Keep the hair smooth and tension even as you roll.
- Lock the rod’s clasp or use elastic bands to hold it in place.
- Repeat the process for all hair sections until fully wrapped.
Applying Solution and Neutralizer Correctly
Apply the perm solution evenly to each rod-wrapped section. Use an applicator bottle or brush to apply solution. Soak hair from mid-length to the ends only.
Avoid applying the solution to your scalp. This prevents irritation and uneven curls.
Timing matters: perm solution usually stays on 15 to 20 minutes. Check texture by softly unrolling one rod to see the curl form. After this, rinse the solution off thoroughly with rods still in place.
Apply the neutralizer immediately after rinsing. This stops the perm solution and locks in curls. Leave the neutralizer on for 5 to 10 minutes, then rinse again thoroughly without removing rods.
Rinse and Post-Perm Conditioning Tips
After removing rods, rinse hair gently with lukewarm water for at least 5 minutes. This removes residual chemicals that could keep damaging hair. Avoid hot water since it can cause frizz and dryness.
Apply a deep conditioning treatment to restore moisture and softness. Let it sit 5 minutes before rinsing. After rinsing, towel dry gently and style without heat or heavy products the first two days.
Choosing the Right Perm Type for Your Hair and Style
Choosing the right perm depends on your hair type, style goals, and maintenance willingness. Different perms create unique curls and waves that suit certain textures.
Some types are better for thin hair. Others work best on thick or damaged hair.
Spiral and Body Wave Perms
Spiral perms use vertical rods to create tight, corkscrew-like curls. They work well on long hair that can show off the dramatic shape. These curls add a lot of volume to your hair.
They can be high-maintenance and cause dryness. Using deep conditioning helps keep hair healthy.
Body wave perms use larger rollers, about 20mm to 25mm wide. They give you loose, bouncy waves, perfect for fine or flat hair needing lift. This type adds volume and body without tight curls, making hair look fuller and healthier.
Beach Wave and Braid Perms
Beach wave perms create relaxed, natural-looking waves using a loose wrapping technique. They are great if you want gentle, tousled waves instead of curls. This perm suits hair in good condition and requires some upkeep to avoid frizz.
Braid perms involve braiding damp hair and applying solution, resulting in soft, textured waves. They work best on medium to long hair with some natural body. These styles are less harsh but don’t last as long and need gentle care.
Digital and Straight Perms
Digital perms heat rods to shape curls, which sets them longer and softer than traditional perms. Processing time drops to 1-2 hours compared to 3-4 hours for cold perms. They suit finer hair and create loose, natural waves that look great styled or air-dried.
Traditional cold perms use an alkaline solution better for coarse or thick hair, producing tighter curls. They require longer processing and more careful timing to avoid damage.
Straight perms relax curls or waves but can stress damaged hair. So avoid them if hair is weak or brittle.
How Long Should You Leave the Perm Solution In?
The ideal time to leave the perm solution in is between 15 and 30 minutes. This depends on your hair type and the curl look you want. Fine or damaged hair needs less time, usually 15 to 20 minutes, to avoid extra damage.
To decide the right timing, perm a small piece of hair first. Watch how the curls form.
Check texture every 5 minutes after 15 minutes. Stop the process once the curls match your desired shape and feel strong but flexible.
Leaving the solution too short may cause weak curls that fall out quickly. Too long can dry or break your hair because the chemicals stay active too much. Adjust your timing carefully based on the small test section’s result to avoid this.
Always test a hidden strand first; monitor curls every 5 minutes past 15. That’s your best guide to avoid overprocessing or underprocessing.
Hair length affects processing time but mostly adds to cost, not solution time. For special perms like a root perm, use shorter times.
This targets volume near the scalp only on fine hair. These perms may require just 15 minutes to start shaping curls effectively.
Your hair’s health matters most. A gentle, shorter perm cycle protects fragile hair.
Avoid perming if hair is already damaged to prevent breakage and dryness. Use a mild perm solution and follow exact timing rules to keep hair safe.
Post-Perm Care: Maintaining Curls and Hair Health
Your hair needs special care after perming to keep curls healthy and lasting. Avoid washing or styling for the first 48 to 72 hours to set the curl. Use gentle, curl-friendly products and schedule trims every few months.
First 48 Hours After Perming
Don’t wash your hair for at least two full days. The perm breaks and rebuilds hair bonds.
So water or heavy handling can weaken new curls. Avoid tying, clipping, or brushing hair during this time to prevent curl distortion.
Keep your hair dry and untouched as much as possible. Skip workouts or activities that cause sweating, since moisture may loosen the curls. Let your hair rest so the curls form firmly and last longer.
Recommended Hair Products
Switch to sulfate-free shampoos once you start washing again after 2 to 3 days. Sulfates strip natural oils and can dry out permed hair badly. Choose shampoos and conditioners made for curly or permed hair.
Look for ones with keratin or aloe vera. These ingredients help keep curls soft and healthy.
Leave-in conditioners and moisturizing masks help keep curls soft and defined. Avoid heavy conditioners right after washing; they may weigh hair down. Products designed for curls help your waves clump and keep hair hydrated over time.
- Sulfate-free curl shampoo and conditioner
- Leave-in curl cream or mousse
- Deep moisturizing hair mask once a week
- Heat protectant spray (if you use heat styling later)
- Avoid harsh brushes, use wide-tooth comb or fingers
These products protect your investment in the perm and prevent damage. Use product instructions carefully to avoid buildup, which weighs curls down and looks greasy.
Regular Maintenance and Trims
Get trimmed every 8 to 12 weeks to remove split ends and keep curls bouncy. Regular trimming prevents damage from traveling up the hair shaft and helps maintain your perm’s shape. Schedule root touch-ups based on your natural hair growth.
Consider the type of perm you have. This helps keep your hair looking fresh.
Be gentle when detangling to avoid breaking fragile curly strands. Use your fingers or a wide-tooth comb while hair is damp and conditioned. Keeping curls defined will improve when you handle them correctly and keep trims on schedule.
Common Perm Mistakes to Avoid and How to Fix Them
Frizzy or weak curls often come from over-processing or perming damaged hair. Perm solutions break and rebuild hair bonds, so starting with healthy hair is key.
Your hair might not hold curls well if it’s dry or treated. It can also turn frizzy easily in this condition.
Uneven curls happen from placing rods unevenly. Also, not wrapping hair tight enough causes patchy results. Wrapping sections unevenly causes inconsistent curls.
Also, insufficient neutralizing leaves curls loose and weak. Neutralizer stops the perm chemicals from working further and seals the curls in place.
- Check hair condition before perming; do not perm damaged or bleached hair.
- Wind hair evenly onto rods, keeping tension consistent all around.
- Follow perm solution timing instructions precisely; do not exceed recommended time.
- Use the correct neutralizer and leave it on for the full time specified.
- Rinse thoroughly with lukewarm water after neutralizing to remove all chemicals.
- Deep condition hair regularly after perming to restore moisture and reduce frizz.
- Wait at least 4 to 6 weeks before re-perming to avoid hair damage.
Re-perming too soon risks hair breakage from overlapping chemicals. Curls that loosen or look patchy after weeks may need a gentle reperm.
Deep conditioning treatments help strengthen hair between perms and reduce dryness. These treatments restore moisture and protect your curls from becoming weak.
Fixing uneven curls means rewinding problem sections correctly on rods and ensuring enough neutralizer is used. See frizz?
Use leave-in conditioners or oils made for treated hair to hydrate more. Avoid heat styling too much, as it dries out permed hair further.
When to Seek Professional Help Instead of DIY Perming
You should avoid DIY perms if your hair shows signs of damage. Dryness, breakage, or excessive thinning means your hair is too fragile for chemicals. Color-treated hair needs careful product choice to avoid damage.
It’s best handled by an expert. They can pick the right perm solution for your strands.
Professional help matters most if you have a history of chemical treatments. Overlapping relaxers, bleach, or recent dye jobs increase risks. A stylist will check your scalp’s sensitivity closely.
They decide if your hair can safely handle the process. This helps avoid problems during perming.
Choosing complex styles like tight curls or specialty waves is tricky at home. These perms require precise timing and product control to avoid uneven curls or damage. Only a skilled hairstylist can deliver these results consistently without risking hair health.
Think of a checklist before buying a perm kit. Check if your hair is free from damage and chemical overload.
Don’t do the perm if your hair or scalp can’t handle it. See if you can spot sensitive scalp areas or fine strands that may react badly.
Avoid mixing perm chemicals with other home treatments. This combo often causes severe breakage or patchy curls. Perm chemicals are strong and require careful use.
Underestimating them often causes hair disasters. Many such cases show up online as warnings.
If your hair feels weak or is freshly colored, wait before perming. Talk to a pro to avoid damage.
At-home kits cost under $30 but come with high chemical risks. Spending more for a professional perm means safer curls that last.
It also lowers your chance of damaging hair. Professionals also stay current with safer products tailored to your hair type.
Signs your hair needs expert assessment include scalp irritation, uneven texture, or previous chemical burns. Only a trained stylist can spot deeper damage or offer treatments before perming. This careful prep helps your hair stay healthy and gives you better curls.
Step-by-Step Action Plan for Your First Perm
Follow this plan to give your hair the curls you want and keep it healthy. Watch your hair closely after each step.
- Before You Start: Do a strand test with perm solution on a small section of hair. Check for any adverse reaction or damage after 24 hours.
- Day 1: Wash your hair with a mild shampoo but skip conditioner. Your hair should feel clean but not slippery for the perm to hold.
- During Perm Application: Apply the perm solution evenly to your hair. Leave it on for 10 to 20 minutes. Time depends on your hair type. Check every 5 minutes; hair should be soft and shaped.
- Right After Rinsing the Solution: Use the neutralizer to lock in curls. Keep it on for the time recommended on the product label, usually 5 to 10 minutes.
- First 48 Hours Post-Perm: Avoid washing your hair or tying it tightly. Let curls set naturally to prevent damage.
- Week 1: Use a curl-friendly conditioner and avoid heat styling tools. Your curls will bounce better and stay healthy.
- After 2 Weeks: Assess how your curls hold up and schedule a trim if needed. Trimming split ends helps maintain curl shape.
- Ongoing Care: Moisturize regularly and use a deep conditioning mask once a week. Your curls need extra care for softness and shine.
Frequently Asked Questions
Can I Perm Just the Roots Without Affecting the Hair Ends?
A root perm curls the first 2 to 4 inches by your scalp. It boosts volume without altering your hair’s length or ends. This works best if you want more lift but keep your usual curls on the rest.
How Often Should I Reperm to Maintain Consistent Curls?
You should get a full reperm every 12 to 16 weeks to maintain curls. Roots grow in straight, so root touch-ups are needed every 6 to 8 weeks. This schedule helps keep your curls uniform and avoids uneven hair texture.
Does Perming Damage Colored or Bleached Hair More Than Natural Hair?
Yes, color-treated or bleached hair is more fragile and porous. It’s best to use perm kits made specifically for color-treated hair. Otherwise, perm chemicals can cause more damage and dryness than on virgin hair.
Are There Different Perm Rods for Various Curl Sizes?
Yes, perm rods come in different thicknesses to control curl size. Tiny rods create tight curls, while thicker rods produce loose waves. Choosing the right rod affects your hairstyle and how natural the curls look.
Is It Normal for Hair to Feel Dry and Brittle Right After Perming?
Yes, hair often feels dry and brittle immediately after perming. This is common due to chemical processing. Using deep conditioners and avoiding heat styling helps hair regain moisture within a couple of months.
How Can I Tell If My Hair Is Ready for a Homemade Perm Kit?
Hair should be healthy, not recently relaxed or overly damaged for safe perming. Check for any breakage or excessive dryness before you start. Using a home kit is best with untreated or mildly processed hair only.
The Bottom Line
Perming your hair is about patience and careful steps to protect your locks. Take your time with each stage and pay attention to how your hair reacts. Start with a strand test today to ensure your perm experience goes smoothly.