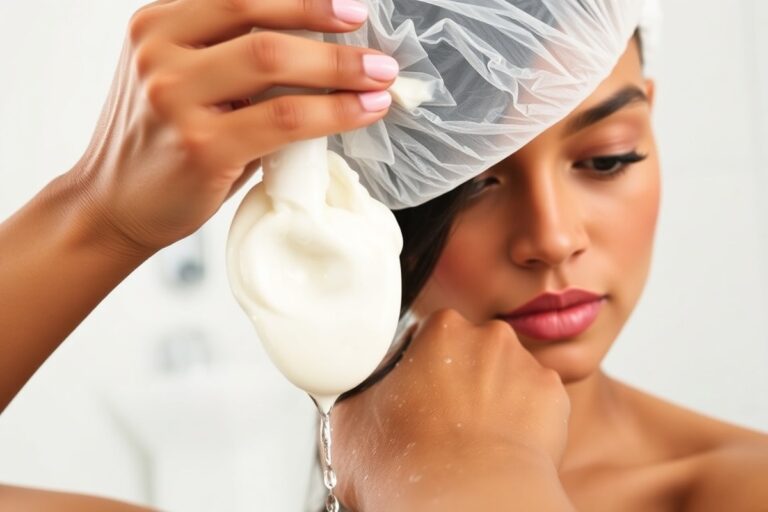
How to Apply Hair Mask for Maximum Repair: 8 Essential Steps Explained
Knowing how to apply hair mask is key to fixing damaged hair. You want to spread it evenly, mainly on damp hair, and keep it on long enough. This lets the ingredients soak in deeply and work better.
Start by shampooing your hair to remove dirt and oils. Then gently towel-dry so it stays damp but not dripping wet. That helps the mask stick well and absorb more without sliding off.
Apply the mask from mid-lengths to ends because those parts are the most damaged. Avoid the scalp unless directions say otherwise, so you don’t cause buildup. Leave the mask on for 5 to 20 minutes.
Follow the mask’s instructions. Your hair type also matters for timing.
Key Takeaways
- Always shampoo hair before applying a mask for best absorption.
- Apply hair mask on damp, not soaking wet, hair.
- Focus application on middle and ends where damage is worst.
- Leave hair mask on for 5 to 20 minutes as per instructions.
- Don’t apply masks to the scalp unless it specifically says to.
- Towel dry hair gently before applying to keep it damp.
1. How to Apply a Hair Mask Correctly Step-by-Step
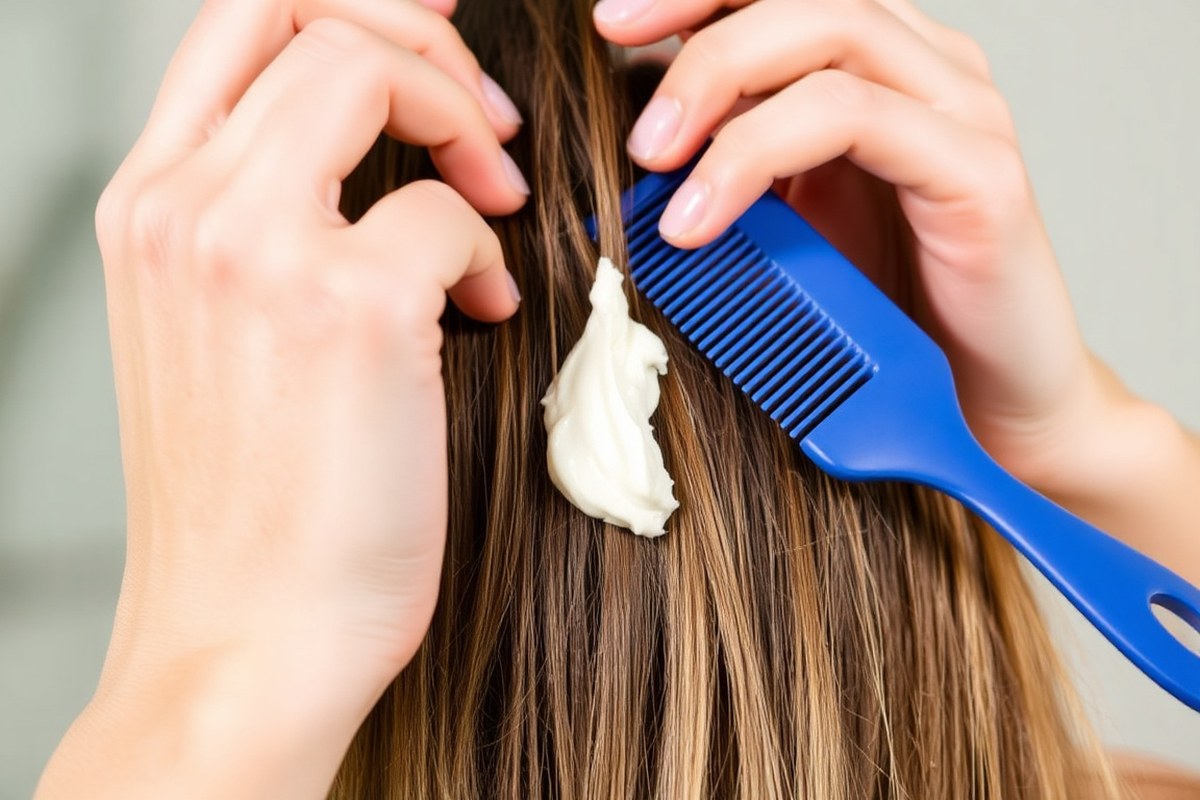
You want to get the most from your hair mask by applying it carefully. Start with clean, damp hair because it absorbs the treatment better. Sectioning your hair helps to spread the mask evenly and cover every strand.
Use less product at first; you can always add more if needed. Focus on the mid-lengths and ends since they usually need the most help. Don’t put too much product at the roots.
Only do this if the mask targets your scalp. Too much product there can make your hair greasy.
- Start with clean, towel-damp hair. Shampoo your hair and gently squeeze out excess water. Hair should be damp, not dripping.
- Divide your hair into 4 to 6 sections. Use clips or hair ties to separate sections for easier and more precise application.
- Scoop out a small amount of mask. Begin with about a nickel-sized amount per section. You can add more if coverage feels light.
- Apply the mask from mid-length to ends first. These parts benefit most from conditioning and damage repair.
- Work the mask into all parts of your hair. Use your fingers or a wide-tooth comb to get it everywhere. This helps make sure every strand is covered.
- Lightly apply some mask near the roots if needed. Avoid heavy amounts there unless your scalp needs special care.
- Leave the mask on for 5 to 10 minutes. Follow the product instructions. Longer times are fine for deep treatments.
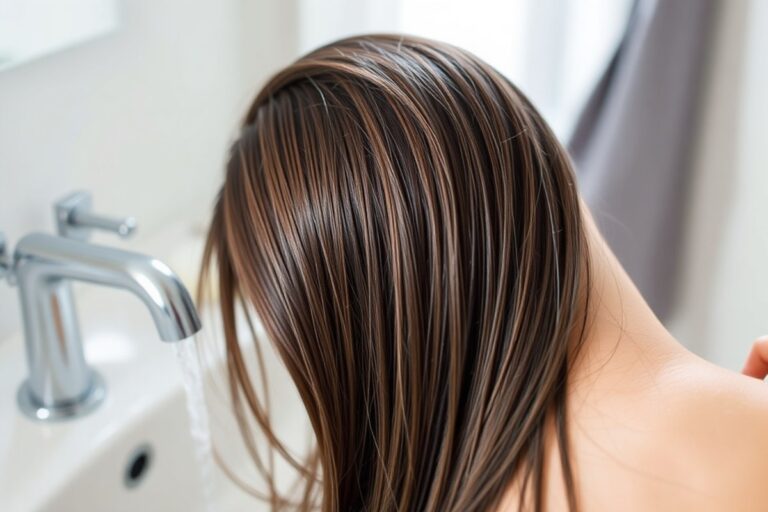
- Rinse thoroughly with lukewarm water. Make sure all the mask is washed out to avoid buildup and greasiness.
Getting even coverage usually takes a little patience. Using a wet hair detangler brush helps spread the mask without causing breakage. Overuse of the mask might weigh your hair down or leave it greasy.
Doing this right feels like a small self-care ritual. Your hair looks smoother and feels stronger after consistent use. Missing sections or rushing can leave some strands untreated and less nourished.
2. Applying Hair Masks on Wet vs Dry Hair: What Works Best?
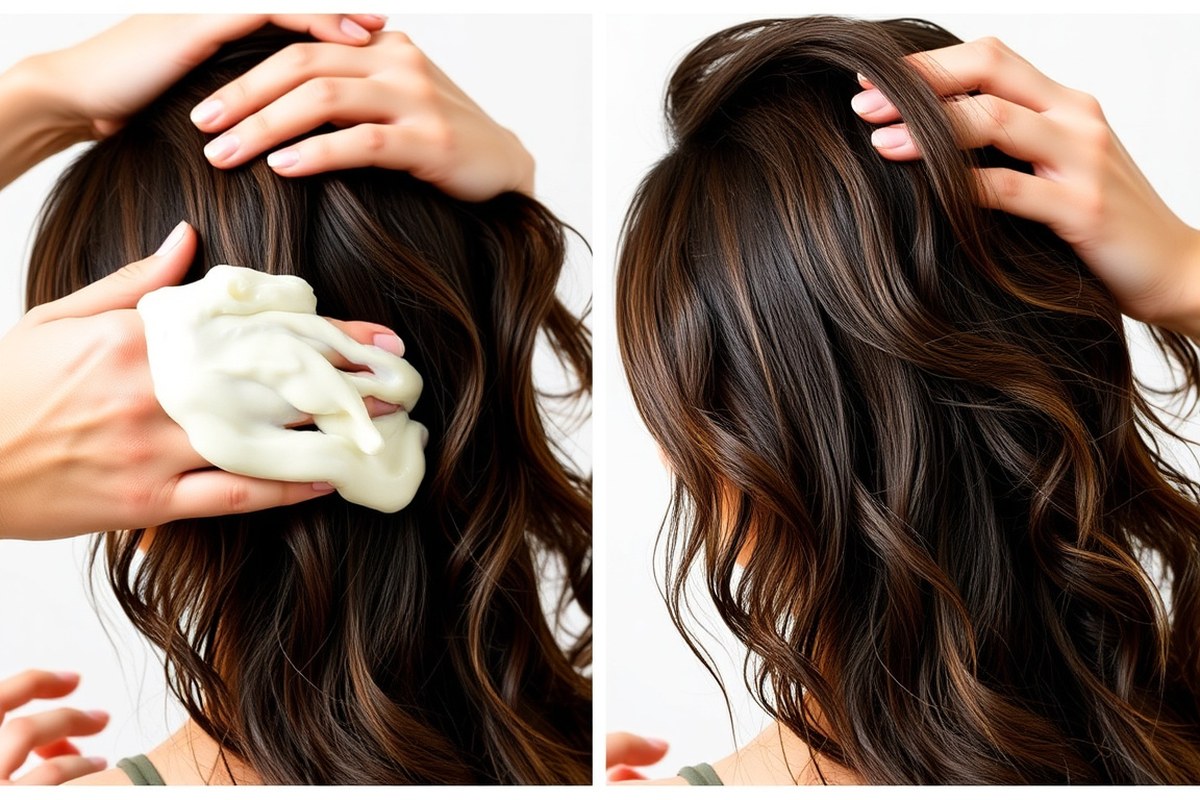
Applying a hair mask on wet hair usually works better for most hair types. Wet hair absorbs the mask easier since shampoo has cleaned away oils and dirt. This method hydrates strands well, especially the mid-lengths and ends, where hair needs it most.
Dry hair application suits very dry, coily, or frizzy hair better. Masks on dry hair stick longer before rinsing. They protect hair from shampoo stripping moisture.
This shield helps keep hair hydrated. You’ll want to apply from mid-lengths to ends. This can take 20 to 30 minutes before washing.
The table below compares wet and dry hair applications and when each works best:
| Hair Mask Application | Best For | How to Apply | Time Needed | Benefits | Drawbacks |
|---|---|---|---|---|---|
| Wet Hair | Most hair types | Apply after shampoo to damp hair, detangle with mask | 5, 20 minutes | Better absorption; hydrates well; feels lighter | Masks with high oil content may slide off |
| Dry Hair | Very dry, coily, or frizzy hair | Apply from mid-lengths to ends before shampoo | 20, 30 minutes | Provides extra protection; deeply nourishes | Can feel heavier; needs longer rinse time |
Choosing your method depends on your hair’s needs and texture. Your hair feels brittle or your curls need taming? Applying the mask on dry hair can deeply boost moisture.
For normal or oily hair, applying on wet hair gives a good balance. Always avoid roots when applying to keep hair light and avoid greasiness.
You can try different approaches with the same mask to find your favorite. Some treatments say they work on wet or dry hair. They may offer different hydration levels too.
You can choose based on your hair’s needs. Experimenting helps you see the results, like smoother strands or less frizz. Avoid using oil-heavy masks on wet hair since oils may repel water, reducing absorption.
Try applying the mask to damp hair. Use your fingers to detangle gently. This spreads the mask evenly. Avoid the roots to keep hair bouncy and fresh.
3. Recommended Timing and Frequency for Hair Mask Use
Leave most hair masks on for 5 to 20 minutes depending on hair needs. Avoid leaving rinse-out masks overnight unless the product says it’s safe.
Use hair masks once a week for normal hair. But increase frequency for dry or damaged hair.
Ideal Duration for Rinse-Out Masks
Most rinse-out hair masks need 10 to 20 minutes to work deep moisture into your strands. Some lightweight masks ask for only 5 minutes; follow package instructions closely. Leaving it on longer won’t always help and may weigh your hair down.
Test how your hair feels after the recommended time. The timing is right when your hair feels soft and hydrated, not greasy. Over-processing can leave hair heavy or limp, especially for fine hair types.
When and How to Do Overnight Treatments Safely
Only use overnight masks designed for prolonged contact with hair. These usually say “leave-in” or “overnight treatment” on the label. Normal rinse-out masks left overnight can cause buildup and make hair greasy.
Wrap your hair in a silk or satin scarf before bedtime to protect your pillow. Apply a modest amount to avoid heavy residue. Morning shampoo or gentle rinse usually follows overnight treatments.
Frequency Based on Hair Condition and Type
Use a hair mask once a week for average, healthy hair to keep it nourished. Those with very dry or damaged hair can use a mask two to three times weekly. This helps to restore moisture and repair damage more effectively.
Oily hair benefits from limiting hair masks to once a week to avoid oversaturation. Thick or curly hair often needs extra hydration.
You might need masks twice a week. Fine hair needs lighter formulas and less frequent application to prevent weighing down.
4. Boosting Hair Mask Effectiveness with Heat and Tools
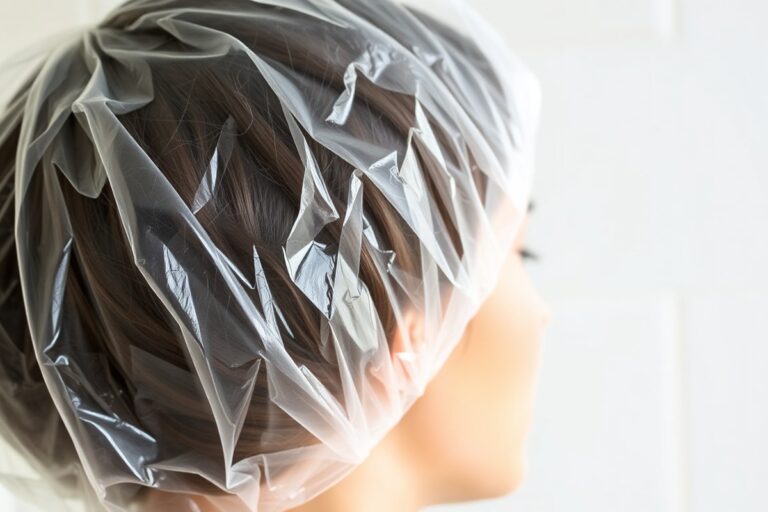
Applying gentle heat helps your hair mask work better by opening the hair cuticles. These open cuticles let the mask’s ingredients reach deep into your strands. You can make this work by putting a shower cap on your hair.
Do this right after putting on the mask. This helps lock in moisture and heat.
Adding a warm towel around the shower cap increases heat and moisture. To be safe, soak a towel in warm water first. Then squeeze out the extra water.
Wrap the towel snugly around your head on top of the cap. Keep it on for 15 to 30 minutes, depending on your hair mask’s instructions. Avoid towels that are too hot to prevent scalp burns or damage.
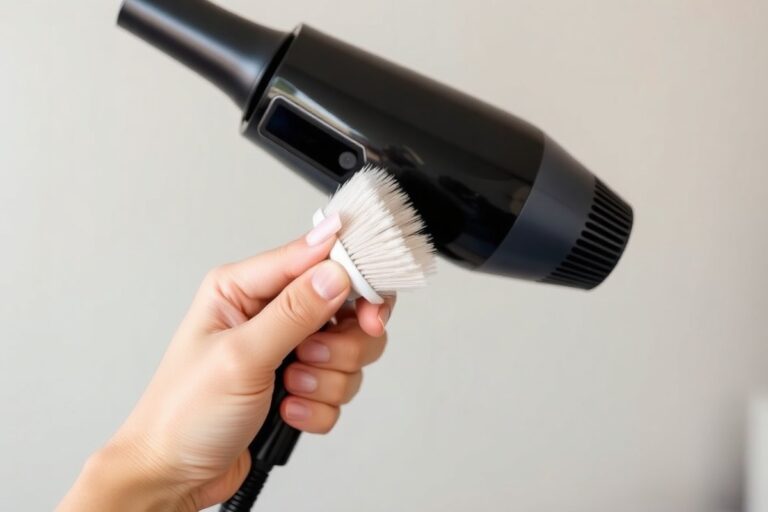
Choose a faster way by using a hair dryer on low heat. Warm your wrapped hair gently without overheating. This speeds up the mask’s effect.
Hold the dryer several inches away and move it continuously to avoid overheating. This method usually works best for 5 to 10 minutes. Check your scalp regularly to make sure you don’t feel discomfort or excessive heat.
Some masks can be warmed before using. Heat the container in the microwave for 10 to 15 seconds. This makes the mask spread easier on your hair.
Be sure to stir it well and test the temperature to avoid burns. Warm masks spread more evenly and absorb faster. This step is helpful especially with thicker or creamier masks that can sit on the hair.
These warming techniques cost little extra time and just need basic household items. A shower cap usually costs around $5 to $10. Warm towels and hair dryers are already at home.
The warmth improves moisture locking, leaving hair softer and shinier after rinsing. Without heat, some masks don’t penetrate deeply enough, so hair feels less nourished.
For thin or damaged hair, use lower heat levels and shorter times to avoid extra harm. Your scalp might be sensitive. Avoid using any heat.
Just use the shower cap by itself for the mask. Be cautious about overdoing it; too much heat can dry hair or cause irritation. Always follow the mask’s label instructions and stop if your scalp feels hot or itchy.
5. Do I Need to Shampoo or Condition After a Hair Mask?
You should always shampoo your hair before applying a hair mask. Shampoo removes dirt, oil, and product buildup, preparing your hair to absorb the mask’s nutrients better. Use warm water and a mild shampoo to get your hair clean and ready for treatment.
A hair mask acts as a deep conditioner. So you usually do not need to apply regular conditioner after rinsing it out. Masks are thicker and stay on your hair longer, from 5 to 30 minutes.
They give your hair a good dose of nutrients. This helps your hair get deep nourishment.
Your hair feels soft and smooth after rinsing the mask. Skip the conditioner completely.
Sometimes your hair still feels rough after the mask. It may lack slip too. Use a light, regular conditioner then.
This happens if the mask is too rich for your hair type. It also happens if your ends are very dry.
Masks should not replace conditioner every time you wash your hair. Heavy formulas can weigh down fine hair if used often.
Always shampoo before a hair mask to allow better absorption. Only add conditioner after if your hair still feels dry or tangled.
6. Choosing the Right Hair Mask for Your Hair Type and Needs
Picking the right hair mask depends on your hair type and what it needs most. Dry, damaged, curly, or color-treated hair all benefit from specific ingredients. Knowing these helps you choose masks that truly improve your hair.
Masks Best for Dry or Frizzy Hair
Dry and frizzy hair needs extra moisture to look smooth and soft. Hydrating ingredients like oils, shea butter, and glycerin are great at locking in moisture. Applying the mask from roots to ends spreads the hydration evenly.
These masks help reduce frizz by smoothing the hair cuticle. You can leave the mask on longer for extra hydration if your hair feels very dry. Avoid masks that are too heavy if you have fine hair to prevent weighing it down.
Repair Masks for Damaged or Chemically Treated Hair
Chemically treated or damaged hair usually loses strength and protein. Protein-packed masks like keratin help strengthen hair by sealing split ends. This also lowers breakage and improves how strong your hair feels.
Look for products labeled as “protein repair” or “damage repair” to target weak spots. Using these masks once or twice a week helps restore vitality. Don’t overload protein treatments, as too much protein can cause stiffness.
Products Suited for Curly or Fine Hair
Curly hair needs masks that define curls without weighing them down. Look for lightweight but nourishing formulas that improve curl shape. Ingredients like aloe vera and glycerin help maintain moisture and reduce frizz.
Fine hair benefits from lighter masks that add moisture without heaviness. Avoid rich, oily masks that make hair look greasy or limp. For color-treated hair, choose masks labeled “color-safe” to keep vibrancy while repairing damage.
Here’s a table to help match your hair’s needs with the right mask type and benefits. Check the ingredients and hair type to pick the best option for you.
| Hair Concern | Recommended Ingredients | Benefits |
|---|---|---|
| Dry or Frizzy Hair | Shea butter, oils, glycerin | Hydrates, smooths, reduces frizz |
| Damaged or Chemically Treated | Protein (keratin), amino acids | Repairs, strengthens, seals split ends |
| Curly Hair | Aloe vera, glycerin, lightweight oils | Defines curls, maintains moisture, prevents frizz |
| Fine Hair | Lighter conditioning agents, color-safe formulas | Moisturizes without weighing down, protects color |
Choosing the right mask means paying attention to ingredient lists and your hair’s feel. Start by testing a small amount to see how your hair responds. Change frequency or type if your hair doesn’t improve after a few uses.
7. Common Mistakes to Avoid When Using Hair Masks
Applying a hair mask on dry hair with styling products is a common mistake. You should rinse or wash your hair first. This helps the mask work better.
Those residues block the mask from working well. To fix this, shampoo your hair first to remove buildup, then towel-dry before applying the mask. This makes sure your hair absorbs the nutrients better.
Many people leave hair masks on too long or not long enough. Most masks should stay on for 5 to 10 minutes.
Leaving a mask overnight might sound good but can make hair greasy or brittle. Follow the instructions on your mask’s label exactly to avoid damage or leftover residue.
- Apply masks only to clean, damp hair, not dirty or oily hair.
- Use the right amount, too much causes heaviness and greasiness.
- Don’t leave masks on longer than the recommended time.
- Rinse thoroughly with lukewarm water to avoid build-up.
- Skip masking if hair already feels limp or greasy to avoid overload.
- Choose masks without harmful chemicals to protect hair health.
- Adjust frequency based on your hair type; oily hair may need less often.
Applying too much mask is another issue. A quarter-sized amount usually works, depending on your hair length. More product doesn’t mean better results.
It simply weighs hair down and may leave it greasy. Always rinse the mask out well. Cold water helps seal the hair cuticle to lock in moisture.
The wrong timing and mask type can also hurt your hair. Masks meant for deep repair need full rinsing and careful timing. Leaving the mask on longer or on dry hair can damage strands.
For fine or oily hair, use masks just once every 1 to 2 weeks. Check the label for the best timing and follow it closely.
8. Special Situations: Hair Masks for Scalp, Colored Hair & DIY Options
You can only put hair masks on your scalp if it’s safe. Check the product label before applying. Follow the instructions closely to avoid irritation.
Color-treated hair benefits from masks designed to protect and nourish chemically processed strands. DIY masks work but often don’t match the safety and power of store-bought ones.
Scalp-Focused Hair Mask Applications
Only use masks labeled for scalp use on your roots. These usually have lighter formulas to avoid making your hair greasy. Use your fingertips to massage a small amount into your scalp.
Do this gently for about one minute. This helps boost blood flow in your scalp.
Most masks should focus on mid-lengths and ends instead. Applying heavy masks at the scalp can weigh hair down and speed up oiliness. Keep the mask on for 10 to 15 minutes unless the label says otherwise.
Afterward, rinse it out with lukewarm water. Make sure to wash all the product off.
Don’t put a thick, rich hair mask on your scalp unless it’s made for scalp care.
Using Hair Masks on Color-Treated or Chemically Processed Hair
Choose masks with moisturizing and color-protecting ingredients like argan oil, keratin, and antioxidants. These help keep color vibrant and hair soft. Avoid masks with harsh sulfates or heavy silicones that can strip color or cause buildup.
Apply after shampooing clean hair, focusing on mid-lengths and ends. Use protein-based reconstructive masks just 2 to 3 times every month. Using them more can make your hair stiff or brittle.
Follow this schedule to keep hair healthy. Regular gentle masking keeps chemically treated hair shiny and healthy.
DIY Hair Mask Recipes vs Store-Bought
Homemade masks usually use natural items like bananas, yogurt, or honey, which can soften hair. They cost less and feel safer but often lack lasting effects. You need fresh ingredients and should apply promptly to avoid spoilage or mold.
Commercial masks have tested ingredients designed to penetrate hair deeply and balance moisture. They also give clear instructions about timing and rinsing. Store-bought options usually cost between $10 and $40 and last for many uses.
Test a small patch of DIY ingredients first to avoid scalp irritation or allergic reactions.
Step-by-Step Action Plan to Maximize Your Hair Mask Benefits
Follow these steps to get the most from your hair mask routine. Notice how your hair feels after each phase to track progress.
- Before you start: Pick a hair mask made for your hair type. Match it to concerns like dryness or damage. You’ll see healthier, shinier hair with the right choice.
- Day 1: Apply the mask to clean, damp hair, focusing on ends. Your hair should feel coated but not heavy.
- During application: Use a wide-tooth comb to spread the mask evenly. This stops clumps and boosts coverage.
- While waiting: Put a shower cap on your hair. Let the mask work for the time suggested. This is usually between 5 and 30 minutes. Your hair looks moist and nourished.
- After masking: Rinse thoroughly with lukewarm water, no shampoo needed unless the mask says so. Hair should feel soft and not slippery.
- After 1 week: Use the mask 1-2 times weekly depending on hair damage. Notice how softer and more manageable your hair feels.
- After 3 weeks: Adjust frequency based on results. Use the hair mask more often when your hair feels dry. Use the hair mask less often if your hair gets oily.
- Monthly review: Test different masks or add heat with a warm towel to boost results. You’ll see noticeable shine and less breakage.
Frequently Asked Questions
Can I Apply a Hair Mask Every Day?
Daily use is usually too much and can weigh hair down. Stick to 1, 2 times per week unless your hair is very dry or damaged.
Should I Use a Hair Mask Before or After Shampooing?
Apply after shampooing, once your hair is clean and damp. Shampoo removes dirt, so the mask can work better on fresh hair.
Can I Leave a Hair Mask on Overnight Safely?
Yes, overnight masks boost hydration but use a lightweight formula. Cover your pillow to avoid stains and rinse thoroughly in the morning.
Is It Better to Use a Hair Mask on Towel-Dried Hair?
Yes, damp, towel-dried hair helps the mask spread evenly and absorb well. Too wet or dry hair can reduce effectiveness.
How Much Hair Mask Should I Use for Thick Hair?
Use enough to coat your hair fully but avoid heavy clumps. For thick hair, this is usually a quarter-sized amount per section.
Do I Need to Comb Through My Hair After Applying a Mask?
Yes, combing helps spread the product evenly for better coverage. Use a wide-tooth comb and be gentle to avoid breakage.
Before You Go
Proper hair mask use helps you fix damage, add moisture, and shine. Start with the right mask and timing. Try today and feel the difference on your next wash day.