How Do You Shave with a Straight Edge Razor: A Complete Beginner’s Guide
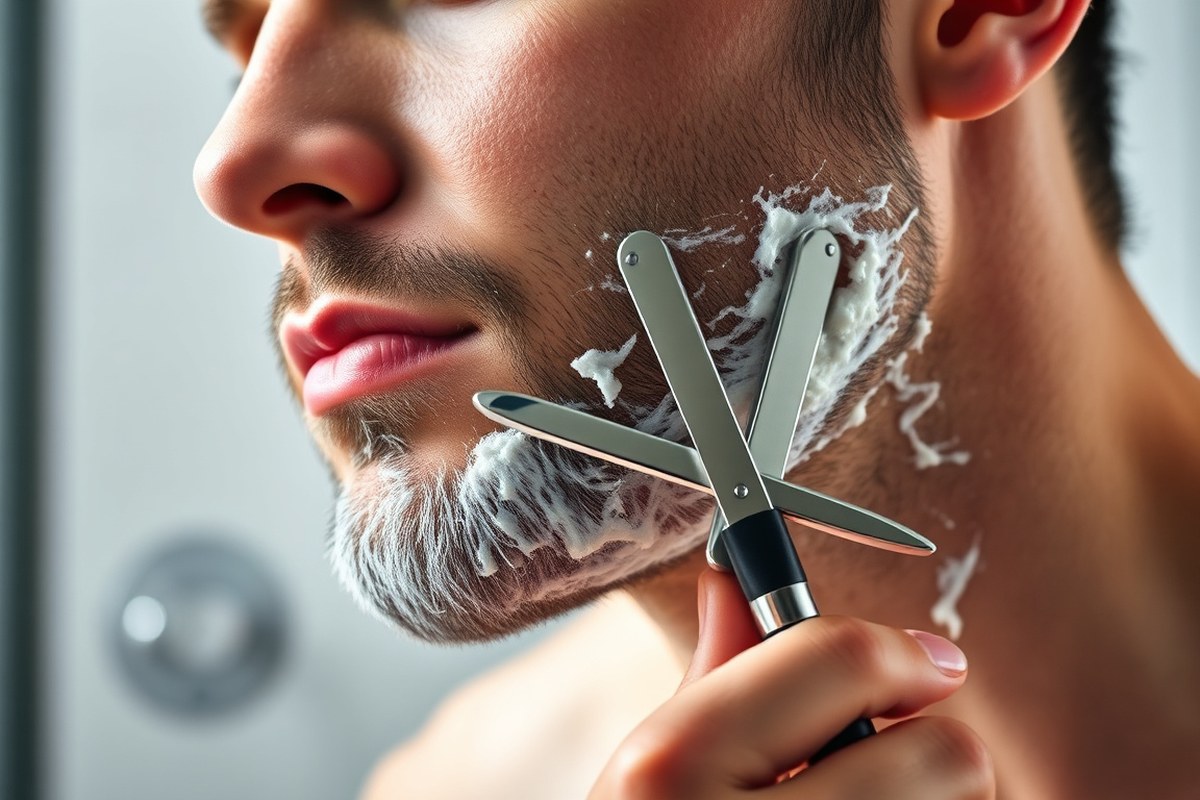
Hold the blade at about a 30-degree angle against clean, wet skin. Use short, light strokes moving with the grain to avoid cuts and irritation. Don’t press hard; let the razor do the work.
Stretch your skin tight to create a smooth surface and reduce nicks. Stropping the razor before each shave sharpens the edge and helps it glide smoothly.
Use warm water to soften your beard and open pores before shaving. Apply quality shaving cream or soap to protect your skin. Rinse the blade often to keep it clean.
Shave slowly and take your time. Learning this skill may take 15 to 20 minutes per shave. Finding the right angle leads to a smoother, safer shave with fewer cuts.
Key Takeaways
- Hold the razor roughly 30 degrees to your skin for a clean, safe shave.
- Use short, light strokes that follow the direction of your hair growth.
- Always strop your straight razor before shaving to keep it sharp.
- Stretch your skin tight to create an even surface for the blade.
- Expect your first shaves to take 15 to 20 minutes until you get used to it.
- Choose a quality razor costing at least $100 for better safety and durability.
How to Shave with a Straight Edge Razor Step-by-Step
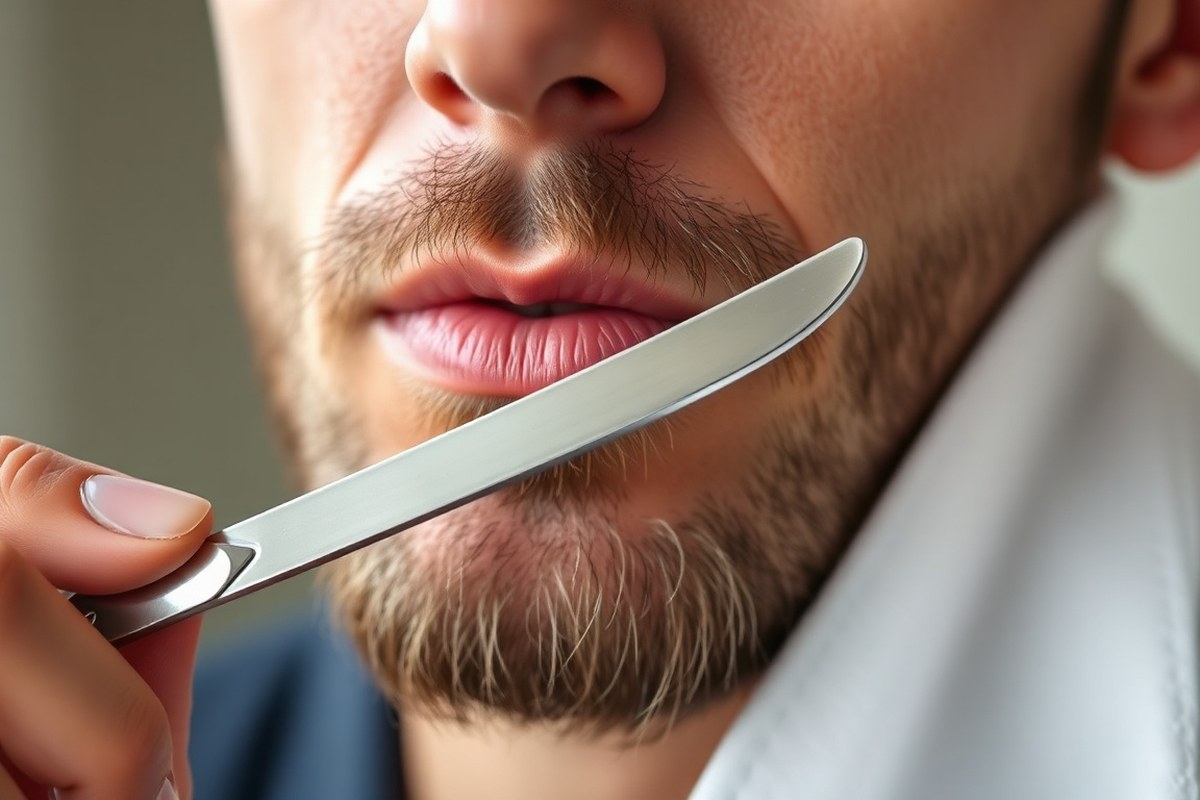
Shaving with a straight razor takes patience and care. The entire process usually lasts about 15 to 20 minutes when you are just starting. As you practice, shaving time will slowly get faster.
Expect about 2 to 3 minutes for a full face shave. Keep shaving to improve your speed and skill.
It’s best to shave your face in a specific order, starting where the hair grows softest. This helps prevent irritation and gives you greater control with the razor. Usually, start shaving the cheeks first.
Next, move to the upper lip and chin. Finish your shave by working the neck last.
- Stretch your skin. Use your free hand to pull your skin taut. This creates a flat surface and reduces the chance of nicks.
- Hold the razor at 30 degrees. Keep the blade’s spine leading while angling it slightly. This lets the edge cut cleanly without digging in.
- Make short, light strokes. Follow the grain of your hair first to avoid irritation. Stroke gently without applying extra pressure.
- Rinse the razor often. Clear hair and cream buildup after every few strokes. This keeps the blade effective and your shave smooth.
- Shave each area in order. Start with cheeks, then upper lip, chin, and neck last. Working slowly, complete one area before moving on.
- Rinse your face with cold water. This closes your pores and soothes the skin. Gently pat dry with a clean towel.
- Apply your aftershave or balm. Use a product that moisturizes without stinging. This helps prevent redness and keeps your skin healthy.
Taking extra time for each step helps avoid common mistakes. Rushing can cause the blade to nick or irritate your skin. Trust the process and build confidence with light, steady strokes.
Expect your first few shaves to take up to 20 minutes. With practice, this shortens. Soon, a careful straight razor shave will become a quick, enjoyable routine.
Choosing and Preparing Your Tools for a Perfect Shave

You need the right tools and proper preparation to shave well with a straight razor. You need a good razor and a ready strop and brush. Make smooth lather using cream or soap.
This gets you set for a clean shave. You can get started with simple, budget-friendly options or jump into a full kit for beginners.
Essential Tools and Accessories
A straight razor shave uses five key tools to start. They are the razor, strop, and shaving brush. You also need shaving soap or cream and a bowl or scuttle to build lather.
Each has a job to do in helping you get a close, comfy shave. A decent beginner straight razor costs between $25 and $50, which fits most budgets well.
Budget options include feather razors that don’t need stropping or honing. They are good stepping stones before you buy a true straight razor.
Premium sets like the Solomon Straight Razor Kit come with everything you need. This kit has a badger brush, strop, paste, organic soap, and a razor in one box.
- Straight razor (or beginner-friendly feather razor)
- Leather strop for edge alignment
- Shaving brush (preferably badger hair)
- Shaving soap or cream
- Shaving bowl or scuttle
- Optional: sharpening paste for honing
Never rush buying your razor. A bad tool means slow progress and frustration.
Choosing your first razor depends on your comfort and budget. The strop is important for daily razor care. You can use softer soaps if you want easier lathering.
But soap gives a richer foam. Brushes lift hair for a smoother cut. The bowl or scuttle heats your lather to keep your face warm and soft.
Preparing Your Razor: Stropping and Honing
Before each shave, you’ll want to strop your straight razor. Stropping lines up the tiny teeth on the blade edge. This helps it cut cleanly.
It also stops the razor from pulling your hair. Use the leather strop with smooth, even strokes away from the blade edge. This takes about 20 to 30 passes per side.
Occasionally, you’ll need to hone the blade to keep it sharp. Honing uses sharpening paste and stones and happens less often than stropping. A dull razor will tug and irritate your skin.
Stropping makes the edge ready to shave every time. So never skip it before shaving.
Keep the blade flat on the strop while stropping to avoid dull spots and damage.
For beginners, it’s best to buy a razor that’s shave-ready from the start. Stropping is simple but takes practice to keep consistent. Honing might be done once or twice per year depending on use and blade quality.
Selecting and Applying the Right Shaving Cream or Soap
Your choice between shaving soap or cream depends on how much effort you want to spend. Soap needs more work to build a good lather but often gives a thicker cushion.
Cream is easier for beginners and quicker to lather. Use a badger brush to apply for best results.
To load your brush, swirl it on soap or cream. You can do this on the surface or in a bowl. This gets your brush ready for lathering.
Add a few drops of warm water to your brush. Then whip it up until the foam looks thick and creamy.
This foam protects your skin while shaving. This helps soften hairs and lifts them for the razor to cut closer.
A good lather should hold its shape on your face without dripping or cracking.
Warm your bowl or scuttle with hot water first. This keeps the lather warm on your face.
Apply the lather with circular brush strokes to coat well and raise the whiskers. Taking the time here makes a big difference in comfort and the closeness of your shave.
Mastering Grip, Angle, and Pressure for a Safe Shave
Hold the straight razor firmly at a 30-degree angle to your skin. Use a gentle grip with just enough pressure to glide the blade smoothly. Keep your strokes short and steady to control the razor.
This helps you avoid cuts. It also gives a close and smooth shave.
Correct Razor Hand Grip Techniques
Hold the razor handle between your thumb and the base of your index finger. Let your middle finger rest on the opposite side for balance. Your ring and pinky fingers should curl naturally against the razor for extra support.
Keep your grip firm but relaxed. Avoid squeezing the razor tightly, which causes hand fatigue and less control. Position your wrist so you can move the blade steadily across your face without strain.
- Grip the razor handle between thumb and index finger
- Rest middle finger on the opposite side of the blade
- Support the handle with ring and pinky fingers
- Keep wrist flexible for smooth movements
- Maintain relaxed but steady hand pressure
This grip helps you maneuver the blade with precision. Strong control reduces risks of slips and cuts while shaving.
Understanding the 30-Degree Angle Rule
Hold the razor so it forms about a 30-degree angle with your skin. This angle lets the sharp edge cut hair without scraping your skin. A flatter angle dulls the cut while a steeper angle causes nicks.
Visualize the blade tilting slightly into your skin, not flat or upright. Stretch the skin taut with your free hand to keep the surface even. This setup allows the razor to cut cleanly and safely.
A 30-degree angle is the ideal balance between closeness and safety. Adjust slightly around this angle for different face curves. But avoid sharp tipping or laying it flat.
Managing Stroke Length and Pressure
Keep your shaving strokes short, around 1 to 2 inches long. Long strokes increase the chance of slipping or uneven cuts. Short, controlled strokes give you better accuracy and smoother results.
Apply almost no pressure on the razor. Let its sharp edge do the work. Don’t press hard on your skin.
Pressing causes razor burn. It also leads to cuts, the biggest shaving mistakes.
Stretch your skin lightly before each stroke to make the hair stand up. Move the razor slowly and evenly. Precision beats speed when controlling stroke length and pressure.
Preparing Your Skin for a Smooth, Comfortable Shave
Start by washing your face with warm water to remove dirt and oils. Then, wrap a clean towel in hot water until it’s steaming.
Press the hot towel on your face for about 2 to 3 minutes. This softens the hair and skin, making it easier for the razor to glide.
After the hot towel, apply a pre-shave oil if you have it. This extra step can reduce friction and keep sensitive skin calm. Use a shaving brush to spread your shave gel or cream evenly.
The brush lifts the hair before shaving. It makes a thick, creamy lather. This lather cushions your skin from the blade.
Apply your lather in small circles using the shaving brush to get full coverage. Avoid using too little lather; a thin layer won’t protect your skin well.
Good lather feels thick and slick, not dry or patchy. Taking these prep steps keeps your skin hydrated and ready, cutting down on nicks and irritation.
How to Maintain Your Straight Razor: Stropping and Honing
Keep your straight razor sharp by stropping before each shave. Hone it every few weeks to maintain the edge.
Stropping aligns the blade edge, while honing reshapes it to stay sharp. Regular maintenance avoids dullness and ensures a clean, comfortable shave.
Stropping: How and When to Do It
Stropping your razor before every shave takes about one minute and keeps the edge aligned. Use a leather strop and hold the razor flat against the leather with the spine leading.
Drag the razor backwards on the strop. Flip it on the spine and repeat on the other side.
Do this walking motion 20 to 30 times. Use light pressure to keep the blade sharp.
Avoid cutting the leather. Stropping removes small nicks and straightens the micro-edge of the blade, making it ready to shave.
Always strop your razor with the blade’s spine leading to avoid cutting the leather.
Honing: Signs You Need It and How Often
Honing your straight razor resets its sharp edge when stropping no longer works. A blade feels dull when it pulls hair or skips on your skin.
Stropping won’t fix the edge when it gets dull. You need to sharpen with a whetstone or ceramic hone then.
Hone your razor every 6 to 8 weeks. This is if you strop it properly before every shave.
Less frequent sharpening is OK if you shave less often. Some users send their razors to professionals for honing, which costs about $20 to $30.
The table below shows typical honing frequency based on how often you shave and strop:
| Usage Frequency | Stropping Frequency | Honing Frequency |
|---|---|---|
| Daily shaving | Before every shave | Every 6 to 8 weeks |
| Every 2-3 days | Before every shave | Every 8 to 12 weeks |
| Once a week or less | Before every shave | Every 3 to 6 months |
Regular honing keeps the blade sharp and avoids pulling or clogging during shaves. Keeping to this schedule depends on how well you strop, your blade type, and skin type.
Common Maintenance Mistakes to Avoid
One mistake is skipping stropping before the shave. Without stropping, the blade’s edge bends and dulls faster. Sharpening less often increases the risk of uneven edges and nicks on your skin.
Another error is stropping with too much pressure or dragging the blade the wrong way. This can damage the leather strop or the blade’s edge. Let the strop do the work and keep your movements calm and steady.
Do not expect stropping to fix a dull blade. Stropping aligns the edge but doesn’t restore a blunt blade. Honing is necessary for sharpening dull blades to keep them shave-ready.
Techniques to Manage Sensitive Areas and Avoid Nicks
Shaving sensitive areas like the neck, chin, and upper lip requires extra attention and gentle techniques. Pull your skin taut with your free hand to create a firm, flat surface. Avoid dragging the razor; instead, use short, careful strokes.
The neck skin is thin and loose. So gently pull it slightly toward the cheek or down the neck.
This tightens the skin and smooths out the tricky contours. Shave these flatter sections carefully to avoid nicks.
For the upper lip, use your opposite hand to pull the skin downwards. This keeps the skin tight and steady. Shave with small, quick strokes starting just below the nose.
The chin and jaw line have many angles, so shift your hand position often. Pull the skin slightly toward your cheek or neck. Shave only the flattened area instead of running the razor along the curves.
Use a straight razor with a rounded point if you’re new or have sensitive skin. The curved tip reduces the chance of accidental cuts. Take your time and move slowly in these tricky spots.
Facial expressions help tighten loose skin during shaving. Raising your chin or puckering your lips can stretch the neck and chin skin. This extra tautness gives the razor a smoother path.
Always use light pressure. Pressing too hard increases the risk of irritation and cuts. A properly tight skin surface lets the razor cut smoothly without needing force.
Patience matters most in these areas. Rushing can cause missed hairs and cuts. Slow, focused strokes help you shave safely and get a clean, close shave every time.
Common Mistakes Beginners Make and How to Fix Them
Pressing too hard with a straight razor is a common mistake. It causes cuts and razor burn because the blade scrapes your skin.
Lighten your grip and let the razor’s weight do the work. Keep the angle between 20 and 30 degrees for the cleanest shave without irritation.
Shaving at the wrong angle is another frequent issue. Angles steeper than 30 degrees dig into the skin, causing nicks. Angles less than 20 degrees won’t cut efficiently, leading to multiple passes and irritation.
Hold the razor so the blade just touches your skin. Pull it gently along the direction your hair grows.
Skipping proper skin prep often leads to bumps and razor burn. Wash your face with warm water. Apply rich shaving cream or soap.
This softens the hair for a smooth shave. Apply a warm towel on your face for a minute before you shave to open pores. This reduces tugging and skin irritation.
- Don’t shave dry; always prep skin with warm water and shaving soap.
- Stropping the razor before each shave keeps the blade sharp and smooth.
- Use slow, short strokes to maintain control and avoid slipping.
- Rinse the blade often during shaving to prevent clogging and pulling.
- Stretch your skin with your free hand to create a flat surface.
- Avoid going over the same spot repeatedly to reduce irritation.
- Replace or hone dull razors promptly; dull blades cause cuts and burning.
Ignoring blade maintenance causes many problems. Dull or rusty razors tug at hair and worsen irritation. Stropping your blade before every shave realigns the edge and sharpens it.
Honing the blade every few months is needed to restore a keen edge. Cost for honing runs about $10 to $30 if you don’t do it yourself.
Some miss using their free hand to stretch the skin taut. So the blade glides smoothly. Tight skin lowers the risk of nicks and gives a cleaner cut.
Also, rinsing your blade often during shaving avoids clogged hairs, which pull and nick your face. Take your time.
Rushing causes sloppy strokes and cuts. A careful, patient shave means comfort over flashy speed.
Post-Shave Care and How to Extend Your Razor’s Life
Rinse your face with cold water right after shaving to close pores. Gently pat your skin dry using a clean towel.
Use a soothing aftershave balm or alcohol-free moisturizer to calm irritation and keep dryness away. Avoid products with alcohol or strong scents since they can sting and cause redness.
Cleaning your straight razor right after use keeps the blade sharp longer. Rinse the blade carefully with warm water to remove hair and shaving cream. Never soak the razor in water; it damages the blade.
Dry it thoroughly using a soft cloth to prevent rust. Moisture is a straight razor’s worst enemy, so make sure no water spots remain.
Store your razor in a dry, well-ventilated spot, away from humidity. Use blade oil to protect your razor from rust. Or apply a thin layer of mineral oil instead.
This keeps the blade in good condition longer. A leather strop is great for keeping the edge smooth between shaves. Avoid leaving the razor in your bathroom where steam collects, it shortens the blade’s life.
Touch up the blade on a strop before each use. Hone it when it feels dull. Each hone might cost $20 to $40 if you hire a pro.
But it’s worth it for a sharp edge. Keeping a regular stropping and honing routine saves you money on replacing blades often. Don’t rush the process; a sharp blade reduces nicks and razor burn.
Never leave your straight razor wet or in a damp area. Rust can ruin the blade quickly.
Your First 7 Days: A Quick-Start Plan for Straight Razor Shaving
Follow this simple plan to get comfortable shaving with a straight razor. Each step builds your skill and confidence.
- Day 1: Prepare your tools and skin. Clean your face and rinse your razor. You’ll feel fresh and ready.
- Day 2: Practice holding the razor at a 30-degree angle. Use a mirror and gentle pressure. You’ll notice smooth blade movement.
- Day 3: Lather your face with warm shaving cream. Shave with short, steady strokes on easy areas. No nicks mean success.
- Day 4: Try stropping your razor before shaving. Your blade should feel sharper and glide easier.
- Day 5: Clean and dry your razor carefully after shaving. No rust spots or dullness show it worked.
- Day 6: Shave around sensitive areas slowly. Use more lather and less pressure. Fewer cuts confirm your control.
- Day 7: Examine your post-shave skin care. Apply aftershave balm to soothe and hydrate. Your skin will look healthier.
Frequently Asked Questions
How Do I Know If My Straight Razor Is Sharp Enough to Shave?
A sharp razor cuts hair cleanly without tugging. Stropping before every shave keeps your razor edge sharp.
You should hone your blade every 6 to 12 months. This routine keeps the razor ready for a smooth shave.
How Long Does It Take to Become Skilled at Straight Razor Shaving?
It usually takes about 100 shaves to master the technique. Patience helps, so expect your shaves to take 15 to 20 minutes at first.
Can I Use Any Shaving Cream with a Straight Razor?
Yes, but a rich, lubricating cream or soap is best. It softens your beard and helps the razor glide smoothly for fewer nicks.
Is It Safe to Shave Against the Grain with a Straight Razor?
Beginners should avoid shaving against the grain to prevent cuts. Start with the grain, then go across it as you gain confidence.
Why Do Some Men Prefer a Straight Razor over a Safety Razor?
A straight razor provides the closest shave possible with one blade. It allows better control and a defined shave line.
How Do I Store My Straight Razor Safely After Shaving?
Dry your razor thoroughly before storing it in a dry place. This prevents rust and keeps the blade in good condition.
Final Thoughts
Shaving with a straight razor takes some practice, but it’s worth it. Get familiar with your tools and take your time. Start by practicing your grip and angle today, and you’ll shave smoothly soon.