How to Use Curling Barrel: A Complete Guide for Perfect Curls Every Time
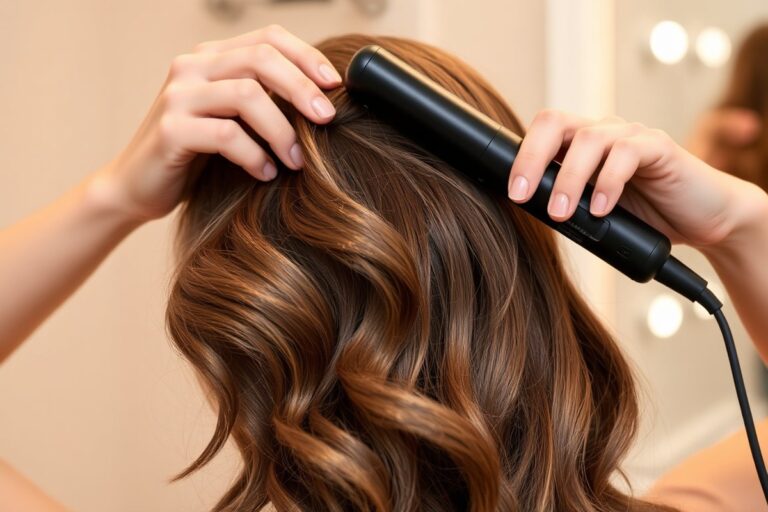
Knowing how to use curling barrel tools can transform your hairstyle quickly. The key is picking the right barrel size and heat setting for your hair type and texture. Starting with clean, dry hair and applying a heat protectant spray helps keep your strands safe from damage.
Hold the curling barrel vertically and wrap small sections of hair around it for smooth, even curls. Avoid rushing each section.
8 to 12 seconds of heat is usually enough to set the curl. Let the curls cool completely before touching or styling them to lock in the shape longer.
Using different barrels changes your curl look. Single barrels create round, classic curls while triple barrels make uniform, beachy waves. Learning these basics helps reduce hair damage and gives you curls that last all day without feeling crispy or stiff.
Key Takeaways
- Choose a curling barrel size that matches your desired curl type and hair length.
- Use adjustable heat settings between 250° and 300° Fahrenheit for most hair types.
- Apply heat protectant spray before curling and reapply if you increase heat above 300°.
- Work on smooth, tangle-free hair to prevent snags and breakage.
- Hold each hair section on the barrel for 8 to 12 seconds for optimal curls.
- Allow curls to cool completely before touching to help them set.
What Is a Curling Barrel and How Does It Work?
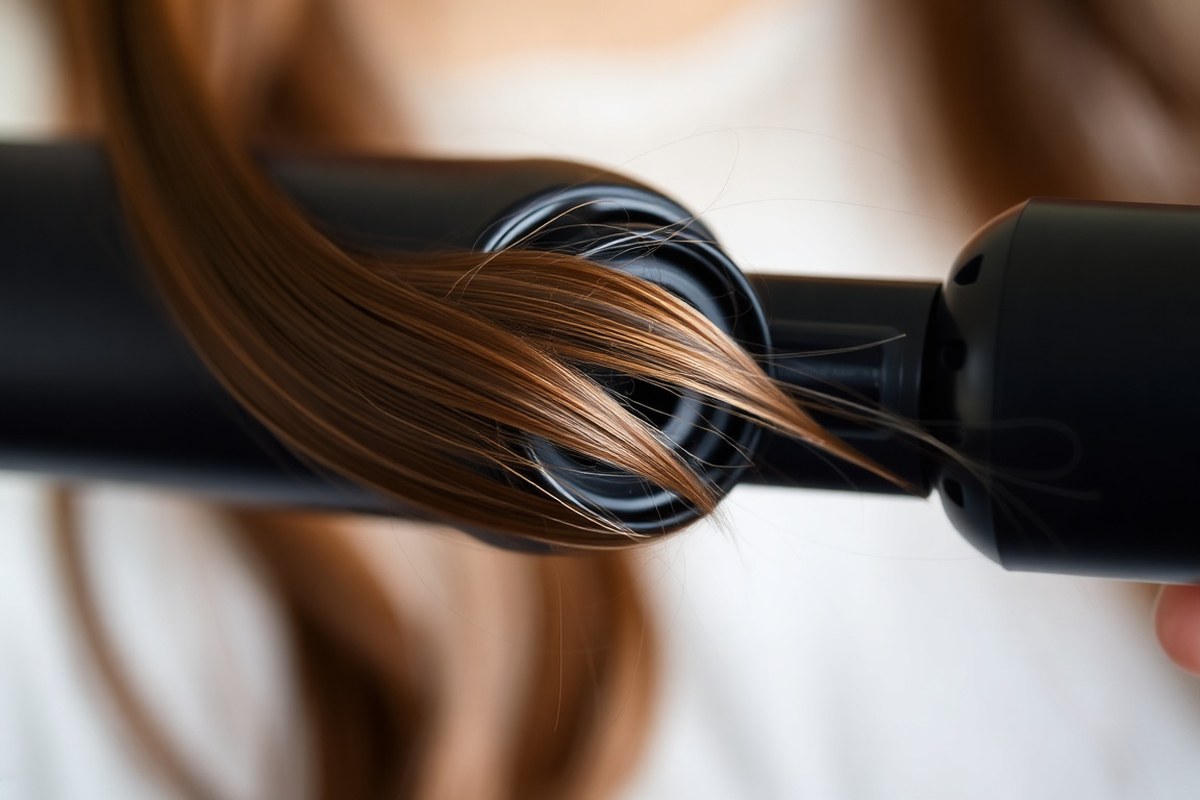
A curling barrel is a heated rod that shapes your hair into curls. You wrap a small section of dry hair around the barrel. The heat changes the hair’s structure, forming curls or waves when cooled.
Single-barrel curling irons have one round barrel, perfect for creating defined curls. You usually curl one section of hair at a time. Wrap each section from the ends up to the roots.
Hold the hair on the barrel for 7 to 15 seconds. This helps set the curl. Then gently release to avoid dents or crimps.
Triple barrel curling irons have three barrels lined up side by side. They create waves by clamping the hair in three places at once. This tool can take less time and give a soft, beachy wave look.
With a triple barrel, start at the roots and move to the tips. Clamp small smooth hair sections to avoid snags.
Single barrels are ideal for glam, polished curls, offering control for different sizes and styles. The triple barrel creates volume and texture fast. It gives a natural wave pattern you’ll like.
Both types work on most hair. Use lower heat for fine hair, higher for thick hair to prevent damage.
Very curly or coarse hair might need practice with either barrel type. It takes time to get the technique right.
Smooth, dry hair prevents tangling and breakage around the barrels. Avoid using the barrel on wet hair because the direct heat can cause serious damage.
Choosing between single or triple barrels depends on your style goals and patience. Single barrels require more sections and time but offer tighter curls. Triple barrels save time and make relaxed waves.
They don’t work well on very short hair, though. Either one can fit your needs if you adjust heat, section size, and curling time correctly.
Choosing the Right Barrel Size for Your Hair and Style

Barrel size changes the curl shape and how long the curls last. Smaller barrels make tighter curls that hold better.
Larger barrels create loose, soft waves with more volume. Your hair length also affects which barrel size works best for you.
Small barrels work best for short hair, from ⅜ inch to ⅝ inch. They make tight curls or small waves easily. The hair wraps smoothly without any struggle.
Medium hair suits barrels around 1 inch to 1.25 inches, good for defined curls or beach waves. Long hair pairs nicely with barrels of 1.5 inches or bigger for bigger, natural-looking waves or cascading curls.
| Hair Length | Barrel Size | Curl Type | Effect |
|---|---|---|---|
| Short (above shoulders) | ⅜” to ⅝” | Tight curls or small waves | Better hold, defined shapes |
| Medium (shoulder to mid-back) | 1″ to 1.25″ | Beach waves, soft curls | Natural looking, versatile curls |
| Long (mid-back and beyond) | 1.5″ to 2″ | Loose waves, big barrel curls | Soft volume, flowing curls |
For defined beach waves on short hair, a 1-inch barrel works well. This barrel size creates loose waves with little curl. It’s great for hair with some natural wave already.
You get a soft and relaxed look. Choose barrels smaller than ¾ inch for very short hair.
They make curling easier to handle. Small barrels wrap hair quickly and neatly.
Long hair can also get big barrel curls. But only if your hair is long enough.
Otherwise, your curls won’t form fully. Extensions can help reach the length needed for those smooth long curls with big barrels.
Holding the curling iron too long can make curls lose shape and look overcooked.
Try curling smaller sections around the barrel, not too thick, for best results. Large barrels take more time to curl hair well. They create soft waves that hold on medium or long hair.
The curls look natural and last longer. Pick your barrel size to match the style and hair length for a polished look.
How to Prepare Your Hair Before Curling
Preparing your hair right will give you smooth, long-lasting curls. Clean, dry hair works best, and using the right products helps protect and style your strands. Breaking your hair into sections ensures even curl formation without damage.
Cleaning and Drying Hair Properly
Start with clean hair that is fully dry to avoid uneven curling and damage. Damp hair curls won’t hold well and may get damaged by heat. Use a gentle shampoo followed by conditioner to keep hair smooth.
After washing, dry your hair completely using a blow dryer or air dry. Avoid curling on wet or damp hair because it can create frizz and breakage. Make sure hair is no more than 5% damp before using heat tools.
Applying Heat Protection and Styling Products
Heat-protective spray stops heat from reaching damaging temperatures inside your hair. Pick a heat protectant for temperatures up to 375°F. Use it if your curling barrel heats that high.
This helps protect your hair from heat damage. Some sprays only protect up to 300°F and won’t help much if you use hotter settings.
Apply the spray evenly before curling. Add a light styling spray or hair oil like castor or almond oil afterward. These improve curl shine and hold without weighing hair down.
Brushing and Sectioning for Even Curls
Use a wide-tooth comb or detangling brush to gently remove knots. Always start at the ends and work up toward roots to avoid breakage. This will make wrapping hair around the barrel easier and smoother.
Divide your hair into small sections. Smaller sections curl more evenly and hold better than large clumps. Use hair clips to keep sections apart while you work through your hair.
Ready for curling? Follow these steps:
- Wash and condition your hair with gentle, smoothing products.
- Completely dry hair using a blow dryer or air drying.
- Spray heat protectant evenly from roots to ends.
- Detangle hair carefully with a wide-tooth comb or detangling brush.
- Divide hair into 1-inch sections for even curling.
- Clip away sections you’re not curling yet to avoid tangling.
- Use a light styling spray or hair oil for extra shine after curling.
Selecting the Best Heat Setting Based on Hair Type
Set your curling barrel’s heat based on your hair type. This helps you avoid damage. It also gives you lasting curls.
Fine hair needs lower heat, while thick hair can handle higher temperatures. Use a heat setting that suits your hair texture.
Keep the barrel on just long enough. This holds the curl without burning.
Temperature Recommendations by Hair Texture
Fine or damaged hair should stay between 300°F and 350°F. This helps protect fragile strands from heat damage. Start with 300°F for your curling barrel.
This lets you test your hair’s response. It keeps risk of damage low.
Normal hair works well around 350°F to 400°F. Aim for about 350°F as a simple starting point. This heat level helps curls last longer.
It is safe for most hair types. Not too thick, not too thin hair.
Thick or coarse hair needs the highest heat, between 400°F and 450°F. It takes more heat to shape these kinds of strands. Always use a heat protectant spray beforehand to minimize damage.
Adjusting Settings for Curl Hold vs Hair Safety
Heat makes curls last by changing your hair’s shape. Higher heat means longer-lasting curls but risks damage, especially for fine hair.
Count to ten in your head while holding your hair in the barrel. More seconds for thick hair, fewer for fine.
Lower settings better protect your hair but might give looser waves instead of tight curls. Watch how your hair feels during curling, dry or brittle hair means try a cooler setting. Use a heat protectant every time, no matter your hair type.
Adjust the temperature gradually if you don’t get the hold you want at first. Fine hair often curls with fewer seconds at 300°F. Thick hair might need up to 450°F and a longer hold to keep the shape.
What to Avoid: Overheating and Underheating Risks
Too high a temperature causes damage like dryness, breakage, and frizz. Fine or chemically treated hair is especially at risk.
Don’t hold your hair in the barrel too long. About 10 seconds is usually enough.
Using too low heat can result in curls that fall out quickly. That means you’ll curl your hair more often and risk causing damage over time.
Raise the temperature in small steps if curls don’t last. Always protect your hair while doing this.
Never use the hottest setting right away. Test on a small section first. Raising heat slowly helps you avoid surprises like burns.
It protects hair ends from damage. You find the best heat for your hair.
Step-by-Step Guide to Curling Hair with a Barrel Iron
Start by dividing your hair into sections to curl evenly and smoothly. Wrap each hair section around the curling barrel carefully. Hold it long enough to form lasting curls.
Avoid rushing to keep curls tight. Release each curl gently and let it cool to set the shape well.
Sectioning Hair into Manageable Portions
Split your hair into small, even sections using clips or hair ties. Small sections heat evenly and curl better than thick chunks. This step helps control the process and avoid missing spots or overheating hair.
For most hair lengths, aim for sections about 1 inch wide. Thicker hair may require smaller sections to ensure heat reaches all strands. Begin curling at the bottom layers and work your way up for smooth layering.
Wrapping and Clamping Technique
Take a 1-inch section of hair and place the ends on the barrel. Roll the barrel up toward your scalp, wrapping the section all around evenly. Clamp the hair gently between the barrel and clip.
Hold it steady while the heat works. This helps shape the curl without damage.
Hold the clamp steady and avoid moving the barrel, which can create uneven curls. For classic barrel curls, roll the hair away from your face for a natural look. Use a curling iron with a barrel size around 1 to 1.5 inches for defined curls.
Timing Hold Duration and Release
Hold each section on the curling barrel for 8 to 12 seconds. Holding longer risks heat damage, and shorter may not hold the curl well. Adjust timing slightly based on your hair’s thickness and heat setting.
Release the clamp slowly and gently slide the barrel out without pulling the hair. Let the curl cool in your hand first. Or clip it up to set the shape firmly.
Cooling helps curls last longer and stay defined. Cooling curls fully before touching helps keep them intact and bouncy.
- Divide dry hair into 1-inch sections and secure with clips.
- Turn on the curling iron and wait for your chosen temperature.
- Take one section and clamp the ends to the curling barrel.
- Roll the barrel up toward your scalp, wrapping hair tightly.
- Hold the clamp steady for 8 to 12 seconds, depending on heat.
- Release the clamp slowly and slide the iron out carefully.
- Let the curl cool in your hand or pin it up briefly.
- Repeat until all hair sections are curled evenly.
Use a heat protectant and stay below 400 degrees to prevent damage. Always avoid leaving hair on the barrel longer than 12 seconds.
Using a Triple Barrel Curling Iron for Waves
A triple barrel curling iron creates waves by clamping three sections of hair simultaneously. This is different from a single barrel iron. You wrap hair around one barrel at a time.
The triple barrels create bigger, more defined waves. They look like natural beachy or boho styles.
To use a triple barrel iron, start with dry hair and apply heat protectant. Divide your hair into horizontal sections about 1 to 2 inches wide. Clamp the iron on the roots.
Hold it for 5 to 7 seconds. Then move down the section. Repeat down the length of the hair.
Keep the barrels flat against the hair. This makes even waves.
A triple barrel iron is faster than a single barrel. It creates three waves at the same time.
It’s easier for beginners because you don’t have to wrap each strand perfectly. However, it takes more care to avoid overlapping waves unevenly, which can cause lumps.
This tool works well for haircuts that need volume. It suits medium to long hair with soft waves. Short hair might struggle to fit properly between the barrels.
The result is a casual, tousled look. It lasts well if you add light hairspray after cooling.
Watch for common issues like uneven waves when you don’t clamp evenly or miss sections. Using a 300°F heat setting works for most hair types without damage.
Try holding the clamp a bit longer to make waves last. Use a stronger styling spray if needed.
The triple barrel iron costs around $40 to $70. So it’s a good investment if you want stylish beach waves quickly. After practice, this technique cuts curling time in half.
It makes a trendy look not easy with one barrel. Just make sure to practice on small sections first to avoid hot spots or flattened waves.
Finishing and Maintaining Your Barrel Curls
After curling, let your hair cool fully before touching it. Cooling locks in the curl shape and helps it last longer. Avoid brushing or combing your hair while it’s still warm to keep the curls firm.
Use your fingers or a wide-tooth comb to gently separate curls. Pulling them apart softly creates natural waves instead of stiff curls. Try taking out individual 2-inch sections to add randomness and volume.
Set curls by applying a light mist of hair texture spray or a flexible hold hairspray. These products reduce frizz without making your hair crunchy or heavy. For extra smoothness, dab a small amount of anti-frizz serum on your fingertips.
Then, gently run your fingers over the ends of your hair. This helps keep the ends smooth and frizz-free.
Use a small amount of light mousse or styling cream before curling. This helps if your hair tends to fall flat. It adds volume and hold without weighing hair down.
These help create texture and hold for a longer-lasting style. But don’t apply too much or your hair might feel sticky or weighed down.
For humid days or very fine hair, a medium hold hairspray offers better control. Spray from about 10 inches away to avoid clumping.
Forgetting to spritz at the roots makes curls droop quickly. So lift sections and spray underneath for volume.
Avoid curling all sections in the same direction. This causes your hair to look stiff and artificial.
Alternate the direction of each curl to get a more natural, lived-in look. This method breaks up uniformity and adds body.
Refresh curls during the day by spritzing with water or a curl reviving spray. Then, scrunch or twist the curls lightly with your fingers. You can heat your hair again with a curling barrel for a quick fix.
Keep the heat low to avoid damage. This helps refresh curls without hurting your hair.
Holding curls overnight is easy with loose pin curls. Pin each curl to your scalp after heating, then release in the morning. This technique helps set the curl deeply for durability without extra heat the next day.
Common Mistakes with Curling Barrels and How to Fix Them
One common mistake is using a curling barrel on dry hair without prep. This can cause uneven curls and damage. Always start with slightly damp, heat-protected hair for best results and less breakage.
Uneven or bad curls happen when you wrap hair unevenly. Leaving the barrel too long on one section also causes this.
Let your hair cool completely before touching it to set the curl. Use a timer or count 8 to 12 seconds per section for consistent curl size.
Accidental burns happen when the barrel touches your scalp or fingers. Use a heat-resistant glove and keep the barrel a safe distance from your skin.
Also, avoid setting the temperature too high. 300°F to 350°F usually works well for most hair types.
- Don’t rush; curl small sections for better shape
- Apply heat protectant spray before curling
- Use the right barrel size for your desired curl type
- Avoid touching curls until fully cooled
- Use a glove to prevent burns
- Lower heat for thin or damaged hair
- Clean your barrel regularly to avoid product buildup
Touching curls before they cool causes frizz and loss of shape.
Another issue is wrapping hair too tightly, snagging strands, or pulling while curling. Let hair naturally coil around the barrel.
Try different wrapping directions for more natural-looking curls. Keep hair smooth by combing through sections before wrapping.
Hair damage happens faster with high heat and no protection. Always spray a heat protectant before curling. Stay under 350°F unless you have very thick or coarse hair.
Your hair feels dry or brittle? Lower heat and curl for less time.
Step-by-Step Action Plan for Beautiful Barrel Curls
Follow this plan to get comfortable with your curling barrel and create lasting curls. You’ll see quick improvements each time you style.
- Day 1: Gather your curling barrel, heat protectant spray, and hair clips. Test the curling iron on a small hair strand to check the heat.
- Before You Curl: Apply heat protectant evenly to dry hair. Your hair should feel smooth but not oily.
- Week 1: Practice curling 2-inch sections. Hold each for 8 to 10 seconds. Your curls should feel warm and hold shape after cooling.
- Week 2: Try different barrel sizes if you have them. See which curl size suits your face and style best.
- After 2 Weeks: Begin using styling products like light hairspray. These help keep your curls intact. You can also try finishing oil for shine. Your curls should last at least a few hours without frizz.
- Day 15: Experiment with triple barrel irons for wavy looks. Check that waves look smooth and even.
- Week 3: Review common mistakes like overheating or skipping heat protectant. Fix any issues to protect hair health.
- Ongoing: Clean your curling barrel regularly to remove product buildup. It helps your barrel work better and last longer.
Frequently Asked Questions
Can I Use a Curling Barrel on Damp Hair?
It’s best to use a curling barrel on dry hair to avoid damage. Damp hair is more fragile, so dry completely before styling.
How Long Should I Hold My Hair on the Barrel?
Hold your hair on the barrel for about 7 to 15 seconds. This timing creates curls without damaging your hair from too much heat exposure.
Can I Use a Curling Barrel to Straighten My Hair?
A curling barrel isn’t designed to straighten hair effectively. Use a flat iron for straightening to get a smooth finish.
Should I Curl My Hair Away from or Towards My Face?
Curling away from your face usually creates a more flattering look. It opens your features and gives a natural bounce.
How Often Should I Clean My Curling Barrel?
Clean your curling barrel every few weeks if you use it regularly. This helps remove product build-up and keeps it working well.
Can I Sleep with My Curls from a Barrel Curling Iron?
Yes, but use a silk or satin pillowcase to reduce frizz and damage. Sleeping on cotton can spoil curls faster.
Wrapping Up
Using a curling barrel correctly can quickly give you beautiful, long-lasting curls. Start practicing the exact steps, and you’ll see better results each time. Keep your hair healthy by protecting it with heat guard sprays and proper barrel use.