How to Style Hair with Straightening Iron: 8 Proven Techniques That Work
How you style hair with a straightening iron depends on your hair. It also depends on the look you want. Different hair types need different approaches.
Start with clean, dry hair and choose a flat iron that suits your hair length. Set the temperature low for fine hair and higher for thick hair to avoid damage.
Divide hair into 1- to 2-inch sections and clip the rest out of the way. Place the iron about 1 to 3 inches from your scalp and slowly pull it down. This method smooths hair without burns or uneven spots.
You can make curls or waves with the iron. Twist the iron 90 to 180 degrees while pulling it. This changes the style from straight to curly.
Practice these moves starting with the bottom layer for better control. Always use a heat protectant spray to keep hair healthy.
Key Takeaways
- Pick a straightener plate size based on your hair length and thickness.
- Use lower heat (280-320°F) for fine or color-treated hair to reduce damage.
- Start by rough drying hair until 80% dry before straightening for smoothness.
- Work with 1- to 2-inch thick sections for even heat distribution.
- Flip your iron 90 to 180 degrees to add curls or flicks.
- Apply a heat protectant spray before styling to protect hair from heat.
How to Style Hair with a Straightening Iron Step-by-Step

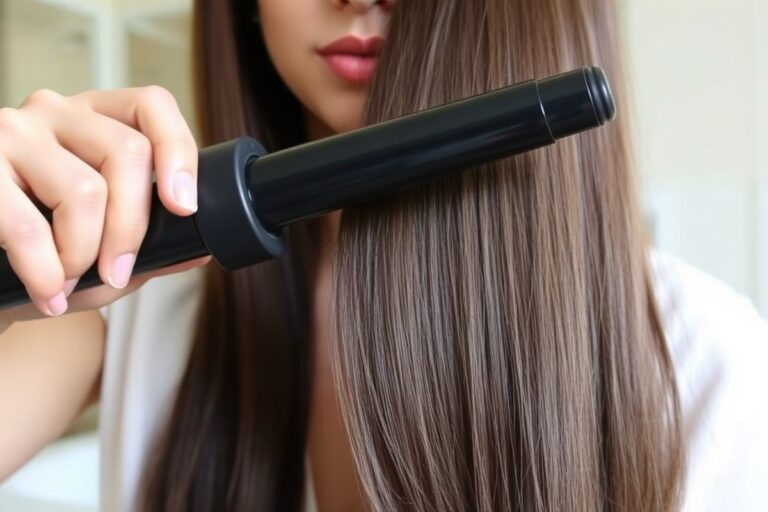
Start by sectioning your hair properly, then clamp the flat iron on each section. Glide the iron slowly from roots to ends for straight styles. For curls or waves, twist or bend the iron as you pull it down.
Sectioning Hair for Even Styling
Divide your hair into manageable sections using clips or hair ties. Smaller sections, about 1 to 2 inches wide, help you straighten or curl evenly. This prevents missing spots and reduces heat damage by not overworking the same strands.
Start by parting your hair down the middle or the side you prefer. Then clip the top half out of the way. Work through the bottom layers first, releasing one section at a time as you style.
Straightening Technique Explained
Use 1- to 2-inch wide sections for the best straightening results. Place the iron near your roots, clamping gently but firmly. Hold it vertical and slowly glide downward in one smooth motion to avoid creases.
Don’t rush. Moving too fast can leave hair uneven or wavy. Slow glides take about 5 to 10 seconds per section depending on hair thickness.
Avoid going over the same spot many times. Repeat only if needed. This helps protect your hair from damage.
Steps to achieve sleek straight hair:
- Brush through dry, detangled hair.
- Divide hair into 1- to 2-inch sections.
- Clamp iron near roots and hold steady.
- Slowly glide iron down to hair ends.
- Release section and move to next one.
- Repeat if any area isn’t smooth.
Creating Curls and Waves with a Flat Iron
To curl, clamp the iron on a 2-inch hair section near the roots. Turn the iron 90 degrees clockwise or counterclockwise once firmly clamped. Slowly pull the iron down the hair while keeping it twisted.
For waves, hold the iron horizontally. Slide the iron down gently. Twist your wrist back and forth.
This makes soft C-shaped bends in your hair. Alternate the bend direction for a natural look.
Curls made this way usually last longer. They often look smoother too.
This works better than just using a curling iron. Using a wide iron works better for big curls, especially on thick or long hair.
Preparing Hair and Tools for Best Results
Wash your hair with a gentle shampoo and conditioner. Let it fully dry before using a flat iron. Wet or damp hair can burn or suffer lasting damage when heated.
Brush your hair to remove all knots and tangles. This makes straightening easier and prevents hair from pulling or breaking. Use a paddle brush or wide-tooth comb, depending on your hair type.
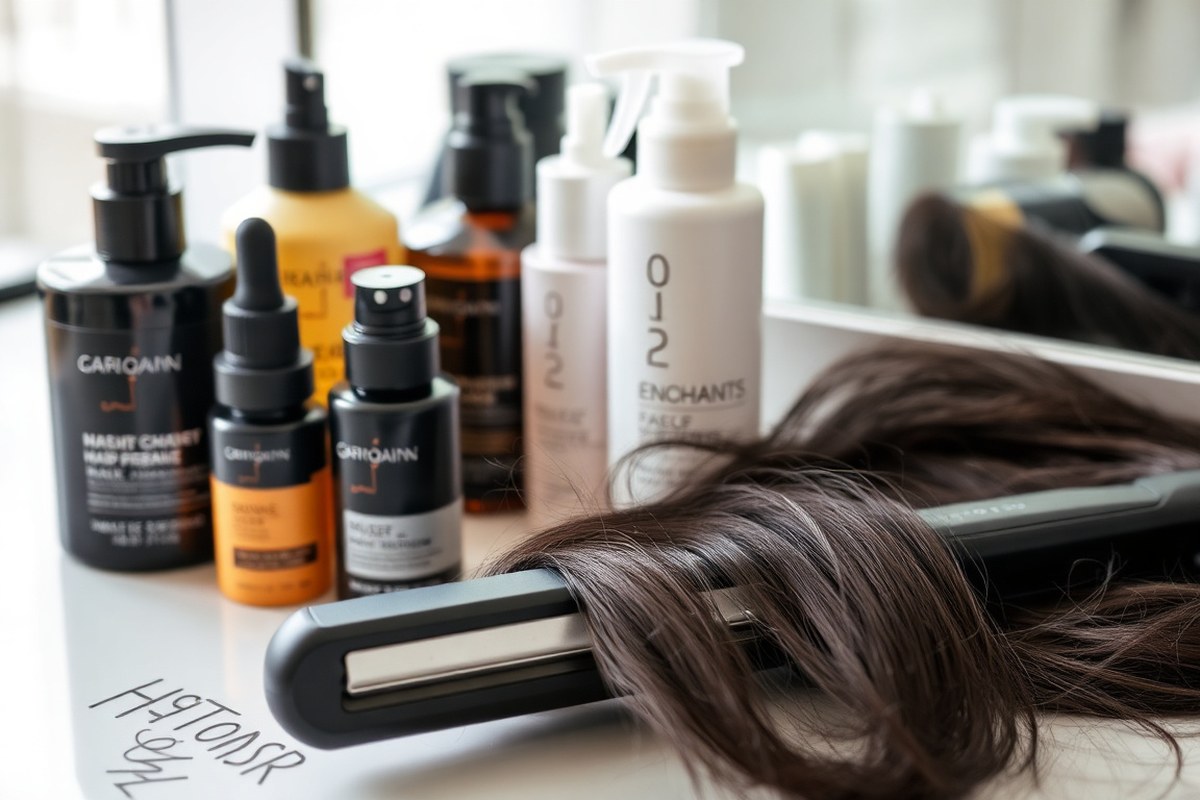
Spray a heat protectant evenly on dry hair to protect it from heat. Products like Oribe Gold Lust Dry Heat Protection Spray work great.
The fine mist won’t weigh your hair down at all. Wait a minute or two to let the product absorb fully.
- Flat iron with adjustable temperature settings, ideally with ceramic plates
- Wide-tooth comb or paddle brush for detangling
- Heat protectant spray to shield hair
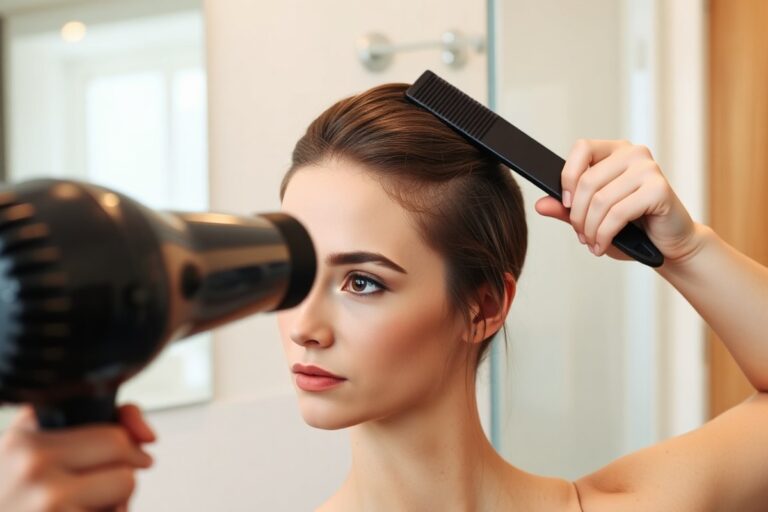
- Blow dryer with concentrator nozzle for quick drying
- Small clips to section hair for easier styling
- Clean, dry towel for gently drying hair
Turn on your flat iron and let it reach the right temperature for your hair type. Thin hair needs a low setting around 250°F to 300°F. Thick or coarse hair can handle 350°F to 400°F. Using the right heat level lowers damage risk.
Unplug your flat iron before cleaning. Wipe the plates with a damp cloth after cooling.
Avoid scratches or buildup that reduce performance. Old or damaged irons cost more to hair in damage than a newer, well-maintained model.
Don’t use a flat iron on wet hair. Even damp hair can burn and get damaged.
Choosing the Right Flat Iron and Temperature for Your Hair
Choose a flat iron by matching plate size and material to your hair type. Set the temperature based on your hair’s texture and condition to prevent damage. Stick to the right plate width and heat level for the best style and safest results.
Flat Iron Plate Materials Compared
Ceramic plates spread heat evenly and gently, making them good for fine or damaged hair. Titanium heats up very fast and stays hot.
So it suits coarse or thick hair that needs strong, lasting heat. Tourmaline plates release negative ions, reducing frizz and adding shine for smoother styling.
Each material handles heat differently, affecting how it treats your hair. Ceramic rests at a steady temperature, lowering the chance of hot spots that can burn hair. Titanium gets hotter and works fast but can fry strands if you don’t watch the temperature.
Tourmaline spreads heat evenly and leaves hair smooth. It suits all hair types. It works best on frizz-prone hair.
Ideal Temperature Settings by Hair Type
Set your flat iron to a safe heat level. This stops hair from frying. It also keeps strands strong.
Use 280°F to 320°F for fine or color-treated hair to protect it. Medium hair textures do well around 330°F to 350°F, balancing style and care.
Coarse or thick hair needs more heat, 350°F to 400°F, to smooth fully. Avoid going above 400°F or you risk burning your hair, which causes dryness and breakage. Use heat protectants like argan oil before styling.
They shield hair from damage. You can use lower heat safely then.
| Hair Type | Temperature Range (°F) | Notes |
|---|---|---|
| Fine or Color-Treated | 280 – 320 | Lowest heat, gentle to protect fragile hair |
| Medium | 330 – 350 | Moderate heat, good balance for styling |
| Coarse or Thick | 350 – 400 | Higher heat needed for straightening |
Check your hair condition each time; avoid too much heat on weak spots. Hair can fry quickly if heat is too high or plates run unevenly hot.
Plate Size Guide for Different Hair Lengths
The size of your flat iron plates affects how quickly and precisely you style hair. For long or thick hair, wider plates, up to 1.5 inches, cover more surface and cut styling time. However, don’t use plates wider than 1.5 inches or you might miss roots and get uneven results.
Short or fine hair needs smaller plates for control and accuracy. Mini plates around 0.5 inches work well on bangs, pixies, and bobs to add waves or curls. The standard 1-inch plate size is the most versatile for medium-length hair and general straightening.
| Plate Size | Hair Length | Ideal Hair Type |
|---|---|---|
| 0.5 inch | Short (bangs, pixies, bobs) | Fine, short hair needing detail work |
| 1 inch | Medium length | Most hair types, balanced control and speed |
| 1 to 1.5 inch | Long or thick | Thick, coarse hair to speed styling |
Match your plate size to your style goals. Wider plates save time but offer less precision near roots and hairline. Smaller plates let you get closer to the scalp and shape layers or curls better.
Techniques to Create Volume and Lift with a Straightener
To add lift at the roots, start by sectioning your hair carefully. Take a small section near your scalp and clamp the straightener close to the roots.
Twist the flat iron outward quickly, then pull it straight down through the hair. This motion flips the roots up, creating instant volume without flattening your hair.
Using a flat iron with curved plates helps a lot for volume styling. These plates let you bend your hair upward smoothly instead of just straightening flat. Curved plates also reduce sharp creases and help create soft, natural-looking lift.
Choose a 2-in-1 iron with interlocking curved plates when you can. It lets you switch between straightening and curling easily.
Sectioning your hair makes adding volume easier and quicker. Divide your hair into top, middle, and bottom layers. Work with one thin section at a time right at the roots.
That lets you control the lift, instead of pushing down on thick hair and flattening it. For fine hair or flat roots, use cool air to finish styling.
Blast a blow dryer on your hair for volume. This helps set the style.
Avoid frizz by making sure your hair is dry before using the iron. Smooth out your hair fully. This helps add volume without causing frizz.
Use a heat protectant to reduce damage and lock moisture in. Glide the iron steadily without stopping too long in one spot. Long heat exposure can rough up your cuticles and cause frizz, which kills volume.
For extra root volume, teasing the hair lightly before straightening can help. Gently backcomb your roots with a fine comb first. Then quickly run the flat iron over those sections.
This adds structure without making your hair bulky. Finish with a light hold hairspray at the roots to keep the lift longer without stiffness.
Styling Bangs and Short Hair with a Flat Iron
Using a slim flat iron works best for bangs and short hair. The narrow plates, about 1 inch wide, help you grab small sections precisely.
This size helps shape shorter strands without touching the scalp. It also avoids pulling hair too hard while styling.
Keep your iron at a medium temperature, around 300°F to 350°F. That range smooths hair without causing damage. For fine or delicate hair, stay closer to 300°F. Thick or coarse hair can handle heat up to 350°F. Do not exceed this to prevent burn marks or dryness.
To create a sleek fringe, clamp a small section at the root with your flat iron. Slowly glide down to the tips while keeping gentle pressure. This move tames any waves or curls and gives a shiny finish.
Avoid rushing or holding the iron too long. It can cause heat damage or leave kinks.
Shaping a curved fringe takes a slight twist of the wrist. Clamp your hair at the root gently. Then turn the iron inward or outward smoothly.
This bends the ends under or outward, creating a soft curve. Practice the curve on a small piece first to get comfortable.
Use a comb with wide and fine teeth to get tension and smoothness right. Wide teeth help detangle and separate hair.
The fine teeth hold it tight for straightening. Comb each section before clamping the iron to avoid uneven heat and pulling.
Always keep the iron clamped tightly while gliding down to prevent bends or uneven shapes.
Apply a hair straightening lotion or gel before styling for extra hold. This product sets the shape and helps hair stay sleek all day. Don’t use too much, or it will leave hair stiff or sticky.
Advanced Styling: Creating Curls, Waves, and Flicks
You can make curls with a flat iron by twisting your hair. Pull the hair down the strands while twisting the iron. This creates waves and curls as you move the iron.
Different techniques let you make loose waves, tight curls, or classic Hollywood waves. The key is how you rotate the iron and control the speed.
Loose and Soft Waves Technique
Loose waves look natural and work great for day-to-day styles. Twist the iron slightly as you glide it along your hair to bend the strands gently. This technique avoids a tight curl and creates soft, flowing waves.
Follow these steps for loose waves:
- Clamp a 1-inch section of hair near the roots with the flat iron.
- Twist the iron half a turn away from your face.
- Slowly glide the iron down the section while continuing to twist.
- Finish twisting the iron to a full turn by the ends of your hair.
- Release the clamp and gently pull the iron away.
- Repeat on all hair sections working around your head.
Takes about 15 to 20 minutes for most hair lengths. Use a medium heat setting (around 350°F) to avoid damage. Loose waves fall softly and have a relaxed look.
Forming Tight Defined Curls
Tight curls need more twist and tension as you move the iron. Clamp small hair sections and turn the iron fully 360 degrees for sharper curls. This method gives bouncy, defined curls that hold shape longer.
Try these steps for tight curls:
- Separate small ½-inch hair sections.
- Clamp near the roots with the flat iron closed.
- Rotate the iron completely around the hair strand in one smooth motion.
- Slowly pull the iron down while rotating to the ends.
- Release the iron carefully to keep the curl intact.
- Repeat for all hair sections evenly.
Use higher heat around 375°F for better hold. Pass over hair once to reduce damage. Tight curls may last several hours if you use a light hairspray.
Creating Classic Hollywood Waves
Hollywood waves flow with large smooth curves and a polished shine. You create them by shaping large sections and alternating the iron’s rotation. Smooth out the waves after curling for the signature look.
Follow these steps to craft Hollywood waves:
- Divide hair into large 2-inch sections.
- Clamp each section near the scalp with the iron.
- Twist the iron half turn away from your face.
- Move the flat iron down the hair while completing a full turn.
- Use your fingers or a wide-tooth comb to gently shape waves.
- Apply a light gloss serum for shine.
Keep heat around 350°F to avoid damage. Each section should create an S-shaped wave. This look usually takes 20 minutes and works best with medium to long hair.
Common Mistakes and How to Fix Them
One common mistake is using too much heat, which can cause dry, brittle hair. Signs of heat damage include split ends, rough texture, and hair that breaks easily.
Use the lowest temperature that suits your hair. Fine hair needs about 300°F. Thick, coarse hair can handle up to 450°F.
Working on damp hair with a flat iron can fry the strands or create frizz. Always dry your hair completely before using a straightener. Blow-dry in sections and smooth hair with a brush to prevent leftover coils or waves.
Skipping heat protection leaves your hair vulnerable to damage. Apply a heat protectant spray or serum every time you straighten. It forms a shield that reduces moisture loss and keeps hair shiny.
- Don’t clamp the iron too tightly; it can cause dents or kinks.
- Pass the straightener slowly, but not too slow, 1 to 2 seconds per section.
- Use smaller sections for better control and straighter results.
- Avoid going over the same section more than twice to limit heat stress.
- Keep your straightener clean from product buildup for even heat.
- Don’t straighten the same section every day; give hair a break.
- Trim split ends regularly to prevent damage from spreading.
Your hair looks flat after straightening? Try root lift spray first. It adds volume before you style.
Flip your head upside down to add volume. Use the straightener on mid-lengths and ends only.
This avoids flattening roots. Touch up with a round brush and light hairspray for lift.
Burning or frizzing usually happens when the iron is too hot or hair is damp. It leaves a crispy feel and white dust on strands. Lower the temperature or dry hair better next time.
Damage already happened? Deep conditioning helps soften hair. It cannot fix breakage, though.
Maintaining Hair Health and Your Straightener over Time
Cleaning your flat iron every one to two weeks keeps it working well. Use a soft cloth dampened with rubbing alcohol to wipe the plates.
Avoid harsh scrubbing or soaking the iron, which might damage the heating parts. Removing leftover product and oils helps heat transfer evenly, giving smoother results and lasting plate life.
Hair needs extra care after heat styling. Use a deep conditioning treatment once a week to restore moisture and prevent breakage. Choose masks with keratin or natural oils for your hair.
Apply the mask on damp hair. Leave it on for 10 to 15 minutes. Skip heavy products right before straightening to avoid buildup on plates.
How often you straighten depends on your hair’s strength and condition. For most, two to three times a week is safe. More frequent use increases breakage risk, so give your hair breaks on off days.
Keep each section tight with clips. Make one pass per section to reduce heat damage.
- Clean flat iron plates with rubbing alcohol every 1-2 weeks
- Use deep conditioning masks weekly after heat styling
- Limit straightening to 2-3 times per week for most hair types
- Store your straightener in a heat-resistant pouch or on a heat mat
- Unplug the flat iron immediately after use and let it cool
- Avoid winding the cord tightly to prevent wire damage
Never leave your flat iron plugged in and unattended to avoid fire hazards.
Keep your straightener in a dry spot free from water to protect the electronics. Let it cool fully before storing to prevent melting or warping.
Avoid tight wraps around the cord; instead, coil it loosely. These small habits extend the iron’s life and keep your styling sessions safe.
Step-by-Step Action Plan for Styling Hair with a Straightening Iron
Follow these steps to get the style you want today. Each step includes a clear sign you’ll know you did it right.
- Before you start: Wash and dry your hair completely. Your hair should feel smooth and free of moisture.
- Right before styling: Apply a heat protectant evenly. Your hair will feel light, not sticky or wet.
- Start with low heat: Set your iron to the lowest temperature. Choose a setting that suits your hair type. Use only the heat needed to style effectively. Your hair should straighten smoothly without tugging.
- First pass: Run the iron slowly through 1-inch sections of hair. Each section should look sleek with no bubbles or kinks.
- Add volume or shape: Use the iron’s edge near your roots. Twist the flat iron gently for more lift. This gives your hair extra shape and volume. You’ll feel a lift or gentle curve forming.
- Style bangs or short pieces: Glide the iron carefully, following the curve or direction you want. Bangs or short hair should fall naturally without stiffness.
- Finish with a light touch: Apply a small amount of serum. Use hairspray to keep your style in place. Keep it light to avoid heaviness. Your hair will feel soft, not greasy or crunchy.
- After styling: Clean your iron once it cools. A clean plate glides smoothly next time you use it.
Frequently Asked Questions
Can I Use a Straightening Iron on Wet Hair?
It’s best to avoid straightening wet hair. Wet strands can fry and break under high heat, causing damage. Always dry your hair completely before using a flat iron for safer styling and better results.
How Often Should I Clean My Straightening Iron?
Clean your flat iron after every few uses to remove product buildup. Buildup can lower heat efficiency and cause uneven styling. Use a damp cloth or cotton pad with rubbing alcohol when the iron is cool.
Is It Safe to Use a Straightener on Colored Hair?
You can use a flat iron on color-treated hair but with caution. Use lower heat settings to prevent fading and dryness. Always apply a heat protectant to maintain your hair color and health.
What Temperature Is Too High for Fine Hair?
For fine hair, keep the heat below 300°F. Higher temperatures can cause breakage and dryness quickly. Start with the lowest heat and increase only if you don’t get good results.
Can I Use Hair Straightening Products with My Flat Iron?
Yes, using heat-activated serums or sprays helps protect your hair from damage. They also smooth frizz and add shine. Apply these products before straightening on damp or dry hair.
How Do I Protect My Scalp While Using a Straightening Iron?
Keep the iron several inches away from your scalp to avoid burns. Use smaller hair sections to control the tool better. Always handle the iron carefully, and never press too close to skin.
The Bottom Line
Styling your hair with a straightening iron gets easier the more you practice. Pick one style to try today, like adding volume or soft waves. Use the right heat and protect your hair to keep it shiny and healthy.