How to Straighten Hair with Flat Iron: Complete Guide for Safe, Sleek Results
How to straighten hair with flat iron starts with picking the right heat. Use a temperature that suits your hair type to avoid damage. Natural hair should stay below 302°F to keep strands healthy and moist.
Prepare your hair by washing and drying it thoroughly before styling. Apply a heat protectant spray to shield your hair from heat damage. Make sure your hair is completely dry to prevent frying your strands.
Sectioning your hair into parts helps you straighten faster and more evenly. Work with small sections, about 1-inch wide, for the best results. This method avoids going over the same strands too many times.
Choose a flat iron with plates that fit your hair length and thickness. Wider plates work best for longer hair, while narrower ones suit shorter cuts. Keep the iron a few inches above your scalp to prevent burns and scalp irritation.
Key Takeaways
- Set your flat iron temperature to 300, 365°F based on your hair’s thickness.
- Always apply a heat protectant spray before using a flat iron.
- Section hair into small parts for even and quick straightening.
- Use wider plates for long hair and narrow plates for short hair.
- Do not touch the flat iron directly to your scalp to avoid burns.
- Straighten hair every 2, 4 days if your hair is healthy.
How to Straighten Hair with a Flat Iron Step by Step

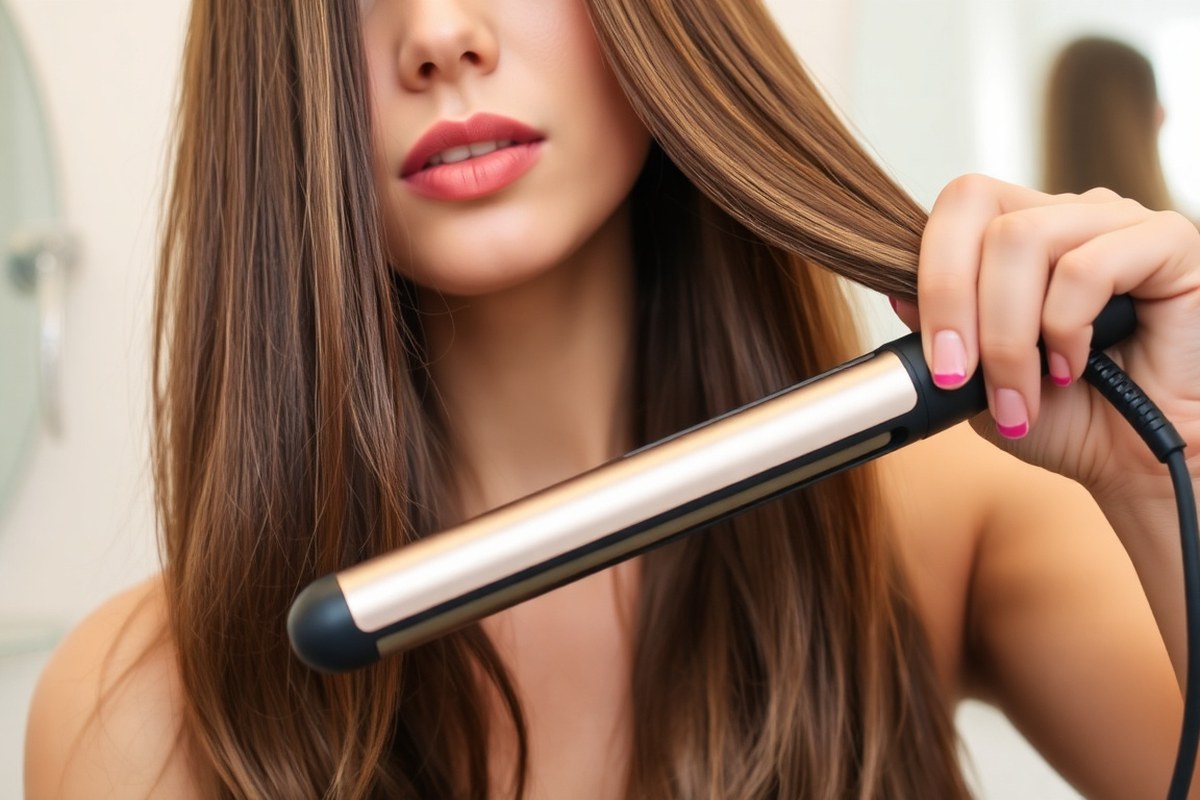
Straightening your hair with a flat iron takes patience, control, and the right technique. Start with small sections and move the iron smoothly to avoid heat damage. How you hold and pull the iron controls your hair’s smooth look.
Pull down slowly for best results. Hold the iron firmly but not tight.
Follow these steps for a safe, effective flat iron style. Use a small section at a time, clamp near the roots, and glide down slowly. Doing this right limits passes over the same strand and keeps hair healthier.
- Heat the flat iron: Plug it in. Wait 3 to 5 minutes to warm up. Make sure it’s hot before using. Choose a temperature based on your hair type. Thinner hair needs lower heat while thick hair can handle higher settings.
- Divide your hair: Separate hair into small, manageable sections about 1 to 2 inches thick. Use clips to hold sections apart for easy work.
- Clamp near the roots: Pick a small hair section. Put the flat iron close to the scalp. Avoid touching your skin. Hold the iron horizontally, parallel to the floor.
- Pull the iron downward: Slowly glide it down the hair shaft in one smooth pass. Avoid quick, choppy movements to get even straightening.
- Straighten the top layer upward: For top hair, tilt the iron upward. Pull toward the ceiling gently. This adds a neat finish. This helps smooth flyaways and curls near the scalp.
- Limit passes: Usually, one or two passes per section is enough. Repeated passes can cause dryness or damage.
- Move systematically: Finish one section fully before moving to the next. Work from back to front or side to side for a neat process.
- Check your results: Run your fingers through hair to feel for smoothness. Try one gentle pass over spots that still curl. Avoid going over the same spot too many times. Use light pressure.
Holding the flat iron horizontally lets the plates clamp hair evenly. Pulling too fast may miss waves, while too slow risks burning strands.
Use just enough pressure to close the plates comfortably without squeezing hair too tight. You’ll notice smoother, shinier hair when you hit the right rhythm.
Choosing the Right Temperature for Your Hair Type
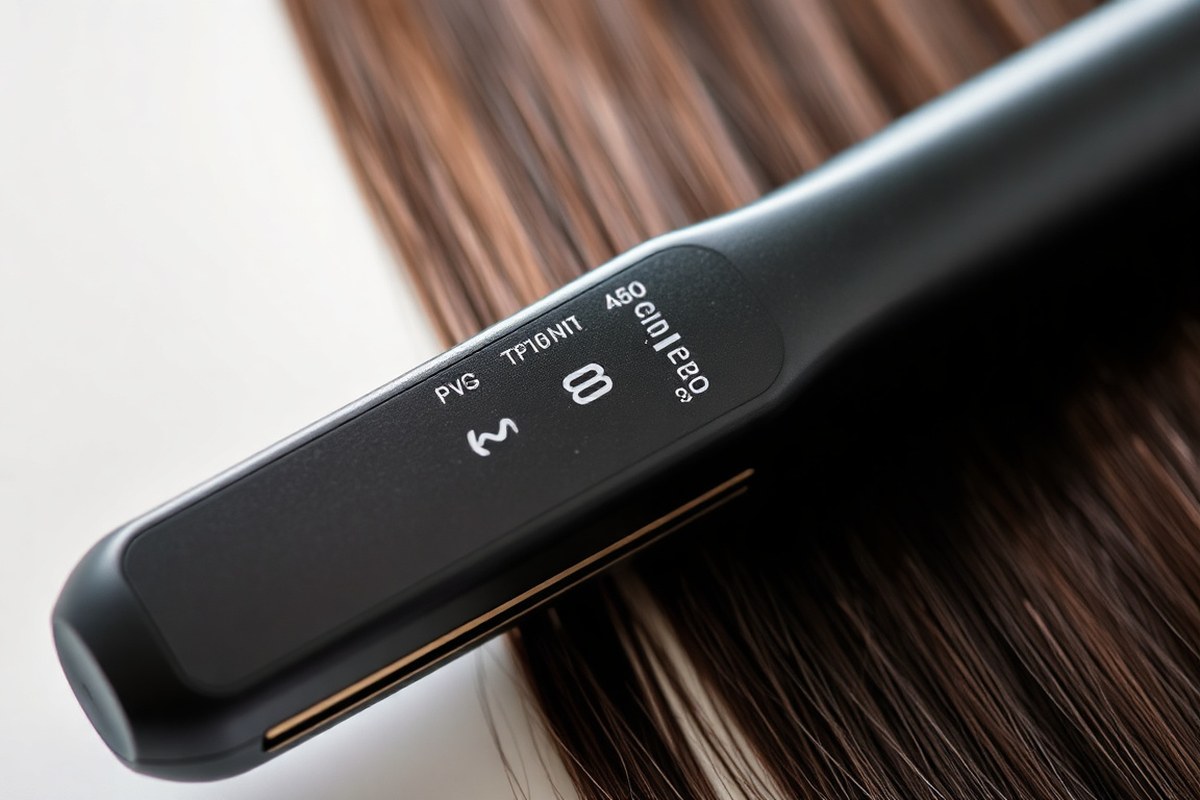
Picking the right flat iron temperature depends on your hair type, thickness, and condition. Fine or color-treated hair needs lower heat to avoid damage.
Thicker, coarser hair can handle, and usually needs, higher temperatures to straighten well. Start at a low setting and raise the heat gradually while watching how your hair reacts.
Temperature Ranges for Fine and Thin Hair
Fine or thin hair straightens easily. So keep the flat iron set between 300°F and 320°F. Color-treated hair should also stay in this range to prevent fading and dryness. Using too much heat here can cause breakage and damage because fine strands heat up quickly.
Always apply a heat protectant before styling. Begin at the lowest temperature setting and do a test pass on a small section.
Your hair straightens well without puffiness or frizz. That heat is safe to use.
Settings for Medium and Wavy Hair Types
Medium or wavy hair needs a bit more heat, about 330°F to 350°F, to straighten properly. Texture and thickness vary.
So start near 330°F, then raise the temp if more smoothing is needed. Multiple light passes with moderate heat reduce damage compared to a few intense passes.
When you see your waves relaxing evenly without signs of dryness, you’re using the right setting. A flat iron with adjustable heat helps fine-tune this. Ceramic plates work well here because they distribute heat evenly and add a smooth finish.
High Heat for Thick, Curly, or Coarse Hair
Thick, coarse, or curly hair usually requires a setting between 360°F and 380°F to straighten fully. Some thick hair types might need up to 400°F. Avoid going higher. Higher heat increases damage risk.
These hair types absorb and handle heat more slowly. So they tolerate higher temps better.
Use a flat iron with titanium plates to reach these temperatures. Titanium heats fast. It also keeps the temperature steady.
Pull your hair tight as you straighten. Use quick passes instead of holding the iron still.
This helps prevent damage. Always start lower and raise the heat if you need better straightening results.
| Hair Type | Recommended Temperature | Plate Material |
|---|---|---|
| Fine or Color-Treated | 300°F, 320°F | Ceramic |
| Medium or Wavy | 330°F, 350°F | Ceramic |
| Thick, Curly, Coarse | 360°F, 380°F (up to 400°F) | Titanium |
Adjust the flat iron temperature in small steps until your hair straightens efficiently. Avoid using the highest heat setting right away.
Watch for any signs of heat damage like dryness or frizz. Reduce the heat if needed.
Always start with a lower heat setting. Use a heat protectant spray. This helps protect your hair from damage.
Preparing Hair to Protect Against Heat Damage
Start by washing and drying your hair completely before straightening. Always use a heat protectant to avoid damage during flat ironing. Applying oils or serums before ironing can harm your hair if not done right.
Washing and Conditioning Tips Before Styling
Clean hair holds heat styling better and looks smoother after straightening. Use a moisturizing shampoo and conditioner to keep your hair hydrated. Heavy conditioners leave the hair slippery, so rinse well to avoid product buildup.
Washing right before styling helps remove dirt, oils, and old product. Avoid washing your hair for hours after straightening if your scalp feels dry. This helps stop more dryness.
Give your scalp time to recover before washing. Your hair should feel clean but not stripped, which can cause frizz and breakage.
How to Dry Hair Correctly Before Flat Ironing
Flat iron only fully dry hair to prevent cuticle damage or blistering. Blow dry your hair on medium heat for 10 to 20 minutes. The time depends on your hair’s length and thickness.
Adjust the time to dry your hair without damage. Blow drying first helps smooth your hair and reduces the straightening time.
Air drying is gentler but takes much longer and risks flat ironing damp hair. Never flat iron hair that feels cool or slightly damp to the touch. Try this test: run your fingers through your hair.
If it feels dry, you can use the flat iron. Dryness means your hair is ready to be straightened.
Applying Heat Protectants and Sealants
Apply a heat protectant spray or serum evenly on dry hair before using heat tools. These products guard strands from heat up to 450°F, reducing damage and dryness. Let the heat protectant absorb fully for about a minute before starting to iron your hair.
Adding oils or serums too early traps heat and may burn your hair. After straightening, use a small amount of lightweight oil or serum. This seals in moisture and adds shine.
Apply only a little to avoid weighing your hair down. Using a volumizing spray with heat protectant at the roots can add lift without harm.
- Brush hair thoroughly to remove tangles before applying heat protectant
- Use a fine mist spray for even coverage
- Choose a heat protectant suitable for your hair type
- Allow full absorption time before heat styling
- Avoid applying heavy oils or serums before flat ironing
- Use minimal product to avoid weighing hair down
- Keep heat protectant spray bottle at least 6 inches from hair during application
How to Section Hair for Fast and Even Straightening
Sectioning your hair into 4 to 6 parts helps you straighten faster and more evenly. Each section should be about one inch wide. This lets the flat iron heat the hair evenly.
Smaller pieces help avoid missing strands. Use clips to hold the sections tightly so you have control while styling.
Tools Needed for Sectioning Hair
To section hair efficiently, grab a few alligator clips or duckbill clips and a fine-toothed comb. The clips keep sections secure and prevent hair from mixing. The comb helps create straight, neat parts that make straightening smoother.
Choose clips that hold hair firmly but won’t pull or damage strands. Plastic clips with teeth work well since they grip hair without slipping. A spray bottle with water nearby can help tame flyaways for a cleaner section.
Recommended Section Sizes by Hair Thickness
Thicker hair needs smaller sections, about 0.5 to 1 inch wide, so heat distributes evenly. Fine hair can handle slightly larger sections around 1 to 1.5 inches wide without losing smoothness. Getting the size right means fewer passes with the iron and less heat damage.
Start sectioning your long hair from bottom to top. Release one section at a time. This gives you even straightening on all sections.
Short hair needs fewer sections, but keep them neat and separate for best results. Curlier hair may call for smaller pieces to manage all coils evenly.
Practice Holding and Clipping Hair Sections
Hold each section taut but not stretched to avoid snapping or uneven straightening. Use clips to secure sections firmly close to the scalp so hair doesn’t mix between passes. This helps the flat iron reach each strand without redoing areas.
Part your hair into two halves first. Clip one half away. Divide the loose half into smaller sections next.
Move slowly and smoothly with the flat iron. Release each section from the clip just before ironing.
Keep control of your hair the whole time. Tighter control means faster, even straightening with less damage.
Follow this step-by-step method for neat, fast, and even flat ironing:
- Comb through clean, dry hair to remove all tangles.
- Part your hair into two halves from ear to ear and clip one half up.
- Divide the loose half into 2 or 3 horizontal sections clipped separately.
- Start straightening from the bottom section, releasing one one-inch-wide piece at a time.
- Use one-inch sections for thick hair and 1.5-inch sections for fine hair.
- Hold sections taut with one hand; glide the flat iron slowly down.
- After finishing all lower sections, release and repeat on the upper clipped half.
- Check for any missed strands and touch up those areas last.
Choosing the Best Flat Iron and Plate Size for Your Hair
Picking the right flat iron depends on your hair length and type. Narrow plates (around 1 inch) work best for short or fine hair. Wider plates (1.5 to 2 inches) cover more area, which helps with thick or long hair.
The plate material impacts how smooth your hair looks and how much damage happens. Ceramic plates are popular because they heat evenly and glide smoothly without pulling. Tourmaline and titanium plates get hotter than regular plates.
They work well on thick or coarse hair. These plates heat up fast and hold temperature longer. But they may cause more heat damage if not used carefully.
| Plate type | Plate size | Marquee features | Temperature range (°F) | Heat settings | Auto-shutoff | Swivel cord | Warranty |
|---|---|---|---|---|---|---|---|
| Ceramic | 1″ | Argan oil and keratin infused plates | 250, 410 | 10 | Yes | Yes | 3 years |
| Ceramic | 1.25″ | CeraShine custom-blend ceramic plates | 250, 410 | 5 | Yes, 1 hour | Yes | 1 year |
| Ceramic | 1.5″ | Floating plates with volcanic lava | 340, 410 | 3 | Yes, after 1 hour | Yes | 1 year |
Professional-grade flat irons usually offer more heat settings and longer warranties. These irons might cost $80 to $150.
But they provide even heat and good safety features. Spending more can reduce the risk of damage, especially if you straighten hair often.
Look for features like an auto-shutoff to prevent accidents. A swivel cord helps you move freely while styling. Also, ceramic plates that glide smoothly cut down on pulling and breakage.
Use the smallest plate size you can handle to avoid uneven heating and missed strands.
Choosing the right size plate lets you work faster and avoid going over strands multiple times. For long hair, wider plates save time but can be harder to control on short hair.
Ceramic plates balance smoothness and heat for most hair types. Titanium suits coarse hair but demands caution.
Common Flat Iron Mistakes and How to Fix Them
Straightening wet hair can cause serious damage. Wet hair has weaker bonds and heats up unevenly.
This can lead to breakage and burnt strands. So always dry hair fully before using a flat iron.
Creases and heat marks usually happen when you clamp the iron down without moving it. This traps bends where the plates sit.
To fix this, slowly glide the iron from root to tip without pausing. So the heat smooths the hair evenly.
Frizz after straightening often means the hair wasn’t properly protected or cooled down. Avoid touching your hair until it cools fully. Use a little anti-frizz serum when your hair is still warm.
It helps lock in both shine and smoothness. This keeps your hair looking sleek longer.
Overusing the flat iron often causes dryness and heat damage, especially for natural hair. Limit straightening sessions to two or three times weekly. Use a heat protectant and keep your iron below 390 degrees Fahrenheit to lower risks.
- Never straighten hair when it’s damp or wet.
- Move the flat iron slowly and steadily to avoid creases.
- Let hair cool completely before touching or styling further.
- Use anti-frizz serum while hair is warm for lasting smoothness.
- Limit flat iron use to prevent dryness and breakage.
- Keep heat under 390 °F to protect natural hair texture.
- Sleep on silk pillowcases to avoid friction and frizz.
Creases can also happen if you clamp the same hair section multiple times. Try to straighten once or twice per section carefully instead. Too many passes add heat stress and cause marks.
Keeping your hair dry after straightening for 24 hours helps hold the style longer. Moisture causes your hair to snap back and frizz, undoing your effort. Cover your hair with a loose scarf or wear a bonnet to protect it overnight.
Finishing Products to Keep Hair Sleek and Frizz-Free
After you straighten your hair, use light serums or sprays that boost shine without adding weight. Look for silicone-free formulas or those labeled “lightweight” to keep hair from feeling greasy or heavy. Apply them sparingly to avoid buildup and dullness.
Finishing products work best when applied to cool, dry hair, right after you finish straightening. Spray or smooth a small amount of product on your hair. Focus on the mid-lengths and ends.
Avoid spraying roots directly. This helps seal the cuticle and keeps frizz away.
You can safely use oils such as argan or jojoba after straightening. But use only a drop or two for shine and frizz control.
Too much oil can weigh hair down or look oily. Start with a tiny amount and add more only if needed.
- Silicone-based serums for instant shine and frizz control
- Lightweight finishing sprays that protect against humidity
- Argan or jojoba oil applied sparingly to ends and mid-lengths
- Anti-frizz cream when hair feels dry or rough
- Heat protectant sprays applied before straightening
To refresh straightened hair the next day, lightly mist with water or a leave-in conditioner spray. Use a flat iron on low heat (around 300°F) only on sections that need straightening again. Avoid too much heat to prevent damage and dryness.
Good finishing products leave your hair smooth and shiny without weighing it down. Avoid applying too much, or your hair can look oily and limp. Product misuse is the most common problem when trying to keep hair sleek after straightening.
How to Maintain Straightened Hair Longer After Styling
Water and humidity can ruin your flat iron results quickly. Avoid washing your hair or exposing it to rain and sweat for at least 24 hours. Using an umbrella or a hat on humid days helps keep your hair dry and smooth.
Choosing the right pillowcase makes a big difference overnight. Silk or satin pillowcases reduce friction that causes frizz and breakage. Cotton pillowcases absorb moisture and roughen hair cuticles, making your style fall flat faster.
Gentle hairstyles protect straightened hair while you sleep. Try loose buns or soft braids to stop hair from tangling. Tight ponytails can leave dents and cause breakage, so keep hairstyles relaxed and comfy.
Brushing straightened hair is okay but be gentle to keep your sleek look. Use a wide-tooth comb or a brush made for straight hair to avoid pulling strands. Start from the ends and work up to prevent damage.
How often you need to flat iron depends on your hair type and activities. Curly or wavy hair often needs touch-ups every 2 to 3 days. For straight or fine hair, wait 3 to 4 days between sessions.
This break helps avoid extra heat damage. It keeps your hair healthier.
Refreshing your flat iron style with a spritz of water can backfire on humid days. Instead, use a lightweight, anti-frizz spray made for heat-styled hair. Spritz it lightly before brushing if you want to tame flyaways without ruining the straight look.
Protect your hair from environmental damage by applying heat protectant sprays even after flat ironing. These sprays shield hair from UV rays, pollution, and moisture. Reapplying them every day costs about $10 to $20 each month.
A bottle usually lasts a month or more. This makes daily use affordable.
Sleeping on a silk pillowcase and tying hair loosely can keep straightened styles intact overnight.
When to Seek Professional Help Instead of DIY Straightening
Your hair shows breakage, excessive dryness, or split ends. Don’t try DIY straightening.
These signs mean your hair is too damaged to handle heat safely at home. A professional can assess the damage and recommend treatments that restore health before applying heat styling.
Certain hair types benefit from expert care first. Thick, coarse, or very curly hair often needs specific tools and techniques for good results.
Professionals can tailor treatments like keratin smoothing or thermal reconditioning to your hair’s unique texture. These treatments cost between $150 and $300 and last several months, reducing daily heat damage risks.
Choose salon straightening if your hair has bleach or relaxers. It’s safer than a flat iron.
Heat applied improperly can cause severe damage on fragile or overly processed hair. A stylist’s skill and products protect your hair while achieving a smooth look.
Check this before straightening at home. If your hair breaks when pulled, don’t do it. If it feels very brittle, skip it too.
Can’t control your frizz or curls with heat protectants and a flat iron? Getting expert advice is a good idea. The stylist can suggest safer methods or recommend low-damage treatments to keep your hair healthy.
To find a qualified stylist, check local salons with strong reviews in hair smoothing services. Ask about their training and how often they perform keratin or thermal straightening.
A good stylist talks about risks, costs, and aftercare. This helps protect your hair and keeps results longer.
Professional treatments typically include a thorough consultation, hair analysis, and high-quality products not available in stores. These steps guard against damage and give better, lasting straightness. At home, you don’t get that safety net.
That risks overprocessing and uneven texture. Many people find DIY flat ironing frustrating for this reason.
Step-by-Step Action Plan for Straightening Hair with a Flat Iron
Follow these steps to get smooth, straight hair safely and quickly. Each phase helps you check your progress.
- Before You Start: Wash and dry your hair completely. Use a heat protectant to shield strands from damage.
- Right Before Styling: Set your flat iron to the temperature that suits your hair type. Coarse hair needs higher heat; fine hair needs lower.
- During Sectioning: Divide your hair into small, even sections. This helps you straighten every strand without missing spots.
- While Straightening: Pass the flat iron slowly over each section once or twice. Check if hair feels smooth and looks sleek.
- After Straightening: Apply a finishing serum or light oil to tame frizz. Avoid touching hair too much to keep it straight longer.
- Next Day: Use a dry shampoo or light refresh spray to keep roots fresh. Avoid washing hair again too soon.
- Weekly Care: Deep condition your hair once a week. It helps repair any heat damage and keep hair healthy.
Frequently Asked Questions
Can I Straighten Wet Hair with a Flat Iron?
You should never straighten wet hair with a flat iron. Wet hair is more fragile, and heat can cause serious damage and breakage. Always dry your hair completely before straightening.
How Often Should I Use a Flat Iron on My Hair?
Using a flat iron 1 to 2 times a week is safer for your hair. More frequent use increases heat damage risk. Always use a heat protectant to reduce that risk.
Is It Better to Straighten Hair in Small Sections or Big Chunks?
Small sections give you better, even results and reduce heat exposure. Big chunks heat unevenly and may need multiple passes, raising damage risk. Take your time for the best look.
Can I Use the Same Flat Iron Temperature for All Hair Types?
No, fine hair needs lower heat around 300°F. Thick or coarse hair needs higher heat up to 400°F. Using the wrong temp can cause damage or ineffective straightening. Adjust heat to your hair type.
Will Using a Flat Iron Damage My Natural Curls Permanently?
No, flat ironing changes hair shape temporarily but won’t ruin natural curls permanently. Frequent heat use can weaken curls though. Give your hair time to recover between styles.
Should I Wash My Hair Right After Straightening It with a Flat Iron?
Avoid washing hair immediately after straightening to keep your style longer. Washing strips natural oils and moisture, causing frizz. Wait at least a day before shampooing.
Key Points to Remember
Straightening hair with a flat iron works best if you take your time. Protect your hair while you style it. This approach helps you get better results.
Use the right heat and care products to keep hair healthy. Try your first section carefully today and see how smooth your hair looks.