How to Cut Hair in Long Layers Yourself: Simple Methods for Perfect DIY Layers
Knowing how to cut hair in long layers yourself saves money and adds shape. You want your layers soft and natural, not choppy or uneven. Starting small helps, cut 1 to 2 inches first to avoid taking off too much.
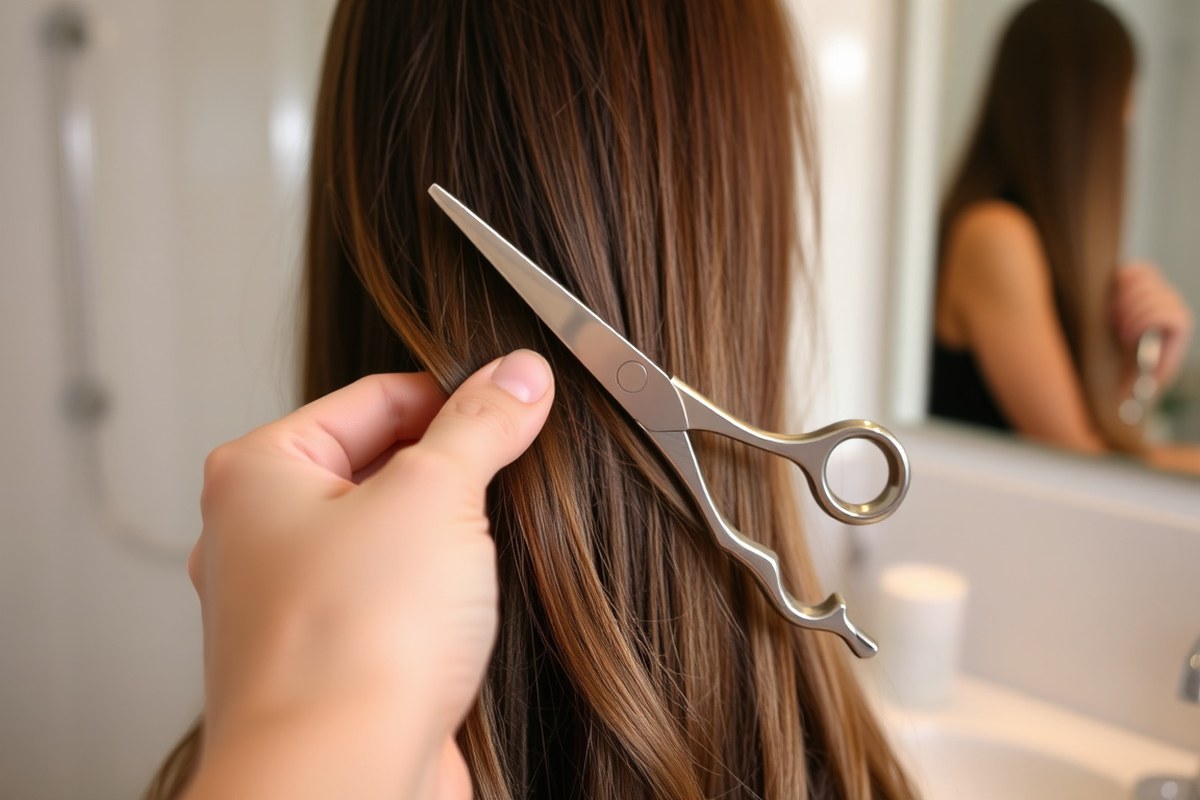
Use sharp scissors and a fine-tooth comb to control sections well. Comb hair at about a 45-degree angle for smooth, even layering. Keep your hair damp to stop it slipping as you cut.
Thicker hair takes longer to cut because it needs more careful sectioning. For fine hair, cut lower angles around 0 to 45 degrees to keep fullness. Preparing well makes a big difference in your results.
Work in small sections to maintain control and spot uneven cuts quickly. Check your progress often by letting hair fall naturally before cutting more. Taking your time reduces mistakes and leaves your layers looking balanced and fresh.
Key Takeaways
- Start cutting at small increments, about 1 to 2 inches only.
- Comb your hair at a 45-degree angle before cutting layers.
- Use sharp, hairdressing scissors to avoid split ends and rough cuts.
- Keep your hair damp for better control and accuracy while cutting.
- Improve fine hair less than 45 degrees for fuller-looking layers.
- Section thick hair into smaller parts for manageable cutting.
How to Cut Long Layers Yourself Step-by-Step
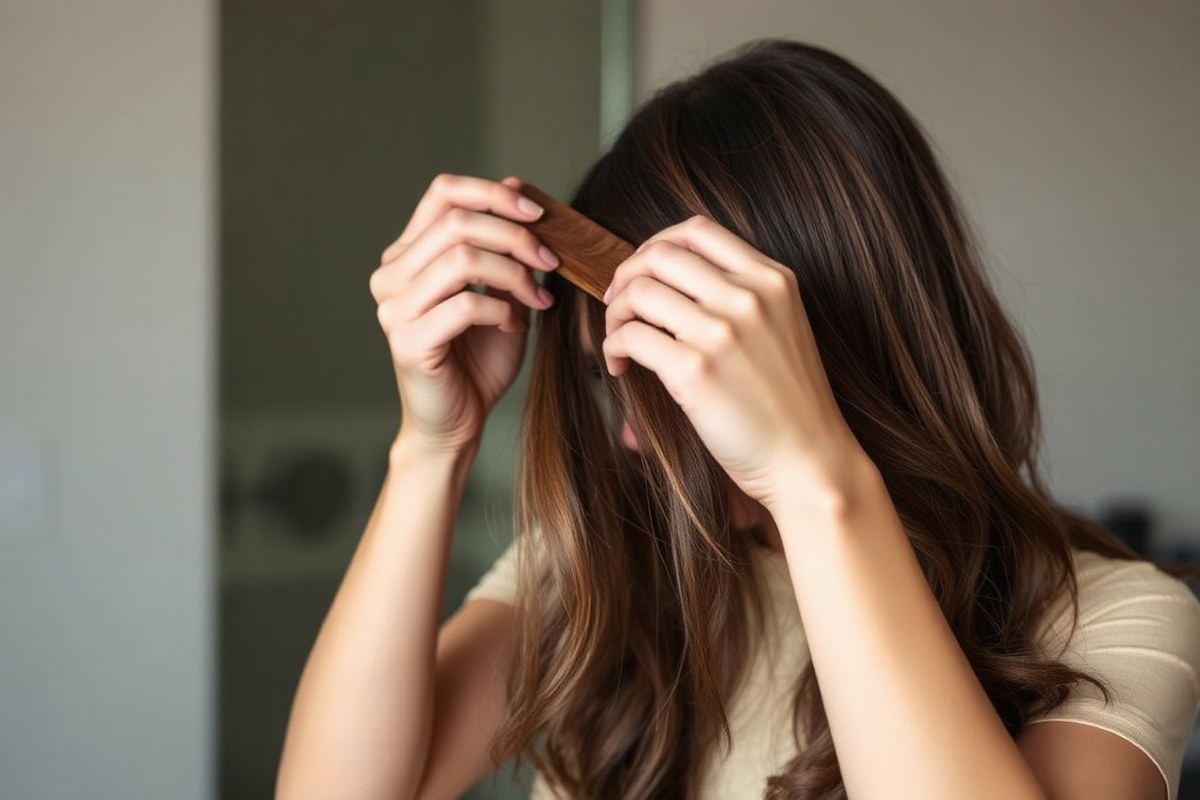
Cutting long layers on yourself takes patience and the right steps. Start with clean, dry hair for the best control and to see the natural fall. Position your workspace near a large mirror with good lighting and have sharp hair scissors ready.
Follow these steps to cut your own long layers safely and neatly. Use the ponytail method for an easy beginner approach or adjust for your hair type. Cut a little at a time.
About 1 to 2 inches each cut. This helps you avoid cutting too much.
- Gather your hair into a high ponytail at the crown for even layers. Secure it with a hair tie.
- Decide your layer length and hold the ponytail straight out from your head. This keeps the hair taut.
- Cut the ponytail end at a slight angle (about 45 degrees) pointing towards your face. This angle creates natural, soft layers.
- Release the ponytail and check your cut for evenness in front of the mirror.
- Section the hair from the back into three parts: left, right, and center. This helps you blend the layers smoothly.
- Pull a small section of hair straight between your fingers. Trim the ends lightly at an angle. Work layer by layer for evenness.
- Trim around your face by holding hair forward. Cut angled pieces for framing layers.
- Comb through and refine the shape by snipping small points. This adds texture and stops blunt ends.
Keep scissors steady and cut slowly. Avoid cutting wet hair unless you have experience.
Wet hair shrinks when it dries. Use sharp scissors designed for hair to prevent split ends.
Common mistakes include cutting all hair the same length or using blunt scissors. These cause choppy layers and uneven texture. Also, don’t over-layer; start with small snips and adjust gradually.
Results look best when layers blend softly into the rest of your hair. You’ll notice more movement and volume without losing your overall hair length. The right angles give a natural shape that grows out nicely.
Essential Tools and Preparation Before Cutting Layers

Use sharp hair cutting shears designed for layering, not household scissors. Blunt blades cause uneven cuts and damage the ends. Investing around $20 to $50 can save hair and improve results.
Tools like the ARC™ PHANTOM II work well for wet cutting. They also perform well on dry hair. These tools give you better control near your face.
Start with damp hair instead of soaking wet or dry. Wet hair stretches a lot when you pull it. It shrinks back when dry.
This can make layers shorter than you expect. Damp hair holds shape better and is easier to cut straight. For curly hair, use a wide-tooth comb to detangle gently.
You can also use your fingers. This helps avoid frizz or breakage.
Section your hair carefully to avoid mistakes and get clean layers. Use sectioning clips or elastic ties to separate hair into parts. Section your hair into small parts before cutting.
This helps you focus on one area at a time. It also keeps hair out of the way. Comb each section smoothly with a fine-tooth comb before cutting.
Skip this step for curly or coily hair. It helps keep natural texture intact.
- Sharp hair cutting shears, not regular scissors
- Sectioning clips or elastic hair ties
- Fine-tooth comb for smooth sections (except very curly hair)
- Wide-tooth comb or fingers for detangling curls
- Two mirrors to see the back if possible
- A towel or cape to catch hair
Wash your hair a day or few hours before cutting. This lets natural oils protect your hair ends. Avoid washing right before cutting.
Avoid products that weigh hair down or cause stiffness. Arrange your workspace with good lighting and a sturdy mirror.
Trying to cut in dim light or cramped spots risks uneven layers. Having two mirrors helps you inspect the back and sides while working.
Cut less than you think at first, especially with damp hair. Starting small helps avoid removing too much length. You can always trim more later.
Choosing the Best Layering Method for Your Hair Type
Choosing the right layering method depends on your hair type, texture, and cutting skills. Straight and wavy hair often suits simpler methods like the ponytail technique. Curly and thick hair needs different approaches that respect its natural shape and density.
The Ponytail Method for Straight and Wavy Hair
This method is easy and works well for straight or wavy hair. You gather damp hair in a ponytail at the front and cut the ends straight across. Start by cutting no more than an inch to avoid taking off too much.
The ponytail method gives a clean, even layer line that suits beginners. Use sharp hair cutting shears and keep the ponytail taut to get a controlled cut. This works best on long hair that is straight or slightly wavy.
Section-by-Section Cutting for Precise Layers
This method is better if you want precise layers or have thick hair. Divide hair into four large sections or more for very thick hair. Cut each section separately at an angle or straight for different layer shapes.
Section-by-section cutting controls layer length and lets you match the style to your face shape. It takes more time and some skill but avoids uneven cuts. This method also works on straight to wavy hair, especially if you want subtle movement.
Twist and Snip Method for Adding Texture
For more texture, consider the twist and snip method. Twist pieces of your hair and trim the ends at an angle. This breaks the blunt line and adds a textured effect to the layers.
Point-cutting with tips of the scissors parallel to the hair adds softness. This technique works well for thick or straight hair.
It adds volume without making hair look heavy. It needs medium skill but gives natural, light layers.
Curl-Specific Cutting Techniques
Curly and textured hair is best cut dry to keep curl patterns intact. Section the hair, gently detangle, and trim small amounts with firm hands. This prevents curls from springing up unevenly later on.
Invisible layers work well for tighter curls like 3C to 4C types. This approach creates natural movement without obvious layering lines. Curls and waves handle DIY cuts well since their shape hides small mistakes.
Adjusting Elevation for Different Hair Densities
Hair density affects how high you lift your hair while cutting layers. Thin hair benefits from low elevation cuts to avoid too much volume. Thick hair can handle higher elevation, which removes weight and adds shape.
Adjusting elevation helps balance the cut to your hair’s body. Use lower angles for fine hair and more vertical sections for dense hair. This prevents layers from looking choppy or flat.
Here’s a quick comparison to help you pick your layering method:
| Hair Type | Best Method | Level | Dry or Damp | Cut Style | Notes |
|---|---|---|---|---|---|
| Straight | Ponytail or Section-by-Section | Beginner to Intermediate | Damp | Straight or angled cuts | Clean, even layers; controlled cutting |
| Wavy | Ponytail or Section-by-Section | Beginner to Intermediate | Damp | Rounded or blunt angles | Improve natural movement |
| Curly (3A to 4C) | Curl-Specific Sectioned Cut | Intermediate | Dry | Invisible layers; point cutting | Maintains curl pattern; prevents uneven length |
| Thick Hair | Section-by-Section + High Elevation | Intermediate | Damp | Textured or blunt | Removes bulk; adds shape |
| Textured Hair | Dry Sectioning with Twist & Snip | Intermediate | Dry | Textured point-cutting | Preserves texture; natural movement |
Starting with the ponytail method suits most beginners with straight or wavy hair. More textured or thick hair requires dry sectioning and careful trimming to keep shape.
Cut more or less hair depending on your curl type. Change the angle based on how full your hair looks.
How to Avoid and Fix Common Layer Cutting Mistakes
Uneven layers, blunt cuts, and over-cutting are common mistakes when cutting long layers yourself. These happen because of improper angle, snipping straight across, or cutting too much too fast. Always cut at an angle.
Start shorter near your cheekbone. Let layers get longer toward the back.
Notice uneven or choppy layers after drying? Try light point cutting. Hold the scissors vertically and snip the ends softly with small, open-and-close motions.
This blends layers gently and removes harsh lines. Avoid fully closing the scissors blades, as that creates blunt edges instead.
Over-cutting can worry you, but don’t rush to fix it by cutting more. The safest move is to wait until your hair grows a bit. Hair slightly shorter than planned often blends in with light point cutting.
See an uneven front layer? Try cutting bangs into hair without them.
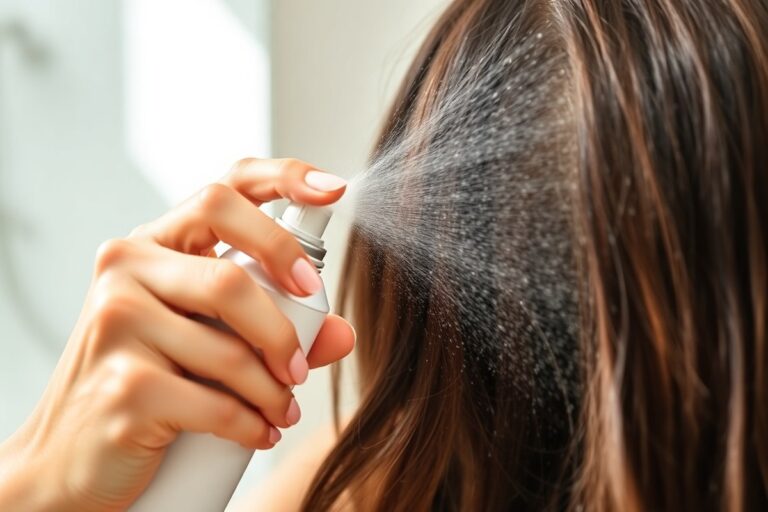
Dampen hair slightly with a spray bottle. Use just a mist, not soaked. Vertical snipping and soft point cutting soften layers nicely.
Twisting small sections and using a light scissors motion helps avoid sharp lines. Layers look stacked? Point cut the ends to smooth the transition.
Spot a short piece sticking out? Blend the shortest section lightly. Don’t try to add length to the short piece; you can’t.
Use quick, vertical cuts to blend down layers. This avoids cutting too much.
How Much Hair to Cut and How to Decide Layer Length
Start by deciding how much length to remove based on your goals. For long layers, cutting 1 to 3 inches is typical. Too much can make your hair look choppy or lose its weight.
Grab a 1-inch section of hair at the front and pull it forward. Notice where you want the shortest layer to land, usually at your chin or collarbone. This spot shapes your face and balances the whole cut.
Thicker or curlier hair may need shorter layers to reduce bulk. Thin hair might look best with longer layers to keep volume. Adjust your length accordingly and cut less at first, you can always trim more.
Face shape helps guide where layers fall. For round faces, layers hitting below the chin elongate the face.
For square faces, collarbone-length layers soften angles. Oval faces suit almost any layer length.
After cutting a small section, check how it falls. Wet hair shrinks when dry.
So cut less if your hair is curly or thick. Use a spray bottle to dampen hair evenly before each cut for better control.
Start by trimming just one inch or less. You can always go shorter after seeing how the layers sit.
Face-Framing Layers and Styling Tips to improve Your Cut
Cutting face-framing layers softens your look by adding subtle movement near your face. Use gentle angles to avoid harsh lines, then style with a round brush to boost volume. Regular trims keep layers fresh and natural.
Selecting Sections for Face-Framing Layers
Focus on the hair around your face for these layers. Separate a small triangle section from the front, starting near your temples down to your chin. This area shapes the most noticeable face frame without shortening overall length.
You can add layers on one or both sides, depending on your style. Keep the rest of your hair clipped back so you only work on the front section. This helps control how subtle or dramatic your layers will be.
Cutting Angles to Flatter Your Face Shape
Cut layers at a slight diagonal angle of 15 to 20 degrees. This helps blend them softly with the rest of your hair.
Vertical snips help soften the edges and avoid a harsh, blunt look. These angles create a natural flow that suits most face shapes.
Want more volume near your cheeks? Angle cuts inward toward your face.
For a slimming effect, cut layers outward, away from your face. Adjust angles slightly based on your preference and how your hair naturally falls.
Blow Dry and Styling Tips for Layered Hair
Use a round brush to lift layers while blow drying, starting at the roots. This adds volume and bounce, making layers pop. Blow dry your hair in sections.
Roll the brush under ends for a soft curl. Roll it outward for a relaxed wave.
Apply a lightweight mousse or volumizing spray before drying to keep movement lasting longer. Avoid heavy products that weigh down layers. Finish with a quick blast of cool air to set the style without stiffness.
Maintaining Layers with Regular Trims
Trim your face-framing layers every 6 to 8 weeks to keep the shape fresh. This prevents split ends from making the layers look uneven or frizzy. Use sharp scissors and small snips at the ends to maintain softness.
When layers lose their shape, lightly point cut into the ends. This technique thins the hair slightly and keeps layers blended. Avoid cutting too much at once to protect your length.
- Comb the front hair section straight down to isolate layers.
- Decide your layer length, usually between chin and collarbone.
- Hold hair between fingers at the chosen length.
- Cut hair at a 15 to 20-degree angle with sharp scissors.
- Use vertical snips at the ends to soften the lines.
- Repeat on the opposite side, matching lengths and angles.
- Blow dry hair with a round brush for volume and shape.
- Trim every 6 to 8 weeks, using small cuts to refresh edges.
When to Stop Cutting and See a Professional Stylist
Stop cutting your own long layers when you spot uneven lengths or jagged edges. These signs mean your technique needs a pro’s touch to blend and even out the layers.
You may see choppy hair or uneven layers after cutting yourself. A stylist can correct this quicker and neater than you can.
Hair condition also matters. Brittle hair, split ends over a quarter inch, or damage need care. A professional will handle these problems more safely than you can.
Stylists use expert tools and treatments to trim damage carefully without causing more breakage. Handling damaged hair at home risks worsening the problem or uneven cuts.
Deciding when DIY layering is too tricky depends on the style you want. Complex cuts like heavy face-framing layers or sharply angled long layers are best left to professionals. They require precision and a trained eye.
First-time long layering often causes overcuts or uneven results. This happens when you aren’t skilled at cutting hair yet. Take it slow to avoid mistakes.
Bold layers, delicate blending, or damaged hair should stop DIY cutting. Cut just half an inch to one inch at home for safety.
This small cut lets you fix errors later easily. Big cuts risk unevenness and visible errors.
A long layered cut at a salon costs about $50 to $100. The price depends on where you live and the stylist’s skill. It may be worth it for a clean look.
A salon visit for layers takes 30 to 60 minutes total. This includes talking about your face shape and hair texture too. You get a style that suits you best.
The result is smooth, shaped layers that blend well and improve styling versatility. Bad DIY results often mean uneven thickness, visible blunt cuts, or layers shorter than you wanted.
Maintenance and Timing: Keeping Your Long Layers Fresh
Trim your long layers every 6 to 8 weeks to keep the shape fresh. Regular trims prevent split ends and maintain the layers’ bounce. Between trims, simple care and quick fixes help your hair stay healthy and polished.
Recommended Trimming Schedule for Long Layers
Long layers need trimming every 6 to 8 weeks. Trims stop uneven growth. They also prevent split ends.
Waiting longer risks losing the style’s shape and makes your hair look tired. Schedule trims a bit sooner if your hair grows fast.
Heat styling also means earlier trims. Both cause faster wear.
Stick to this timeline even when trimming at home. Regular trims help your layered cut look crisp and prevent damage. Mark your calendar so you don’t forget to touch up your layers often enough.
Daily Care Tips for Layered Hair
To keep your layers smooth and bouncy daily, use a conditioner suited for your hair type. Condition after shampooing to add moisture and reduce frizz. Avoid heavy products that weigh layers down and hide the layering effect.
Use a wide-tooth comb gently to detangle wet hair. Start at the ends, then work up to the roots.
- Use a split-end serum to protect tips and shine.
- Apply light leave-in conditioner on damp hair.
- Blow-dry with a round brush for volume in layers.
- Avoid overwashing to keep natural oils intact.
- Get sleep on a satin pillowcase to reduce friction.
These habits keep long layers looking healthy and lively between trims.
Quick Fixes for Grown-Out Layers
Your layers start to look grown out or rough. Use point cutting to soften the edges. It gives a smoother look.
Trim small sections vertically at the ends to feather and blend layers smoothly. This helps you refresh the style before the next full trim.
You can also remove minor split ends by snipping them carefully with sharp scissors. Only cut damaged hair to avoid losing too much length or altering the layer shape.
Use good-quality scissors and cut small bits at a time to avoid mistakes.
These quick fixes keep your layers neat without a full cut.
Best Products for Layered Hair Health
Products that support layered hair keep the shape defined and protect against damage. Lightweight styling creams or mousses add volume without flattening layers. Avoid heavy gels that clump hair and hide layers.
A split-end serum is a great affordable product to maintain your layers. It seals ends and reduces frizz, making layers look smooth between trims. Choose heat protectant sprays if you use tools regularly.
- Split-end serum for smooth tips.
- Light mousse for volume and hold.
- Heat protectant spray before styling tools.
- Hydrating shampoo and conditioner for softness.
- Lightweight leave-in conditioner.
Using the right care products lets you keep long layers fresh and healthy easily.
Step-by-Step Action Plan for Your New Long Layers
Follow these simple steps to cut your long layers safely and with confidence. Check each step to make sure your layers look even and blend well.
- Before you start: Gather your hair shears, comb, clips, and a mirror. Clear space with good light to see details clearly.
- Section your hair: Split your hair into at least four parts with clips. This makes cutting easier and more controlled.
- Start with the bottom layers: Release the bottom section and decide your first layer length. Cut a small amount and check if the angle feels right.
- Work upward: Release the next section. Comb hair down. Trim to match the layer below. Make sure layers flow smoothly.
- Cut face-framing layers: Take small front sections. Cut shorter layers. These highlight your face shape. Blend these carefully into the rest of the hair.
- Check for evenness: Comb all hair down and look closely in a mirror. Fix any uneven spots with careful snips.
- Style your hair: Blow-dry or air dry, then style as usual. Shape looks right, you finished well. Not right, do minor touch-ups.
- After 2 weeks: Notice how your layers settle. Trim small amounts if uneven or grown out to keep the fresh layered look.
Frequently Asked Questions
Can I Cut Long Layers on Dry Hair at Home?
Yes, cutting dry hair helps you see the natural fall and shape. It prevents surprises once your hair dries, especially on curly hair types.
How Should I Hold My Scissors for Cutting Layers on Myself?
Hold your scissors with your thumb and middle finger for control. Keep your index finger resting on the blade for stability. This way, you cut cleanly and avoid jagged ends.
What’s the Best Angle to Cut Long Layers for Natural Movement?
Cut layers at a slight angle, around 45 degrees, for soft movement. Avoid cutting straight across to keep hair from looking blunt or heavy.
How Can I Avoid Uneven Layers When Cutting the Back of My Hair?
Use a hand mirror to check your cuts at the back often. Take small snips and go slowly to keep layers even and balanced.
Should I Wet My Hair Before Cutting Long Layers?
Lightly dampening hair helps prevent static and lets you cut more evenly. Avoid soaking your hair because soaking can stretch it and cause uneven lengths.
Is It Okay to Use Regular Household Scissors for Cutting Layers?
Regular scissors usually don’t work well for hair; they cause split ends. Using sharp, professional hair shears gives smoother cuts and protects your hair health.
Wrapping Up
Cutting long layers yourself takes patience and small careful steps. Start with small trims and trust your eyes more than guesses. Give yourself time; your confidence grows with every snip you make.