How to Curling Hair with Flat Iron: Simple Steps for Long-Lasting Curls
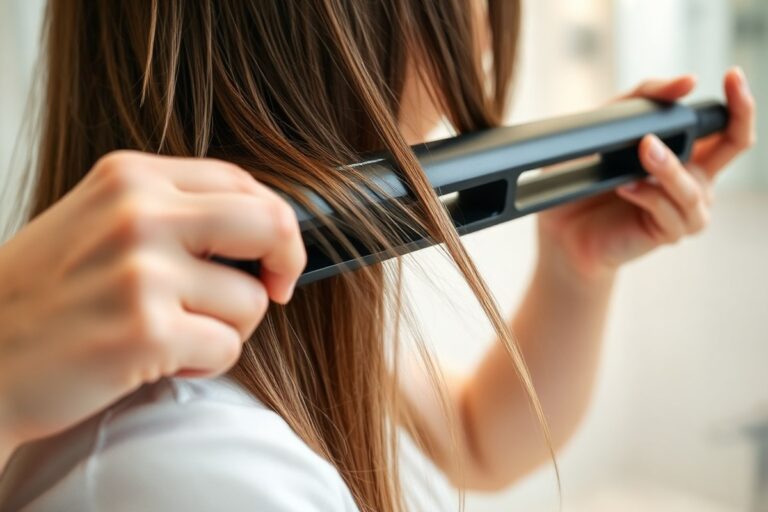
Figuring out how to curling hair with flat iron can seem tricky, but it’s quite simple. Grip a section of hair with the flat iron. Twist it slowly as you pull down.
Keep your movements steady and smooth to get the curl. This curls the hair as the heat shapes it gently and evenly.
Start by brushing your hair completely to remove knots and tangles. Using the right temperature matters too.
Lower heat for fine hair and higher for thick or coarse strands works best. This method helps curls last longer because flat irons heat hair evenly and give smooth results.
Don’t hold the flat iron on hair too long. Seven to ten seconds is enough. Leaving it longer may damage your hair.
Also, let your curls cool down before touching or brushing them to keep their shape. These small steps make curling with a flat iron easy and effective.
Key Takeaways
- Brush hair fully before curling to avoid tangles and uneven heat.
- Set flat iron heat: 300°F for fine, 350, 370°F for medium, 370, 400°F for thick hair.
- Clamp flat iron at the base of the hair section for better curl control.
- Twist the flat iron while pulling down slowly to form curls.
- Hold the flat iron on hair for no longer than 7 to 10 seconds.
- Spritz curls with a light product after curling and let cool for 15 minutes.
How to Curl Hair with a Flat Iron: Step-by-Step Tutorial
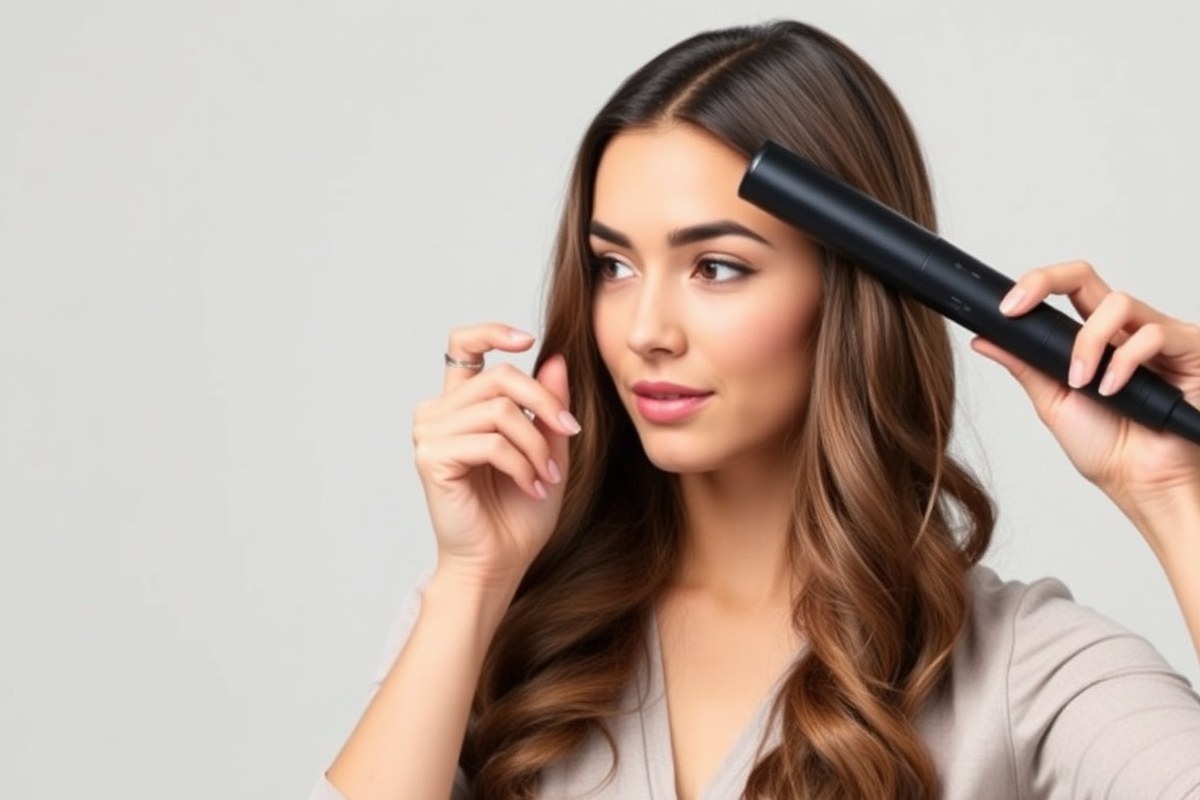
To curl hair with a flat iron, clamp small sections first. Twist the iron and slide it down your hair slowly. This shapes the hair into curls.
Start near your roots and twist the iron away from your face. This wraps your hair around the barrel.
Then glide the iron down the hair. After that, letting curls cool properly helps them set and last longer.
Preparing to Curl
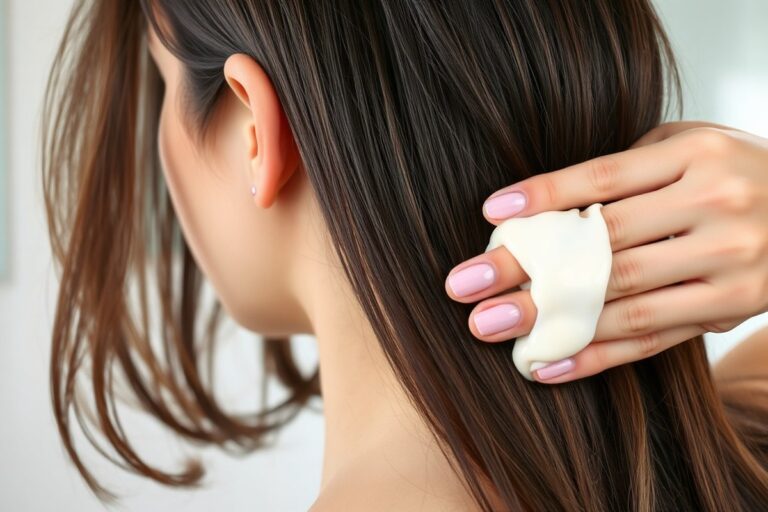
Start by making sure your hair is clean and fully dry. Applying a heat protectant is essential to protect your strands from damage. Detangle your hair completely to avoid snags during curling.
Brush your hair well before you begin. For very curly or textured hair, straighten it with your flat iron first. This helps the curls turn out smoother and neater.
Clamping and Twisting Technique
Work with about a 1-inch section of hair for the best curls. Clamp the flat iron near your scalp, close to the roots. Keep the iron at a slight downward angle for easier motion.
Turn your wrist to rotate the flat iron 180 degrees from your face. This wraps the hair around the iron’s outer edge.
Glide the iron down while holding the twist. For tight curls, begin near the root and twist fully 360 degrees before sliding down.
Avoid clamping too close to the ends to get a more natural, softer curl look. To make waves, twist the flat iron less or clamp halfway down the section. This creates looser curls or soft waves instead of tight curls.
Setting and Cooling Curls
After curling each section, hold it gently in your hand or clip it away. This helps set the curl and keeps it from falling apart.
This helps curls cool while keeping their shape. Do not disturb the curl until it’s completely cool to get longer-lasting curls.
Let curls cool before uncliping or releasing your hand hold. Then use fingers or a wide-tooth comb to soften the look if you want.
Flat iron curls last longer because the plates heat evenly. They seal the curls as you glide the iron down your hair.
- Brush and detangle your dry hair thoroughly.
- Apply a heat protectant all over your hair.
- Take a 1-inch section of hair near the roots.
- Clamp the flat iron at the root with a slight downward angle.
- Twist the iron 180 degrees away from your face to wrap the hair.
- Glide the iron down the hair strand while keeping it twisted.
- Hold the curl in your palm or clip it in place to cool.
- After cooling, release the curl and style as desired.
Choosing the Best Flat Iron and Heat Settings by Hair Type

Choosing the right flat iron size depends on your hair and curls. Pick a heat setting that matches your hair type. This helps create the curls you want.
Smaller plates suit tighter curls and shorter hair. Wider plates work for loose waves and long hair. Heat settings should match your hair’s thickness to avoid damage and keep curls lasting longer.
Flat Iron Plate Sizes Explained
Flat irons come in different plate widths, usually 1 inch, 1.25 inches, and wider. The 1-inch plates are perfect for tight curls and detailed styling. They work well if you have shorter hair or want defined curls.
1.25-inch plates give medium-sized curls and waves. This size suits most hair lengths and is a good balance between control and speed. Wider plates, 1.5 inches or more, heat larger sections for loose waves or straight styles faster.
Long, thick hair needs wider plates to save time. For shorter or thin hair, smaller plates give better curl shape without missing spots.
Recommended Heat Settings by Hair Type
Set your flat iron to the right heat. This protects hair from damage. It also helps curls last longer and look better.
Fine or damaged hair should stay between 250°F and 300°F for gentle styling. This lower heat stops breakage and frizz.
Medium hair handles 350°F to 370°F well. This range shapes curls without too much heat stress.
Thick or coarse hair needs high heat to curl well. Set yours between 370°F and 400°F. This heat helps curls last longer.
Always start at the lowest heat for your hair type and increase if curls don’t hold. Use adjustable heat flat irons to make this easy.
Material Types and Their Benefits
Flat iron plates come in ceramic, tourmaline, or titanium materials. Ceramic heats evenly and gently, which helps avoid hot spots that can damage hair. It’s popular for medium hair and general use.
Tourmaline plates emit negative ions that reduce frizz and leave hair shiny. They work well for fine or processed hair prone to dryness.
Titanium plates heat very quickly and evenly, making them ideal for thick, coarse hair. They provide consistent heat for tough styles.
Choosing a material depends on hair needs: gentle care or fast, strong heat. Here’s a look at common flat iron plate materials and their pros and cons:
| Material | Pros | Cons |
|---|---|---|
| Titanium | Heats fast and evenly; great for thick, long hair; durable | No auto shut-off on many models; high heat may damage fine hair |
| Ceramic | Even, gentle heat; good for most hair types; frizz-free finish | Slower heat-up; may not hold high heat for thickest hair |
| Tourmaline | Reduces frizz; smooth finish; good for fine or damaged hair | Often more expensive; less durable than titanium |
Consider flat irons with adjustable heat and single-pass technology. This reduces damage by curling each hair section only once, keeping curls healthy and strong. Using a heat protectant spray every time also shields hair during styling.
Always use a heat protectant spray before curling to prevent damage and keep curls smooth.
Preparing and Sectioning Hair for Effective Curling
Before curling your hair with a flat iron, you must prep it right. Start by washing and fully drying your hair.
Then, apply heat protectant spray evenly and section your hair into small parts. This makes curling easier and protects your hair from heat damage.
Washing and Drying Tips
Use a sulfate-free shampoo to gently cleanse your hair without stripping natural oils. Follow with a good conditioner to keep hair smooth and hydrated. Always start curling with 100% dry hair to avoid damage.
Wet or damp hair and high heat can cause severe damage or breakage. Flat irons are not made for use on wet hair. Let your hair air dry or use a blow dryer before styling.
- Use sulfate-free shampoo for gentle cleansing
- Apply conditioner to detangle and soften
- Dry hair completely before heat styling
- Avoid curling damp or wet hair to prevent damage
- Use a blow dryer for faster drying if needed
Dry hair holds curls better and reduces the chance of frizz or burn damage. The drying step usually takes 15 to 20 minutes if using a blow dryer. Allowing hair to dry naturally can take longer but protects your strands.
Applying Heat Protectant Properly
After drying, spray your heat protectant evenly across all hair sections. Hold the bottle about 6 inches from your head for a fine mist that covers strands. Using enough product shields your hair from heat damage during curling.
Spraying too little leaves your hair vulnerable. Spray too much and your hair might feel sticky or greasy. Find a balance by applying enough to coat but not soak.
- Use a heat protectant spray made for flat irons
- Hold spray 6 inches from hair for even coverage
- Spray all hair sections before curling
- Avoid over-applying to prevent buildup
- Focus on hair ends and mid-lengths especially
Heat protectants create a barrier that stops frizz and burning. Applying one is one of the best ways to protect your hair. Many cost between $10 and $30 and last many months with regular use.
Sectioning Hair into Manageable Parts
Divide your dry hair into 3 to 4 horizontal layers using clips or ties. Start at the bottom layer to curl and work your way up for easier handling. Smaller sections give you more even curls and better control.
Take subsections about 1 inch wide from each layer. This size allows the flat iron to curl the hair properly and quickly. Avoid large lumps or too thin like ½ inch because that wastes time or damages hair.
- Separate hair into 3-4 horizontal layers
- Clip upper layers out of the way
- Take 1-inch wide subsections to curl
- Start curling from bottom layer up
- Use fine-tooth comb to detangle each section before curling
Good sectioning speeds up the curling process, which can take 20, 30 minutes for long hair. Well-managed sections also ensure consistent curls and less rework. Uneven sections make curling tricky and may cause uneven curls or burns.
Different Curl Styles You Can Create with a Flat Iron
You can make different curl styles with a flat iron. Change how you hold it. Twist it in varied ways to get new looks.
For loose waves, clamp a 1-inch hair section near roots. Twist the iron away from your face. Slowly glide the iron down the hair.
To get tighter curls, pick smaller hair sections. Twist the iron more times before sliding it down. This adds curl strength.
Voluminous curls are a bit different. Hold the flat iron vertically and clamp at roots. Bend the iron in half carefully.
Slowly feed hair while twirling the iron around. This method makes bouncy curls that last longer on thick hair.
Thicker hair tolerates heat up to 400°F well. These curls stay fuller all day.
Flat iron curling is different from using a curling iron. You flatten hair first, then twist and pull it through. Don’t wrap hair around a barrel.
It takes practice to hold hair flat against the iron well. Otherwise, curls come out uneven or messy. Steady hands make a big difference.
This style works well for natural or wiry hair textures. The flat iron smooths hair while curling it tightly. It controls frizz nicely.
Different curl shapes come from adjusting the size of sections and twisting speed. Smaller sections make tighter coils; bigger ones give softer waves. Slower glides set curls more firmly, while quick passes create loose bends.
Spray your hair lightly with protection before curling. Don’t hold the iron too long on one spot. This reduces the chance of heat damage.
Some flat irons aren’t made for curling. Cheaper models might cause hair damage. So choose one that heats evenly and lets you control temperatures.
Use 300°F to 350°F for fine hair curls. Coarser hair holds curls better at up to 400°F. Adjust heat based on your hair type. Finally, set curls with a humidity-resistant spray for longer hold.
How Long Does It Take to Curl Hair with a Flat Iron?
For short hair, curling with a flat iron usually takes about 5 to 10 minutes. Long hair takes longer, often 15 to 30 minutes depending on thickness. Thick or coarse hair needs more time to curl well.
Each section must heat through fully. This helps curls last longer.
Start by dividing your hair into thin sections, about 1 inch wide each. Smaller sections hold curls better and reduce the need for extra passes with the iron. Take one section of hair and hold the ends with your free hand.
Next, clamp the flat iron near the roots. Make sure it’s secure.
Flip the iron away from your face. Slowly glide it down the hair. Twist the iron halfway while moving down.
Twist too much or hold the iron in one place too long. You risk heat damage or stiff curls. Moving steadily, expect about 30 seconds per section.
Big sections save time but can cause loose curls that don’t last well. You can cut time by twisting halfway and gliding faster for beach waves.
But tight curls need slower, smaller passes. For thick hair, you might also need to reheat some sections.
Thinner hair styles faster but heats quickly, so use medium heat to avoid damage. Coarser hair needs higher heat, usually 350 to 400°F. Avoid exceeding 410°F to prevent damage.
This heat helps curls hold better. Let curled hair cool before touching to help set the shape.
Don’t skip the protective spray; curling takes time and heat can damage hair fast.
Tips for Making Flat Iron Curls Last Longer
To make flat iron curls last longer, the key is heat and hold. Flat irons heat evenly, creating curls that stay in place better than curling irons. Apply heat protectant before curling your hair.
It stops frizz and damage. This keeps curls from falling out too soon.
After curling, don’t comb your hair right away. Let the curls cool and set by leaving them alone.
This sets your curls so they keep their shape longer. Also, curl hair starting at the nape and work your way up for a natural look.
- Use a heat protectant spray before curling to reduce damage
- Curl sections about 1 to 1.5 inches wide for tighter curls
- Hold the flat iron on wrapped hair and slowly pull to keep curls defined
- Finish by straightening the ends for a natural curl look
- Pin curls up to cool if you want tighter curls that last
- Apply a light hairspray or curl cream after styling for hold and moisture
- Avoid touching or brushing curls until completely cooled
Use clips to set curls right after curling. This helps curls hold longer. It’s great for all-day wear.
Spray a light hold hairspray on curls before pinning them up. This locks in shape and stops curls from loosening too fast. For extra frizz control, use a tiny amount of smoothing serum or cream on ends.
Products matter a lot. Use a curl cream or mousse suited for your hair type before heat styling.
After curling, a good quality hairspray with flexible hold can keep hair from feeling stiff. Avoid heavy sprays or oils that weigh curls down.
Common Flat Iron Curling Mistakes and How to Fix Them
Curling hair with a flat iron can go wrong in a few ways. One common mistake is using too much hair at once, which causes uneven curls. Grab small sections, about 1 inch wide, for better control and consistent results.
Another issue is applying heat incorrectly. Placing the iron too close to your scalp can cause burns.
It may also make curls look flat at the roots. Be careful to keep some space from the skin.
Frizziness is another problem many face. It usually happens when hair is damp or lacks protection. Always make sure your hair is completely dry before curling.
Applying a heat protectant spray helps reduce damage and smooths out frizz. Using the right temperature also matters.
Set the flat iron between 300°F and 350°F for fine hair. Up to 400°F for thicker hair types.
- Use small 1-inch sections for even curls
- Start curling where you want the curl to form
- Dry your hair fully before curling to avoid frizz
- Apply heat protectant to reduce hair damage
- Adjust temperature to your hair type (300°F to 400°F)
- Move the iron steadily to avoid kinks
- Don’t hold the iron too long in one spot
Uneven curls often come from inconsistent speed or heat application. Move the flat iron smoothly from the root to the tip. Or move from the mid-shaft to the end.
Choose the starting point based on your desired curl. Holding the iron in one place too long can cause hotspots or damage.
It usually takes a few seconds to form a good curl. But avoid lingering more than five seconds per section.
Bends or waves that don’t hold shape may mean the hair isn’t cooled properly. Let your hair cool fully before touching it. This helps curls stay in place longer.
Let your curls cool in your hand or clip them in place before releasing. This sets the curl longer and keeps the shape intact. A quick mist of hairspray after cooling helps hold curls without stiffness.
Protecting Hair and Knowing When to See a Professional
Heat styling can dry out your hair and cause breakage over time. To protect it, always start with a heat-protectant spray or serum.
These create a thin shield that lowers damage and adds shine. So your curls look healthy and smooth.
Keep your flat iron temperature at 300°F to 350°F for normal hair. Use lower heat for fine or damaged hair, around 250°F to 300°F. High heat over 375°F raises damage risk unless your hair is very thick or coarse. This helps you avoid frying your strands.
Look for damage signs like dullness, frizz that won’t smooth out, or split ends. Your hair is brittle or breaks when brushing.
That’s a red flag. You might also see uneven curls or hair that fails to hold style well.
Use this quick rule: stop heat use if your hair breaks easily. Also, stop if it doesn’t bounce back after styling. Try deep conditioning for two weeks to help repair.
Visit a stylist for advice when your hair does not improve. They can check your hair’s health and recommend treatments or cutting damaged ends.
Professional hairdressers can also show you how to curl hair safely with a flat iron. They might suggest better heat protectors or techniques that work for your hair type. Getting guidance can save you time and keep your hair looking its best.
Remember to let hair cool completely after curling before touching it. This helps curls set and last longer.
Avoid daily heat styling; give your hair rest days to recover. This balance keeps curls pretty and hair strong.
Apply heat protectant evenly. Don’t hold the flat iron in one spot too long. This prevents burns.
Step-by-Step Action Plan to Curl Your Hair with a Flat Iron
Follow these steps to get well-defined curls that last. Track your progress by how natural and smooth your curls look.
- Before You Start: Wash and dry your hair completely. Smooth, dry hair holds curls better and avoids damage.
- Section Your Hair: Divide hair into small, even sections with clips. You’ll know this worked when each curl is even and neat.
- Set Your Heat: Adjust your flat iron to the right temperature for your hair type. Feeling less heat damage means you picked well.
- Start Curling: Clamp your iron near the root. Twist it away from your face. Slowly pull it down. Check that the curl shapes quickly without frizz.
- Repeat: Curl each section the same way. Consistent curls will look balanced and last longer.
- Cool Down: Let curls cool before touching them. This lets curls hold their shape better.
- Apply Product: Use a light hairspray or curl-setting product. Your curls will stay in place without stiffness.
- End of Day: Evaluate your curls’ hold and texture. Adjust one step next time for better results, like smaller sections or a different heat setting.
Frequently Asked Questions
How Can I Avoid Heat Damage When Curling Hair with a Flat Iron?
Use a heat protectant spray before curling. It shields hair from high temperatures and prevents dryness or breakage. Apply evenly on damp or dry hair for the best protection.
Can I Use Any Flat Iron to Curl Thick Hair?
Not all flat irons suit thick hair well. Choose one with adjustable heat settings up to 400-465°F for better results. Higher heat penetrates thick strands more easily and curls last longer.
How Much Hair Should I Take for Each Curl with a Flat Iron?
Take small sections about 1 inch wide for even curling. Smaller pieces let heat spread evenly and reduce missed spots. Adjust size for your hair thickness.
Is It Better to Curl Hair Dry or Damp with a Flat Iron?
Always curl hair when it’s completely dry. Wet hair is weaker and more likely to burn or frizz under heat. Use a blow dryer or flat iron first for best dryness.
How Can I Make Flat Iron Curls Look More Natural?
After curling, gently run your fingers or a wide-tooth comb through curls. This loosens tight coils for soft, natural waves. Avoid brushing too hard to prevent frizz.
Can I Use a Flat Iron to Curl Hair Daily?
Daily curling with a flat iron risks heat damage even with protectant. Try to limit use to a few times a week. Give hair breaks and use deep conditioning regularly.
The Bottom Line
Using a flat iron for curls takes some practice but can give great style and hold. Start curling today to see what works best for your hair. Keep trying your steps and products until your curls look and feel just right.