How to Curl Hair with Straightener: Simple Steps for Lasting Curls
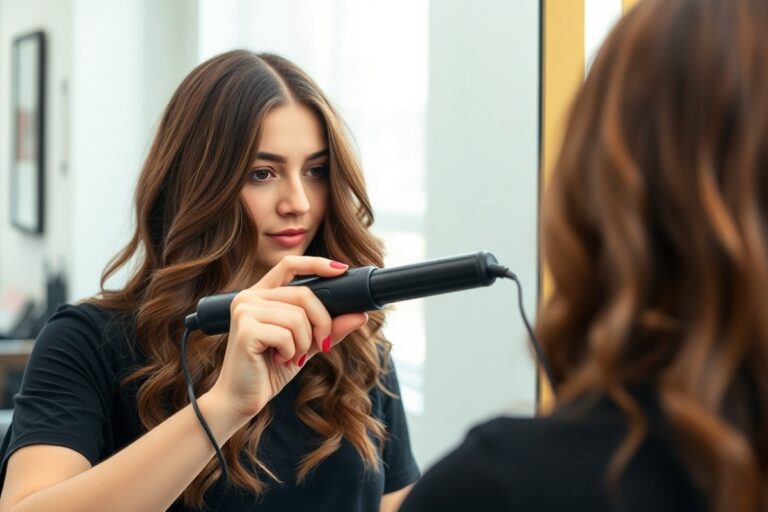
How to curl hair with straightener is easier than most people think. You only need a flat iron and a simple twisting technique to get curls.
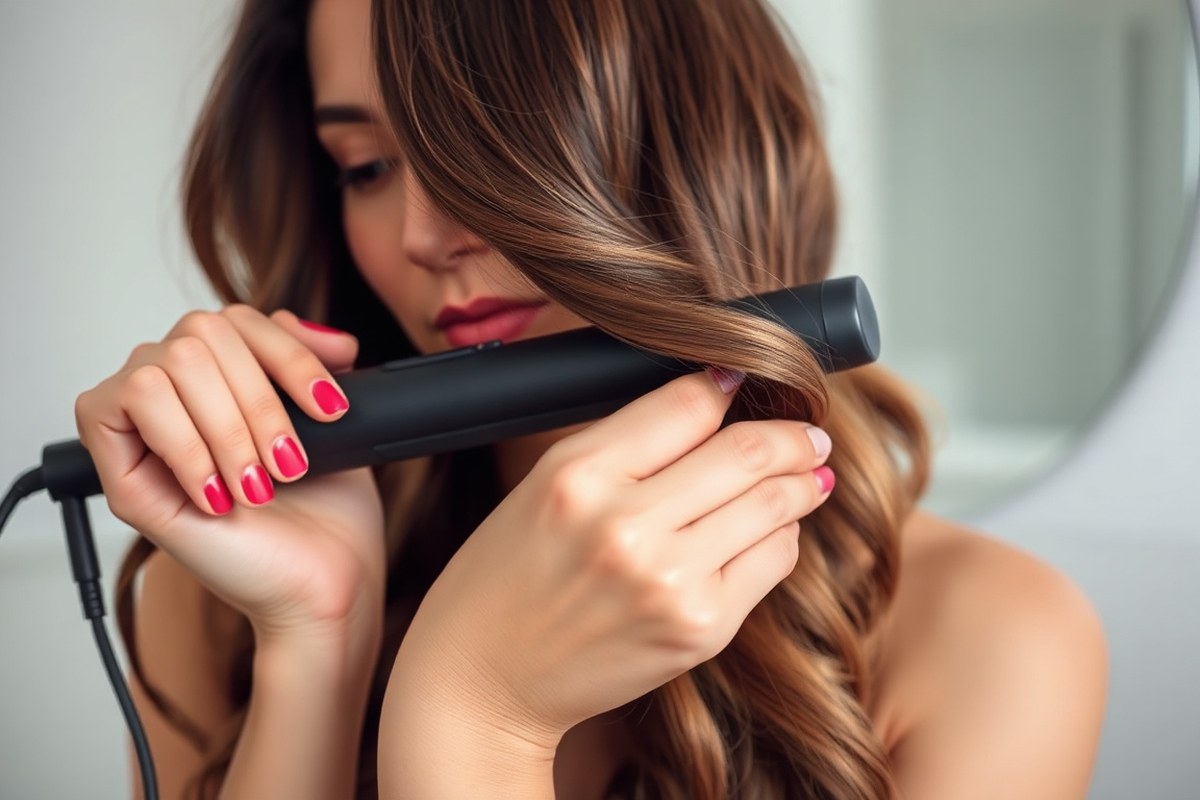
Start by clamping a section about 6 inches from your roots. Then twist the straightener 180 degrees in the direction you want your curl to go.
This method shapes curls fast, unlike traditional curling irons. Straightener curls take just a few strokes down the hair strand.
It works best on hair washed within 24 hours to hold curls longer. Using the right heat setting for your hair type also protects your strands while styling.
Key Takeaways
- Wash your hair within 24 hours before curling for better hold.
- Use a 6-inch section to curl each part of your hair.
- Clamp at 6 inches from roots, not right at the scalp.
- Twist your straightener 180 degrees away from your face.
- Adjust heat: below 300°F for fine hair, up to 400°F for thick hair.
- Try curling on day 2 of your washing cycle for best results.
Step-By-Step Guide to Curling Hair with a Straightener

Curling your hair with a straightener takes practice but is quite fast. You’ll work with sections of hair, twist your iron, and alternate curl directions. This keeps your curls natural and full, not like tight ringlets.
Follow these steps to curl your hair, starting from clean, dry sections. Use smaller sections for tighter curls or bigger ones for loose waves. Hold each curl gently at the end to shape it well without creases.
- Divide your hair into about 8 to 10 sections depending on thickness.
- Take one section and clamp the straightener near the roots.
- Twist the straightener 180 degrees in the direction you want the curl.
- Slowly glide the straightener down the section while holding the twist.
- When you reach the ends, release the straightener and catch the curl with your hand.
- Spritz a little hairspray on the hair before curling to help the shape hold.
- Alternate the curling direction every other section for a natural look.
- After curling all sections, lightly run your fingers through for volume.
Hold the straightener vertically or at a slight angle for smooth curls. Avoid clamping too hard to prevent marks or bending. Work at a steady pace; slower for tighter curls, quicker for looser ones.
Switching directions means one curl goes away from your face, the next toward it. This mix gives texture and avoids a uniform, unnatural pattern. Play with horizontal or vertical sections to get plump curls or beachy waves.
Choosing the Right Tools and Products Before Curling
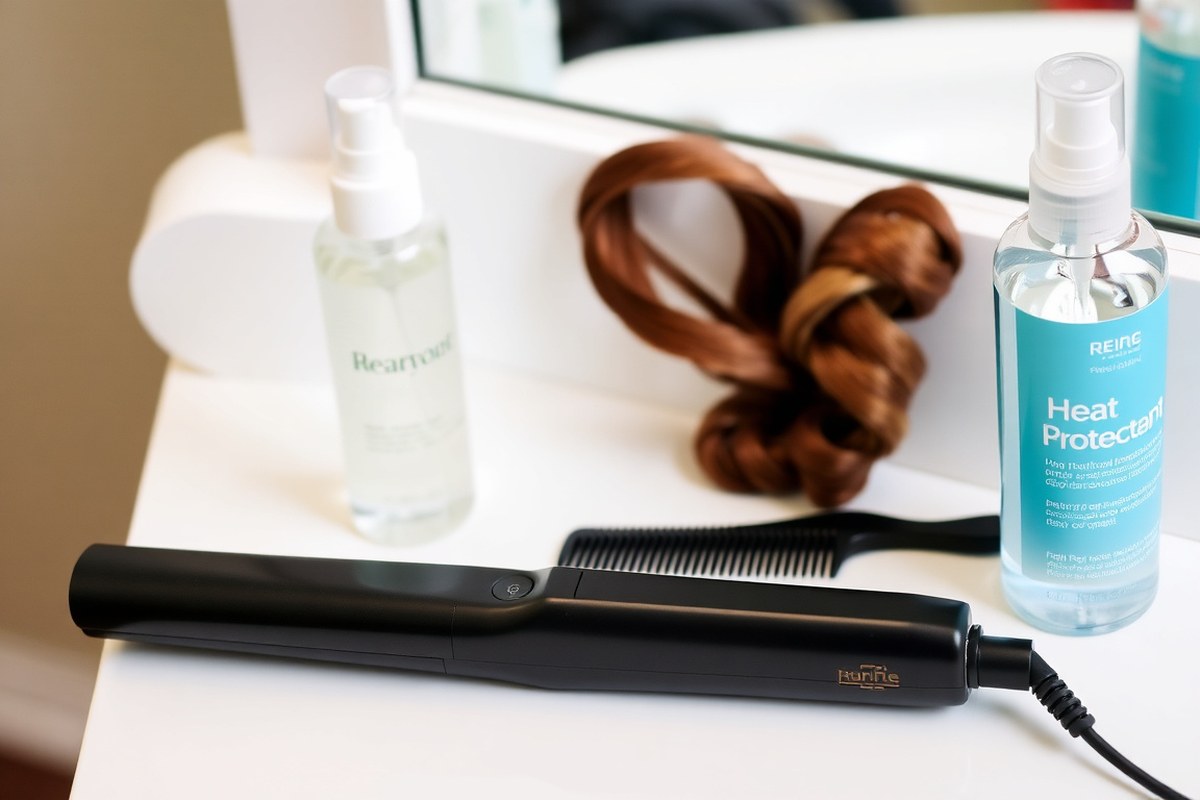
Not all straighteners curl hair well. Look for a flat iron with smooth 1-inch plates and adjustable heat. A reliable tool heats evenly, which makes curls shinier and last longer.
You’ll want a straightener that reaches between 280°F and 410°F, depending on your hair type. Higher heat isn’t always better, it risks damage without better curls.
Use a heat protectant spray or oil before you curl. It shields hair from heat damage and keeps your strands smooth.
Fine hair fares best with a lightweight spray protecting up to 450°F. Thick hair needs an oil-based product to add moisture and shine. Curly or frizzy hair benefits from a hydrating protectant that controls frizz while delivering heat defense.
- Check your flat iron has 1-inch plates and adjustable heat settings
- For fine hair, pick a lightweight heat protectant spray
- Choose oil-based heat protectants for thick hair to add smoothness
- Use hydrating, anti-frizz treatments on curly or frizzy hair
- Apply product evenly on dry hair before curling
- Use styling spray after curling for better hold
- Separate hair into 1-inch sections for easier curling
Curling with a straightener often needs a finishing spray for hold. A light texturizing spray adds volume to fine hair. For thick or coarse hair, choose a flexible hold spray to keep curls soft and bouncy.
Always apply heat protectant to completely dry hair and comb it evenly through your strands. This spread keeps every strand safe and the curl smooth.
Use a heat protectant every time you curl, even if just warming up your hair.
How to Set the Right Heat for Your Hair Type
Use the right heat for your hair type to curl safely. Fine or damaged hair needs lower heat to avoid burning. Thick or coarse hair can handle higher temperatures for curls to hold.
Heat Setting Chart by Hair Type
Adjust your straightener’s heat based on how thick or damaged your hair is. Starting at lower temperatures helps prevent damage and gives your curls a smooth finish. Ceramic plates distribute heat evenly and cut down on hot spots.
| Hair Type | Recommended Heat Range | Notes |
|---|---|---|
| Fine or Damaged | 250°F to 300°F (120°C to 150°C) | Lower heat prevents breakage and burning |
| Normal | 300°F to 350°F (150°C to 175°C) | Balancing curl formation and hair care |
| Thick or Coarse | 350°F to 400°F (175°C to 200°C) | Higher heat needed to hold curls well |
Using an iron with multiple heat settings lets you fine-tune for your hair. Avoid the highest temperatures unless you’re sure your hair can take it. Always test a small section if you’re unsure.
Signs of Too Much Heat Damage
Your hair might feel dry and brittle after curling from too much heat. You might see split ends or hair breaking off easily. Curls that look frizzy mean your heat setting may be too high.
They can also lose shape quickly. This harms your hair.
Damage can appear uneven, especially if you curl one side more than the other. Using too much heat causes your hair to lose its natural moisture. Avoid curling damp hair to prevent steam damage and serious breakage.
Tips for Safe Curling Temperatures
Always apply a heat protectant spray before starting your curls. This shield reduces heat damage and keeps hair smooth. Take your time and use the lowest effective heat setting for your hair type.
Let your straightener warm up fully, some take about 20 seconds. Curl small sections for better heat control and longer-lasting curls. Using ceramic or tourmaline flat irons helps distribute heat evenly, reducing hot spots that cause damage.
7 Curling Techniques to Try with a Flat Iron
Classic Twist-And-Pull Curl
This basic curl creates a smooth, bouncy look you can wear every day. Clamp a 1-inch section of hair near the roots.
Twist your flat iron 180 degrees away from your face. Glide the iron slowly down to the ends, keeping the hair wrapped around the plates.
Keep moving the iron to avoid overheating and burning. The curls should spring back easily and feel soft. Don’t stop twisting as you pull the iron down or the curl will lose shape.
S-Wave and Zigzag Curls
S-waves offer a beachy, relaxed style, while zigzag curls add texture. To make S-waves, clamp your iron mid-length and twist one full rotation away from your face. Glide down to form a smooth wave.
Zigzag curls need you to alternate twisting toward and away from your face. This creates an uneven wave pattern that looks natural and messy. Try mixing both directions for better volume.
Use smaller sections for more defined waves or larger ones for looser styles. You want to hold the iron firmly but gently to keep the hair safe.
Volume-Boosting Crown Curls
To add volume at the roots, clamp hair sections near the scalp. But lift each section upward as you curl. This lifts the hair, creating a fuller, bouncy crown.
Use a root lift spray before curling for extra hold. Start about an inch from the scalp and gently twist your iron away from the face. Glide downward, pushing hair up slightly.
- Clamp 1-inch sections near the scalp
- Lift hair upwards while gliding the iron down
- Twist the iron 180 degrees away from your face
- Keep the iron moving to avoid heat damage
- Use root lift spray for longer hold
- Mix curl directions for more natural volume
- Finish with texturizing spray to set shape
This technique opens up your hair and keeps roots lifted longer. Blending curls gently with your fingers helps avoid a stiff look. Using a texturizing sea salt spray defines curls and adds body at the scalp.
Preparing Your Hair: The Best Timing and Care
Curling your hair works best on day two after washing. On day one, hair tends to be slick and too soft, making curls fall out fast. On day two, natural oils help curls hold better and add texture.
Dirty hair or product buildup can weigh down curls and cause uneven heat distribution. Clean hair gives you a smoother finish but avoid styling right after washing. This keeps hair looking fresh and helps curls last longer.
Protecting hair from heat damage is key. Use a heat protectant spray before curling.
This forms a barrier and prevents moisture loss. Skipping this step leads to dryness and breakage over time.
- Wash hair thoroughly but curl on the second day after washing
- Brush hair well to remove knots and tangles
- Apply heat protectant spray evenly
- Divide hair into thin sections for even curling
- Use a clean flat iron with smooth plates
- Avoid applying too much product before curling to prevent buildup
Sectioning hair is important for even curls and to avoid repeated heat in one spot. The thicker your hair, the more sections you should divide it into. This stops damage and delivers uniform curls.
Dirty flat iron plates snag hair and can cause uneven curls or damage.
Daily heat styling needs extra care with deep conditioning treatments. These treatments restore moisture and keep hair healthy. Skipping conditioning can make curls frizzy and lifeless.
How to Make Curls Last Longer and Hold Their Shape
Curls last longer when you cool and set them before styling. Using sprays and texturizers adds hold and volume. Touch-ups help maintain shape without redoing all your hair.
Cooling and Letting Curls Set
Let your curls cool completely before touching or brushing them. The heat reshapes the hair’s bonds, and cooling locks them into place. Touching curls while they’re warm makes them lose their shape fast.
Hold each curled section for about 10 seconds before releasing it gently. Then, clip or pin curls up while cooling to keep the shape intact. After curling all sections, wait 15 to 20 minutes to fully set curls before styling.
Using Sprays and Texturizers
Lightly spray a flexible hold hairspray over your curls to keep them bouncy. Stronger hold sprays can stiffen curls and make hair crunchy.
So choose a medium or light formula. Apply spray from 8 to 10 inches to avoid wet-looking spots.
Use a small amount of texturizing spray at the roots. It adds volume and grip. A sea salt spray works well too.
These sprays also help curls last longer by reducing oiliness that weighs hair down. Avoid too much product, which can make curls limp.
Touch-Up and Refresh Techniques
Use a flat iron or curling wand on individual curls to reshape any flattening areas. Heat only the sections that need it to avoid over-processing. Touch-ups can revive curls without starting from scratch.
Spray dry shampoo at your roots to refresh curls between washes. It soaks up oil fast. This also adds volume to your hair.
Then, shake or scrunch hair gently to bring back bounce. Avoid brushing curls when dry since that causes frizz and faster curl loss.
- Wash hair within 24 hours before styling to reduce oiliness.
- Divide hair into sections and curl each for 10 seconds at about 350°F.
- Release curls carefully and clip them up while cooling.
- Wait 15 to 20 minutes for all curls to set before styling.
- Lightly spritz curls with a flexible hold hairspray from 8 to 10 inches away.
- Add a small spritz of texturizing spray at the roots for volume.
- Touch up any limp curls with your straightener on low heat.
- Use dry shampoo and scrunching to refresh curls on non-wash days.
Common Mistakes Curling Hair with a Straightener and How to Fix Them
Curling hair with a straightener often goes wrong because of technique, heat, or prep mistakes. Applying too much heat can damage your hair and create uneven curls. Using the wrong angle or speed can make curls loose.
This is true especially on fine or straight hair. The curls may look unnatural as a result.
One common issue is curls falling flat quickly. This happens when heat is too low for thick hair. Holding the straightener too briefly also causes this.
Both lead to less defined curls. Another mistake is curling hair that’s damp, which causes frizz and weak curls. Always dry your hair fully before curling.
Your hair type matters a lot for results. Thick, coarse hair usually needs 350°F to 400°F for lasting curls. Fine or damaged hair works best at 250°F to 300°F to avoid damage.
Adjust curling time too, thick hair may need up to 10 seconds per section. Thin hair only 5 to 7 seconds.
- Don’t clamp the straightener too tightly; it can create dents instead of smooth curls.
- Curl in small sections for defined results, especially with thick or coarse hair.
- For soft, natural waves, leave the ends straight instead of curling them.
- Use a heat protectant every time to prevent damage and frizz.
- Slow down your movements to give curls time to set. But avoid burning your hair.
- Reheat the straightener between sections if it cools down to keep curls consistent.
- Finish with a light hair spray to hold curls without stiffness.
Fixing flat curls often means increasing heat slightly or curling smaller sections. Loosen your grip or speed up your glide when curls look too tight. This will make curls look more natural.
Adjust your technique for better results. To match your hair type, test on a small section first.
For example, use medium heat and slower speed for wavy hair. But lower heat and quicker passes for fine hair.
When and How to Seek Professional Help for Curling
Look for professional help if your hair feels weak or breaks easily when curling. Experts can assess damage and adjust heat or products to protect your strands. They help steer you from using too much heat, which often causes more harm than good.
Your stylist can suggest the safest straightener heat for fine hair. Keeping heat below 300 degrees is usually best for fragile hair, according to stylists. Custom advice helps you get curls without shrinking or sizzling your hair.
You may need expert styling if curls don’t hold or look uneven after multiple tries. Professionals can spot issues like uneven heat or wrong technique. They fix curls using the right tools.
Small curling irons fit short hair. A botanical spray helps control damage.
Salon curling sessions usually cost $40 to $100. The price depends on the service.
This price includes products that reduce heat damage and expert tips suited to your hair type. Even one visit can save your hair from long-term harm and save time with reliable results.
Always test your straightener on a small hair piece first. Heat damage can happen fast.
Book a stylist if your hair feels dry or has split ends. If curls take too long, see a pro.
The right pro will adjust temperature and use products that protect and nourish your hair. This approach keeps your curls looking healthy and natural instead of fried or stiff.
Step-by-Step Action Plan for Curling Hair with a Straightener
Follow these steps to get great curls with your straightener. Each step shows what to do and how to tell it worked well.
- Before you start: Wash and dry hair fully. Your hair should feel dry and smooth, not damp.
- 10 minutes before curling: Apply a heat protectant spray evenly. Your hair should feel coated but not sticky.
- Right before curling: Set your straightener temperature based on your hair type. Hair won’t feel overly hot or scorched.
- During curling: Section your hair and curl each part smoothly. You’ll see even, defined curls forming as you work.
- Just after curling: Let curls cool without touching. They should feel firm when cool, not soft or limp.
- 5 minutes after curling: Use a light hairspray or styling product for hold. Curls stay in place through gentle movement.
- End of the day: Avoid water or heavy products that can weigh curls down. Your curls remain shiny and bouncy for many hours.
Frequently Asked Questions
Can I Use Any Straightener to Curl My Hair?
Yes, you can use almost any straightener, but the results vary. A straightener with rounded edges works best for smooth curls without sharp bends.
How Do I Avoid Heat Damage While Curling Hair with a Straightener?
Use a heat protectant spray each time before curling your hair. Lower the iron temperature for fine or damaged hair to prevent damage.
Why Do My Curls Fall Out Quickly After Using a Straightener?
Your curls might not hold due to no product or timing. Spray a light hairspray before curling and avoid touching curls while cooling.
Is It Better to Curl Hair When It’s Freshly Washed or Second Day?
It’s best to curl hair on the second day after washing. Hair is less slippery, which helps curls form and hold longer.
How Can I Create Volume While Curling Hair with a Straightener?
Lift the roots gently after curling and use a texturizing sea salt spray. This adds volume and helps curls blend naturally.
Can I Curl Very Short Hair with a Straightener?
Curling very short hair is harder but possible. Use small sections and a lower temperature to avoid burns and get tight waves.
Final Thoughts
Using a straightener for curls is quick and gives you control over your look. Try this plan today to see how your curls turn out. Keep practicing to find your favorite curling style and heat setting.