How to Sterilize Hair Clippers: Complete Steps and Pro Tips for Best Results
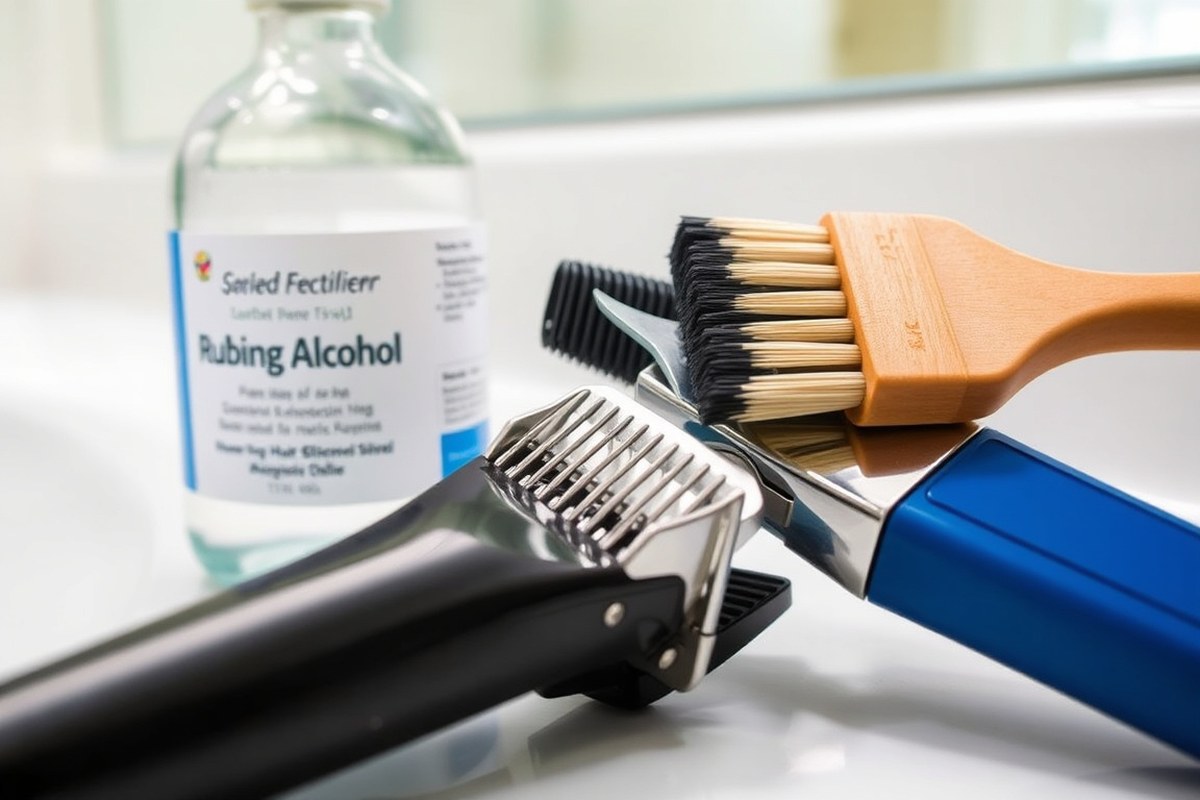
How to sterilize hair clippers is a common question if you want clean, safe tools. Start by removing loose hair from the blades. Next, soak the blades in 70% isopropyl alcohol.
Leave them there for 10 minutes. This kills germs without damaging the metal blades.
Use a small shallow container to hold the alcohol and submerge the blades fully. Avoid using lower concentration alcohol because it won’t disinfect properly. Let the blades dry completely before using or oiling them.
For a deeper clean, especially if clippers are shared, mix Barbicide. Follow the label instructions carefully. Soak the blades in it for 10 minutes.
Rinse or wipe off dirt before soaking. This helps the disinfectant work better. It also keeps your clippers working longer.
Key Takeaways
- Remove hair buildup from blades before sterilizing with alcohol or disinfectant.
- Use 70% or higher isopropyl alcohol for effective clipper blade disinfection.
- Soak blades in alcohol or Barbicide solution for 10 minutes to kill germs.
- Dry blades completely after soaking to avoid rust and damage.
- Only use Barbicide mixing instructions to avoid over- or under-concentration.
- Replace clipper blades every 12 to 18 months at home for best hygiene.
How to Sterilize Hair Clippers Safely at Home

Sterilizing hair clippers at home keeps them safe and working well. You mainly sterilize the blades, not the whole clipper, to avoid damage. Using rubbing alcohol or a disinfectant like Barbicide will kill germs and bacteria quickly.
Here’s how you sterilize hair clippers safely using rubbing alcohol or a blade disinfectant. Take about 70% or higher isopropyl alcohol for everyday disinfection. For deeper cleaning, like if you share clippers, use a Barbicide mix following the label guidelines.
- Turn off and unplug your clippers to start safely.
- Remove the blades if possible, so cleaning is easier and more thorough.
- Brush out any hair or debris from the blades and clipper body using a small brush.
- Rinse washable parts under warm water if your clipper allows it. Avoid soaking the whole unit.
- Soak blades in rubbing alcohol or prepared Barbicide solution for 10 minutes to sterilize well.
- Shake off excess liquid and dry blades thoroughly with a clean cloth or paper towel.
- Apply clipper oil after drying to keep blades sharp and prevent rust.
- Reassemble your clipper and store it in a dry place until next use.
Never soak your entire clipper unless it’s fully waterproof and the manufacturer says it’s safe. Soaking can ruin the motor or internal parts. Usually, you only soak the blades to stop corrosion and maintain cleanliness.
Rubbing alcohol evaporates fast, so don’t soak blades too long. Ten minutes is enough.
Longer soaking won’t sterilize better and might dull your blades. After soaking, drying prevents rust and keeps the clipper ready to go.
Choosing the Right Disinfectant for Hair Clipper Blades

Not all disinfectants work well or safely on hair clipper blades. You want a product that cleans, kills germs, and won’t damage the blade metal. Clipper sprays like Clippercide and Andis Cool Care are popular.
They clean, disinfect, and lubricate in one step. This makes them easy to use.
Barbicide is used to disinfect barber tools, but it’s not ideal for clipper blades. It can be too harsh, leading to rust or dull blades. Stick to products made specifically for hair clippers to avoid these problems.
Some disinfectants come in sprays, making them easy to apply. Spray the blades fully with the product. Let it sit for the time on the label.
Then wipe off or let the blades air dry. Others might require soaking. But this risks blade damage unless the clipper is designed for it.
| Disinfectant | Purpose | How to Use | Cost Range |
|---|---|---|---|
| Clippercide Spray | Clean, disinfect, lubricate in one step | Spray blades thoroughly; let dry | $8 to $15 for 16 oz |
| Andis Cool Care | Disinfect and cool blades quickly | Spray on blades; wait a few seconds | About $6 to $10 per bottle |
| Barbicide | Disinfect barber tools (not clipper blades) | Soak tools (not recommended for blades) | $8 to $15 for gallon concentrate |
| Clipper Oil | Lubricate only, no disinfection | Apply 3 drops on cutting edge | $5 to $10 per bottle |
Your choice depends on what you want to do next after cleaning. For quick and thorough care, a clipper spray is best. It cleans hair out, kills germs, and oils the blades to prevent rust.
For a quick disinfect, use Andis Cool Care. You still need to oil the blades afterward. Avoid Barbicide on clipper blades because it can cause rust and dullness.
Use oil only after your blades are dry and disinfected. Skip soaking blades unless your clippers say they are washable.
Most clipper manufacturers recommend spraying and wiping over soaking. Also, applying oil after disinfecting protects blades and improves cutting.
Never use Barbicide to soak clipper blades; it can damage them quickly.
Removing and Cleaning Clipper Blades Correctly
Start by turning off and unplugging your clippers to avoid accidents. Removing the clipper guards and blades makes it easier to clean hair and debris. Use a small brush to get the blades spotless before sterilizing.
Turning Off and Unplugging the Device
Always switch off clippers before cleaning. This prevents the blades from moving accidentally. Unplug the device to cut power completely and avoid electric shock during cleaning.
For cordless clippers, confirm the device is off before starting. Removing the battery (if possible) adds safety. Cleaning while powered risks injury and damage to the motor.
Removing Clipper Guards and Detachable Blades
Take off clipper guards to clean their grooves properly. Most guards snap on and off easily. Removing them stops hair from hiding in tight spaces.
Next, detach the clipper blades from the housing. Use the screws or release mechanism your model has. This step is needed for deep cleaning and sterilizing.
- Turn off and unplug the clippers.
- Remove clipper guards by pulling them gently away.
- Locate blade screws or release tabs.
- Unscrew or press tabs to remove blades.
- Set aside loose parts on a clean surface.
Brushing Out Hair and Washing Parts Safely
Use a small, stiff brush or an old toothbrush to clear hair. Brush all sides of the blades carefully. Hair buildup dulls blades and clogs the device.
Wash clipper guards with warm water and mild soap if water-safe. Rinse and dry them completely before reattaching. Never soak the blades or clipper body in water.
Wiping blades with a dry cloth after brushing removes leftover dust. Check for sticky residue and clean gently until blades shine. This prepares blades for sterilization without corrosion risk.
Cleaning the Clipper Body Without Water Damage
Use a damp cloth to wipe the clipper’s housing gently. Avoid water gathering near openings or vents to stop damage. Dry immediately with a soft towel.
Remove visible hair and dust from crevices using the brush. Cleaning the body this way stops dirt from interfering with the motor. Never spray cleaners or soak your clippers.
Sterilizing Hair Clippers by Clipper Type and Features
Sterilizing hair clippers depends on their design and features. Corded, cordless, waterproof, and washable models each need a slightly different approach. Knowing these differences helps protect your clippers and keep them sanitary.
Sterilizing Corded Hair Clippers
Corded clippers can’t be rinsed directly with water. Water can damage the motor or electrical parts inside. Instead, you should detach the blades and clean them separately.
After removing the blades, brush away hair and debris gently. Use a disinfectant spray or wipe designed for metal blades to kill germs. Allow the blades to dry completely before reattaching.
Here’s a quick checklist for sterilizing corded clippers:
- Unplug the clipper and remove the blades carefully
- Use a soft brush to clear out hair from the blades and clipper head
- Wipe blades with a blade disinfectant or rubbing alcohol using a cloth
- Spray disinfectant onto blades if possible and let it sit at least 10 minutes
- Dry the blades thoroughly to prevent rust
- Oil the blades lightly before putting them back on
Make sure the clipper is unplugged throughout. Avoid soaking parts, which can cause rust or motor issues. Keeping the blades dry and oiled extends their sharpness and lifespan.
Cleaning Cordless Models Safely
Cordless clippers have batteries and motors internally, so avoid water near charging ports. Like corded clippers, remove the blades for cleaning. Use a brush and disinfectant wipes or spray on blades only.
The key is to keep moisture away from electronic parts. After cleaning, wait for blades to air dry fully.
Use clipper oil sparingly to avoid attracting dust. Then reattach blades securely before powering on.
For cordless clippers, these tips help:
- Turn off and remove blades before cleaning
- Don’t spray disinfectant directly on the clipper body or charging ports
- Use a dry cloth to wipe the clipper itself gently
- Apply disinfectant to blades only with a cloth or spray
- Dry blades completely before reattaching
- Oil blades lightly after drying
Taking time to dry blades and avoid water around battery areas prevents damage. Keeping the battery and motor safe ensures your cordless clipper lasts long.
Handling Waterproof or Washable Clippers
Waterproof and washable clippers, often rated IPX6 or IPX7, allow rinsing blade heads under running water. This makes cleaning easier and faster. Just check your clipper’s manual before rinsing to confirm its rating.
After rinsing, shake off excess water and dry the clipper with a clean towel. Let the blades air dry fully before storing or oiling them.
Use only mild soap if you want deeper cleaning. Avoid harsh chemicals that can harm parts.
Use these steps for washable clippers:
- Turn off and detach the blade head if possible
- Rinse blades under warm running water for about 30 seconds
- Use mild soap and a soft brush for any stuck-on hair or grime
- Rinse soap off thoroughly with water
- Shake off water and pat dry with a soft towel
- Air dry blades and clipper completely for at least 30 minutes
- Oil blades lightly before next use
This method helps keep blades clean and sharp without risking motor damage. Over-wetting or rushing the drying process can cause rust or impair the clipper’s function.
When and How Often to Sterilize Hair Clippers for Best Hygiene
Clean your hair clippers right after every haircut. Use a quick clean to remove loose hair and buildup. This keeps your clippers working well every day without much fuss.
Every 3 to 5 haircuts, take a bit more time for a deep clean. This means disassembling the blades and washing them thoroughly. It helps stop germs and keeps the blades sharp and smooth.
Use your clippers a lot or on many people? Deep clean them monthly or more often.
For example, a busy home barber cutting family and friends might need it every two weeks. This stops germs from spreading and keeps performance steady.
Real sterilization, using strong disinfectants like Barbicide, is not daily. Soak blades for about 10 minutes only when needed.
This is best if you suspect infection risks or shared tools. It takes more time but offers the best hygiene.
Oil your clipper blades after each cleaning session unless you notice they drag or pull hair. To oil, turn clippers on briefly while applying the oil, then wipe the excess. This takes just 30 seconds but prevents overheating and blade damage.
Check the feel of your blades. They stick or catch hair even after cleaning? Apply oil immediately.
Some clippers need oil more often than a deep clean to stay smooth. Keep an eye on how your clippers run and respond.
Never use cotton balls or Q-Tips on your blades, they leave fibers that cause problems.
Common Mistakes That Damage Clippers During Cleaning
Using the wrong disinfectants can damage clipper blades or motors. Harsh chemicals like bleach or acetone may corrode metal parts and ruin motor wiring. Stick to disinfectants made for grooming tools to avoid expensive repairs.
Soaking the entire clipper or parts not meant for water can cause electrical failures. Only remove blades that can come off. Soak them in disinfectant for about 10 minutes.
Use the time recommended on the disinfectant label. Avoid the clipper’s body and motor housing since water can seep inside.
Using the wrong lubricant often causes blades to slow down or gum up. WD-40 is thicker than clipper oil and not made for blades. It can leave residue that blocks smooth cutting action.
- Use only light-weight mineral clipper oil to lubricate blades after cleaning
- Never soak the clipper’s motor or plastic parts in liquid
- Avoid harsh disinfectants like bleach or acetone that eat metal and rubber
- Detach blades if possible, and soak them apart from the clipper body
- Oil blades immediately after drying to reduce friction and prevent rust
- Check manufacturer instructions for parts removal and valid disinfectants
- Test clippers only after blades are fully dried and oiled to avoid motor strain
Clippers with removable blades, like the Philips Series 9000, are easier to clean properly. Older or sealed models need extra care to avoid liquid ingress.
Your clippers might feel sluggish after cleaning. You likely skipped the oil or used WD-40, which is too thick.
Ask your clipper’s maker about repairs before buying parts, mainly if it’s under warranty. Doing it yourself without the right oils and disinfectants can cause damage.
Over time, this damage adds up worse than normal wear. Proper cleaning protects your tool and keeps cuts smooth and fast.
Oiling and Maintaining Hair Clippers After Sterilization
Oil hair clipper blades right after cleaning and sterilizing them. This helps keep the blades sharp and prevents rust. Proper oiling makes your clippers last longer and cut smoothly.
Applying the Right Amount of Oil
Use 2 to 3 drops of clipper oil placed across the top blade. Avoid using too much oil, or it will drip and attract dust. The small amount keeps the blades cool and running smoothly.
Apply the oil before putting the clipper back together. A light film covers the blades, which lasts through several haircuts. Heavy oiling won’t improve performance but can cause build-up.
Distributing Oil Evenly by Running Clippers
Turn the clippers on for about 10 to 15 seconds after oiling. This spreads the oil evenly across the cutting surfaces. The blades should slide quietly and smoothly while running.
Running the blades helps the oil reach hard-to-see spots. Avoid running clippers longer than 15 seconds to prevent overheating. Even distribution stops the blades from grinding.
Wiping Off Excess Oil
After running the clippers, wipe off any leftover oil with a soft cloth. Remove excess oil from the blade tips and sides. This prevents dirt and hair from sticking to them.
Don’t wipe too hard or you’ll remove all the oil. Just dab enough to keep the blades clean and shiny. Regular wiping keeps the clipper hygienic and working well.
Routine Lubrication Frequency
Oil blades after every cleaning and sterilization. For heavy users, oil blades every few haircuts. This routine slows blade dulling and reduces rust risk.
You don’t need to oil before every haircut unless blades feel dry or noisy. Oiling this way keeps your clippers sharp and performing like new. Make it part of your regular clipper care.
Follow these steps to oil your hair clippers properly after cleaning:
- Remove the clipper guard and clean the blades thoroughly.
- Apply 2 to 3 drops of clipper oil evenly across the top blade.
- Reassemble the clipper if needed and turn it on for 10 to 15 seconds.
- Turn the clippers off and wipe away any excess oil with a soft cloth.
- Store clippers in a dry place to avoid rust between uses.
- Repeat oiling after every thorough cleaning or every few haircuts.
Storage Tips to Keep Hair Clippers Sterile Longer
After cleaning your hair clippers, dry them completely before storing. Wipe all clipper parts with a soft cloth. Let blades air dry.
Keep them drying for at least 10 minutes. Avoid using water on blades to prevent rust and damage.
Store clippers somewhere dry and covered to keep them clean. Use their case or a clean drawer. Moisture can cause rust and bring bacteria that irritate skin or harm clipper work.
- Wipe blades and body with a soft, dry cloth after cleaning.
- Air dry clippers for at least 10 minutes before storing.
- Store clippers in their case or a dry drawer away from moisture.
- Avoid humid places like bathrooms or near sinks.
- Keep clipper accessories clean and dry separately.
- Do not leave blades exposed to air without protection.
Drying clippers properly prevents rust and helps avoid bacteria buildup. A damp clipper blade can feel sticky or sound different when running.
Notice rust spots or blades pulling hair? Moisture might be causing this.
Never store clippers while they are still wet; this traps moisture and promotes rust.
Spray clipper blades with clipper spray or rubbing alcohol. Let them air dry before using again. This helps them dry quickly.
This takes about 20 to 30 seconds and helps remove oils that attract bacteria. Always check that the clipper is fully dry before putting it away.
Step-by-Step Action Plan
Follow these steps to sterilize your hair clippers safely and keep them working well. This plan helps you build a good cleaning habit.
- Before each use: Wipe the blades with a dry cloth to remove loose hair. This stops buildup before it starts.
- After each haircut: Brush hair from the blades and remove the blade if possible. Clean with warm soapy water, then dry. If blades aren’t removable, use disinfectant spray.
- Once a week: Soak removable blades in a disinfectant that’s safe for clipper blades. Rinse and dry fully before reattaching.
- After disinfecting: Apply clipper oil sparingly to blades. Check that oil covers all teeth to prevent rust and wear.
- Every month: Inspect the clipper’s motor and casing for dust or hair. Use compressed air or a dry brush to clean inside vents carefully.
- When storing: Keep clippers in a clean, dry case or pouch. Make sure blades aren’t touching hard surfaces to avoid dulling.
- After any drop or damage: Check that blades still align properly and move smoothly. Replace bent or broken parts immediately.
- Regularly: Replace blades when they become dull even after cleaning and oiling. Sharp blades cut cleaner and reduce skin irritation.
Frequently Asked Questions
Can I Use Bleach to Sterilize Hair Clippers?
Bleach is too harsh and can damage the blades and motor. Use products like rubbing alcohol or Barbicide instead for safe sterilization.
How Long Should Clippers Dry After Cleaning Before Use?
Let them dry at least 10 minutes after cleaning to prevent rust. Wiping off excess liquid helps speed up drying time too.
Do I Need to Unplug Clippers Before Cleaning and Sterilizing?
Yes, always unplug before cleaning to avoid shock or damage. Safety first for homemade cleaning and sterilizing steps.
Can I Sterilize Hair Clippers with Boiling Water?
Boiling water can harm your clippers’ motor and blades. Stick to approved liquids like rubbing alcohol for safe sterilizing.
Is It Safe to Share Hair Clippers After Sterilizing?
Yes, thorough sterilizing with Barbicide or alcohol reduces infection risks. Still, clean after every use to prevent buildup and germs.
Do Hair Clipper Sterilizers Kill All Bacteria and Viruses?
Sterilizers kill most germs but not all types. Deep cleaning combined with sterilizing keeps clippers more hygienic.
Key Points to Remember
Sterilizing hair clippers is key for hygiene and clipper life. Start cleaning your blades right after each use and oil them well. Keep your clippers safe with good storage and routine checks to avoid bigger repairs later.