How to Do Highlights at Home: A Complete Guide with Proven Methods
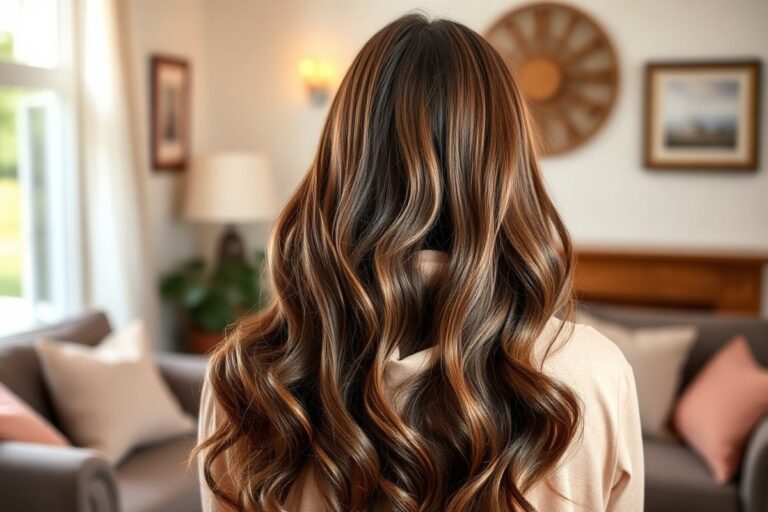
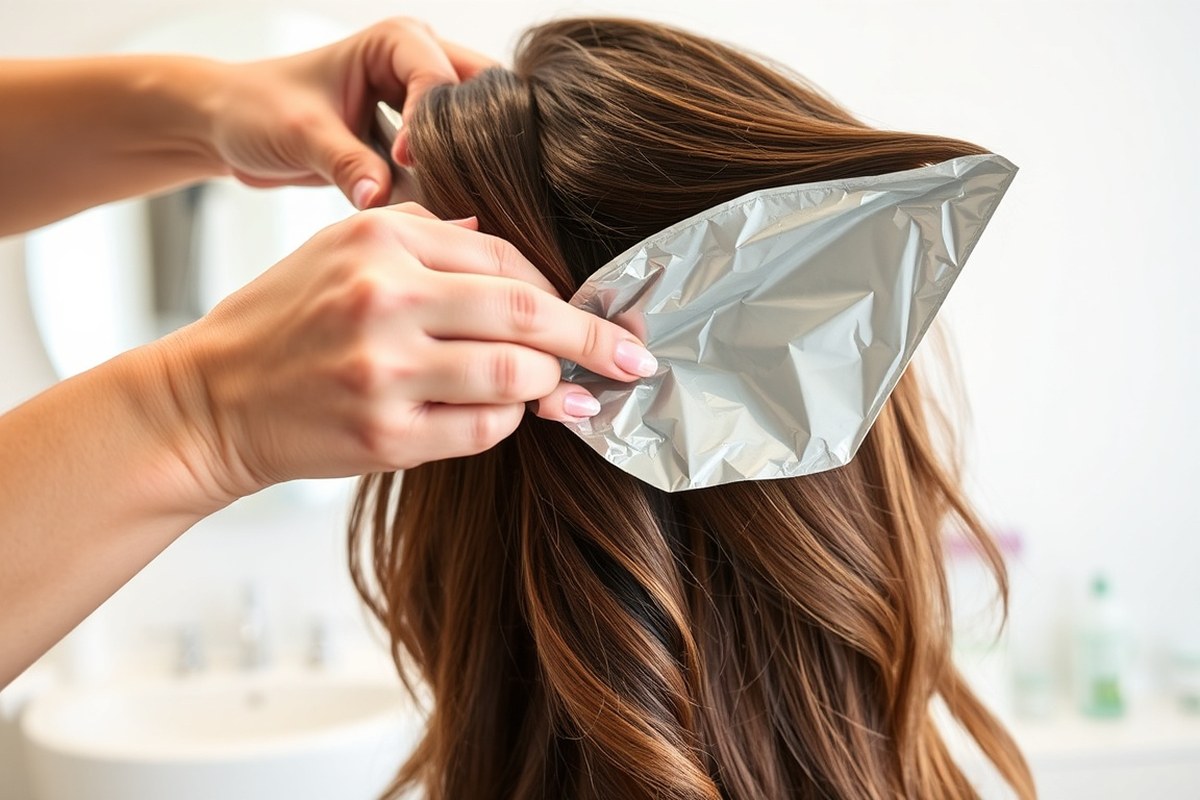
Learning how to do highlights at home can save you money and time. You just need to follow clear steps and use the right tools. Starting with the right method ensures your highlights look natural and blend well with your hair.
First, decide if you want sharp, defined highlights or something softer and more natural. Using foil gives defined streaks, while no-foil methods like balayage create a sun-kissed look. Choosing the right technique depends on how bold you want your highlights to be.
Watch your timing closely to avoid damage or uneven color. Bleach processes differently based on hair strength and how light you want to go. Checking your hair every 5 to 10 minutes helps prevent overprocessing and keeps your hair healthy.
Key Takeaways
- Cut foil strips 4 inches wide and 2 inches longer than your hair length.
- Apply bleach first to mid-lengths and ends, then roots last 10 minutes.
- Check highlights every 5 to 10 minutes for even lightening.
- Keep bleach on about 15 minutes on average; adjust for hair strength.
- Use toner for 20 minutes to neutralize unwanted brassy tones.
- Wait at least 48 hours before shampooing after toner if your scalp feels fine.
How to Do Highlights at Home Step-by-Step
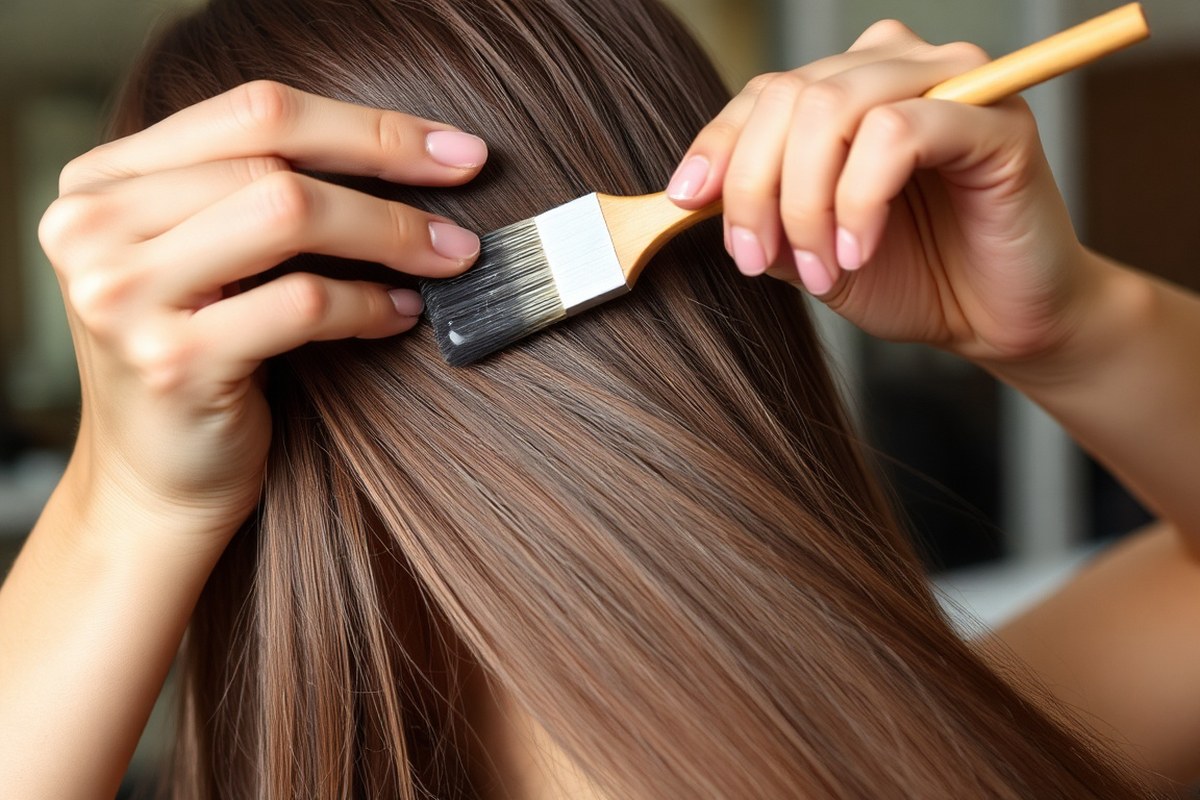
Start by dividing your dry hair into four equal sections. Clip each section securely to keep hair separate and manageable. This makes it easier to apply bleach evenly and prevents overlap.
Apply bleach to your mid-lengths and ends first, leaving roots for last. Roots lighten faster due to scalp heat.
So save them for the final 10 minutes. Use a highlighting brush for precision and avoid bleaching hair twice.
Watch bleach carefully; leave it on for 20 to 30 minutes. Going longer risks damage and breakage. Check hair every 5 minutes after 20 minutes to see if it’s light enough.
Rinse bleach out with lukewarm water once your hair reaches the right lift. Squeeze out excess water but keep hair damp. Apply toner immediately to cancel unwanted brassiness and achieve a cooler tone.
After toning for 5 to 15 minutes, rinse again and use a deep conditioner. This step restores moisture and strengthens hair after bleaching. Use hair masks weekly to keep your highlights looking fresh long-term.
- Section hair into four parts and clip tightly to separate strands properly.
- Paint bleach on mid-lengths and ends first, covering small sections evenly.
- Apply bleach to roots last, 10 minutes before rinsing to avoid overprocessing.
- Leave bleach on for 20 to 30 minutes, checking hair every 5 minutes after 20.
- Rinse thoroughly with lukewarm water and towel-dry until damp but not wet.
- Apply toner from roots to ends, leave for 5 to 15 minutes according to instructions.
- Rinse toner out and follow with a deep conditioner or hair mask.
Choosing Between Foil and No-Foil Highlighting Methods
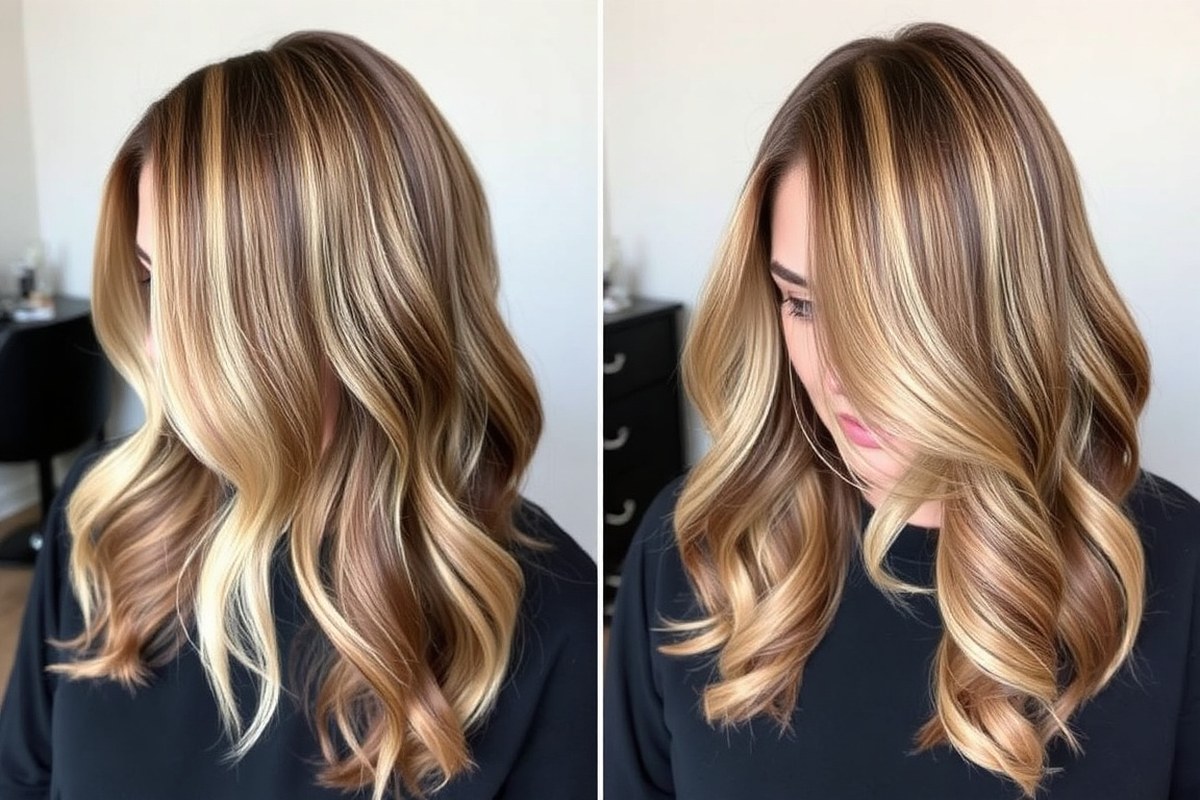
Foil highlights give you clear, defined sections of lighter hair. This method works well for dramatic contrast and uniform lightening. You wrap painted or combed-on product in foil, which speeds the processing and isolates the strands.
No-foil highlights, like balayage or cap highlights, offer a softer, more natural effect. These methods let air reach your hair, so lightening develops more gently. You can do them without foils.
This method is easier for beginners. It also lowers the risk of harsh lines.
Foil is best for medium to coarse hair where you want precise, bright lines. No-foil methods suit fine or thinning hair, since they cause less stress. Balayage is great for a sunkissed, gradual grow-out with low upkeep.
| Your Hair Situation | Best No-Foil Method | Why It Works | Watch Out For |
|---|---|---|---|
| Mostly gray or silver hair | Fine cap highlights or soft hand-painted pieces | Blends gray without harsh stripes | Over-toning silver hair can dull the color |
| Fine or thinning hair | Few face-framing pieces or scattered cap highlights | Brightens without overprocessing fragile areas | Bleach damage on hairline if too heavy |
| Dark brown hair | Caramel balayage or honey face-framing pieces | Warms highlights for natural contrast | Highlights may look brassy without toner |
Foil highlights take time and patience. Follow package directions and check every 5 to 10 minutes.
Foils intensify bleaching, so mistakes show quickly. They need precise sectioning, better tools, and a steady hand.
Cap or open-air methods are simpler and safer for beginners. A cap kit has pre-punched holes for pulling hair strands. So you avoid uneven bleach patches.
Balayage means hand-painting the product on hair. This creates gradual lightening. It also makes fixing small errors easier.
Grow-out looks are different, too. Foils create clearer light-to-dark boundaries, showing roots sooner, usually about 4 to 6 weeks.
No-foil methods give more blended regrowth. So you can space out touch-ups and reduce damage.
Always do a strand test before highlighting to avoid uneven color or damage.
Essential Tools and Products for Safe DIY Highlights
You need the right tools, bleach, developer, and optional treatments to highlight hair safely at home. Choosing proper products ensures even color and protects your hair from damage. Some extras like Olaplex can help reduce bleach damage during the process.
Basic Highlighting Tools and Applicators
Gather tools that allow for precise application and easy sectioning of hair. You’ll want items that help separate hair and keep the bleach in place during processing. Some essential tools include:
- Highlighting brush with a fine tip for accurate application
- Mixing bowl, avoid metal; use plastic or glass instead
- Sectioning clips to hold hair sections away
- Foils or highlighting caps, depending on your technique
- Gloves to protect your hands from chemicals
- A comb with a pointed end for parting
- Timer to track processing time carefully
Using smaller hair sections with these tools will give better control and less mess. A steady hand and patience deliver highlights that blend well into your natural hair.
Choosing the Right Bleach and Developer Strength
Bleach powder mixed with developer lifts your hair color to create highlights. Developer strength controls how much your hair lightens and how fast. Pick a developer volume based on your natural hair color and hair condition:
- 10 volume developer for light blondes or to gently lift color
- 20 volume developer works well for medium hair shades and normal lightening
- 30 volume developer is stronger and lifts hair quicker; needed if using Olaplex
- 40 volume developer for very dark, coarse, or resistant hair (use with caution)
Combine bleach and developer using one part bleach to two parts developer unless the instructions say differently. Normally, use a 20 volume developer.
Use 30 volume if you mix in Olaplex, since it needs a stronger developer. Don’t lighten more than two shades from your natural color to avoid brassiness.
Optional Products for Protection and Toning
You can add treatments to protect hair from damage and improve highlight tones. Olaplex is popular because it rebuilds broken bonds during bleaching, reducing breakage and dryness.
Add Olaplex No.1 or a similar bond builder directly to your bleach mix. Using Olaplex means stepping up your developer to 30 volume for proper reaction speed. This combo strengthens your hair while lightening it.
After bleaching, use a toner or purple shampoo to neutralize brassiness and improve cool tones. Toners often come as separate products, so buy one for your target tone. Purple shampoos deposit gentle pigment to maintain the brightness of your highlights between sessions.
How to Use Different Highlighting Techniques at Home
Four main techniques let you highlight at home: foil, cap, balayage, and money-piece. Each fits different hair styles and goals.
Choose the one that fits your hair length and texture. Pick one that suits the effect you want.
Foil Highlighting Method
This method separates hair sections with foil before applying lightener. It gives precise, bright highlights and suits short or long hair. Foils help keep lightener from touching other hair, reducing uneven color.
Here’s how to do foil highlights safely and well at home:
- Choose thin to medium sections of hair. Comb them smooth.
- Place foil under the section close to the scalp, about 1/4 inch wide.
- Apply lightener with a brush from roots to ends on the section.
- Fold the foil carefully, sealing the hair inside to avoid leaks.
- Repeat on all sections you want highlighted, spacing foils evenly.
- Leave foils in for 20, 45 minutes, checking lift every 10 minutes.
- Rinse out all foils thoroughly with cool water when done.
Foil highlights can lift quite light, but monitor time to avoid damage. They work well on all hair types.
For curly hair, wrap foils loosely to preserve curl shape. For gray hair, use fine sections with shorter processing for natural coverage.
Cap Highlights Method
A cap highlights kit uses a special plastic cap with holes to pull strands through. This method suits short and fine hair well. It keeps highlights neat and avoids mess from foils or open air.
Follow these steps for cap highlights:
- Put the cap firmly on dry hair, smoothing as much as possible.
- Use the included hook to pull small hair strands through holes.
- Apply lightener evenly to the pulled strands with a brush.
- Cover hair with plastic wrap or a shower cap to keep warm.
- Process for 15, 30 minutes, checking lift frequently.
- Rinse cap off, then remove it gently from hair.
- Condition hair well to restore moisture after lightening.
This method is simple but limited to highlighting smaller areas. Avoid thick sections or you risk uneven color. Cap highlights are gentle and good for gray hair or fine textures.
Balayage Painting and Money-Piece Techniques
Balayage is an open-air hand-painting technique that gives soft, natural highlights. It doesn’t use foil or a cap, making at-home balayage less bulky. Money-piece highlights isolate front strands for face-framing effect.
To paint balayage or money-piece highlights:
- Start on dry hair, dividing it into large or small sections as desired.
- Load a brush with lightener, then sweep it onto hair gradually from mid-length down.
- For money pieces, focus lightener on front strands around face and temples.
- Blend edges softly by flicking brush strokes upward.
- Leave lightener open to air and process 20, 40 minutes, checking lift.
- Rinse carefully and use a toner only on highlighted strands if needed.
This technique suits medium to long hair best and works great on wavy or curly textures. Balayage blends nicely on gray hair using softer, hand-painted highlights. It takes practice to paint evenly but looks less harsh than foils.
Timing and How to Avoid Overprocessing Highlights
Leave bleach or color on your hair for 20 to 45 minutes. Follow your hair type and product instructions carefully. Always check often to avoid damage.
Check your highlights every 5 to 10 minutes to see how the color develops. This helps you catch the right lightness without going too far.
Signs of proper lifting include a uniform lightening and soft texture. Your hair is overprocessed when it feels brittle or straw-like. It may also snap easily.
Be gentle with your hair at all times. Overprocessed hair shows frizz and breaks easily. So stop the process immediately if you notice these.
Hair that is dry or damaged needs gentler timing. For previously damaged or light hair, work on one side at a time. This way, you can rinse out the bleach early if needed to avoid ruining the hair.
Processing times vary by hair type and color. Darker or thicker hair often requires closer to 45 minutes.
Fine or lighter hair may only need 10 to 20 minutes. Follow your product instructions closely and use them as a guide.
Your hair is too dry or damaged during processing. Rinse the bleach or color out immediately. Don’t wait to protect your hair health.
Use deep conditioning treatments afterward to help restore moisture. Avoid leaving bleach on too long to prevent permanent damage.
Check your highlights every 5 to 10 minutes without disturbing the bleach too much. This helps avoid overprocessing and keeps hair healthier.
Working in sections helps you manage timing better, especially with fragile hair. Watch your hair’s texture and color carefully. Sticking to these checks lowers the chance of damage while still giving you fresh, vibrant highlights.
Choosing the Right Toner and Using Purple Shampoo Effectively
Choose a toner that suits your highlight’s unwanted tone to fix brassiness. Apply toner for 5 minutes or less on damp hair and rinse with conditioner. Use purple shampoo weekly to keep blonde highlights bright without drying hair.
Common Highlight Tone Issues and Fixes
Yellow or pale yellow highlights need a purple or violet toner to cancel the brassiness. Golden yellow tones respond well to violet-blue toners or beige/pearl toners for a natural look. Orange brassiness is toned down best with blue-based toners or blue shampoo.
Use a warm golden or beige gloss to fix ashy or dull highlights. It will bring back richness and warmth fast.
Red-orange tones usually require a salon toner since correcting them needs blue-green shades. Avoid leaving toners on too long to prevent overly cool or unnatural tones.
Toner Types and Timing Recommendations
Semi-permanent toners last four to eight weeks depending on washing and hair type. Use violet or purple toners on blonde or light brown highlights. They help create cool ash tones.
These toners suit certain shades best. Apply toner on thin sections of hair to get even color.
This avoids stripes or patches. Rinse off the toner after 5 minutes or less.
You can safely tone hair at home after bleaching. Follow the instructions on the product carefully. Choose gentle toners for best results.
Always shampoo your hair with color-safe shampoo before applying toner. Condition your hair afterward to protect and seal the colour.
How to Integrate Purple Shampoo into Your Routine
Use purple shampoo once every 1 to 2 weeks to stop brassiness without overdrying hair. Apply toner like shampoo, focusing where the highlights are. Leave it on for 2 to 3 minutes.
Then rinse it out well. Avoid daily use of purple shampoo because it can cause purplish buildup on your hair.
On wash days, use gentle, color-safe shampoo and conditioner to keep your hair healthy. Add a deep conditioning mask once a week if your hair feels dry. This will bring softness and shine back.
Use it regularly to see results. Using purple shampoo helps your highlights stay fresh and bright between toning sessions.
Aftercare and How to Maintain Your Highlights Longer
Wash your hair at least 48 hours after highlighting. This wait lets the color seal into your strands. Use cold water to rinse; it helps keep color from fading and cuts frizz.
Pick shampoos and conditioners made for color-treated hair. They often have gentle cleansers and extra moisturizing ingredients. Purple shampoos refresh cool highlights.
Use them once every one or two weeks. This stops brassiness and dryness.
Moisturize your hair regularly with deep conditioners or hair masks. Highlighted hair can dry out quickly, so start treatments once or twice a week. Olaplex’s three-step system is a good choice to limit damage during and after coloring.
- Wait 48 hours before your first shampoo post-highlight
- Always rinse hair with cold water
- Use sulfate-free shampoos and moisturizing conditioners for color-treated hair
- Apply deep conditioning masks once or twice weekly
- Use purple shampoo every 1, 2 weeks to tone highlights
- Limit heat styling to reduce breakage and color fade
- Protect hair from sun and chlorine with hats or swim caps
Toning your highlights every 4 to 6 weeks keeps the shade fresh. This depends on your natural hair color and highlight style.
Skip toning if your hair feels very dry or brittle. Focus on hydration instead.
Avoid heat styling tools often. High heat can dry hair and fade color faster. Use the lowest heat setting for your tools.
Always spray heat protectant before styling. This helps protect your hair.
Protect your hair from sun exposure and chlorine. Ultraviolet rays and pool chemicals strip color and dry hair out. Wearing a hat or applying a leave-in UV protector before outdoor time helps maintain brightness.
When to Skip DIY Highlights and See a Professional
Highlighting damaged or chemically treated hair at home raises the risk of breakage or uneven color. Hair that is dry or brittle should avoid DIY highlights. Bleached, permed, or relaxed hair also needs caution.
These types of hair don’t usually handle DIY highlights well. It’s better to seek professional help to avoid further damage or patchy results.
Look for signs like scalp irritation, redness, or sensitivity. Don’t apply bleach or lightener at home with a sore scalp.
Avoid it if you have cuts or wounds on your scalp. Professionals can offer safer alternatives or treatments to protect your scalp during coloring.
Complex looks involving many tones, heavy blending, or drastic lightening suit salon work best. At-home kits won’t reliably achieve multi-dimensional highlights or correct uneven past dye jobs. Visiting a pro helps avoid orange or brassy tones in hair.
These tones happen when hair doesn’t lift well. A professional can reduce this risk.
Previously dyed hair, especially darker shades, often lifts unevenly, causing orange highlights that look unnatural. Talk to a salon colorist if your hair is dark or artificial.
A professional can help you plan a safer highlighting process. Some brands, like L’Oreal’s Color & Co, offer free colorist consultations for at-home users.
Consider these questions: Is your hair too fragile? Do you want complex coloring? Is your scalp sensitive?
Answering yes means skipping DIY highlights and booking a salon appointment. Pros can also fix botched color jobs or do color corrections that home kits cannot handle.
Stop and see a professional if your scalp is irritated or your hair is already damaged. Avoid costly fixes later.
Salon highlights typically cost $100 to $200 and take about 2 to 3 hours. This investment buys safer chemicals, expert application, and color correction options. Professionals use tools and techniques to protect your hair’s health and deliver even, lasting color.
Risks go up when you try to speed up lifting or leave bleach on too long. Professionals closely monitor time and strength of lightener to avoid overprocessing. You can’t do this safely without training and proper tools.
Step-by-Step Action Plan for Your First Highlights
Follow this simple plan to get your highlights right the first time. Check each step to see if it worked before moving on.
- Before you start: Do a strand test with your chosen bleach or dye. You’ll see how long it takes to lighten and if your hair reacts well.
- Day 1: Prep your hair by brushing it thoroughly and sectioning it. Clean, dry hair helps the product go on evenly.
- During application: Use foil or balayage carefully to cover thin sections. Make sure the bleach saturates but doesn’t drip.
- Timing the bleach: Watch your hair color change every five minutes but don’t pass 30 minutes. Stop when you hit your desired lightness or before damage signs appear.
- Rinse and tone: Rinse with cool water, then apply toner to cancel unwanted brassiness. Your highlights should look bright and natural.
- Week 1: Use purple shampoo twice to keep brass away. Your highlights will stay fresh without drying your hair out.
- Week 2 and after: Apply deep conditioner weekly. Healthy hair helps your highlights last longer and look smooth.
Frequently Asked Questions
Can I Highlight My Hair If It’s Already Colored?
You can highlight over dyed hair, but results vary. Your current hair color can change the final shade you get.
Do a strand test first. This shows how your hair lifts or blends.
How Do I Prevent My Scalp from Itching During Highlighting?
Use a gentle formula and avoid applying bleach directly on your scalp. You can also do a patch test before and rinse well after processing.
Is It Better to Do Highlights on Dry or Damp Hair?
Highlights work best on dry hair for even application and better control. Damp hair can cause uneven color and longer processing times.
How Do I Fix Highlights That Turned Too Brassy?
Use a blue or purple toner or shampoo to neutralize warmth. Apply carefully and only as directed to avoid over-toning or dull color.
Can I Do Highlights If I Have Sensitive Skin?
It’s possible but proceed cautiously. Do a patch test at least 48 hours before to check for allergic reactions. Stop if you feel irritation or burning.
What Is the Best Time of Day to Apply Highlights at Home?
Morning is best so you have daylight to see the color clearly. This also gives more time to correct any mishaps before evening.
Key Points to Remember
Doing your own highlights takes focus and patience to get right. Stick to the steps and protect your hair at each stage. Grab your tools, plan your timing, and start with a strand test today.