How to Cut Your Own Hair at Home: Simple Steps for Best Results
How to cut your own hair can feel tricky. But you can do it well.
The key is to work carefully and use the right tools. Cutting your hair at home saves money and lets you fix small issues anytime.
Start by picking a clean, well-lit space with a mirror you can see into easily. Detangle your hair gently with a residue-free detangler before you begin. Taking these steps helps prevent uneven cuts and frustration later.
Trim just a little at a time, about a quarter inch or less, to keep control. Work slowly, especially around the back, where you can’t see well. You’ll get better results by going slow than rushing and causing mistakes.
Key Takeaways
- Use sharp haircutting scissors, not regular household scissors.
- Section your hair into 4 to 6 parts for even cutting.
- Trim hair when it’s clean and slightly damp for easier control.
- Pull hair with a hair elastic to measure length before cutting.
- Trim a small amount every 6, 8 weeks to keep ends healthy.
- Use a mirror setup to see the back and side of your head.
Can You Really Cut Your Own Hair at Home Successfully?
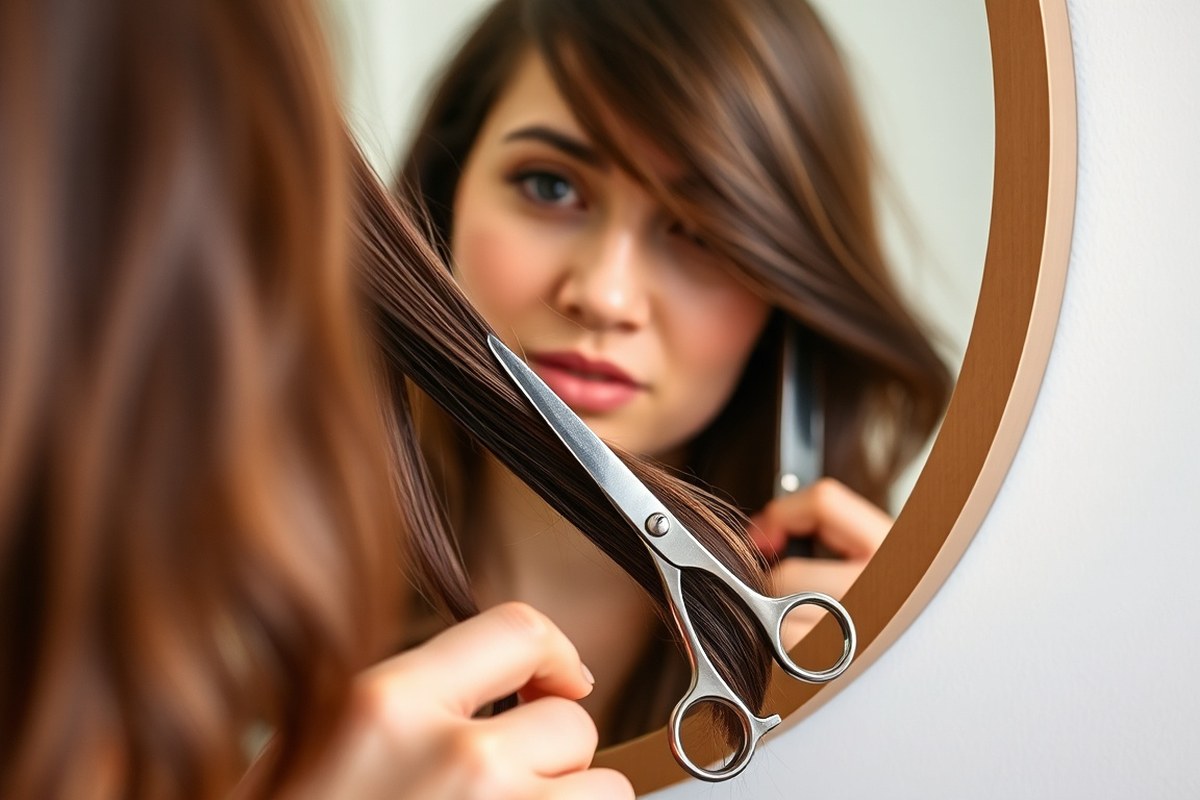
Cutting your own hair at home is totally doable, even if you’re new to it. Start small by trimming just a little off.
Hair stretches when wet. So cutting less than you think helps avoid removing too much.
Expect your first cut to be a bit rough. That’s normal. You’ll improve as you practice cutting your own hair.
Learning your hair’s texture is part of it. You also learn how your hair moves when cut.
Straight hair is usually easier to cut yourself than curly or textured hair. Have curls?
Cut dry and styled for better control. For straight hair, damp cuts work well for neat, even lengths.
Investing in sharp hair shears, rather than kitchen scissors, makes a big difference. Dull or regular scissors hurt your haircut’s finish.
They cause split or jagged ends. This ruins the look even with good technique.
Cutting your own hair saves money and gives you control over your style timing. You don’t have to wait for salon appointments or worry about last-minute changes to your look.
Keep your goals realistic to avoid frustration. Avoid major style changes at first. Tackle trims or simple cuts before attempting bobs or pixie cuts.
Confidence grows by following clear steps and using the right tools. Set a clean, well-lit space where you can see your hair clearly from all sides. Take your time and use mirrors to check your progress.
Want a bold pixie or bob cut? Straighten your hair first with a flat iron. This makes your hair uniform and easier to cut straight lines.
Remember, cutting hair at home isn’t perfect every time, but it gets easier. Small mistakes happen. But fixing them is possible if you cut conservatively and check your work often.
Which Tools and Supplies Do You Need to Cut Hair at Home?
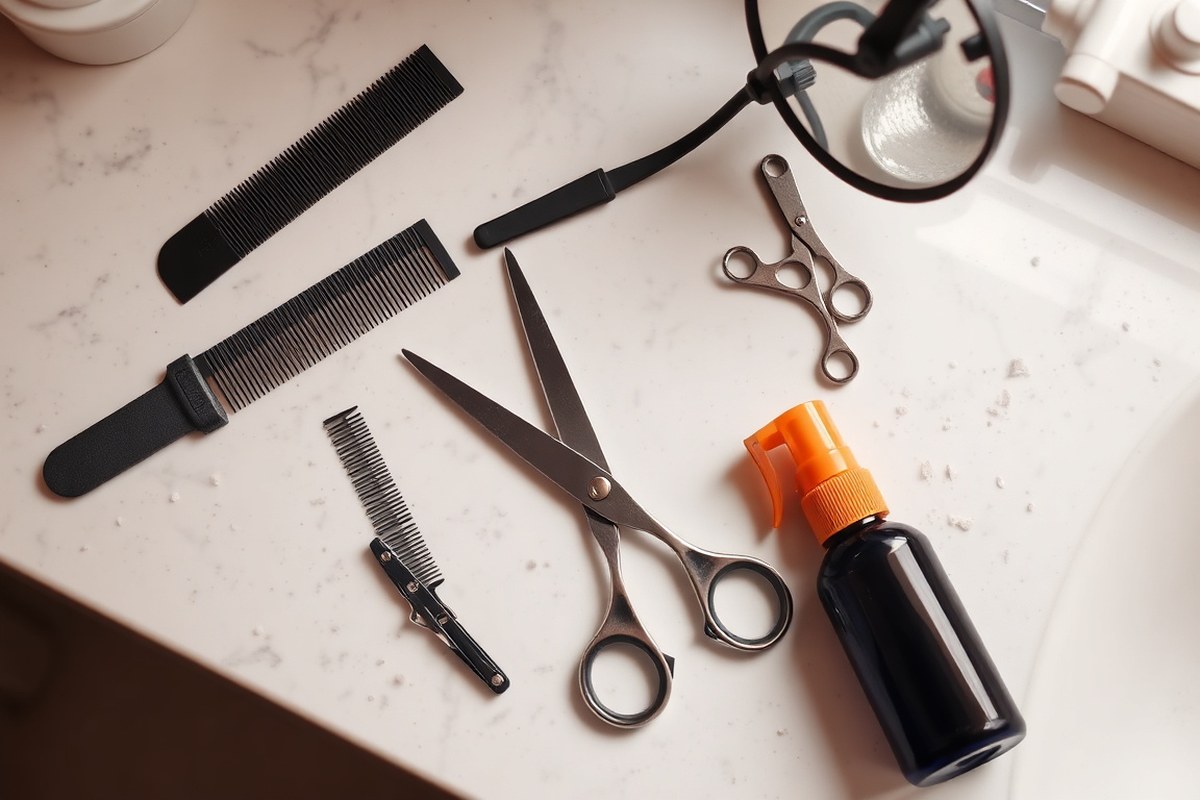
Start with sharp hair shears designed specifically for cutting hair. Scissors made for fabric or paper don’t cut hair well. They can ruin your hair ends.
Use scissors made for hair only. Hair shears cost about $15 to $30 for good quality.
They last long with proper care. This price makes them affordable for most people.
Hair clippers aren’t always needed. They help with short styles like pixie cuts. Clippers are good for trimming the back too.
Clippers let you cut evenly and faster, especially on thick or curly hair. You might only need scissors and combs for trimming long hair.
Sectioning clips help keep hair out of your way and make cutting easier. Use alligator clips or duckbill clips to hold sections securely. You’ll want a few combs for cutting hair right.
Use a wide-tooth comb to detangle hair first. Use a fine-tooth comb to smooth sections. A detangling brush helps if your hair is curly.
- Sharp hair shears for cutting with precision.
- Hair clippers for short styles or detail work (optional).
- Multiple sectioning clips to hold hair securely.
- Wide-tooth comb to detangle without breakage.
- Fine-tooth comb for smoothing sections before cutting.
- Spray bottle filled with water to dampen hair evenly.
- Mirror setup with a hand mirror or phone camera to see the back.
Using a spray bottle to keep hair slightly damp improves control. Damp hair cuts more evenly and reduces split ends from snagging. Avoid soaking the hair; too much water makes it harder to judge length exactly.
Use multiple mirrors or a phone camera to see your head’s back clearly before cutting.
Good lighting in your workspace makes it easier to see fine strands and spot uneven areas. Think about where shadows fall, and adjust lights or add lamps if needed. Avoid rushing and cut small amounts at a time with the right tools in hand.
Wet or Dry? How to Choose the Best Cutting Method for Your Hair Type
Choosing between wet and dry cutting depends mainly on your hair texture and style. Straight hair often looks best when cut damp. Curly hair is safer to trim dry.
Fine hair can work with both methods. But the approach should match your hair’s natural state for better results.
Why Straight Hair Benefits from Damp Cutting
Straight hair is easier to manage when damp or lightly wet. The moisture helps smooth the strands, allowing for a clean, even cut. Dry cutting straight hair can make it harder to see uneven lengths or layers.
Cutting damp straight hair also reduces flyaways and keeps hair from spreading wide. You usually wash or dampen your hair before trimming, then comb through carefully. This method works well for blunt cuts or long layers.
Advantages of Dry Cutting for Curly Hair
Curly hair should always be cut dry because wet hair shrinks when dry. Cutting curls dry shows their real length and shape. Otherwise, you risk cutting too much if you trim curly hair wet.
Dry cutting means working with natural curls, cutting curl by curl. This approach helps preserve curl patterns and avoids surprises after drying. Hair should be moisturized before cutting to reduce frizz and make curls easier to handle.
When Fine or Thick Hair Dictates Approach
Fine or thin hair can be cut dry or damp. Choose what feels best for you. Both ways work well for your hair type.
Cutting damp adds control and smoothness, but dry cutting might reveal uneven spots better. Thick hair usually responds well to damp cutting, especially if you want to remove bulk evenly.
Thick hair might also require sectioning and cutting while damp to avoid fuzziness. The texture guides whether you cut strand by strand, or in larger sections. Both methods require patience and sharp tools for clean lines.
Preparing Your Hair Based on Method Choice
For damp cutting, wash hair and towel dry until it’s just slightly moist. Comb through to detangle and distribute moisture evenly. Avoid letting hair air dry completely or keeping it dripping wet because that interferes with precision.
Start dry cutting with clean, dry hair. Then apply a little leave-in conditioner. You can also use spray moisturizer for softness.
Separate curls carefully without stretching or pulling them. Use a hand mirror to check the back and sides before you cut.
Here’s a simple comparison of cutting methods for different hair types:
| Hair Type | Recommended Cutting Method | Why It Works |
|---|---|---|
| Straight | Damp or wet | Easier to see and cut evenly; flyaways controlled |
| Wavy | Dry or damp | Dry shows true wave shape; damp smooths strands |
| Curly | Dry only | Shows real length; prevents cutting too short due to shrinkage |
| Fine/Thin | Damp or dry | Depends on personal preference; both methods work well |
| Thick | Damp mostly | Helps control bulk and reduces fuzziness |
Pick the method based on your hair’s texture. Also think about the style you want. This helps you get the best result.
Prepping the hair carefully helps you avoid cuts that are uneven or too short. Cutting hair in the right state keeps it healthy.
It also helps you see results like a pro. This makes a big difference in your cut.
How to Section Your Hair for Accurate and Even Cutting
Sectioning your hair helps you cut more evenly and avoid mistakes. Dividing your hair into clear parts keeps hair from merging together as you work. Use clips or elastics to hold sections tight and neat while you cut.
For most home haircuts, splitting your hair into at least four sections works well. Start with a middle part from forehead to nape.
Next, divide into left and right sections from ear to top of head. Use a rat-tail or pin tail comb for clean, straight parts.
- Create a clean center part with a rat-tail comb. Start at your forehead. Comb straight down to your neck.
- Divide the hair on each side of the center part. Make two sections on each side. You will have four sections total.
- Secure each section with alligator clips or small elastics to keep hair tight and separated.
- Check your parts for straight, even lines to avoid uneven cuts down the road.
- Work on one section at a time to maintain consistent tension and control when cutting.
- Hold the hair firmly between two fingers at the cutting length before trimming across.
- Release clipped hair gradually as you finish trimming previous sections, keeping lines neat.
Keeping the parts straight and symmetrical also shows you where hair falls. This helps make sure you don’t cut too much or miss spots. Good tension when holding your hair stops uneven cuts and split strands.
Step-by-Step Guide to Trimming and Cutting Your Own Hair
Cutting your own hair takes careful planning and slow, steady steps to avoid mistakes. First, decide how much hair you want to cut. Then use simple trimming methods for bangs and layers.
Follow each step carefully to get a good result. Frequent checks and small cuts help keep your style even and neat.
Choosing Your Desired Length and Marking the Hair
Decide how much hair to cut by starting with less than you think. Cut an inch or less to avoid taking off too much. Use hair clips to section your hair evenly, making it easier to control.
Mark the length with a comb or your fingers as a guide. This helps keep the cut uniform. Check length in natural light to see the true hair color and ends clearly.
- Comb hair straight and detangle carefully.
- Divide hair into even sections using clips.
- Use fingers or a comb to mark the desired cut length.
- Double-check the marked length in a well-lit area.
- Note down your initial target length to avoid surprises.
Trim slightly longer than your target length. You can always cut more later if needed.
Basic Cutting Technique for a Blunt Trim
Start with hair dry or slightly damp for more control. Take a small section of hair between your index and middle fingers.
Pinch it tight, then slide your fingers down to the cutting point. Cut right where your fingers stop.
Cut straight across at a slight angle, matching each new snip to previous cuts. Cutting vertically with slight point cuts softens blunt edges and prevents a harsh line.
- Hold hair between your fingers about half an inch from the ends.
- Cut straight or slightly angled across your fingers.
- Move around your head, cutting small sections to keep length even.
- Use point-cutting by snipping the ends vertically for texture.
- Check your work often by letting hair fall naturally and comparing sides.
Avoid cutting large chunks at once. Small cuts reduce unevenness and mistakes.
How to Trim Bangs with Precision
Comb bangs straight down and mark the desired length. Start cutting longer than your target length so you can adjust as needed. Trim little by little, checking in the mirror regularly.
Cut bangs straight across for blunt bangs, or add minor point cuts to soften edges. Cutting bangs too short at first is common; trimming slowly prevents this.
- Comb bangs straight down over your forehead.
- Pinch the bangs between your fingers at the desired length.
- Cut straight across, cutting less than you think you’ll need.
- Trim small vertical snips at the edges for a textured finish.
- Repeat trimming small amounts until you reach the perfect length.
Never cut bangs dry entirely if you want a smoother finish. A damp start helps control.
Creating Layers Using Simple Methods
Start with hair dry or slightly damp. Pull a vertical section of hair straight out from your head. Use your fingers to hold it at the point where you want the layer to start.
Cut at an angle following your finger line to create soft layers. Repeat with other sections, matching length as you go. Always cut little by little.
- Section hair vertically and hold a small section away from your scalp.
- Pinch the hair at the length where the layer should begin.
- Cut the ends gently at an angle for smoother layering.
- Match layers on both sides by frequently comparing lengths.
- Use point cutting on layers to reduce bluntness.
Layering requires patience; cut a little at a time and check symmetry often.
How to Cut Different Hair Types: Straight, Wavy, and Curly
Straight hair is usually the easiest to cut at home. Use a fine-tooth comb to keep strands straight and tangle-free. Cutting while dry helps you see the natural fall and avoid surprises in length.
Wavy hair needs gentle handling to prevent frizz and unevenness. Avoid brushing it out completely before cutting because it can disrupt the wave pattern. Trim sections while the hair is slightly damp to keep waves defined and controlled.
Curly hair requires careful attention to shrinkage and coil pattern. Curly locks can shrink up to 25% or more after cutting. Cut dry or in your hair’s natural curl state for best results.
Section your hair coil by coil. This keeps its shape and volume.
- For straight hair, work with small, even sections using a comb.
- For wavy hair, avoid excessive brushing; cut damp to keep waves aligned.
- For curly hair, cut dry or blown-out curls to judge length accurately.
- Section curly hair into manageable coils to trim individually.
- Use sharp scissors designed for hair to get clean cuts on all types.
- Trim less than you think, especially with curls, to avoid surprises.
- Go slow and check length frequently on all textures.
People with thick or very tight curls should section hair firmly and detangle gently before cutting. Cutting coil by coil works well for natural curls to keep consistent length and shape.
You might cut straight hair in horizontal layers. For wavy or curly hair, choose longer and looser sections.
Wavy and curly hair hides small uneven spots well. This makes cuts more forgiving. You don’t need perfect precision.
Straight hair shows every uneven edge quickly, so precision is key. Cutting curly hair straightened can mimic salon styles. Only do this if you usually wear your hair straight.
Cutting in your hair’s natural curl form avoids surprises. Curls bounce back after washing. This saves a lot of hassle.
Repairing and Avoiding Common Home Haircut Mistakes
Uneven cuts happen when you rush or miss angles. To fix unevenness, trim small amounts with sharp hair-cutting shears along the uneven edge.
Hold your mirror so you see the back and sides clearly. Work slowly, cutting less than a quarter inch at a time to avoid making things worse.
Cutting too much is a common worry. Try blending the short part into your longer hair to fix length.
Use the point-cutting method: snip into the hair tips vertically rather than straight across. This softens a blunt line and helps the cut look natural without harsh edges.
Ragged or choppy ends often mean dull scissors or cutting at the wrong angle. Always use scissors made for hair, not regular household pairs.
These hair shears give a cleaner cut without crushing strands. Snip your hair in small, neat sections rather than rushing through a large chunk.
Patchy spots or asymmetry usually come from uneven tension or uneven sectioning while cutting. Look at your whole head in a mirror before stopping. Fix small uneven patches by trimming a little at a time.
For big mistakes, stop cutting yourself. Get a professional’s help. It’s safer than cutting more on your own.
- Use sharp hair-cutting shears, not regular scissors
- Work in small, well-detangled sections
- Cut less than ¼ inch at a time to prevent overcutting
- Point-cut ends vertically to soften blunt lines
- Check your cut from multiple angles with mirrors
- Cut dry hair or slightly damp, never soaking wet
- Stop and seek a professional if errors seem too large
Checking your progress often helps catch mistakes before they happen. Use two mirrors or a handheld mirror to view your back and sides. Step away every few minutes and look with fresh eyes.
When you feel unsure or see major flaws, pause cutting and book a salon visit. Professionals can fix uneven layers or big trim errors safely without shaving off too much.
How to Maintain Your Haircut and Know When to Trim Again
Trimming your own hair regularly keeps it healthy and neat. You should check your ends every 6 to 8 weeks for dryness or split ends. Careful maintenance extends the life of your haircut and keeps your style fresh.
Recommended Trimming Frequency by Hair Type
For most hair types, a trim every 6 to 8 weeks helps prevent split ends. Curly hair tends to be drier.
So trimming closer to every 6 weeks works best. Straight hair can usually wait 7 to 8 weeks before the next cut.
Thick or coarse hair may need more frequent trims because damage shows easily. Fine or thin hair can go slightly longer without trims but watch for tangles. Keeping a flexible schedule based on how your hair feels is a good approach.
How to Spot Split Ends and Dryness Early
Look for frayed tips or hairs that split into two or more strands. Dryness makes hair rough and hard to comb smoothly. These signs usually appear around 3 to 4 months after your last haircut.
Trim a tiny amount, about ¼ inch or less, right after you spot this damage. Comb your hair thoroughly while it’s dry to find missed split ends before cutting. This keeps damage from traveling up the strand.
Trim clean, dry hair for a clearer view of split ends and damage.
Daily Hair Care Tips to Protect Your Cut
Protecting your ends delays trips to the scissors. Moisturize ends regularly to prevent dryness and breakage. Avoid harsh brushing that tugs at the tips and causes splits.
- Use a leave-in conditioner or hair oil to nourish ends
- Comb hair gently from the bottom up to avoid tangles
- Wear protective styles like loose braids to reduce friction
- Limit heat styling tools to prevent drying out hair
- Sleep on a satin pillowcase to reduce friction
These habits keep your cut looking sharp longer. Healthy ends recover faster and create a smoother overall shape.
Adjusting Maintenance for Short vs Long Hair
Short styles like pixies need more regular trims, about every 4 to 6 weeks. You can use clippers and shears carefully around the edges for precise maintenance. Patience helps avoid mistakes with short cuts.
Trim longer hair every 8 weeks to keep ends fresh. Focus on trimming just the damaged parts to hold on to length. Styling choices and hair health affect how often you trim.
Step-by-Step Action Plan to Cut Your Hair at Home
Follow this plan to cut your hair safely and check your progress as you go. Stay patient and keep your tools ready.
- Before you start: Gather scissors, comb, clips, and a mirror. Check your tools for sharpness and comfort.
- Day 1: Wash and dry your hair according to your hair type. The right moisture helps you cut evenly.
- Day 1: Section your hair into parts using clips. This keeps your cut neat and balanced.
- Day 1: Trim small amounts first, about a quarter inch. Stop often and check your progress in the mirror.
- Day 2 to 3: Look for uneven spots and smooth edges. Use scissors to fix any rough areas carefully.
- Week 1: Style your hair as usual and see how it falls. Take notes for your next trim on what to adjust.
- After 2 to 3 weeks: Look at your hair in the mirror. Trim small amounts again. This helps keep its shape neat. This keeps your haircut fresh without damage.
Frequently Asked Questions
How Do I Avoid Uneven Cuts When Cutting My Own Hair?
Use sectioning clips and work slowly, trimming small amounts. Check your cut often with a secondary mirror to spot unevenness early. This helps keep your hair looking neat each step.
Can I Cut My Own Hair If It Is Very Thick?
Yes, but section hair into smaller parts for better control. Thick hair needs careful trimming to avoid uneven layers. Using hair shears designed for thick hair is helpful.
What Is the Best Way to Cut Bangs by Myself?
Start with dry, clean hair and trim a little at a time. Comb bangs forward and cut straight across or slightly curved. Keep checking length as small changes can make big differences.
How Often Should I Clean My Scissors When Cutting Hair at Home?
Clean scissors after every use to keep them sharp and smooth. Use rubbing alcohol or soapy water and dry them well. Clean blades cut better and reduce hair damage.
Can I Use Regular Scissors to Cut My Hair at Home?
It’s best not to; use hair shears designed for cutting hair. Regular scissors may cause split ends and uneven cuts. Investing in proper tools helps your haircut look professional.
How Do I Fix a Haircut Mistake at Home If I Cut Too Much?
Try blending the cut edges with small snips to soften lines. Use thinning shears to reduce thickness and create a natural look. If unsure, wait a few days before trimming more.
The Bottom Line
You can cut your hair at home with patience and the right steps. Start small and check often for the best results. Try your first trim today, focusing on one small section.