How to Use Curling Iron Without Clamp: Simple Steps for Perfect Curls
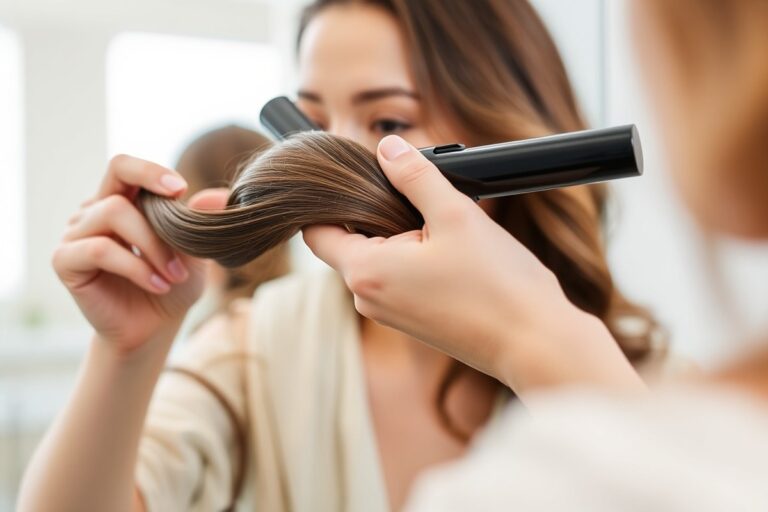
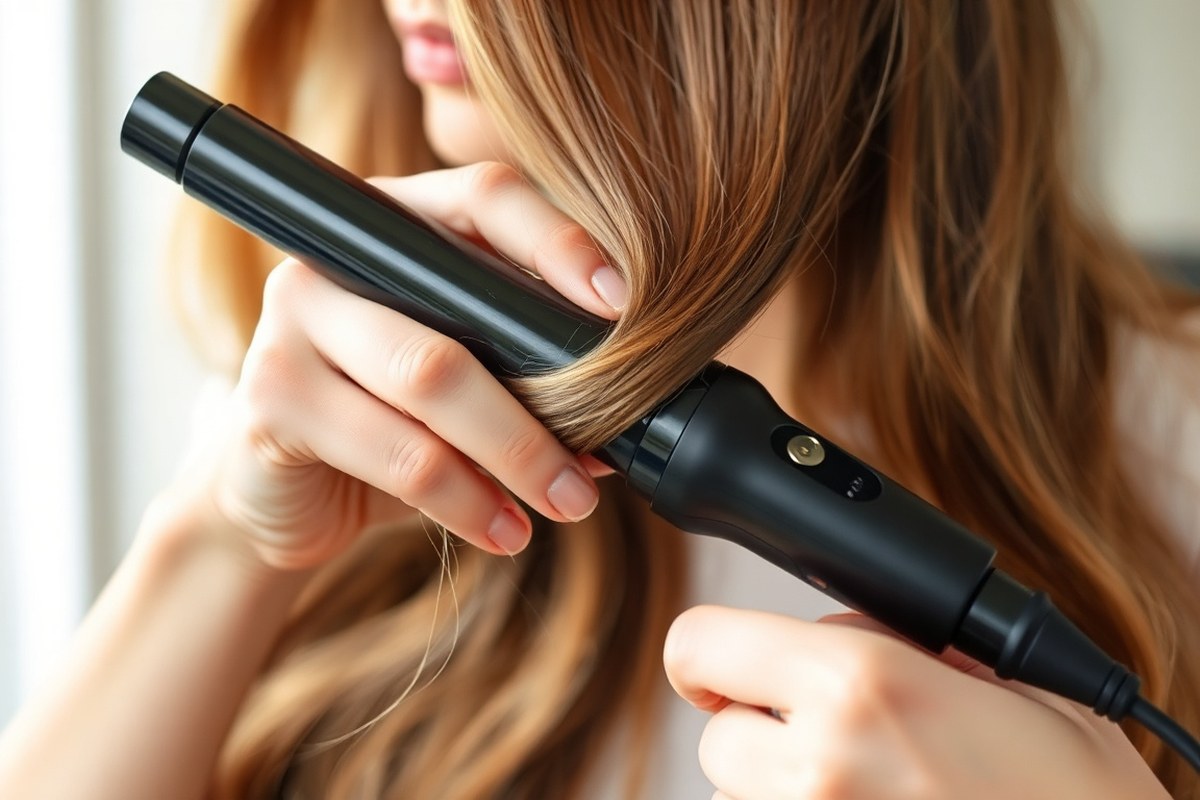
Using a curling iron without a clamp means wrapping your hair around the barrel like a wand. Hold your hair in place with your fingers and let the heat do the work. This technique gives your curls a natural, relaxed look.
Choose a curling iron with a smooth, ceramic barrel to prevent snagging. Make sure your hair is fully dry before curling to protect it and get better curls. Heat between 375 and 400°F works well for most hair types, creating longer-lasting curls.
A clampless iron lets you control the curl size easily, from loose waves to tight curls. It may take a few tries to feel comfortable.
But the results look polished and natural. This method is simple once you get the hang of it.
Key Takeaways
- Choose a curling iron with a smooth, 1-inch ceramic barrel for best results.
- Always curl 100% dry hair to avoid damage and a weak curl.
- Set the heat to 375, 400°F for most hair types and longer-lasting curls.
- Wrap hair sections around the barrel without the clamp, holding with fingers.
- Practice wrapping hair smoothly to avoid tangles and pinches on the skin.
- Tapered barrels offer easier clampless styling for varying curl shapes.
How to Curl Hair Without Using the Clamp

Using a curling iron without a clamp means wrapping your hair directly around the barrel. The barrel heats the hair evenly, creating smooth curls without pinching or tugging. You’ll want to use small sections and hold each one just right for lasting curls.
- Start with dry hair and apply heat protectant spray evenly to each section.
- Turn your curling iron on. Set it to medium heat. Pick a temperature between 300°F and 350°F based on your hair type.
- Grab a thin piece of hair about 1 inch wide. Hold your curling iron so the tip points down. Keep the iron straight up and down.
- Start wrapping your hair around the barrel from the base. Move toward the ends while winding the hair away from your face. Make sure to wrap smoothly.
- Keep the hair wrapped around the barrel for 8 to 12 seconds. Use less time for fine hair and more for thicker hair. Hold the curl steady while timing it.
- Carefully slide the curling iron out while keeping the hair wrapped to avoid creases or kinks.
- Repeat for the rest of your hair, curling sections in alternating directions for a natural look.
Holding the iron vertically helps you control the curl shape and prevents flat spots. Using your fingers to wrap the hair lets you adjust the curl’s tightness on the fly.
Make sure to curl smaller sections, especially if your hair is thick. So heat reaches all strands evenly.
Don’t hold the hair too long or the curl may become stiff and damaged. Around 8 to 12 seconds works well for most hair. Your curls won’t last if your hair is damp or heavy with product.
Make sure your hair is dry and light before curling. This helps the curls hold better. So always use dry hair.
Choosing the Best Curling Iron for Clamp-Free Styling

The best tools for curling hair without a clamp are curling wands with tapered barrels. They let you wrap hair smoothly while giving natural-looking curls. Barrel size and material also shape the curls and affect styling ease.
Barrel Sizes and Their Curl Effects
Barrel size changes the size of your curls or waves. Small barrels under 1 inch make tight, defined curls. Larger barrels, over 1 inch, create loose, beachy waves with volume.
Choosing a 1-inch barrel is a good starting point for most hair types. It balances curl definition with natural movement. If you want soft waves, pick a 1.25-inch or 1.5-inch barrel instead.
| Barrel Size | Curl Type | Styling Time |
|---|---|---|
| 3/4 inch | Tight curls, ringlets | Longer per section |
| 1 inch | Classic curls, natural bounce | Moderate |
| 1.25, 1.5 inch | Loose waves, volume | Faster with bigger sections |
Smaller barrels take more time since you curl smaller hair sections. Larger barrels cover more hair quickly, but curls relax faster.
Advantages of Tapered vs. Uniform Barrels
Tapered barrels are thicker at the base and slimmer at the tip. This shape helps create different curl sizes along the hair strand. It gives a playful, natural look without needing a clamp to hold the hair.
Uniform barrels keep the same diameter all along the rod. They make consistent, even curls that look polished. Curling wands often have tapered barrels because they’re easier to use freehand.
Using a tapered wand lets you start curling near the thicker end for tight curls. You can slide the hair down towards the thinner end for loose waves. That styling freedom suits clamp-free curling best.
Pick a tapered barrel if you want varied curl sizes and easier clamp-free handling.
Material Types: Ceramic, Tourmaline, and Titanium
Material affects heat distribution and hair damage risk when curling without a clamp. Ceramic barrels heat evenly and feel smooth on hair. They help prevent hot spots that cause burns or uneven curls.
Tourmaline barrels emit negative ions that reduce frizz and add shine. They suit curly or frizz-prone hair types.
Titanium barrels heat the fastest and reach higher temperatures. They work well on thick or coarse hair, but use them carefully.
Ceramic curling wands are a good middle ground for most users. Tourmaline is best for shiny, frizz-free curls. Titanium fits people who need high heat and last-long curls.
Preparing Your Hair for Clampless Curling
Preparing Your Hair for Clampless Curling
Start with dry, clean hair for the best curl hold. Using the right products protects your hair and helps curls last.
Divide your hair into sections to curl more easily and evenly. This helps you work through your hair without missing spots.
Dry Hair to 100% Before Curling
Make sure your hair is completely dry before curling. Curling damp hair can cause damage and result in frizz or uneven curls.
Use a blow dryer to speed up drying if needed, aiming for no wet spots. Touch your hair to confirm dryness before starting.
Finishing with a cool air blast helps close the hair cuticle for smooth curls. This step takes about 5 minutes after drying.
Use Heat Protectant Products Appropriate to Hair Type
Always spray a heat protectant before curling. It shields your hair from heat damage and should be non-negotiable.
For fine or straight hair, apply a lightweight mousse or setting spray to add grip. This extra hold helps curls keep shape without weighing hair down.
Thick or slippery hair benefits from a texture spray that adds grit. This helps the iron hold the hair better when curling without a clamp.
- Spray heat protectant evenly on dry hair before curling
- Use lightweight mousse for finer hair for extra grip
- Add texture spray for thick or freshly washed hair
- Choose products without heavy oils for clampless styling
- Apply products 5 minutes before curling for better set
How to Section Hair for Efficient Curling
Divide your hair into 3 to 4 even sections. This makes curling manageable and speeds up the process.
Use sectioning clips to hold layers separately: top, middle, and bottom. Start curling from the bottom layer for easier access.
Smaller sections work better for tight curls, while larger pieces create loose waves. Adjust section size based on your desired curl type.
Adjusting Heat Settings for Your Hair Type
Set your curling iron’s heat based on your hair texture to prevent damage. Fine or damaged hair needs a lower temperature around 250°F to 300°F. Thick or coarse hair often requires higher heat, between 350°F and 410°F, to hold curls well.
Use a heat level that feels hot but not burning when you touch your hair. Begin with a low heat setting on your curling iron. Wait 10 to 15 seconds to see if curls form.
Increase the heat if curls don’t hold. Too much heat can cause frizz, dryness, or breakage, so avoid going over 410°F.
To choose the right temperature, follow this rule: thin or fragile hair stays below 300°F. Medium hair works best between 300°F and 375°F. Thick or curly hair needs 375°F to 410°F. This lets you style quickly but safely, with less heat damage.
Limit how long the iron touches each hair section to 10 to 15 seconds. Keep the iron moving smoothly to avoid heat spots or burns. Use a heat protectant spray before styling to reduce risk of dryness and split ends.
Trust digital irons that let you set and lock temperatures. This helps avoid accidental overheating and gives consistent results.
Choose the medium heat setting for most hair types. Use the low setting for very fine hair.
Good results come from picking the right heat and timing. Curls will feel soft, bouncy, and hold their shape without looking dry or brittle.
Lower the heat if curls look limp or hair feels stiff. Try reducing the time you hold your hair in the iron.
Tips to Avoid Burns and Handle the Iron Safely
Using a curling iron without a clamp puts your fingers closer to the hot barrel. It’s easy to get burned if you’re not careful. Pick a curling wand with a handle that stays cool.
Make sure you can control the heat setting. This helps reduce the risk of burns.
Wear a heat-resistant glove on the hand that holds your hair. These gloves cost about $10 to $20.
They protect your fingers from heat. Most curling wands reach 350°F to 450°F. The glove makes it easier to wrap hair without worrying about burns.
Here are some key tips to handle a clamp-free curling iron safely:
- Use a heat-resistant glove to protect your hand near the barrel.
- Hold hair close to the base, away from the burning coil.
- Work in small sections for better control and less slippage.
- Keep your fingers below the barrel level to avoid contact.
- Use a silicone mat or heatproof surface to rest the wand.
- Turn off and unplug the iron immediately after styling.
Always let your curling wand fully cool before putting it away or touching the barrel directly.
Set the temperature based on your hair type. Lower heat for fine hair and higher for thick hair. Use a thermometer or a curling iron with a thermostat.
This helps you choose the right heat. Avoid using too much heat. With practice, you’ll get used to how close your fingers can get safely.
Another tip is to clip the end of your hair away. Keep it from touching the hot barrel. Wrap the rest of your hair around the wand.
This reduces slippage and keeps fingers safer. Don’t rush; slow, steady movements lower the chance of accidental burns.
Common Mistakes When Curling Without a Clamp and How to Fix Them
One common slip is grabbing too much hair at once. Thick sections don’t curl well and can burn. Aim for 1-inch or smaller strands for even heat and quicker curling.
Another issue is not holding your hair long enough on the barrel. Without enough heat time, curls lose shape fast. Hold the hair wrapped for 8 to 12 seconds.
Time depends on heat and hair type. Don’t hold it longer than needed.
Releasing curls too quickly can leave dents or kinks from the barrel. Let the curl cool on the iron before unwinding it slowly. This sets the curl shape and stops unwanted bends.
- Use lighter hairspray before curling to help curls hold better
- Pin curls up after curling to cool and keep bounce
- Keep the iron steady, don’t twist hair off quickly
- Don’t use excessive heat, start around 300°F for fine hair
- Practice wrist control to wrap hair smoothly around the barrel
Some try to curl close to the roots and end up with limp looks. Start wrapping about 1 inch from your scalp.
This keeps volume in your hair. It also protects your skin from heat.
Lack of preparation can cause uneven curls and frizz. Always section your hair neatly before curling. Even, thin pieces make your curls look polished and last longer.
Making Your Clamp-Free Curls Last Longer
Start by setting curls with a light mist of hairspray soon after curling. Hold the spray about 8 to 12 inches away to avoid wet spots. This step helps your curls hold shape for several hours.
For curls that tend to fall out quickly, try using a small amount of styling mousse. Apply it to damp hair before curling to give texture and grip. Choose a mousse around $5 to $15 at drugstores for easy access.
When curls lose their bounce during the day, refresh them without re-curling. Spray a mix of water and leave-in conditioner lightly onto your hair. Then scrunch sections with your hands to revive waves and add volume.
When your hair is dry or frizzy, use a light serum. It smooths without ruining your curls. Use a drop about the size of a pea.
Spread it evenly on your palms before applying. Overusing will weigh curls down and make them look greasy.
Sleeping on curls can cause flattening and frizz. Use a silk or satin pillowcase to reduce friction and keep curls intact overnight.
To lock curls faster, pin them in a loose bun. Do this while curls are still warm.
For special events, set curls with a cool shot from your hair dryer after curling. This cool air seals the cuticle and locks the shape.
It costs no more than the electricity your dryer uses. But the difference feels worth it.
Some prefer light-hold sprays that won’t stiffen curls but still offer control. Test products by applying a small amount first to avoid sticky buildup. This can keep your style touchable and natural while lasting longer.
Throughout the day, avoid touching curls too much. The oils from your fingers break down curl shape and cause frizz. Instead, use a wide-tooth comb or your fingers very gently if you want to separate curls.
Styling Variations and When to Seek Professional Help
You can make many styles with a curling iron without a clamp. These range from loose waves to tight curls. Try different sizes and shapes to get varied looks.
This method works on different hair types. But some styles need extra care or tools. Professional help is good if you want complex looks or have trouble with your hair type.
Loose Waves vs. Tight Curls with Different Barrel Sizes
Barrel size changes the curl style a lot. Larger barrels, like 1.5 inches or more, make loose waves that look natural and soft. Smaller barrels, around 0.75 to 1 inch, create tighter curls or ringlets.
For loose waves, grab bigger hair sections for wrapping. Hold the hair on the barrel 5 to 8 seconds. Then gently release the hair from the iron.
For tight curls, use smaller sections and hold for about 8 to 10 seconds. Adjust how many passes you make to add more definition or soften the curl.
Techniques for Short and Thick Hair
Short hair works well with clamp-free irons but can be tricky to wrap around the barrel. Use smaller barrel sizes, 0.5 to 1 inch, for better control and to reach roots easily. Hold the hair firmly while curling, wrapping away from your face for a natural flow.
Thick hair takes longer to heat through and style. Use higher heat settings, usually between 350°F and 400°F but check your hair’s tolerance. Take smaller hair sections for better heat and longer curls.
Hold each section on the barrel about 10 seconds or more. This helps curls last throughout the day.
- Use a 0.5 to 1-inch barrel for short hair.
- Choose 1 to 1.5 inches for medium to long hair.
- Use higher heat (350°F, 400°F) on thick hair.
- Smaller sections help control thick hair better.
- Wrap hair away from your face for best flow.
Hold your hair gently but firmly around the barrel to avoid slippage or uneven curls.
Indicators You Need Professional Styling Advice
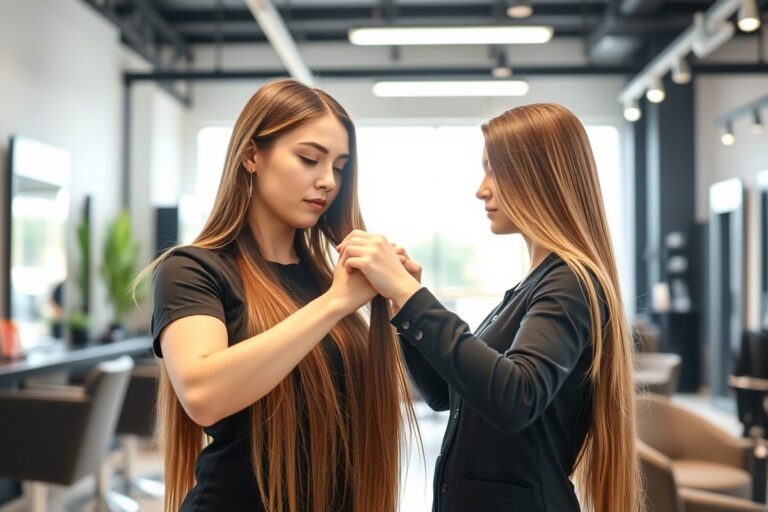
Complex styles like intricate curls or updos often need a pro’s help to look right. A stylist can help if you can’t hold the iron steady. They also teach you how to make curls last longer.
Getting hands-on help can improve your technique fast. A pro can also recommend the right tools and products for your hair type.
Seek help if your hair is damaged or very fine. Professionals know how to protect fragile hair while styling. They can also advise when heatless or different curling methods suit you better.
Step-by-Step Action Plan for Clamp-Free Curling
Follow these steps to start curling your hair without a clamp safely and effectively. Each step helps you master the technique and protect your hair.
- Before you start: Wash and dry your hair completely. Use a heat protectant spray to avoid damage and check your hair feels smooth and dry.
- First try: Heat your curling iron to a medium setting suitable for your hair type. Test a small strand first to check if the iron heats well. Make sure it is hot but not too hot for your hair. Avoid burning your hair by keeping the right temperature.
- Week 1: Practice wrapping tiny 1-inch hair sections around the barrel. Start at the root and roll to the tip. Hold tight without letting go. Hold for 8 to 10 seconds and release gently. The curls should form easily.
- Week 2: Increase to thicker sections if comfortable, about 2 inches wide. Check if your curls hold shape well. Use your fingers to separate them softly for natural volume.
- After 3 weeks: Experiment with curling directions. Alternate the direction of curls on each section to avoid them clumping and look more natural.
- After 1 month: Try using a light hairspray or curl-improving product. See if your curls last longer throughout the day without feeling stiff.
- Ongoing: Adjust the heat up or down based on how your hair responds over time. Avoid repeating curls on the same section to keep hair healthy.
Frequently Asked Questions
What Type of Curling Iron Works Best Without a Clamp?
A curling iron with a tapered barrel works best without a clamp. It helps wrap the hair easily and creates more natural waves along the hair shaft.
How Do I Prevent Curls from Slipping Off the Curling Wand?
Let your hair cool on the barrel before sliding it off gently. Using some styling product like mousse can also help curls hold better.
Can I Use Any Heat Setting on a Clamp-Free Curling Iron?
Use a lower heat setting for fine or damaged hair to prevent burns. Higher heat suits thicker hair but always test a small section first.
Is It Harder to Curl Fine or Thick Hair Without a Clamp?
Fine hair might be trickier because it slips off easily. Thick hair can hold curls better but may need more heat and longer wrapping time.
How Long Does It Take to Master Curling Without a Clamp?
It usually takes a few tries over several sessions. Practicing on small sections helps you get the hang of wrapping and timing.
Can I Create Tight Curls Without a Clamp?
Yes, use a smaller barrel size and wrap hair tightly around it. Hold the hair longer but avoid high heat to protect hair from damage.
Before You Go
Using a curling iron without a clamp takes some practice. But it creates softer, more natural curls.
Start with small sections and lower heat to keep your hair safe. Next, try curling a few pieces today and feel how the technique works for you.