How to Cut Long Hair Yourself: A Complete Guide with Pro Tips
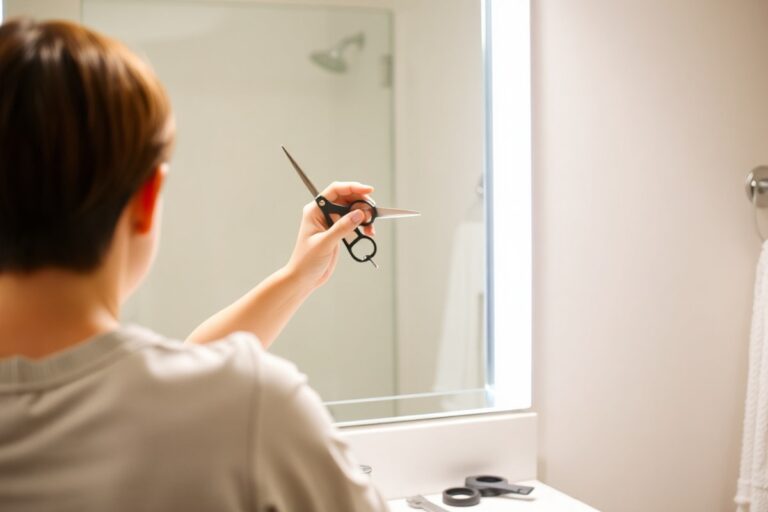
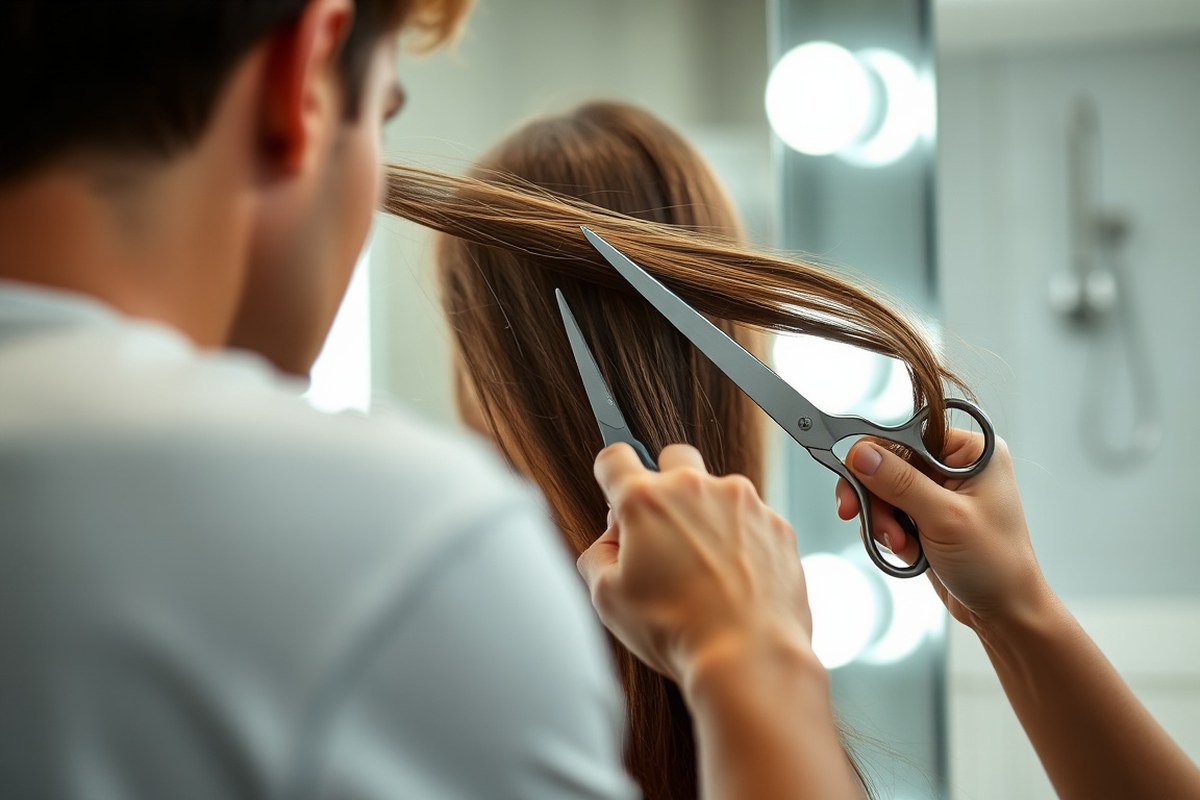
How to cut long hair yourself starts with using sharp, professional scissors. Section your hair into small parts for an even cut. This method helps avoid obvious mistakes.
Wet hair lies flat and straight, making trimming easier. Comb thoroughly to remove tangles and pin back sections not being cut. Working in small sections controls shape and volume.
Cut a little at a time, trimming no more than a quarter inch per pass. This prevents taking off too much length. Hair grows about half an inch monthly, so regular trims help maintain health.
Trim every 8 to 12 weeks to prevent split ends and keep hair neat. Take your time and work slowly to avoid uneven cuts or accidents.
Key Takeaways
- Use scissors designed for hair cutting, not household ones.
- Divide long hair into 1- to 2-inch sections for better control.
- Trim hair when it’s damp to get a more accurate cut.
- Hold scissors at a 45-degree angle for a natural, layered look.
- Start cutting just above the second elastic band for layers.
- Trim no more than half an inch to keep healthy ends.
How to Cut Long Hair Yourself Evenly and Safely
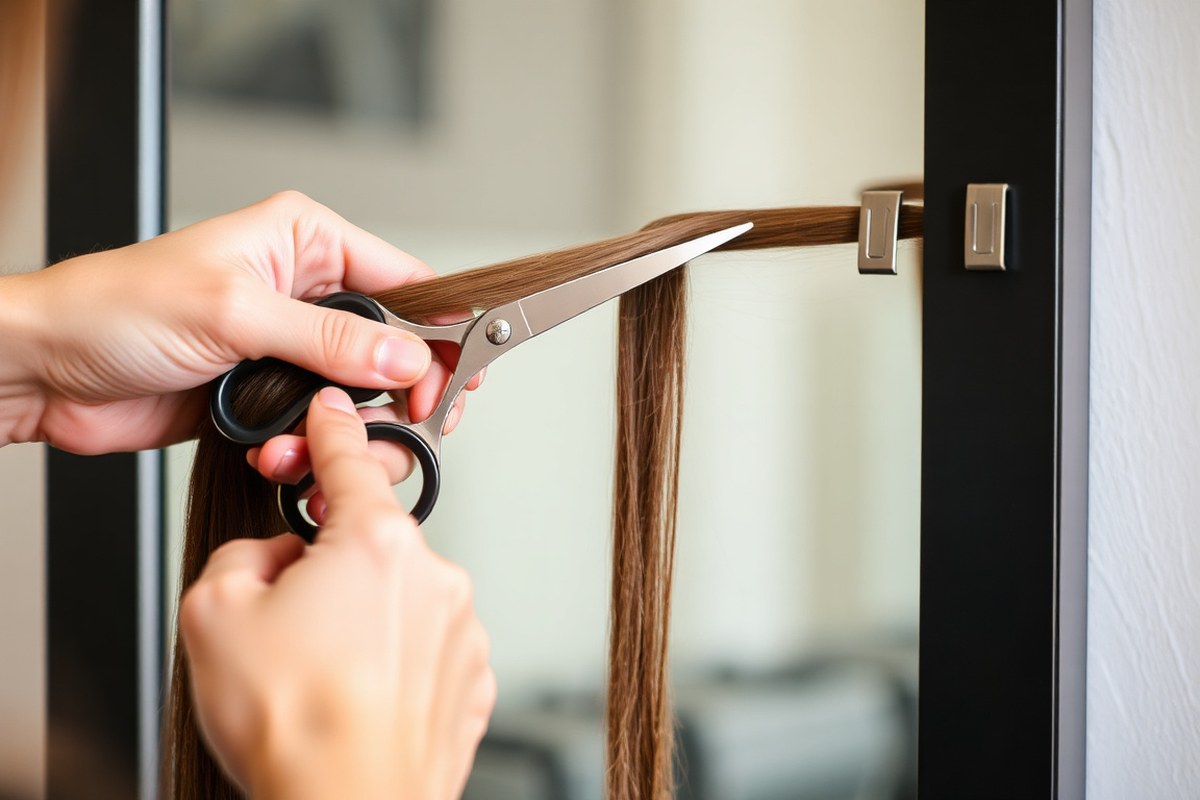
Cutting your own long hair evenly takes patience and the right technique. The key is to work in small sections and cut only a little at a time. This helps prevent cutting too much and keeps your hair looking balanced.
Safety means using sharp scissors made for hair to avoid jagged edges. Keep your fingers between the blades to guide the cut and avoid accidents. Also, sit where you have plenty of light and use a mirror to check your progress.
Follow these steps to trim your hair yourself safely and evenly:
- Divide your hair into 4 to 6 manageable sections and secure each with clips.
- Take one section, comb it straight, and hold the hair between your fingers.
- Trim only ¼ to ½ inch off your ends each time. This keeps your hair from losing too much length. Avoid taking more than half an inch in one cut.
- Use the first trimmed section as a guide for the next, cutting parallel to it.
- Move from the back sections to the front, cutting evenly on both sides.
- Comb through each section after cutting to check for uneven strands to snip.
- After finishing, brush your hair down and trim any stray longer hairs.
Cut less hair than you believe you need to. Wet hair stretches and seems longer than it really is. So, cutting more can cause unexpected length loss.
Start with smaller trims to feel confident and avoid surprises. For textured cuts, hold scissors at a slight angle.
Use small vertical snips instead of cutting straight across. This technique adds natural-looking layers and texture.
Keep your scissors clean and sharp, and never rush when cutting your hair. Working slowly helps you see if each cut matches your goal, reducing uneven or choppy results.
Essential Tools for Cutting Long Hair at Home

Start by choosing sharp hair-cutting scissors made just for hair. Regular household scissors can cause split ends and uneven cuts. Look for styling shears that cost about $20 to $40.
Choose ones made for smooth, clean cuts. This helps keep your hair healthy.
Along with scissors, a wide-tooth comb helps detangle thick or curly hair without breakage. Use clips to section your hair for more control and a better cut. Use a spray bottle filled with water to dampen your hair.
Cutting wet hair works best for straight and wavy types. Keep your hair lightly wet before cutting.
For thick or curly hair, special scissors and techniques make a big difference. Curly hair shrinks when dry, so always cut it dry and curl by curl.
Deva-cut scissors with a curved blade give better results. But good sharp shears also work if you take your time.
| Question | My Answer |
|---|---|
| Can I cut my own curly hair? | You can cut curly hair, but always work on dry strands. Cut one curl at a time to avoid mistakes. Take your time for best results. |
| What scissors are best for home cuts? | Use sharp styling shears designed for hair, $20-$40. |
| How to fix a bad DIY cut? | Blend with light layers or see a stylist if uneven. |
| What if I mess up the back? | Use two mirrors and go slowly. Ask for help. |
Pick scissors with sharp edges and an ergonomic handle for comfort. You don’t need the most expensive tools but avoid blunt blades. Haircut kits usually include clippers and different length guides.
This setup is useful for simple undercut styles. They make cutting easier and more precise.
Besides scissors and combs, have two mirrors ready. This helps you see the back of your head well. It makes cutting more accurate and safe.
A steady hand beats fast cuts, so take breaks and check your work often. Using a 45-degree angle for snips avoids choppy blunt lines, making your haircut look more natural.
Don’t rush your cut; careful, slow snips give the cleanest, healthiest-looking results.
Preparing Your Hair Before Cutting: Wet or Dry?
You can cut your hair wet or dry. Choose based on your hair type. Also think about the style you want.
Straight and wavy hair often cuts easier when wet, as it lays flat and smooth. Cut curly hair dry to see its shape.
This avoids cutting it too short. Shrinkage can fool you otherwise.
Why Choose Wet or Dry Hair for Cutting
Straight hair is easier to cut when wet. It stays in place better. Wet hair is easier to comb through.
You can create cleaner, even cuts this way. Wet hair helps reduce flyaways and allows sharper lines when using scissors.
Curly and wavy hair act differently. Cutting curly hair wet can make it look much shorter when it dries, thanks to shrinkage. Cutting dry shows your curls’ true length and shape before you trim.
Detangling Hair Properly Before Cutting
No matter your hair type, detangling is important for an even cut. Start by gently brushing your hair from the ends upward toward the roots. Use a wide-tooth comb or your fingers if your hair is curly to prevent breakage.
Work in small sections to smoothly remove all knots. Add a little water or detangler if your hair resists. Use lightweight spray.
This works for straight or wavy hair. Avoid products on dry hair before cutting since they can interfere with accuracy.
How to Section Hair for Better Control
Sectioning your hair helps you cut evenly and avoid missing spots. Part your hair down the middle. Clip top layers to separate smaller sections.
This helps manage the haircut better. This method works well on all hair types.
Use clips or hair ties to keep each section flat and separated. Start cutting from the bottom sections, then move upward. This approach helps you see the length clearly and maintain symmetry.
Adjusting Prep for Hair Texture and Length
Shorter or straighter hair often benefits from wet preparation and tight sections to keep hair steady. For long, curly hair, cut dry. Work curl by curl at a slight angle.
This adds volume. Wavy hair falls between these methods. You can decide based on your curl pattern’s tightness.
For very thick or textured hair, detangle patiently and take your time with sections. Rough cutting or uneven parting can cause uneven lengths and awkward shapes. Be gentle and work slowly for cleaner lines.
Practical Steps to Prepare Before Cutting
Start by washing your hair with shampoo and conditioner if you plan to cut it wet. Towel dry gently until damp but not soaking. Avoid heavy styling products that weigh hair down or change its texture.
Wash and dry your hair fully before cutting dry. This prepares the hair right. It ensures an accurate cut.
Style your hair how you normally wear it. So it falls into its natural shape. After drying, do not add product.
This helps you see your hair’s true form. Keep your view clear.
Sectioning Techniques for Managing Long Hair Cuts
Dividing your hair into even, manageable sections makes cutting easier and neater. It helps you focus on small areas, so cuts stay precise and even. Most people find 4 to 6 sections enough to work through their long hair.
Use clips to hold sections tight and prevent hair from moving while you cut. You want each section even in size, so you maintain balance as you trim.
Clipping sections out of the way keeps things controlled. It stops you from cutting too much at once.
Follow these steps to section your hair properly before cutting:
- Detangle your hair: Brush or comb out knots to make parting smoother and cutting easier.
- Create a center part: Use your fingers or comb. Split your hair evenly from front to back.
- Divide hair horizontally: Start at the nape low down. Move up about 2 inches to clip the lower section.
- Clip upper sections: Take the top hair left. Split into two or three sections. Clip each separately.
- Work on one section at a time: Release a clip then cut carefully. Secure it back before moving on.
- Use your fingers as a guide: Hold the hair between your fingers. Keep tension and even length this way.
- Keep your head level: Check that your neck is straight to avoid uneven lines while cutting.
Taking these steps helps manage thickness and length for steady, symmetrical cuts. Small sections make it easier to spot missed strands or uneven areas. Skipping proper sectioning can lead to lopsided cuts or accidentally trimming too much hair.
For curly hair, try gently twisting sections before clipping to keep strands bundled together. This method helps control tight curls and prevents snags or uneven trims. Part dry hair as you usually wear it.
Then create clips that fit that shape. This keeps your finished style looking natural and even.
Different Cutting Methods for Long Hair Styles
Blunt cuts, layering, and the ponytail technique let you shape long hair differently. Blunt cuts give a sharp, even edge. Layers add movement and volume.
The ponytail method adds long layers quickly. It removes weight but keeps much length. This method works well for beginners.
Blunt Cut: Step-by-Step
A blunt cut means cutting all your hair straight across for a clean edge. This works best on dry or damp hair for a neat finish. Hold your scissors horizontally and cut in small, careful snips.
- Comb your hair straight and smooth out any tangles.
- Gather your hair at the back or bring sections forward.
- Hold a small section between your fingers at the length to cut.
- Keep your scissors horizontal and cut straight across the hair.
- Work from one side to the other to keep the line even.
- Check the ends to make sure the cut is level and clean.
Cutting wet hair for blunt cuts reduces uneven lines and gives a sharper edge.
Layering Using the Twist Method
The twist method creates textured layers by cutting twisted strands. It adds body and blends different lengths for a natural look. Small diagonal cuts with scissors held at a 45-degree angle work best here.
- Take a section of hair and twist it gently to form a rope.
- Hold the twisted hair tightly between your fingers near the end.
- Point your scissors upward at about a 45-degree angle.
- Make small diagonal snips into the twisted section’s ends.
- Repeat on all twisted sections around your head for texture.
This method removes weight and adds volume. But avoid it if your hair is very fine.
The Ponytail Method Explained
This method lets you cut long layers easily by cutting hair gathered in a ponytail. Hold the scissors at a 45-degree angle and cut just below the band for soft layers. It trims length but keeps your hair’s shape.
- Brush your hair back and secure it with a tight ponytail low on your head.
- Hold the ponytail firmly and pull it straight out from your scalp.
- Position your scissors at a 45-degree angle under the band.
- Cut across the ponytail just beneath the elastic band.
- Release the ponytail and check the length and layering around your head.
- Trim any uneven ends by snipping vertically very lightly with scissors.
The ponytail method works well for thick hair but may thin very fine hair too much.
How to Trim Split Ends and Keep Hair Healthy
Trim your split ends every six to eight weeks to keep hair healthy. Split ends happen when your hair shafts crack and fray. Removing about half an inch stops damage from traveling up your strands.
Start with completely dry hair for the best control and fewer mistakes. Comb through to remove tangles. Then divide hair into small sections about one to two inches wide.
Twist each section away from your face to bunch split ends at the tips. Hold the twist tight and trim just above where you see the damaged ends. Cut at a slight angle to avoid a blunt, harsh finish.
Use sharp hair scissors designed for cutting hair only. Dull scissors create uneven cuts that lead to more split ends. Trim carefully without pulling or stretching your hair to avoid uneven lengths.
Look for individual split ends sticking out from your hair and snip them off carefully. Doing this regularly prevents long splits and keeps your hair looking smooth and healthy. Try sitting by natural light to spot damaged ends easier.
Avoid cutting large chunks or trimming hair when it’s wet; both cause problems. Wet hair stretches and snaps back, which can cause a crooked cut. Snipping curl by curl reduces mistakes on curly or wavy hair types.
After trimming, check for stray ends that might stick out to get an even finish. Don’t trim too much at once.
Small regular trims keep your length without losing volume. This method saves money and time compared to frequent salon visits.
Cutting Curly Long Hair: Special Considerations
Cutting curly long hair yourself works best when done dry. Dry cuts show true curl patterns and avoid surprise shrinkage. Curl-by-curl trimming helps keep the shape natural and balanced.
Why Cut Curly Hair Dry?
Curly hair shrinks a lot when it dries, sometimes up to 25% shorter. Cutting it wet hides this shrinkage and can cause a shorter cut than you want. Dry cutting lets you see how each curl falls and adjust length more accurately.
Using sharp shears is key when cutting dry hair. Dull scissors can bend or fray curls, making the cut uneven. Also, dry cutting requires patience since you trim small amounts at a time.
Sectioning for Curly Hair
Divide your curly hair into small sections to handle it easily. Small sections prevent tangling and keep track of lengths.
Clip each section separately. So you only work on one small area at a time.
Work with vertical layers that allow you to access curls individually. Curly hair doesn’t lie flat like straight hair.
So thick horizontal sections don’t work well. Let each curling section keep its natural shape for trimming.
Trimming Curl-by-Curl
Start by taking one curl at a time between your fingers. Look closely at its tip and decide how much length you want to remove. Point cut vertically upward to keep the curl’s bounce intact and avoid blunt ends.
Curl-by-curl trimming keeps your hair’s natural texture and shape. Avoid cutting across a bunch of curls at once because this can flatten your style. Trim slowly and check your progress to keep curls balanced.
Here’s a simple sequence you can follow:
- Wash and dry your hair until completely dry.
- Comb through gently to detangle curls without breaking them.
- Separate hair into small, vertical sections and clip them.
- Work with one clip-down section, releasing small vertical curl strands.
- Grasp a single curl between your fingers, stretching it gently downward.
- Use sharp scissors to point cut the curl’s tip vertically upward.
- Repeat through each curl in the section before moving to the next.
- Check overall length and symmetry by comparing curls side to side.
Checking and Evening Out the Back of Your Hair
Checking the back of your hair is the hardest part when cutting it yourself. You need a hand-held mirror and a stationary wall mirror for the best view.
Hold the hand-held mirror behind your neck. Angle it to see your hair’s back clearly in the wall mirror.
Uneven cuts happen because you can’t see well. Often, you also don’t comb smooth before cutting.
Use a wide-tooth comb first to remove tangles, then a fine-tooth comb to smooth out strands. This makes the hair lie flat and easier to cut evenly.
- Stand in front of a wall mirror with good lighting. Hold a hand-held mirror behind your head.
- Move the hand-held mirror until you see your whole hair back. Check the wall mirror for a full view.
- Comb the hair at the back again, parting it where you plan to cut.
- Check for uneven spots or points where hair seems longer on one side.
- For uneven lengths, use sharp hair cutting shears to snip small bits off.
- Cut slowly and trim tiny amounts at a time, always combing between cuts.
- Use your fingers as a guide, holding strands straight and flat to cut evenly.
- Check symmetry by comparing both sides in the mirrors before finishing.
Struggling? Clip back all but a small section first. This helps you focus better.
Work on that small section to fix uneven bits, then move on. Multiple mirrors and good lighting are your best friends here.
Always cut dry hair with sharp shears to avoid jagged, uneven lines and split ends.
Common DIY Haircut Mistakes and How to Fix Them
Cutting too much hair at once is the most common DIY mistake. Stop immediately if you realize you trimmed too short. To fix this, avoid cutting more.
Let your hair grow back for several weeks. Meanwhile, use styling tricks like braids or headbands to hide uneven spots.
Uneven cuts happen when you don’t cut hair section by section. Rinse your hair and comb it straight before cutting again.
Use small, even sections and trim little by little. For rough edges, take sharp scissors and point cut vertically to blend.
Point cutting means holding scissors upright and snipping into the ends. It softens harsh lines for a natural look.
Do this by slowly cutting small snips into the uneven areas. One or two passes usually fix rough cuts without removing too much length.
When one side looks shorter, say: “Comb that side down.” Cut a small amount from the longer side to match.”
Repeat until both sides look even. Cut just a quarter-inch at a time to avoid taking off too much.
Blending layers can be tricky on your own. Comb hair straight down and gently twist sections between fingers.
Snip a tiny bit on the twist’s edge, blending shorter layers into longer ones. Check the balance by flipping your head and looking in a mirror.
Fixing mistakes takes patience, especially if you cut too much or unevenly. Don’t rush.
Use small trims and point cutting to gradually fix issues. When damage is severe, a professional stylist can fix the shape safely.
Clean, dry hair helps you see rough spots better than wet hair. Try fixing unevenness when hair is dry so you don’t guess how it will fall.
Keep your scissors sharp and use good lighting. These small details make a big difference while fixing DIY trims.
When to See a Professional Instead of DIY
Cutting long hair yourself works for small trims and simple styles. Avoid DIY when removing over an inch or making big changes. Big changes need more skill and care.
Doing it yourself can risk mistakes. For example, a bob or short edgy cut needs a stylist’s skill and tools.
Complex cuts like layering long hair require splitting your hair into many neat sections. When you don’t do this, layers can look uneven or choppy. Professionals use this method to get smooth, flowing layers that fit your face shape.
Your hair grows unevenly or has tough spots like cowlicks. A salon visit fixes these issues better than DIY. They have the right tools and skill.
Trying to correct this alone often causes more damage or odd shapes. A stylist knows exactly how to blend and shape your hair for a natural look.
Trim your split ends at home every six to eight weeks to keep hair healthy. But schedule salon trims every three to four months, even with regular DIY trims. Stylists will clean up rough edges and make sure your hair looks even and fresh.
Here’s a quick rule: remove less than an inch for do-it-yourself. Simple fixes you can handle at home easily. Big changes should wait for a pro.
For anything bigger or more detailed, book a salon visit. This rule saves you from mistakes and keeps your hair looking its best at all times.
Step-by-Step Action Plan for Cutting Your Long Hair at Home
Follow these steps to cut your hair evenly and safely. Check your results after each step before moving on.
- Before You Start: Get your tools ready. You need sharp scissors, clips, and a spray bottle. Also, have a mirror for checking your work. Make sure your hair is clean and slightly damp.
- Step 1: Section your hair into four equal parts using clips. This keeps it manageable and helps you cut evenly.
- Step 2: Trim each section a little at a time. Cut about a half-inch off each time and check for balance.
- Step 3: Trim the front and sides first. Use two mirrors or ask someone to check your back. Be careful while trimming the back. Make small adjustments as needed.
- Step 4: Trim any split ends you spot. Use point cutting by snipping small vertical cuts along the ends instead of straight cuts.
- Step 5: If you have curls, trim dry and cut one curl at a time. This prevents cutting too much off the length.
- Step 6: Use your fingers to comb through and check for uneven spots. Fix any that look longer or shorter.
- After 2 Weeks: Check your hair’s shape and ends again. Touch up any rough spots or split ends you find.
Frequently Asked Questions
What’s the Best Way to Cut Your Own Hair in Layers?
Use bobbles to create layers by cutting just beneath the bands. Hold scissors at a 45-degree angle for a natural look and trim slowly for even layers.
How Do I Make a Ponytail Cut Look Professional?
Cut above the elastic band. Next, hold scissors at a 45-degree angle.
Cut upward for a textured finish. This avoids a blunt edge and looks neat.
Can I Fix Uneven Ends After Cutting My Own Hair?
Yes, point cut lightly into the ends to blend uneven spots. You can add soft layers to disguise mistakes when it’s still off.
Should I Dry or Wet My Hair Before Cutting at Home?
Wet hair is easier to comb and cut evenly, especially for straight hair. For curly hair, always cut dry to see natural curl shape.
How Can I Check If the Back of My Hair Is Even?
Use two mirrors to see the back clearly and cut slowly in small sections. Ask a friend for help if you can’t get it right alone.
What’s One Trick to Avoid a Choppy DIY Cut?
Hold scissors at a 45-degree angle and cut upward into hair. This creates soft edges and avoids a harsh, straight line.
The Bottom Line
Cutting your long hair yourself is doable with steady hands and patience. Start small, check your progress often, and keep your tools sharp. Try trimming just a little first, and you’ll build confidence fast.