How Does a Cold Setting Work on a Blow Dryer? A Complete Guide for Better Hair Health
The cold setting on a blow dryer sends cool air rather than heat onto your hair. It stops the hot airflow, reducing the risk of heat damage. Cool air forms when the airflow passes over a cooling component inside the dryer.
The cold setting helps lock in your hairstyle and adds shine after drying. You should first dry your hair mainly on a warm setting until it’s almost dry. Then switch to cold air to finish the style and cool down your hair.
Hold the dryer about 6 to 8 inches away when using the cold setting. Keeping that distance protects your hair from direct air pressure that could cause tangles or breakage. This simple way helps your hair stay healthy while letting you enjoy the style you want.
Key Takeaways
- Use the cold setting after drying your hair 80-90% with warm air.
- Hold the blow dryer 6 to 8 inches away during cold air use.
- The cold air comes from a Peltier device cooling the airflow.
- Cold air can help seal your style and add shine to hair.
- Don’t use cold air too early; it won’t dry hair efficiently.
- Switch to cold air for 30 seconds to a minute to finish drying.
How Does the Cold Setting Work on a Blow Dryer?
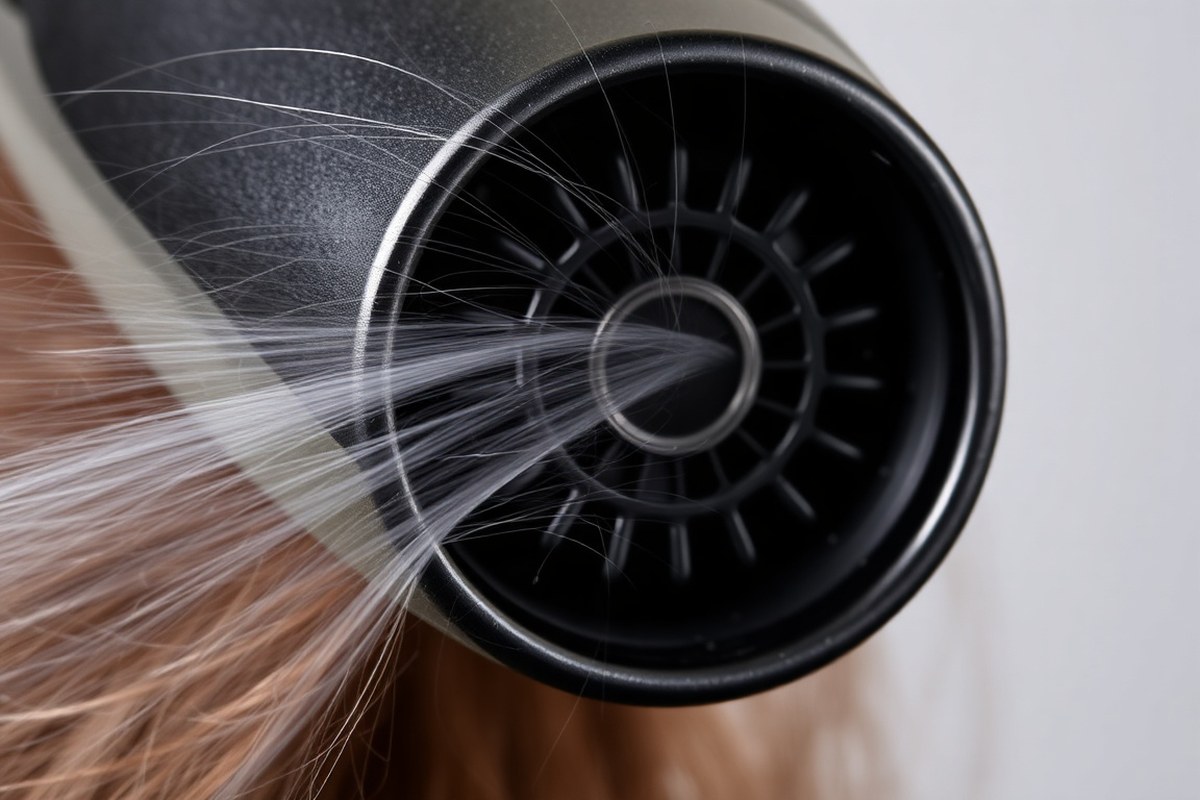
The cold setting on a blow dryer stops the heat element from working. It sends out air at room temperature instead of hot air. The fan keeps pushing air, but it doesn’t get heated.
Inside the blow dryer, electrical circuits control whether the heating element is on or off. Pressing the cold button stops power to the heating coil. The motor still runs to keep air moving.
This lets air flow without any heat. This lets the fan continue to blow air. But it no longer gets heated by the element.
The cooled air you feel is simply the room air moving through the dryer. It doesn’t use a cooling unit or refrigerant to lower the temperature. The cold setting is really about stopping heat rather than actively chilling the air.
This setting is safer for finishing styles without heat damage. It cools your scalp gently during drying. That reduces the chance of burning or drying out skin.
Why Is the Cold Setting Important for Hair Health and Styling?
The cold setting on a blow dryer helps seal the hair cuticles by cooling them quickly. It closes the hair’s outer layer, which locks in moisture and reduces frizz. This sealed cuticle also reflects light better, giving you shinier, healthier-looking hair.
Using cold air after drying and styling helps protect hair from heat damage. Hot air can dry out hair and weaken it over time. Switching to a cold blast at the end keeps your hair strong.
It also helps your shine last longer. This makes your style stay put.
Dry your hair mostly with warm air first. Stop when it’s 80 to 90 percent dry. Then finish with a cool blast.
Then, finish with the cold setting on low speed to set your style. This step helps lock the shape in place and reduces flyaways for a smoother look.
Cold air reduces frizz more effectively because it tightens the hair shafts. Closed cuticles stop your hair from soaking up moisture. This helps prevent frizz caused by humid air.
It keeps hair smooth. The cold setting works well for styles in humid places.
It’s also good for people with naturally curly hair. It helps keep curls defined.
Cold air doesn’t dry hair faster. But it protects hair from damage and adds shine. Use it to finish your style.
Using it only at the end costs no extra time but offers clear benefits. Avoid skipping it, especially if you style your hair daily with heat tools.
Use cold air at the end of your blow-dry for 30 seconds or more. This helps lock your style in place. It also makes hair look shinier.
When and How Long Should You Use the Cold Setting During Blow Drying?
Switch to the cold setting once your hair is almost dry and styled. Use cold air for 1 to 3 minutes to lock your style. It helps close the hair cuticles.
This keeps your hair smooth and shiny. This timing helps keep your hair smooth and shiny without extra heat damage.
Ideal Timing for Switching to Cold Air
Begin with warm or hot air to dry and shape your hair. Switch to the cold setting just before your hair is fully dry. This helps lock the look while protecting hair from extra heat.
Cold air works best after shaping your style because it sets the hair strands in place. Avoid using cold air too early, as it won’t dry your hair properly. Wait until your hair feels mostly dry to the touch before flipping the switch.
Recommended Duration for Cold Air Application
Use cold air for 1 to 3 minutes to finish your blow drying routine. This time lets the cold air seal your hair’s outer layer, reducing frizz and boosting shine. Excessive cold air use doesn’t speed drying or improve results.
For thin or fine hair, 1 minute of cold air is usually enough. Thicker or curlier hair may benefit from up to 3 minutes. This duration helps hold styles better without adding dryness or stiffness.
Using Cold Setting to Finish Different Hairstyles
For sleek and straight looks, use cold air to close hair cuticles and smooth strands. It helps tame flyaways and keeps hair shiny. After straightening with hot air and a brush, use cold air.
Blast cold air for one or two minutes. This locks your style in place.
Curlier styles also gain from cold air. Use hot air to dry and lift your curls first. Then, add gentle cold air bursts.
It cuts down frizz and keeps bounce. Use cold air after curling with your iron.
Hold the cold air for about a minute. It cools curls and makes them last longer.
Try this step-by-step cold air routine:
- Towel-dry hair to remove extra moisture.
- Apply heat protectant spray evenly.
- Dry and style hair with warm or hot air until almost dry.
- Switch blow dryer to cold setting when hair feels nearly dry.
- Blow cold air over hair for 1 to 3 minutes, focusing on styled sections.
- Use a brush or fingers to shape hair as you cool it.
- Finish with a final cold blast to lock your hairstyle.
How Does the Cold Setting Affect Different Hair Types?
The cold setting on a blow dryer suits every hair type well. It seals the hair cuticle, retaining moisture and holding style. For fine hair, cold air limits damage and tames frizz effectively.
Curly hair benefits from cold air used with a diffuser. This combination preserves natural curl shape without causing heat damage.
Chemically treated hair needs gentle handling. So use cool air to avoid breaking the weakened strands.
Professional stylists often switch to the cold setting at the end of styling. They do this to cool down the hair and set the look in place. This technique helps curls stay bouncy or smooth styles last longer.
- Use cold air after heat styling for all hair types to set the style.
- For fine hair, limit hot air exposure and finish with cold to calm frizz.
- Curly hair users should attach a diffuser when using the cold air setting.
- Chemically treated hair requires cooler air to protect fragile strands.
- Hold the dryer 6 to 8 inches away to avoid sudden temperature shifts.
- Switch to cold air for 30 to 60 seconds at the end of drying.
Incorrect use of the cold setting can leave styles undone. Blowing cold air too soon may make your hair hard to shape. Also, not finishing with cold air might mean losing your style fast.
Adjust the cold air setting carefully depending on hair texture. Doing this helps you avoid damage and keep your style longer. The cold setting is a simple, no-cost method to protect and style hair better.
Common Mistakes with the Cold Setting and How to Avoid Them
The most common mistake is holding the dryer too close when using the cold setting. Cold air doesn’t cause heat damage. But the nearby warm air can still harm your hair.
Keep the dryer at least six inches away from your hair. This lowers risk and helps spread cool air evenly.
Another error is using cold air too early in the blow-drying process. Cold air works best after warm air shape-styles your hair. Turning it on too soon slows drying and keeps your hair from setting properly.
Safety concerns include not adjusting the airflow direction correctly. Aim the cold air to flow over your hair’s surface.
Avoid blowing it straight into your eyes or scalp. Too much cold airflow in one spot can also cause discomfort or dryness.
- Hold dryer six inches from hair during cold shot
- Use cold setting only after warm air styling is complete
- Direct airflow down the hair shaft, not at your scalp or face
- Avoid overusing cold air to prevent dryness
- Turn off warm air before switching to cold to avoid heat shock
Cold air seals the hair cuticle after heat styling, locking in moisture and shine. Skipping this step lets your hair relax back to its original shape.
Finish each section by blowing cold air for 10 to 15 seconds. This helps your style last longer.
Don’t switch from hot to cold air too fast. Let the warm air off before the cold shot.
For delicate or damaged hair, the cold setting reduces risk of extra harm. However, using the cold setting too long or too close can dry out your hair. Pay attention to how your hair feels as you dry it, and adjust accordingly.
How the Cold Setting Interacts with Modern Blow Dryer Technologies
The cold setting on modern blow dryers protects your hair. It works with ionic and ceramic plates. These technologies help keep hair healthy.
It helps lock in your style while reducing heat damage. The cold shot button boosts cool air flow on your hair.
Specific attachments also help spread the air better. These improve styling results.
Role of Ionic and Ceramic Plates
Ionic technology releases negative ions to break down water faster without high heat. Using cold setting seals the hair cuticle gently. This locks in moisture.
It also keeps hair shiny. Ceramic plates spread heat evenly during hot air use. But when the cold setting activates, they stop heating and allow cooler air to pass smoothly.
Ionic and ceramic tech combine with the cold setting. This lets you switch from drying to cooling smoothly. You avoid harsh temperature changes.
It reduces frizz and static while helping your hair hold the style you’ve created. Often, ceramic elements keep the airflow steady and comfortable, even when the temperature drops.
Difference Between Cold Shot Button and Cold Setting
The cold shot button gives a quick cool air blast. It usually lasts a few seconds. You press it when needed.
It’s mainly for finishing your hairstyle by setting curls or smoothing flyaways. The cold setting blows cool air continuously once chosen.
This lets you dry or style with steady cool air. It runs without stopping.
Use the cold shot button to freeze your style. Press it at the end of blow drying. This locks your look.
Choose the cold setting to air dry gently. It cools your hair between hot cycles.
This prevents heat damage. Both help prevent heat damage but serve slightly different styling purposes.
Best Attachments for Directing Cold Air
Diffusers and concentrators work well with the cold setting to focus airflow where you want it. A concentrator nozzle narrows the cool air stream, targeting specific hair sections for more precise styling. Diffusers spread the cold air over a wider area, great for maintaining curls without frizz.
Correct attachments help cold air reach your hair evenly. This makes cooling more effective. Attachments spread air well.
Attachments direct air flow around your head. This speeds up drying time.
It also reduces heat exposure. Most professional dryers cost around $100 to $200 and usually include these handy add-ons.
Step-By-Step Guide to Using the Cold Setting Effectively
The cold setting works best if you use it at the right time. Use it after your hair is mostly dry. This helps lock your style in place.
Start with warm air to dry your hair gently, then use hot air to style. Finish by switching to cold air to lock in the style and smooth your cuticles.
Starting with Initial Drying Using Warm Air
Begin by removing excess water with a towel. Use the blow dryer’s warm setting to dry your hair about 70 to 80 percent. Keep the dryer moving while you dry your hair.
Hold it 6 to 8 inches away. This stops heat from focusing on one spot.
This step helps prevent heat damage and speeds drying without stressing your hair. Thicker or longer hair needs more time in this phase. Fine or short hair dries faster.
Styling with Hot Air
Once your hair is mostly dry, switch to the hot setting to shape your style. Use a brush or your fingers to create volume, waves, or smooth strands. Work in sections, directing hot air where you want the shape to stay.
For curls or waves, twist small sections while applying heat, then use the cold setting after. Long hair usually needs more time for styling, while short hair styles quickly. Avoid keeping hot air on one spot for over 10 seconds to protect your hair.
Sealing Style with the Cold Setting
Switch to the cold setting to finish and set your hair. Run the cool air over each styled section for about 10 to 15 seconds. This helps seal the hair cuticle, lock the style, and add shine.
Try twisting sections of hair, then blast with hot followed by cold air. This creates a natural texture and hides split ends better. Use the cold setting last, never first, to keep your style long-lasting and smooth.
Follow these steps for using the cold setting effectively during your blow dry:
- Towel-dry hair gently to remove excess water.
- Use the warm setting to dry hair about 70%.
- Switch to hot air to style each section carefully.
- Twist sections if you want textured waves or curls.
- Hold the dryer 6, 8 inches away to avoid heat damage.
- Finish each section with the cold setting for 10, 15 seconds.
- Use cold air last to seal cuticles and improve shine.
How Environmental Factors Influence the Cold Setting’s Effectiveness
Humidity makes a big difference in how the cold setting works on your blow dryer. When the air is humid, hair tends to absorb moisture, causing frizz and puffiness.
The cold air helps close your hair’s cuticles, locking in the style and reducing humidity’s effect. This means the cold setting fights frizz better in moist or rainy weather.
In dry weather or low indoor humidity, cold air still seals your cuticles. It doesn’t fight frizz as strongly though. You get less frizz-fighting pressure from the cold air.
Your hair will feel smoother and more polished. But you might not notice as much change in frizz. In winter, indoor heat lowers humidity a lot.
The cold setting helps keep your hair shiny. It stops static and dryness effectively in this case.
Indoor air quality also affects cold setting results. Dust and pollution can stick to your hair if cuticles stay open. Blowing cool air seals cuticles, acting like a shield against these pollutants.
Cities with poor air or smoky rooms harm hair. Using the cold setting often helps protect hair. It fights damage and dullness caused by particles in the air.
Adjust your routine depending on your climate. In humid places, use the cold setting longer when blow drying. Aim for 30 seconds to a minute at the end.
This helps control frizz and seal cuticles well. This step locks in your style and reduces swelling caused by moisture. Dry climates need less cold air time after blow drying.
About 20 seconds is enough to avoid over-drying hair. Shorter cold air use helps keep moisture in. Afros and curly hair do best with low heat and longer cold air.
Experts say use the gentlest settings for these hair textures. It helps keep curls healthy and less damaged.
Always end your blow drying with at least 20 seconds of cold air. This seals the cuticles well. It’s especially helpful when the weather is humid.
When you switch between climates, listen to your hair. When hair feels dry or brittle, reduce blow drying time. Use cold air for longer instead.
This protects your hair from extra heat damage. On humid days, extend using the cold setting to fight frizz better. This balance helps maintain smooth, shiny hair without extra damage or dryness.
Step-by-Step Action Plan
Follow these steps to use your blow dryer’s cold setting like a pro. You’ll lock in style and keep your hair healthy.
- Before you dry: Towel-dry your hair gently until damp, not dripping wet. This helps heat work evenly.
- During blow drying: Use the warm or hot setting to dry your hair. Style your hair while drying it mostly this way. Stop when it feels slightly damp.
- Final phase: Switch to the cold setting on your dryer. Run it through your hair for 1 to 3 minutes. You’ll feel your hair cool down.
- Right after styling: Use the cold setting again on styled sections to seal the cuticle. Your hair looks shinier and smoother.
- For curls and waves: Finish with cold air to help curls hold longer without frizz.
- On fine or damaged hair: Use hot air less to avoid extra dryness. Switch to cold air more often during drying.
- Routine check: If hair feels dry or itchy, use cold air more. Cut down on the heat time when drying. Your scalp will thank you.
Frequently Asked Questions
Can the Cold Setting Help Reduce Scalp Irritation?
Yes, the cold setting soothes your scalp by avoiding hot air. This reduces dryness and irritation during blow drying.
Is the Cold Setting Energy Efficient Compared to Hot Air?
The cold setting uses less energy since it doesn’t heat air. This can help lower your electricity use during styling.
Does the Cold Setting Improve Hair Colour Longevity?
Yes, cold air helps prevent fading by sealing the hair cuticle. This keeps your color looking fresh longer between dye sessions.
How Often Should I Use the Cold Setting for Best Results?
Use the cold setting after every hot blow dry session. It locks in style and keeps hair healthy when used regularly.
Can the Cold Setting Freeze or Stiffen Hair?
It won’t freeze hair but can add stiffness to hold style. Using it briefly helps set your style without making hair crunchy.
Does Cold Air from the Blow Dryer Help with Dandruff?
Cold air alone won’t treat dandruff effectively. Proper scalp care with medicated shampoos works better for dandruff control.
Before You Go
The cold setting helps seal moisture and lock your style with less damage. Start using it at the end of your blow-drying routine today to see the difference. Keep adjusting based on how your hair feels and looks after each drying session.