How Can You Straighten Your Hair: 8 Proven Methods for Smooth Results
How can you straighten your hair without wasting time or damage? You can use heat tools like flat irons or blow dryers for quick results. Or, try no-heat methods that gently relax your hair over time.
Dry your hair fully before using heat tools to avoid damage. Cover your strands with a heat protectant spray to block heat harm. This keeps your hair smooth and prevents breakage during styling.
Choose the right tool and temperature for your hair type. Thin or fine hair needs lower heat, while thick hair can handle higher settings. That makes straightening safer and more effective.
Use a comb while straightening to get even tension on each section. Straighten your hair in small sections for better control and smoother results. Finish with a light serum or oil to add shine and reduce frizz.
Key Takeaways
- Make sure hair is 100% dry before straightening with any heat tool.
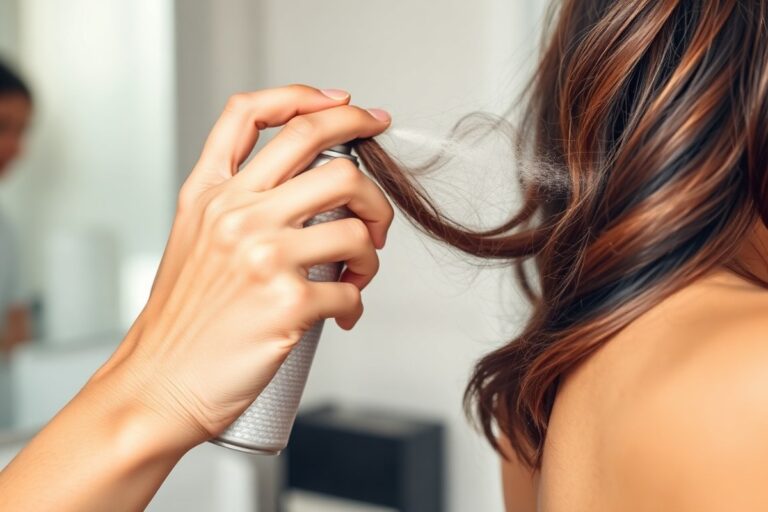
- Apply heat protection spray evenly from about 6 inches away.
- Use lower temperatures for thin or fine hair, below 360°F (182°C).
- Set medium hair between 360-390°F (182-199°C) for optimal results.
- Thick hair requires higher heat, around 390-410°F (199-210°C), carefully.
- Rough drying hair until about 80% dry can improve natural straightening.
1. What Are the Main Ways to Straighten Hair at Home?
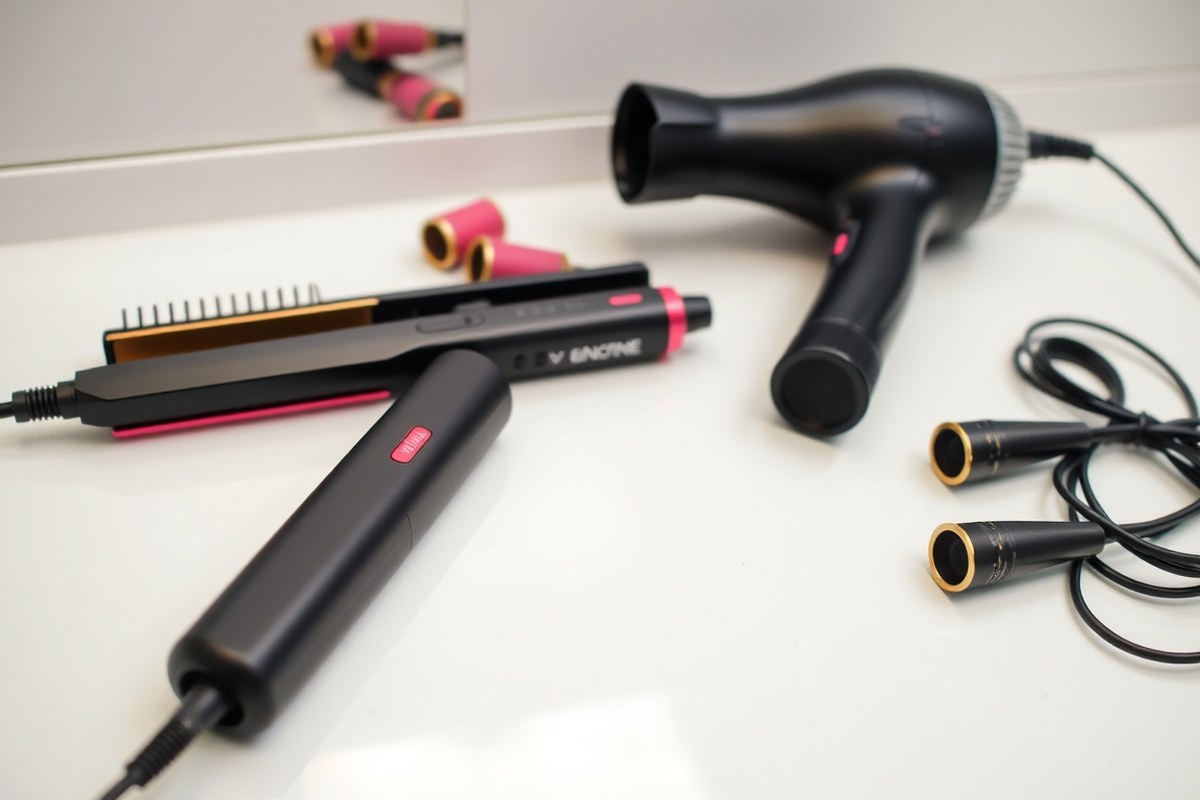
There are two main ways to straighten hair at home: using heat and without heat. Heat methods use tools like flat irons and blow dryers. They break down bonds in your hair strands.
This changes your hair’s shape and texture. This temporarily changes your hair’s texture, making it smooth and straight until it gets wet again.
Heat-free methods rely on drying and styling techniques to stretch and smooth hair without breaking bonds. Techniques like wrap-drying, using large rollers, or overnight banding gently flatten curls or waves over time.
These methods take longer, usually a few hours or overnight. But cause less damage than heat.
Heat straightening works best on fine or wavy hair. It becomes sleek with temperatures below 360 °F. Higher heat isn’t needed for this hair type. For thick or curly hair, heat is often needed to get fully straight results.
Heat tools give instant results in less than 20 minutes. But there’s a risk of dryness or breakage without protection.
No-heat methods suit most hair types but work better on wavy or loosely curly hair. You’ll use less product and avoid damage.
But results are softer and less shiny compared to heat styling. This approach takes at least a few hours, depending on your hair’s length and porosity.
| Method | How It Works | Time Needed | Best For | Results | Damage Risk |
|---|---|---|---|---|---|
| Flat Iron | Heat breaks hair bonds | 15-20 minutes | Fine to thick hair | Sleek, glossy, very straight | Moderate to high |
| Blow Dryer + Brush | Heat and tension smooth hair | 20-30 minutes | Wavy or slightly curly hair | Smooth, moderately straight | Moderate |
| Wrap-Drying | Hair wraps flat and dries | 2-3 hours to overnight | Wavy or loosely curly hair | Softly straightened, natural | Low |
| Large Rollers | Hair set stretched around rollers | Overnight or several hours | Loose curls or waves | Relaxed waves, less frizz | Low |
Straightening with heat demands a heat protectant spray to reduce damage. Applying it before styling shields your hair from dryness. For heat-free methods, start with damp hair, not soaking wet.
Then wrap or roller-set your hair carefully. Avoid creasing as you style.
Heat methods give you quick, sleek hair, but they can cause breakage without caution. No-heat ways take more time but keep your hair healthier. Your choice depends on hair type and available time.
Also consider how smooth you want your hair. Each method suits different needs and results.
2. How to Prepare Your Hair for Effective Straightening

Start by washing your hair with a shampoo and conditioner made for smoothing or straightening. These products soften hair and reduce frizz, making it easier to straighten. Pick shampoos and conditioners made for your hair type.
Moisturizing formulas work well for dry or curly hair. Use products that suit what your hair needs.
After washing, gently towel-dry your hair until it’s damp, not soaking wet. Avoid straightening wet hair with a flat iron. Heated water creates steam inside the hair strands.
That steam causes damage to your hair. Air dry your hair or use a blow dryer on cool or medium heat.
Make sure your hair is completely dry before straightening. This reduces damage risk.
Use a wide-tooth comb or a detangling brush to remove knots. Start from the ends, slowly working your way up to the roots. Doing this prevents breakage and makes the straightening smoother.
- Choose a smoothing shampoo and conditioner for your hair type
- Towel-dry hair so it is damp but not wet before styling
- Apply a leave-in conditioner or smoothing serum evenly through damp hair
- Detangle gently with a wide-tooth comb, starting at the ends
- Use a heat protectant spray or cream if using hot tools
- Air dry straightened hair when possible to avoid heat damage
Before using any heat tool, apply a heat protectant product. Serums, creams, or sprays form a barrier, preventing damage and moisture loss. Heat protectant products usually cost $10 to $30.
They shield your hair from 300°F to 450°F heat. Using one helps prevent heat damage.
For curly or frizzy hair, use a pea-sized amount of hair oil. You can also try a straightening balm. Both smooth your strands effectively.
This boost helps hold the straightened shape longer. After all prep, your hair should feel soft, smooth, and tangle-free, ready for styling.
Never use a flat iron on wet or damp hair, it can cause serious damage.
3. Step-by-Step Guide to Straighten Hair Using Heat Tools
Flat irons and blow dryers are the most common heat tools to straighten hair. You can achieve smooth, straight strands by setting the right temperature and sectioning your hair properly. Using heat protectants helps reduce damage and keeps your hair healthy.
Choosing the Right Heat Tool
Pick a flat iron with adjustable temperature settings and wide plates for thicker hair. Blow dryers with a concentrator nozzle let you aim heat precisely. Avoid cheap tools because uneven heat can cause hot spots and damage your hair.
A high-quality flat iron costs between $40 and $150 depending on brand and features. Blow dryers priced $30 to $100 often offer adjustable heat. They usually have different airflow speeds.
Both features work well for straightening hair. Choose based on your hair type, budget, and styling preferences.
Setting the Correct Temperature
| Hair Type | Temperature Range (°F) |
|---|---|
| Fine or damaged hair | 250° to 300° |
| Medium or normal hair | 300° to 375° |
| Coarse or thick hair | 375° to 410° |
Set your flat iron or blow dryer temperature according to your hair type to prevent damage. Lower settings work well for fine or fragile hair.
Higher heat is better for thick or curly hair. But avoid the highest settings to protect strands.
Test a small section first to see how your hair reacts. Adjust temperature only if necessary to avoid excessive heat exposure or dryness.
Techniques for Sectioning and Ironing Hair
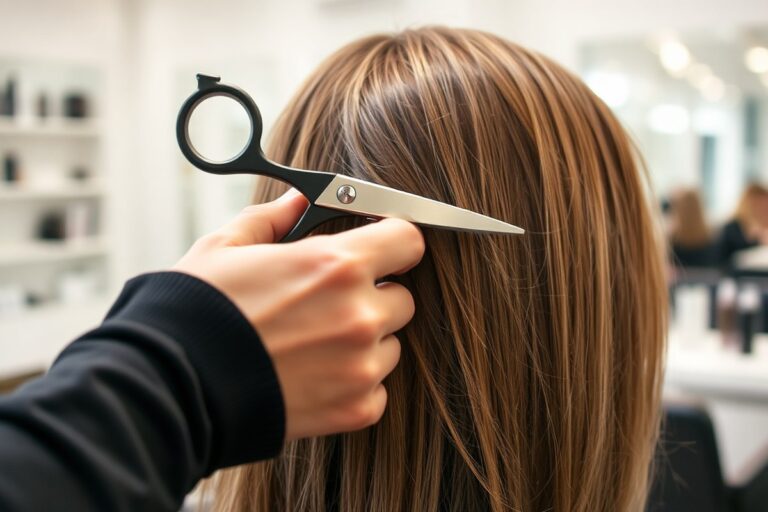
Divide your hair into small, manageable sections before straightening. About 1 inch wide per section helps you straighten faster and more evenly. Use clips to hold up the rest of your hair.
Work from the bottom layers up to the crown. Smooth one section at a time with your flat iron. Move it slowly and steadily from root to end.
This method helps avoid kinks or uneven straightening. Don’t go over the same section repeatedly to reduce heat damage.
For blow drying, rough dry your hair first. Use a round brush to pull hair sections tight.
Aim the airflow down the hair shaft. This technique creates smooth, shiny hair.
Applying Heat Protectant Products
Spray a heat protectant evenly on dry hair before using hot tools. It helps lock moisture in and protects cuticles from burning. Skip this step and you risk dryness, breakage, and split ends.
Use about 1 to 2 sprays for medium-length hair. Comb through to distribute the product evenly. Wait a few seconds before applying heat for the best effect.
Reapply heat protectant if you restyle with heat later in the day for ongoing protection.
Finishing and Styling Tips
After straightening, avoid touching hair too much to keep it smooth. Finish with a light serum or anti-frizz spray to add shine and prevent flyaways. These products also help maintain the style longer.
Wait a few minutes before brushing your hair to let the style set. Use a soft-bristle brush or your fingers to keep strands aligned without breaking.
Give your hair breaks from heat styling every few days. These breaks help maintain your hair’s strength. They also preserve moisture and prevent damage.
- Start with clean, dry hair that has heat protectant applied.
- Divide hair into 1-inch-wide sections and clip up the top layers.
- Set your flat iron or blow dryer to the right temperature for your hair type.
- For blow drying, rough dry first, then use a round brush and concentrator nozzle.
- For flat ironing, slowly glide the iron from roots to ends, one section at a time.
- Release sections carefully and continue upward until all hair is straightened.
- Apply a light serum or anti-frizz spray to finish.
- Avoid overusing heat tools and give your hair rest days.
4. Three No-Heat Methods to Straighten Hair Naturally
No-heat methods can straighten your hair without damage. Wrap drying, jumbo rollers, and banding are three popular options. Each works best for certain hair types and takes different times to show results.
Wrap Drying Technique
Wrap drying straightens hair by wrapping it flat around your head. It works best on hair that’s naturally straight or slightly wavy. This method helps hair dry smooth without heat damage.
Follow these steps to try wrap drying:
- Wash your hair and towel-dry until damp, not dripping wet.
- Apply a smoothing leave-in or light serum evenly through your hair.
- Use a wide-tooth comb to part your hair in the center.
- Starting from one side, comb your hair flat and wrap it around your head.
- Secure the ends loosely with bobby pins or a soft hair tie.
- Cover your head with a satin scarf to keep hair smooth.
- Let your hair dry completely, which can take 2 to 4 hours.
- Remove the pins and scarf carefully and gently brush your hair.
This technique takes several hours but avoids heat damage. It suits straight to lightly wavy hair best. Very curly or coarse hair may need extra time or a different method.
Using Jumbo Rollers Properly
Rollers work by holding hair taut as it dries. Jumbo plastic rollers are about 1¾ inches or more wide. They give you a smooth look with soft waves.
You’ll get volume too. This method is good for medium to long hair with waviness or loose curls.
Rollers need fully damp hair and a good drying time to set the shape. Avoid foam or Velcro rollers for straightening, they don’t smooth hair as well as plastic ones. Follow these steps for jumbo rollers:
- Wash and towel-dry your hair until damp, not wet.
- Divide your hair into sections the size of each roller.
- Comb each section flat and wrap it tightly around a roller.
- Pin the rollers securely to your head with roller pins or bobby pins.
- Sit under a hooded dryer or use a fan to air-dry hair fully, about 90 minutes.
- Remove all rollers once hair is completely dry.
- Brush or finger-comb your hair gently for volume and shine.
This method takes around an hour and a half to dry properly. It straightens medium to long hair well. It suits hair that is wavy or relaxed curly better than tightly coiled hair.
Banding Hair Overnight
Banding straightens hair by wrapping sections with hair ties or bands. It works best for thick, curly, or wavy hair. This method avoids any heat and gently pulls curls straight while you sleep.
Use smooth, wide hair bands to avoid dents in your hair. It takes overnight to see results from banding. The results depend on your hair type and how tightly you band it.
Try these steps to band your hair:
- Towel-dry your damp hair until just slightly wet.
- Divide hair into 3 to 6 sections depending on thickness.
- Wrap each section with a hair band about 2 to 3 inches from the roots.
- Continue wrapping each section downward with several bands, spaced 2 to 3 inches apart.
- Cover your head with a silk or satin scarf for overnight protection.
- Remove the bands in the morning carefully to avoid creases.
- Gently comb through your hair to complete the look.
Banding takes about 8 hours overnight. It’s great for tight curls to loosen waves slightly. For thicker hair, use more sections and multiple bands per section for best results.
5. Natural and DIY Treatments That Help Straighten Hair
Natural ingredients like milk, honey, and coconut oil can help smooth hair and reduce frizz. Mix half a cup of milk, two tablespoons of honey, and one tablespoon of coconut oil. This simple DIY mask needs just three ingredients.
Use common kitchen items for easy hair care. Apply the mask to damp hair.
Leave it on for 30 minutes. Rinse with warm water for silkier, straighter strands.
DIY masks work by coating hair to weight it down and seal the cuticle. Applying oils such as coconut or castor oil before washing can protect hair and reduce puffiness. Use these treatments once or twice a week to keep hair smooth without buildup or heaviness.
Those with curly or thick hair might benefit most from these masks. Fine hair types should try smaller amounts of oil or faster rinses to avoid looking greasy. Test how your hair reacts to the mask.
Adjust the recipe or use it less often if needed. Avoid over-moisturizing your hair this way.
Natural masks improve hair texture, helping it lie straighter without chemicals or heat damage. Gently massage the mask into your scalp and strands. This helps spread it evenly.
Be gentle to avoid pulling your hair. Leaving these ingredients on too long can lead to greasiness or residue, so timing matters.
Use warm milk in your mask for better absorption. But never hot enough to burn your scalp.
6. Professional Hair Straightening Options Explained
Keratin Treatment Overview
A keratin treatment smooths hair using safe formaldehyde levels. It works by coating the hair follicle to reduce frizz and add shine. This treatment typically lasts about two to four months depending on hair type.
A professional applies the keratin solution carefully to your hair. They use a flat iron set to about 450°F. This seals the keratin into your strands.
The heat ensures the keratin bonds with your hair strands for lasting smoothness. A downside is the chemical use can cause dryness over time.
Brazilian Blowout Benefits and Risks
The Brazilian blowout is a custom chemical treatment tailored to your hair texture. It smooths hair while leaving some natural volume, unlike keratin. Results usually last for 10 to 12 weeks before needing a touch-up.
This treatment also uses formaldehyde but in levels considered safe by stylists. It can be less harsh than keratin.
But repeated use risks damaging your hair’s health. The cost varies with salon and hair length, often from $200 to $400.
Japanese Thermal Straightening Features
Japanese thermal straightening permanently alters the hair by breaking and reforming bonds with chemicals. This method leaves hair bone-straight and sleek, ideal for people who want a long-term change. It can last six months or longer depending on hair growth.
This treatment uses a chemical relaxer on your hair first. Then, it is ironed at high heat near 410°F. This helps straighten the hair. This treatment usually costs between $300 and $600.
It may harm your hair if done too often. Proper application is very important. Professional care is essential to avoid scalp burns.
Choosing the Right Treatment for Your Hair
Choose your treatment by how straight you want your hair. Also, think about how long you want it to last. These help decide the best option.
Japanese straightening suits those wanting permanent straight hair. Keratin and Brazilian blowouts suit those looking for temporary smoothing with natural volume.
Consider hair health before starting treatments: frequent chemicals and heat can weaken hair. Consulting a licensed hair professional helps match the best treatment to your hair type and condition. Avoid DIY chemical straightening to prevent serious damage.
Here’s a comparison to help you decide which professional straightening fits your needs better.
| Treatment | Duration of Results | Main Benefit | Main Risk | Cost Range |
|---|---|---|---|---|
| Keratin Treatment | 2 to 4 months | Reduces frizz, adds shine | Dryness from chemicals over time | $150 to $350 |
| Brazilian Blowout | 10 to 12 weeks | Custom smoothing with natural volume | Hair damage from repeated chemical use | $200 to $400 |
| Japanese Thermal Straightening | 6 months or longer | Permanent sleek, pin-straight hair | Scalp burns, hair damage if misused | $300 to $600 |
Results depend on your hair type, the skill of your stylist, and aftercare. Expect your stylist to perform a consultation and strand test before any treatment. Proper maintenance with sulfate-free products will help your straightening last longer and reduce damage risks.
7. How to Maintain and Care for Straightened Hair
You can keep your hair straight longer by avoiding moisture and friction. When you sleep, wrap your hair in a silk scarf or use a satin pillowcase. This cuts down on frizz and prevents your hair from tangling or curling overnight.
Products designed to smooth hair and control frizz really help maintain shine and sleekness. Look for serums or sprays with ingredients like silicone or natural oils. FOXYBAE Cool AF Heat Protectant adds biotin for stronger hair.
It protects your hair from heat damage. This helps keep your hair healthier.
Washing your hair less often will help preserve your straight style. Washing every two to three days stops your hair from getting oily and frizzy too soon. Use a gentle shampoo when washing your hair.
Pick one that moisturizes. Choose one made for straight or smooth hair.
- Use a lightweight anti-frizz serum or cream on damp hair
- Apply heat protectant before any heat styling
- Wrap your hair in a silk scarf or use a satin pillowcase to prevent frizz overnight
- Try hair wrapping or twisting into a bun to keep hair smooth without heat
- Don’t wash hair daily; every 2-3 days is best to keep straightness
- Use moisturizing shampoo and conditioner suitable for straight hair
After straightening, try the hair twisting or bun method to keep strands in place. It works best on hair that is straight or wavy. It slows down curls and frizz from coming back.
This keeps your hair looking smooth longer. Avoid heat styling on damp hair because it causes damage and takes longer to straighten.
Products with milk proteins can also help reduce frizz by strengthening hair shafts. These treatments add moisture and help control frizz. Avoid heavy oils or butters if your hair is fine.
They can weigh your hair down. For thick or curly hair, richer conditioners protect against dryness and keep your style intact longer.
8. Common Mistakes When Straightening Hair and How to Fix Them
One common mistake is using large sections of hair at once. This makes you go over the same spot repeatedly. That multiplies heat damage and dryness.
Instead, divide your hair into smaller sections, about one to two inches wide. This helps the flat iron work faster and with less heat.
Another error is straightening hair daily. Heat styling every day weakens hair and causes breakage. Limit straightening to two or three times weekly.
This helps your hair recover well. Avoid daily heat styling to prevent damage. Between heat days, use a deep conditioner or hair mask to restore moisture and strength.
Pay attention to how many passes you make on each section. Running the flat iron over one strand three times or more risks serious damage. One or two slow passes at the right temperature usually do the trick.
Also, set your flat iron temperature based on your hair type for less risk. Fine or damaged hair should stay below 300°F. Thick or curly hair can handle 350° to 400°F.
Applying straightening chemicals without checking hair health causes lasting harm. Japanese straightening combines heat and chemicals, which can dry and break hair. Avoid this if your hair is already fragile or chemically treated.
Consult a pro to test your hair elasticity and porosity. Professionals check if your hair can handle chemicals. They decide if milder methods suit you better.
- Use a heat protectant before straightening to reduce damage
- Avoid straightening wet hair to prevent frying strands
- Don’t skip regular trims; damaged ends worsen from heat
- Use high-quality flat irons with adjustable temperature controls
- Let hair cool down before brushing to lock in the style
- Increase conditioning treatments to keep hair hydrated and smooth
Stop using heat immediately if your hair looks dull or feels brittle after straightening. Trim any split ends and deep condition often.
Protein treatments can rebuild damaged strands but don’t overdo them. Overloading protein leaves hair stiff and prone to snapping.
Use the lowest heat setting that effectively straightens your hair. Higher isn’t always better and causes more damage.
Step-by-Step Action Plan to Straighten Your Hair at Home
Follow this simple plan to straighten your hair safely and effectively.
- Before you start: Wash and condition your hair with a smoothing shampoo. Your hair should feel soft and clean for best results.
- Right after washing: Apply a heat protectant spray evenly. Your hair should feel slightly coated without being sticky.
- 15 minutes after washing: Blow-dry your hair fully using a round brush. Hair should feel dry and smooth, not damp.
- Once dry: Section your hair into manageable parts, about 1-inch wide. This helps you straighten evenly and saves time.
- During styling: Set your flat iron to match your hair type. Use 300°F for fine hair. Choose up to 400°F if your hair is thick. Hair should look sleek and shiny, not damaged.
- Right after styling: Use an anti-frizz serum to lock in the straight look. Hair should feel smooth without heaviness.
- Daily care: Protect your straightened hair at night with a silk pillowcase or wrap. This helps prevent frizz and maintains style.
- Weekly: Use a deep conditioning treatment to keep hair healthy and prevent dryness. Your hair should feel soft and hydrated.
Frequently Asked Questions
How Do I Choose the Right Heat Tool for My Hair Type?
Choose a heat tool based on your hair’s thickness and texture. Fine hair needs lower heat.
Thick or curly hair benefits from higher heat settings. This keeps your hair safe and effective to straighten.
Can I Straighten My Hair If It’s Wet or Damp?
It’s best to dry your hair before straightening to avoid damage. Damp hair takes longer to straighten and can cause more breakage. Use a blow dryer to get your hair fully dry first.
How Long Should I Leave Natural Straightening Treatments On?
Leave natural treatments like masks or oils on for 20 to 30 minutes. This allows the ingredients to soften and relax your hair strands for better straightening results. Always rinse thoroughly after.
Does Hair Type Affect How Long Straightening Lasts?
Yes, straightening lasts longer on smooth or fine hair than on curly hair. Curly hair may need more frequent touch-ups to keep it straight. Using the right product and method also helps.
Can I Straighten Hair Frequently Without Damage?
Straightening often can damage hair, especially if using high heat. To minimize harm, use heat protectants and deep conditioning treatments regularly. Take breaks between straightening sessions to let hair recover.
What Should I Do If My Straightening Causes Frizz?
Frizz after straightening means you need more moisture or better products. Apply a smooth serum or light oil to tame flyaways. Avoid touching hair too much after straightening to keep frizz down.
Key Points to Remember
Straightening your hair at home can be safe and effective with the right steps. Start by preparing and protecting your hair. Grab your heat protectant and flat iron to try it out today.