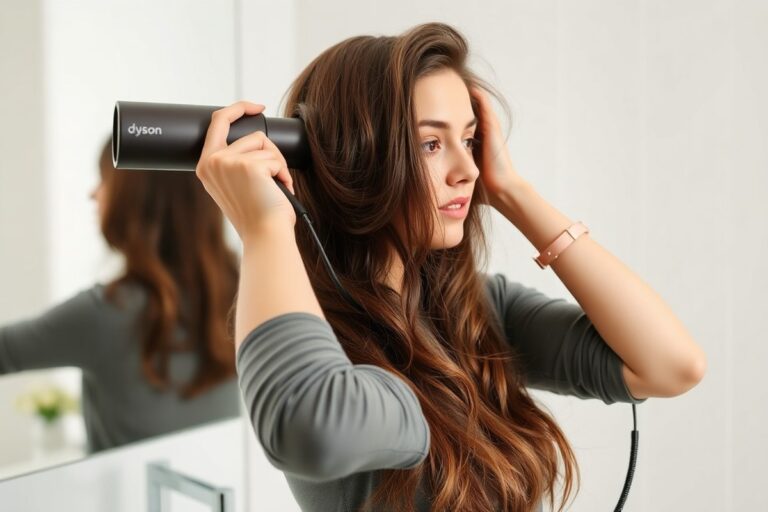
How to Use a Straightening Iron: Simple Steps for Safe, Smooth Results
Learning how to use a straightening iron right makes all the difference. You want smooth results without frying your hair. The key is starting with dry, clean hair and setting the right temperature for your type.
Begin by dividing your hair into manageable sections about 1 to 2 inches wide. Use a flat iron with plates about half to one inch wide for better control. Always keep the iron a few inches from your scalp to avoid burns.
Picking the right heat keeps your hair safe and smooth for longer. Fine hair works best at temperatures between 250 and 300 degrees Fahrenheit. Try using smaller sections rather than increasing heat if medium hair isn’t straightening at 300°F.
Key Takeaways
- Start styling only on completely dry, clean hair.
- Use small sections 1-2 inches wide for even straightening.
- Keep the straightener 1 to 3 inches away from your scalp.
- Choose flat iron plates ½ to 1 inch wide for easy handling.
- Set temperature based on hair type: fine (250-300°F), medium (300-350°F), thick (350-400°F).
- Lower heat and smaller sections help if hair resists straightening.
How to Use a Straightening Iron Correctly Step-by-Step

Using a straightening iron the right way takes a few careful steps. Following these steps will give you smooth, shiny hair without extra damage. Take your time and work with small sections for the best results.
- Heat up the straightening iron. Wait three to five minutes until it reaches your chosen temperature.
- Divide your hair into small sections, about 1 to 2 inches thick. Clip the other sections out of the way.
- Place the flat iron close to your roots on one section. Hold the hair taut but not too tight.
- Clamp the straightener and slowly glide it down the hair’s length. Pull it upward slightly, as if lifting toward the ceiling.
- Make only one or two passes per section. More passes can cause extra heat damage and frizz.
- Move to the next section and repeat. Keep your motions slow and steady with each pass.
- After finishing, check for any spots that need touch-ups. Use a quick pass if necessary, but less is better.
Using a good quality iron with ceramic or titanium plates smooths hair. It also helps cut down frizz for a sleeker look. Choose plates that suit your hair type for best results.
Holding the iron at a slight upward angle helps create a natural, smooth finish. Notice your hair doesn’t straighten well at low heat? Try working in smaller sections.
Avoid raising the temperature right away to protect your hair. This reduces the risk of damage and makes your straightening last longer.
Why You Must Always Start with Dry, Clean Hair
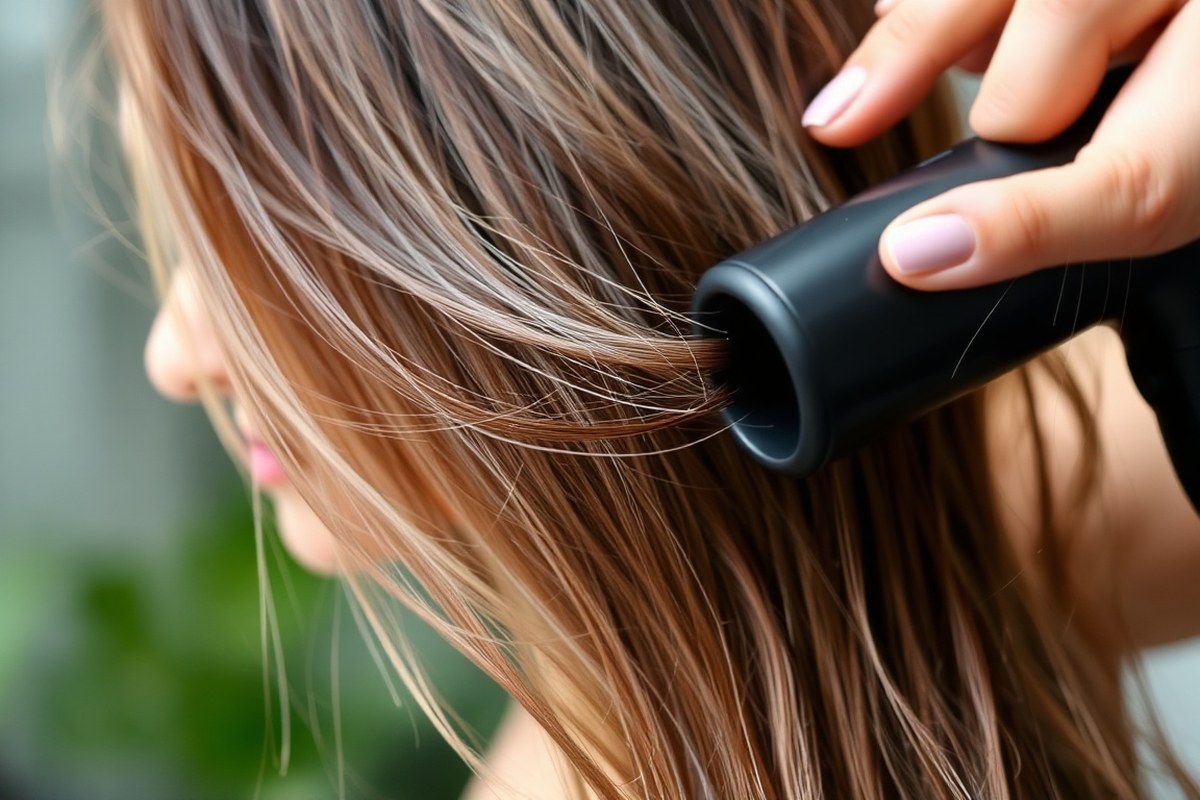
Using a straightening iron on wet or damp hair risks serious damage. Hair is weakest when wet.
So heat seals in moisture and burns it from inside. Blow drying your hair fully before straightening gives better results and protects your strands from breakage.
Blow dry your hair till it’s at least 80% dry before using the flat iron. Rough drying saves time by taking out curls and waves that could make straightening harder. Spend a minute or two after blow drying.
This helps hidden moisture evaporate. It works best for thicker hair.
Applying heat to damp hair often causes frizz and uneven straightening. Hair flattened straight while wet tends to puff up when dry and crowds your styling efforts. Fully dry hair holds the straight shape longer without extra passes, cutting down heat exposure.
Some heat protectant sprays work on damp hair, but they don’t replace thorough drying. Dry hair ensures product works best and heat styling tools glide smoothly through strands without tugging. Take your time blow drying hair in sections.
Smoothing each part makes the next step easier. This prepares your hair for the straightening iron.
Always use a clean flat iron free of leftover styling products. Residue can burn onto damp hair quicker and cause stickiness or staining. Keep your tool clean and your hair dry.
This stops uneven heating during straightening. It helps you get sleek, shiny hair.
Never use a flat iron on wet hair. Wait until your hair is fully dry. This prevents serious hair damage.
Choosing the Right Temperature for Your Hair Type
Choose a temperature based on your hair’s thickness and condition. Fine or fragile hair needs low heat, around 250 to 300°F. Thick hair can handle higher heat. But never go above 400°F. Color-treated and damaged hair require lower settings to avoid harm.
Always spray heat protectant before straightening. It shields your strands. This helps you use heat more safely.
Temperature Range for Fine and Fragile Hair
Fine hair heats up quickly and is easy to straighten at low temperatures. Set your straightening iron between 250 and 300°F to avoid damage. Use the lowest end if your hair is thin or fragile.
Fragile hair can get brittle if exposed to too much heat. Keeping your iron below 300°F helps keep your strands smooth and intact. Using a heat protectant spray adds extra safety against heat damage.
Settings for Medium and Thick Hair Types
Medium hair needs a bit more heat to straighten effectively. Aim for 300 to 350°F. Thick, coarse, or long hair requires even higher heat, usually 350 to 400°F. Never go higher than 400°F to protect your hair’s proteins from breaking down.
Set your iron on the higher end for thick hair but keep each pass quick. Pulling the iron slowly can cause extra heat damage. Use a heat protectant that can handle higher temperatures to protect your strands during styling.
Heat Limits for Color-Treated or Damaged Hair
Color-treated hair is more sensitive and must have lower heat settings. Keep your iron under 300°F no matter your natural hair texture. Damaged hair needs the gentlest touch and low heat to prevent further breakage.
A quality heat protectant spray is key here. Some products protect up to 450°F, but don’t push the iron that high. Read your protectant’s instructions carefully and pick a heat setting it recommends.
Use the chart below to find the best temperature for your hair type. Adjust your flat iron accordingly. Always use a heat protectant spray for safer styling.
| Hair Type | Recommended Temperature (°F) | Notes |
|---|---|---|
| Fine / Fragile | 250, 300 | Lowest heat to prevent damage; avoid exceeding 300°F |
| Medium | 300, 350 | Moderate heat works well; quick passes advised |
| Thick / Coarse | 350, 400 | High heat for straightening; never surpass 400°F |
| Color-treated / Damaged | Below 300 | Lower heat to avoid breakage; use heat protectant |
Adjust your iron temperature to your hair type. Use a specific guide for help.
Protect your hair surface by applying heat protectant spray before styling. This prevents your hair from heating too fast and breaking between the plates.
How to Section Your Hair for Efficient Straightening
Start by dividing your hair into sections that match its thickness and length. Thicker or longer hair needs smaller sections, about one inch wide or less. This size fits the standard flat iron plate and lets you work evenly without missing spots.
Use clips to hold the top sections out of the way. Begin at the bottom near your neck and work upward. Only release one clipped section at a time when ready to straighten.
Keep the rest of your hair neat and out of the way. This helps you work cleanly and avoid tangles.
- Part your hair vertically down the middle for two main halves
- Divide each half into 2 to 4 horizontal sections, depending on thickness
- Clip upper sections securely to avoid tangling or mixing
- Take one-inch subsection from the bottom layer to straighten
- Work slowly, moving the iron smoothly from root to tip
- Release the next clipped section after finishing the current one
When you keep sections small and organized, your heat distributes evenly. This approach reduces the need for repeated passes, which saves time and lowers heat damage risk. Large or loose sections may leave some strands unstraightened or cause uneven results.
For shorter hair, you might take slightly smaller subsections to get closer to the scalp. Curly or thick hair often requires more sections too.
Keep clips handy and avoid overstuffing. It’s easier to straighten when you clearly see each part.
Choosing and Maintaining the Best Flat Iron for Your Hair
Choosing the right flat iron depends on your hair length and texture. Plate material affects heat distribution and hair smoothness. Regular cleaning keeps your iron working consistently and prevents hair damage.
Plate Size Recommendations by Hair Length
Small plates, about 1 inch wide, work well for short hair or tight curls. They allow precise control and easy styling near the roots. For medium-length hair, 1.5-inch plates strike a good balance for faster straightening.
Long hair works best with plates at least 2 inches wide. These wider plates cover more hair at once. This helps you straighten hair faster.
Bigger plates cut your styling time but can be heavier to handle. Choose a size that fits your hair and comfort level.
| Hair Length | Recommended Plate Size | Why |
|---|---|---|
| Short Hair (above shoulders) | 1 inch or less | Precision and control on small sections |
| Medium Hair (shoulder to mid-back) | 1.5 inches | Balance of control and coverage |
| Long Hair (below mid-back) | 2 inches or wider | Cover larger sections, reduce styling time |
The shape of the plates also matters. Curved edges help create waves, while flat plates focus on straightening dense hair. Smaller plates let you work in tight spots, like around the face.
Benefits of Ceramic vs. Other Materials
Ceramic plates spread heat evenly, reducing the risk of hot spots that can burn hair. This even heat creates a smooth, shiny finish without snags or patches. Many people find ceramic iron plates glide through hair easier.
Other materials like titanium heat up faster but may get too hot for fine hair. Tourmaline-coated plates add ions that reduce frizz and static, improving shine. Ceramic combined with tourmaline is a popular, affordable choice for smooth results.
Consider the HSI Professional Ceramic Tourmaline Ionic Flat Iron. It offers good value and performance.
Choose a flat iron with temperature control for your hair type. This helps keep your hair healthy.
Cleaning and Care Tips for Flat Irons
Wipe your flat iron plates after each use with a soft cloth to remove product buildup. Residue prevents even heat distribution and can snag hair during straightening. Do this when the iron is cool to avoid burns.
Clean your iron deeply once a week using a damp cloth. Mix water with rubbing alcohol for the cloth. This removes buildup and keeps your iron working well.
Avoid harsh cleaning chemicals and never submerge the iron in water. Let the iron dry completely before using it again.
Store your iron in a heat-resistant pouch or on a flat surface away from cables. Regular cleaning helps maintain a consistent heat level for sleek, shiny hair every time.
Tip: Clean your flat iron plates regularly to avoid uneven heat and damage to your hair.
Protecting Your Hair from Heat Damage
Before you start straightening your hair, use a heat protectant product. These come as sprays or serums. They create a barrier for your hair.
This layer protects it from the hot plates. This barrier helps block some of the heat that can break your hair’s natural proteins.
Apply the heat protectant on damp hair, not soaking wet. Damp hair absorbs the product better, making it more effective. Use a gentle, sulfate-free shampoo to wash your hair.
Then gently towel dry with a microfiber towel. This removes extra water without roughing up your hair.
Spray the heat protectant evenly all over your damp hair. Use a light mist and avoid heavy layers that leave hair greasy.
Don’t rush to the straightener. Wait until your hair feels completely dry before you start.
Products like Moroccanoil Protect &. Prevent Spray also add shine and protect against UV rays. L’Oreal Paris Advanced Hair Spray works well as a heat shield too.
A good product usually costs between $15 and $40. It often lasts several months. This makes it a worthwhile investment for healthy hair.
Let the product fully absorb before hitting your straightener. This is important because the heat protectant needs time to form a shield. Avoid ironing your hair too soon after applying protection.
Your hair won’t get full protection right away. This can cause dryness and split ends.
Heat protectants guard your hair up to temperatures near 450°F. This is important because flat irons often operate at that level. Using one without protectant can leave your hair brittle and prone to breakage.
Applying a heat protectant right can make a noticeable difference. Your hair will feel smoother, look shinier, and stay healthier over time. Skipping this step often leads to frizz, dullness, and damaged strands after repeated use.
Remember that using the right flat iron also helps reduce damage. Pairing quality tools with a reliable heat protectant is your best bet to keep hair strong. Small habits like these keep hair healthier even if you use a straightener regularly.
Common Mistakes When Using a Straightening Iron and How to Avoid Them
One common mistake is using the wrong heat setting. Too high can burn your hair.
Too low means you might need to run the iron over the same spot again. This repeated heating can damage your hair more than a single pass with the right temperature.
Another error is poor sectioning. Your hair sections should be thin enough for the iron to work well.
That leads you to go over the same area multiple times. Instead, take smaller sections and keep the hair taut as you straighten.
Overdoing it also happens when you don’t let your hair dry enough before straightening. Heat reacts badly with damp hair and causes damage. Always start with fully dry hair to avoid frying or frying.
- Limit passes to 2-3 per section maximum to reduce heat damage.
- Set the glide speed between one to two seconds per pass for best results.
- Use smaller sections and apply even tension to avoid repeated passes.
- Check hair dryness thoroughly before starting the straightening routine.
- Avoid applying oils right before straightening as they can increase damage.
- Rest hair between styling sessions to keep it healthy and reduce breakage.
To fix damage caused by overheating or repeated passes, start by trimming split ends regularly. Use deep conditioning treatments to help restore moisture and strengthen hair. Limit heat styling to special occasions until your hair improves.
Each pass should take about one to two seconds. This speed is fast enough to prevent buildup but slow enough to reshape your hair. Taking your time helps.
Using the right section size also keeps you from repeating passes. This cuts down on damage and saves effort.
Finishing Your Style and Maintaining Straightened Hair
To keep your straightened hair smooth, use the right products. Apply finishing sprays or serums designed for shine. Style gently to maintain the look longer.
Applying a lightweight serum or oil tames flyaways and adds shine without weighing hair down. You can curl your hair with a flat iron.
Adjust how you hold and move the tool. Change the angle to create curls or waves.
Using Serums and Finishing Sprays
Apply a small amount of a lightweight serum or oil right after straightening. Use products like Color WOW gloss spray or L’Oréal EverSleek oil. They add shine and keep your hair smooth.
These help control frizz and boost shine. Spread the serum evenly through your hair.
Focus on the ends to avoid greasiness. Avoid the roots for a cleaner, lighter feeling.
Finishing sprays designed for shine can lock in your style and control flyaways. Spray lightly from 8 to 10 inches away to avoid buildup. This step also boosts shine and creates a polished look that lasts all day.
Avoiding Frizz and Flyaways
Frizz and flyaways can ruin your straightened look fast, especially in humid weather. Use a smoothing serum or cream before and after straightening to keep strands sealed and soft. Sleeping on a silk pillowcase also helps reduce friction and maintains smooth hair longer.
Comb your hair gently with a wide-tooth comb after applying finishing products. This spreads the serum evenly and further tames frizz. Don’t rub your hair roughly with a towel after washing.
Rubbing damages the cuticle and causes flyaways. Instead, gently pat your hair dry.
Sleep on a silk pillowcase to keep your straightened hair smooth overnight and reduce frizz.
Straightening Iron Techniques for Curling Hair
Curl your hair with a flat iron by changing wrist motion. Adjust the angle of the iron for different curl types. Practice to find what works best.
Clamp a section near the roots with your iron. Twist your wrist while sliding the iron down.
This motion creates curls or soft waves. Practice on a small strand first to get the motion right.
Keep the flat iron at about 350°F for curling to protect hair from damage. Avoid holding the iron too long on one spot, as this causes burning or breakage. Use a heat protectant spray beforehand and finish with serum to keep curls polished.
Step-by-Step Action Plan for Your Next Hair Straightening Session
Follow these steps to get smooth, sleek hair with your straightening iron. Each step has a clear action and a simple way to know you did it right.
- Before you start: Wash and completely dry your hair. Your hair should feel dry and look clean without frizz.
- Right before straightening: Apply a heat protectant evenly. Your hair will feel lightly coated, not sticky or heavy.
- Start sectioning: Divide hair into small, manageable sections using clips. Each section should be about 1 inch wide.
- Set your iron: Pick the right temperature for your hair type. The iron should heat up quickly without burning your scalp when tested carefully.
- Straighten each section: Slowly glide the iron from roots to tips once or twice. The strand should come out smooth without pulling or smoke.
- Finishing touch: Run your fingers through your hair and add a light serum if desired. Your hair will shine but won’t feel greasy.
- After straightening: Let your hair cool down before touching or styling further. The hair should stay straight and smooth after cooling.
Frequently Asked Questions
Should a Straightening Iron Be Used on Wet or Dry Hair?
You should only use a straightening iron on completely dry hair. Wet hair is more fragile than dry hair.
Using heat while hair is wet can cause burns. It can also severely damage your strands.
How Do I Straighten My Hair as a Beginner?
Start with clean, dry hair and separate it into small sections. Pass the iron slowly over each section.
Do this once or twice per section. This avoids repeated heat exposure and smooths hair.
What Should You Put on Your Hair Before Using a Straightener?
Apply a heat protectant spray or serum before straightening your hair. This helps shield hair from heat damage up to high temperatures and keeps your strands healthy.
How Often Should You Use a Straightening Iron?
Limit straightening to a few times a week to avoid damage. Using the iron daily can dry out and weaken your hair over time.
Can I Use a Straightening Iron to Curl My Hair?
Yes, you can create curls by twisting the iron as you pull it through hair. This technique adds waves or curls without needing a curling iron.
What Temperature Should I Set My Straightening Iron To?
Use lower heat, below 300°F, for fine or damaged hair. Set higher heat, up to 450°F, for thick or coarse hair.
Choose the right setting to protect your hair. Adjust to minimize damage and get smooth results.
Key Points to Remember
Using your straightening iron carefully protects your hair and gives you a great look. Try the heat protectant step first and see how much smoother your hair feels. Keep practicing these simple steps for better results each time.