How to Straighten Hair Using Straightener: 8 Essential Steps for Perfect Results
Knowing how to straighten hair using straightener makes your hair styling quick and polished. The key is to use the right heat setting and protect your hair from damage. Always start with clean, dry hair and a heat protectant spray to keep strands healthy.
First, dry your hair to about 80% before you start straightening. This avoids frying wet hair and helps the straightener glide smoothly.
Also, section your hair into small parts. It makes the process faster and more even.
Choose the temperature that fits your hair type for the best results. Fine or color-treated hair needs lower heat. Thicker hair calls for higher temperatures up to 210°C. This way, you get sleek hair without extra damage.
Key Takeaways
- Dry hair fully before using a flat iron to prevent damage and frizz.
- Use a heat protectant spray on dry hair, spraying 6 inches away.
- Set the temperature at 280, 320°F for fine or color-treated hair.
- Thicker hair may require heat up to 210°C for effective straightening.
- Section hair into small parts to ensure even straightening.
- Use a wide, natural bristle paddle brush during drying for smoothness.
1. How to Straighten Hair Using a Straightener Step-by-Step

Straightening your hair with a flat iron takes patience and care. The goal is smooth, sleek hair without too much heat damage. Grab small sections and work through your hair methodically for the best results.
- Ensure your hair is completely dry. Always use a flat iron on dry hair. Damp hair risks breakage and uneven straightening.
- Divide your hair into small sections. Take about a half-inch (1 ¼ cm) strand to start. Smaller sections allow better heat distribution and smoother results.
- Pull each section taut. Straighten hair that is held tight to cut down passes with the iron. This reduces damage and gives a straighter finish.
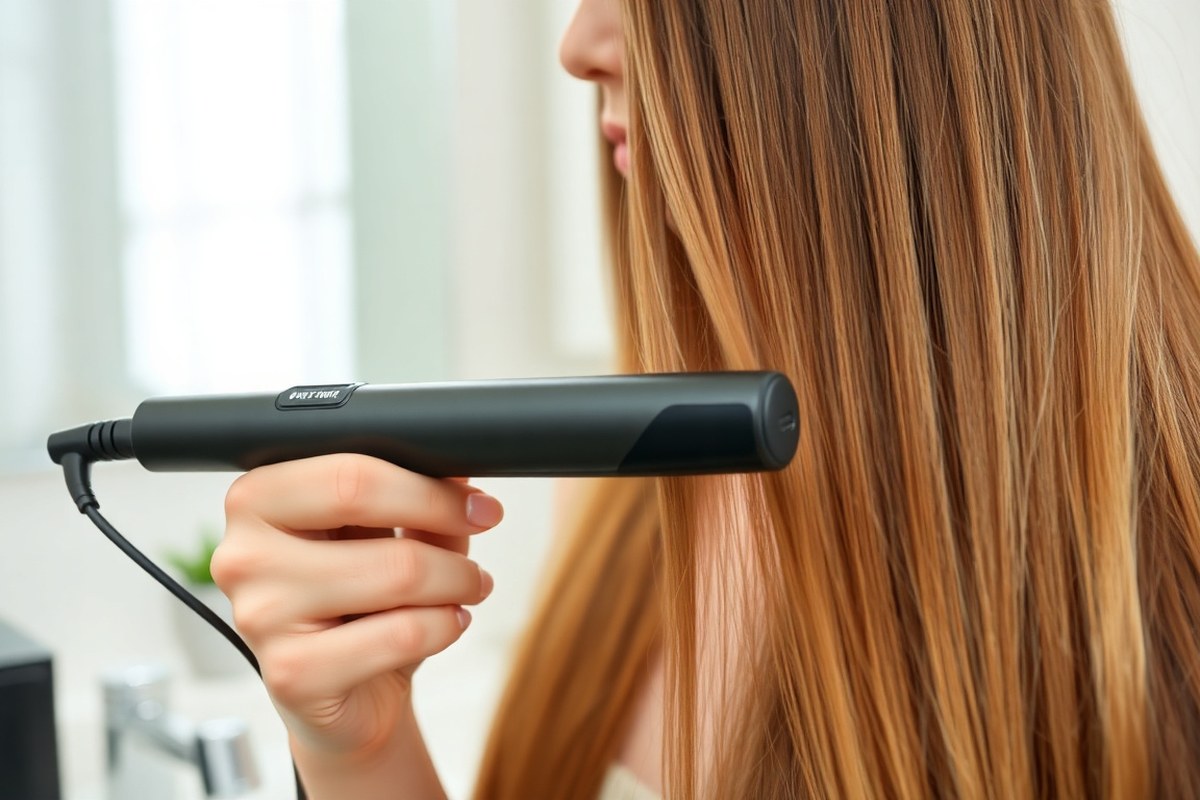
- Clamp the flat iron at the roots. Start as close to the scalp as you safely can without burning. Glide down steadily to the ends, keeping the iron moving.
- Run the straightener 2 to 3 times max per section. More than three passes heats your hair excessively, increasing damage risk. Make each pass smooth and even.
- Repeat for every section. Work methodically through your hair from back to front or side to side. This keeps your styling consistent.
- Avoid going over missed spots multiple times.Only re-straighten once when necessary. Overdoing it can dry and frizz hair.
Good results mean smooth, shiny strands that hold straight without frizz or flyaways. When the iron pulls or hair looks frizzy, use smaller sections and slower passes. Straighteners with adjustable heat settings let you tailor the temperature for your hair’s health and type.
2. Why Hair Dryness and Heat Protection Matter Before Straightening
Why Hair Must Be Fully Dry Before Straightening
Straightening damp or wet hair risks severe damage. Moisture inside the hair heats rapidly and can cause the cuticle to blister and weaken.
This can lead to breakage and frizz. Your hair must be completely dry before straightening.
Damp hair can get damaged easily. Dry hair helps you achieve a smooth finish.
How Heat Protectant Shields Your Hair
Heat protectant coats your hair, creating a barrier against high temperatures. It helps minimize damage and keeps hair shiny and smooth.
Without this layer, heat can strip moisture and weaken hair strands. Applying protectant makes a clear difference in preventing dryness and split ends.
Applying Heat Protectant Correctly
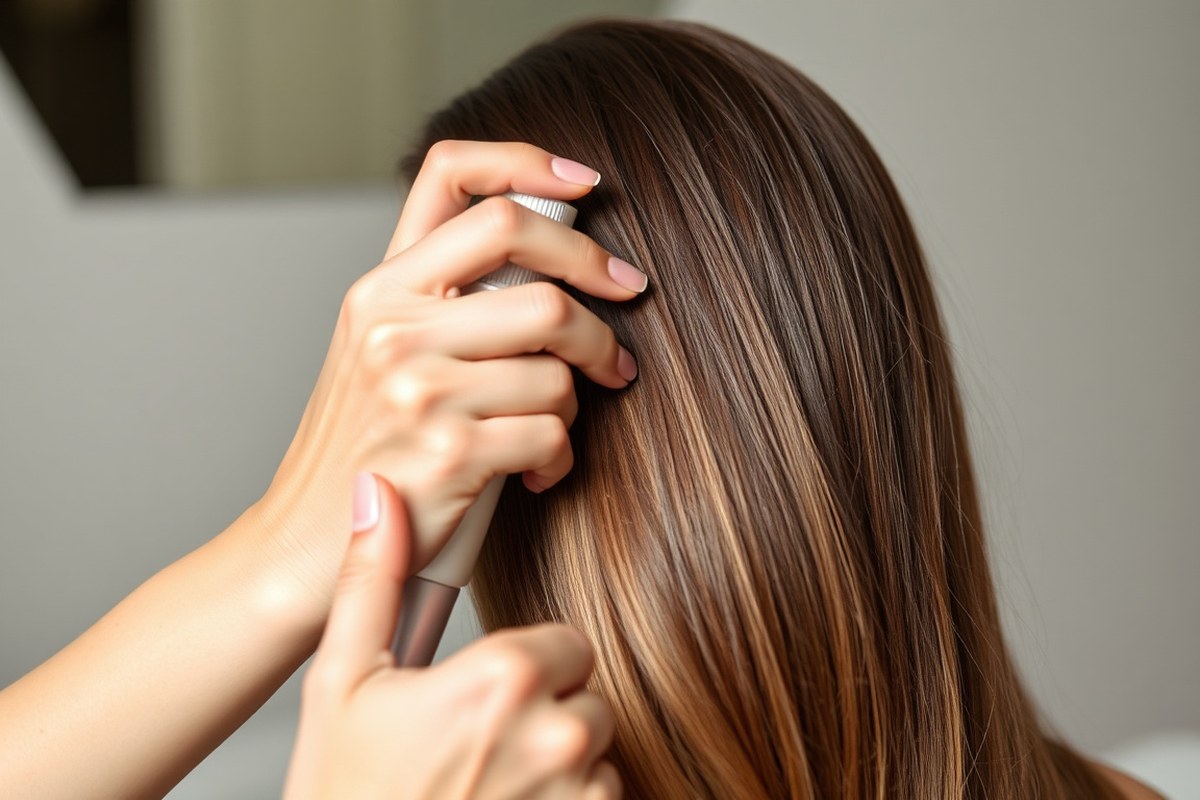
Hold the spray can near your dry hair and mist gently. Aim more at the middle and ends, as these areas break more. Spread the heat protectant evenly for best results.
Use your fingers or a wide-tooth comb to spread the product thoroughly. Adding a second spray right before straightening adds extra protection.
Steps to Ensure Hair Is Dry Enough
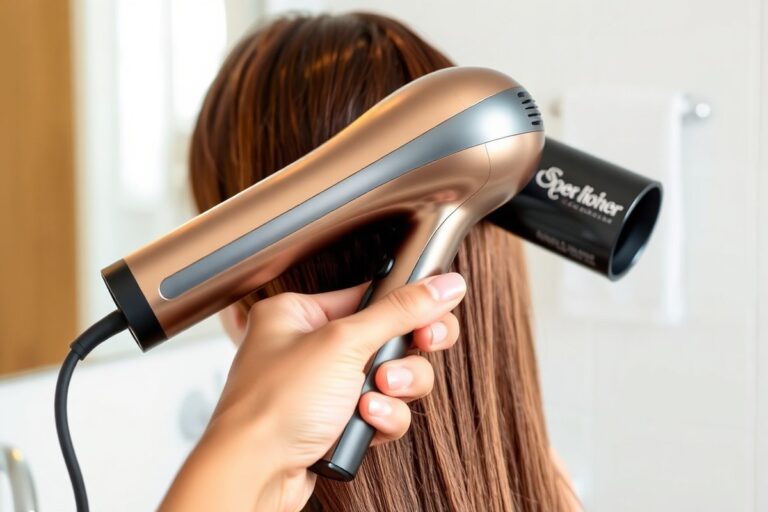
Blow-dry your hair with warm, not hot air to reduce damage. Dry it until it’s about 80% dry, then apply your heat protectant.
Let hair air dry the rest of the way if you have time. Avoid straightening hair that still feels cool or damp to the touch.
Common Mistakes and What to Watch For
Straightening damp hair can cause burning or snapping sounds, signs of serious damage. Products applied before hair is dry may clump or cause uneven straightening.
Without heat protectant, hair may look dull and feel brittle after repeated straightening. Your hair should feel smooth and soft, not brittle or crispy.
Never use a flat iron on wet hair, this damages the cuticle and causes breakage fast.
3. Choosing the Right Temperature for Your Hair Type
Choosing the right temperature depends on your hair’s texture and condition. Using too much heat can cause damage.
Too little heat won’t straighten your hair well. Start with a safe temperature, then adjust based on how your hair responds.
Temperature Ranges for Fine and Damaged Hair
Fine, fragile, or damaged hair needs very gentle heat to avoid breakage. Set your straightener between 250°F and 300°F to protect your strands. High heat on this hair type causes dryness and split ends.
Bleached or color-treated hair is especially sensitive. Keeping the heat under 300°F helps maintain shine and strength. Use the lowest temperature that smooths your hair in one pass to reduce over-styling risk.
Settings for Medium-Textured Hair
Medium-textured hair can handle a bit more heat, usually between 300°F and 350°F. This range straightens well without excessive damage for hair that’s not very fragile or very coarse. Try starting at 325°F to see how your hair reacts.
Watch the hair after straightening and cooling. Keep that temperature if it looks smooth.
Raise the heat by 10 to 20 degrees when sections stay frizzy or puffy. Test in small sections to avoid overheating your whole head.
Heat Settings for Thick, Coarse, or Curly Hair
Thick or coarse hair often needs higher heat, from 350°F to 375°F, to straighten fully. Curly hair may require up to 400°F. But keep the temperature as low as possible. Always use small sections so the heat reaches all strands evenly.
Using too low heat on coarse hair causes uneven straightening. It needs more passes over the same section. This can lead to damage and slower results.
That can cause more damage than a higher heat used carefully. Pull the hair taut when straightening for better results at lower temperatures.
Here is an easy table with temperature recommendations based on hair type:
| Hair type or condition | Starting temperature |
|---|---|
| Fine, fragile, bleached, or damaged hair | 250, 300°F |
| Medium or average-textured hair | 300, 350°F |
| Thick or coarse hair | 350, 375°F |
To test the best temperature, pick a small, hidden section first. Start at the lower recommended heat and straighten that piece.
Lower the heat if your hair feels dry or looks damaged after cooling. Or try another pass at a slightly higher setting.
Keep that setting when the hair straightens smoothly without puffiness or damage. Avoid jumping straight to the max heat, even for thick hair. Each time you raise the temperature, check your hair’s reaction carefully before doing the whole head.
4. Sectioning Hair Properly for Even and Efficient Straightening
Start by dividing your hair into manageable sections. Use a horizontal part from ear to ear, clipping the top half out of the way. This method keeps your hair organized.
You work from the bottom up. It makes sure no strands get missed.
Each section should be about ½ inch (1 ¼ cm) wide. This size allows you to run the straightener smoothly without tangling or overlapping. Smaller sections heat evenly, reducing the number of passes needed and limiting heat damage.
Choose good clips to hold your sections firmly. Sectioning clips or duckbill clips work well for most hair types. They hold hair snugly without slipping and handle thick or fine hair.
- Use a wide-toothed comb to detangle before clipping sections
- Work starting at the nape, lifting one small section at a time
- Keep clips close to the scalp but not too tight to cause dents
- For thick hair, create more sections to avoid uneven straightening
- Adjust section size smaller for fine or curly hair to improve control
- Hold each section taut but not stretched when straightening
- Leave the top layers clipped while working on lower sections
Divide hair evenly and clip it up before straightening. This approach stops missed spots and helps the straightener glide more easily.
Straighten each ½-inch section once or twice. But don’t overdo it, more than three passes can cause damage.
For short hair, try clips that fit smaller sections since narrow straightener plates work better. You’ll find your hair straightens more quickly and looks smoother when sections are consistent in size. Taking time to section properly saves effort and avoids uneven heat, making your style last longer.
5. Tools and Brushes That Help Achieve Sleek Straight Hair
Flat irons and straightening brushes both help you get sleek hair but work differently. Flat irons clamp sections of hair and heat them directly. Straightening brushes heat and brush your hair at the same time.
This helps speed up the process. It also means less careful work is needed.
Flat irons give you a polished look by ironing each small section slowly. That means better straightening, especially for very curly or coarse hair.
They usually reach 400°F or more, which can be risky without heat protectant. Straightening brushes heat up to about 370°F but cause less damage with gentle brushing.
You want a paddle brush or a fine-tooth comb to use with a flat iron. These help detangle and smooth the strands before you iron. Brushing first stops your hair from catching and breaking during straightening.
Try to keep your brush dry. This helps avoid extra heat damage. It’s very important if your hair is fragile.
Straightening brushes work well on fine to wavy hair. They don’t straighten as precisely as flat irons but give natural-looking straight hair faster. For thick or very curly hair, they may not fully smooth every curl.
You can use a brush on short, medium, and long hair. But very short hair might not get enough contact to straighten fully.
Choosing a flat iron size depends on your hair length. Narrow plates (1 inch) suit short hair or detailed work around the roots. Wider plates (1.5 to 2 inches) cover more surface, making them better for long hair.
Some irons also have rounded edges if you like to curl your hair sometimes. Straightening brushes usually cost between $30 and $100.
They work well for light straightening and quick touch-ups. Most hair types handle them fine.
Don’t flat iron wet hair, it can cause breakage and damage your strands.
6. Tips to Avoid Damage and Frizz While Straightening Hair
Overheating your hair can cause serious damage and frizz. Avoid straightening damp hair because heat traps water inside the strands, leading to breakage. Always dry your hair completely before using a straightener to keep it safe.
Using too many passes on one section is a common mistake. Try to limit straightening to two passes per section. More than that increases heat exposure and weakens hair over time.
Products can cause frizz if applied incorrectly. Don’t put leave-in sprays or serums on hair that you haven’t straightened yet. These products can build up and catch heat unevenly, leading to frizz and damage.
- Use a heat protectant spray evenly on dry hair before straightening
- Don’t straighten the same section more than twice
- Keep the straightener temperature suitable for your hair type
- Dry hair thoroughly to avoid steam damage
- Avoid adding products to untouched sections
- Work in small sections to reduce multiple passes
- Turn off the straightener and clean plates regularly
Stop about an inch from your scalp when straightening to protect roots from excess heat. Start slow; you can raise the temperature later if needed. Wrong settings or rushing can cause brittle and frizzy ends.
Pay attention to how your hair reacts during straightening. When your hair feels dry or looks rough, reduce the heat.
Follow these steps to keep your hair smooth and less frizzy. They help your style last longer and prevent damage.
7. Finishing Techniques: Products and Cooling for Long-Lasting Straight Hair
Use finishing products right after straightening to reduce frizz and add shine. Blast your hair with cool air to set your style. This also closes your hair cuticles.
It helps your hair look smooth and shiny. Doing these steps makes your straight look last longer and stay smooth.
Recommended Finishing Products
Shine serums or sprays work best for taming frizz and boosting shine. Pick a product designed for straight hair or one that smooths and controls flyaways. Use only a pea-sized amount to avoid weighing hair down or making it greasy.
Light leave-in conditioners or anti-frizz sprays also help lock moisture in without losing the sleek look. These products protect against humidity that causes curls to bounce back. Apply mainly to mid-lengths and ends where hair tends to get dry and frizzy.
How to Cool Hair Effectively
After straightening, use your hairdryer’s cool setting on each section for about one minute. This step closes the cuticles and seals the style, making hair shinier.
You can also sit in front of a fan to speed drying. But keep combing gently while hair cools.
Once hair feels fully cool and dry, avoid touching or brushing aggressively to keep strands smooth. Twist your hair into a loose bun. Use pins to keep it in place.
This works well if your hair is a little wavy. This wrap holds hair in place as it cools and sets overnight.
When to Apply and Reapply
Apply your finishing products right after your hair has completely cooled. Using serum or spray on warm or damp hair may cause evaporation. It can also make your hair look greasy.
Use these products only on dry hair for best results. After initial application, wait a couple of hours and check if you need a tiny touch-up.
For frizz-prone hair, a small amount of anti-frizz spray during the day helps keep strands smooth. Avoid piling on too much product, which can flatten hair and defeat straightness. Use fresh product only when hair feels dry or looks dull.
- Straighten your hair fully and let it cool for 1 minute with your dryer’s cool air.
- Gently rub a small amount of shine serum or spray on your hair. Focus on the ends and middle sections only. Avoid the roots to prevent oiliness.
- Comb hair carefully downward to smooth and spread the product evenly.
- Twist your hair into a loose bun. Pin it every 1 to 2 inches to secure the style. This stops your hair from falling out of place.
- Leave hair wrapped for at least 30 minutes or overnight to set the look.
- Unpin and gently brush hair, avoiding rough handling that causes frizz.
- Touch up during the day with a light anti-frizz spray if needed.
8. Aftercare and Frequency: Keeping Hair Healthy Between Straightening
You can safely straighten hair about two to three times a week. Doing it more often risks heat damage and dryness. Give your hair at least a day or two to rest between sessions.
Deep conditioning is key to keeping hair healthy and hydrated. Use a deep conditioner once a week or every 10 days. Products with ingredients like eggs or natural oils help strengthen hair and lock in moisture.
After washing, apply a pea-sized amount of oil or straightening balm. This helps smooth the hair and prepare it for heat styling. Using a thermal protectant before straightening reduces heat damage and prevents color fade.
Cutting your hair every 6 to 8 weeks trims split ends that can worsen with heat. This keeps your hair looking fresh and limits damage traveling up the shaft. Avoid straightening damaged hair until it has fully recovered.
Watching your hair’s condition helps decide whether to straighten or rest it. Pause styling when strands feel brittle or look frizzy and apply more deep conditioning. Seeking professional advice is wise if damage or breakage worsens despite care.
Use the lowest straightener heat setting that still smooths your hair. This minimizes damage and keeps hair stronger longer.
Step-by-Step Action Plan for Straightening Hair Safely
Follow these steps to get sleek, straight hair without damage. Check each result before moving to the next step.
- Before you start: Always wash and dry your hair completely. Hair should feel dry to the touch with no damp spots.
- Before straightening: Apply a heat protectant all over your hair. Your strands should feel smooth and coated without heaviness.
- Set your temperature: Choose a heat setting that matches your hair type. Fine or damaged hair needs a lower setting, and thicker hair needs more heat. You’ll see hair straighten easily without burning.
- Section your hair: Divide your hair into small, manageable parts. Each section should be no thicker than one inch wide.
- Straighten carefully: Run the straightener slowly but steadily over each section. Hair should look sleek and shiny after one or two passes.
- Use finishing products: After straightening, apply a light serum or anti-frizz spray. Your hair should look polished and feel soft, not sticky or oily.
- Cool and set: Let your hair cool completely before touching or styling. This locks in the straight look and lasts longer.
- Aftercare routine: Wait at least two days before straightening again. Use deep conditioners in between to keep hair hydrated and healthy.
Frequently Asked Questions
How to Straighten Hair Using Straightener?
To straighten hair using a straightener, first dry your hair fully. Then section it and run the iron slowly from roots to ends for best results. This method helps avoid uneven heat exposure and potential damage.
Can You Straighten Hair with a Straightener?
Yes, you can straighten hair with a straightener by applying heat and pressure using heated plates. You need to get your hair ready before straightening.
Use the right heat setting. This helps avoid damage and gives smooth results.
Should a Straightening Iron Be Used on Wet or Dry Hair?
Always use a straightening iron on completely dry hair to avoid severe damage. Wet hair breaks more easily when heated.
Always dry your hair first. Use a towel or a blow dryer to do this.
What Is the Easiest Way to Straighten My Hair at Home?
To straighten hair at home, dry it completely first. Next, section your hair into small parts.
Use a ceramic flat iron with the right heat. Make sure to use heat protectant products for less damage.
Why Is My Hair Frizzy Even After Straightening?
Hair may stay frizzy after straightening. Humidity or no heat protection can cause this.
Using too high a temperature also makes frizz worse. Use anti-frizz products and avoid going over the same section too many times.
How Often Should I Clean My Flat Iron Plates?
You should clean your flat iron plates every few uses to prevent product build-up. This keeps the plates smooth and helps your hair straighten better without uneven heat or damage.
Before You Go
Straightening your hair safely is all about preparation and care. Start with heat protection and choose the right temperature for your hair. Try these steps with your straightener to see smooth, healthy results that last.