

How to Properly Straighten Your Hair: 8 Expert Steps for Damage-Free Results
How to properly straighten your hair starts with using the right heat safely. Heat can damage strands easily, so controlling temperature is key.
Adjust it to your hair type to keep it smooth and healthy. Fine or damaged hair needs lower heat, usually between 250°F and 300°F. Thick or coarse hair can handle 350°F to 400°F.
Fully dry your hair before straightening to avoid frying wet strands. Aim for about 75% dryness or more using a blow dryer.
This step helps protect your hair from excessive heat. Using a heat protectant spray before drying and straightening adds a protective layer against damage.
Section your hair so you don’t miss spots or cause tangles. Small sections let you straighten evenly and quickly.
Use a natural bristle paddle brush to smooth hair during the last drying stage to reduce static and flyaways. This makes your hair look polished and sleek.
Key Takeaways
- Use the lowest heat setting that still straightens your hair effectively.
- Dry hair until it’s at least 75% dry before using your flat iron.
- Divide hair into small, manageable sections for even straightening.
- Choose a wide paddle brush with natural bristles for finishing touches.
- Always protect your hair with a heat protectant spray before styling.
- Adjust heat higher only for thick or coarse hair types.
1. How to Straighten Hair Properly Without Damage
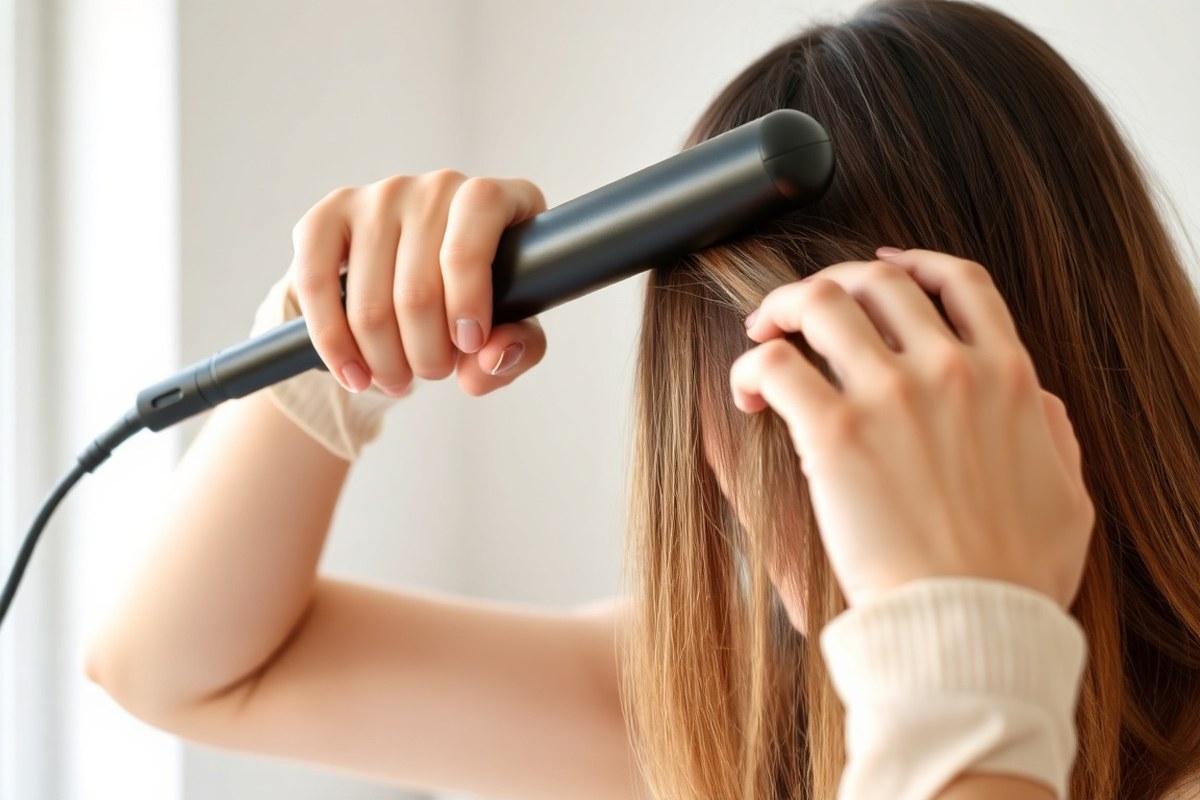
Straightening your hair without damage takes care and a smart routine. The key is to work slowly and protect your strands from heat. Follow these steps for smooth, shiny hair that doesn’t break or frizz.
- Divide your hair into sections. Clip away the top layers, and start with the bottom ones near your neck. Sectioning helps you avoid missing strands and ensures every part gets straightened.
- Use a heat protectant spray. Spray evenly on dry hair before you start. This shield helps stop heat from drying out and breaking your hair.
- Set your flat iron to the right temperature. Use 300°F to 350°F for fine or damaged hair. For thicker, coarser hair, 350°F to 400°F works best. Higher heat means faster straightening but more risk of damage.
- Smooth each section with a blow dryer first. Blow dry with a brush to straighten curls or waves before flat ironing. This reduces time spent with the hot iron and cuts damage risk.
- Run the flat iron slowly over each section once or twice. Clamp at the root, glide down slowly to the ends. Don’t go back and forth; it can cause split ends and breakage.
- Leave some hair loose while others stay clipped. Work in thirds from the bottom up to cover every layer. Don’t rush or use large chunks; small sections get much smoother results.
- Finish with a light serum to lock in shine. Apply a small drop to the ends of your hair. This reduces frizz without making your hair greasy.
Straightening damp hair risks damage since wet strands are fragile, according to hair experts. Always dry your hair completely before using heat tools. Avoid straightening your hair every day; frequent heat can weaken hair and cause breakage.
Pro stylists say smoothing hair with a blow dryer before straightening is a big help. It pulls out curls and coils, so your hair stays silk straight longer. A flat iron with tourmaline plates reduces frizz effectively.
Ceramic plates also help protect your hair cuticle. Both types work well during straightening.
2. Preparing Your Hair Properly Before Straightening
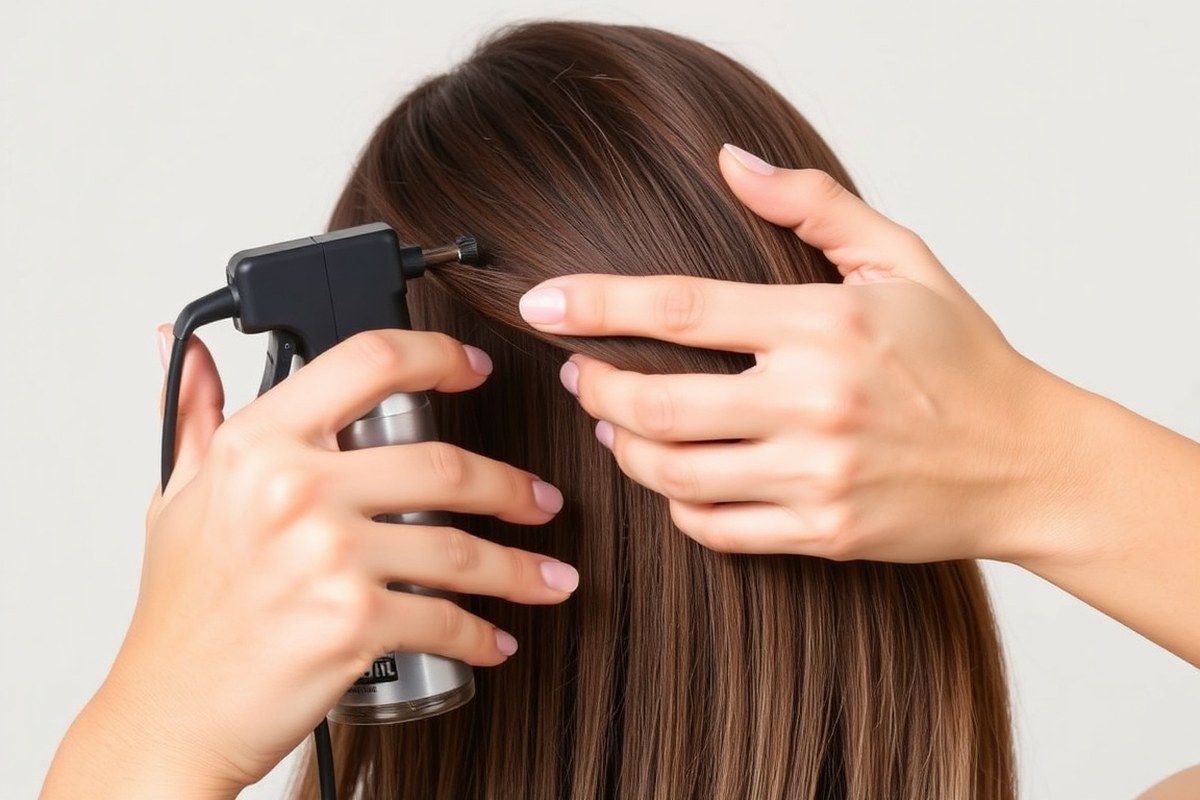
Start preparing your hair by washing with the right shampoo and conditioner. Then dry your hair until nearly dry before applying a heat protectant evenly. This protects your hair from heat damage during straightening.
Choosing the Right Shampoo and Conditioner
Go for shampoo and conditioner labeled “smoothing” or “hydrating.” These add moisture and help calm frizz, making hair easier to straighten. Avoid heavy formulas that weigh hair down or cause buildup.
Use a shampoo that cleanses well without stripping your natural oils. Follow with a conditioner that softens and seals the cuticles. A hydrating conditioner improves shine and reduces the chance of heat damage.
- Pick sulfate-free shampoo to prevent dryness
- Choose conditioners with ingredients like argan oil or shea butter
- Comb conditioner through your hair in the shower for even coverage
- Rinse conditioner thoroughly but gently to avoid residue
- Consider a nourishing hair mask once a week for extra moisture
A good shampoo and conditioner routine locks in moisture and removes buildup. This prepares your hair cuticle for smooth, even heat application.
Drying Hair to Optimal Moisture Level
Your hair must be mostly dry before adding heat directly. Aim for about 75% to 80% dryness. Applying heat to wet or dripping hair risks blistering and damage.
Start by gently towel-drying your hair using a frizz-reducing towel. This towel should also absorb water well.
Let hair air-dry briefly or use a cool setting on your blow dryer first. Avoid rough rubbing, which raises cuticle scales.
- Pat your hair dry instead of rubbing
- Use a microfiber towel or a cotton t-shirt for drying
- Blow dry on cool air until hair is mostly dry
- Check that hair is dry except for slight damp ends
- Don’t straighten if hair still feels wet or cold to the touch
Direct heat on wet hair can cause permanent damage to your strands.
Dry hair allows the straightener to glide smoothly and seals the hair cuticle, which adds shine.
Applying Heat Protection Correctly
Always use a heat protectant before straightening, even after drying your hair. Heat protectants lock in moisture and reduce breakage from high temperatures. This makes your strands less likely to frizz or burn.
Apply the spray or lotion evenly over your dry hair from about 6 inches away. Use about a spritz per 2-inch hair section. Be sure to coat both roots and ends lightly but thoroughly.
- Choose heat protectants labeled for your hair type
- Look for ones with added benefits like biotin or oils
- Use oils or balms sparingly on thick or curly hair
- Reapply if you blow dry again before flat ironing
- Avoid products with heavy silicones that build up over time
Even coverage helps protect every strand from heat. Don’t skip this step as hair will dry out and frizz without it.
Additional Pre-Straightening Treatments
Your hair may be curly or very dry. Massage a pea-sized amount of straightening balm or oil through your locks.
This adds extra slip, making straightening easier. It also hydrates and softens hair during heat styling.
You might also try leave-in conditioners with heat protection. Spritz these on damp hair before blow drying to protect and detangle. Some include ingredients that help reduce frizz all day.
- Use leave-in conditioner sprays on damp hair
- Add lightweight oils like argan oil for shine and smoothness
- Apply straightening balm to mid-lengths and ends only
- Don’t overload; excess product can weigh hair down
- Adjust product amount based on hair thickness and texture
Treatments like these support healthy hair structure and maintain smoothness after straightening. They help control stubborn curls or frizz without extra damage.
3. Selecting Tools and Brushes for Best Straightening Results
Choosing the right flat iron and brush makes a big difference in straightening results. Your hair type and condition decide what tools work best. Technology improvements also help protect hair and keep it smooth.
Types of Flat Irons and Their Benefits
Ceramic flat irons heat evenly and are good for most hair types. They spread heat gently to cut down on damage. Titanium irons heat faster and stay hotter, which suits thick or curly hair better.
Tourmaline plates are a bonus, as they give off negative ions. These ions reduce frizz and leave your hair shiny.
If your hair is fine or damaged, go for lower heat with ceramic. Curly or thick hair may need titanium at higher heat settings.
Avoid straightening wet hair completely. Dry hair straightens better and suffers less damage. Some irons come with adjustable temperature settings from about 250°F to 450°F. Set the temperature based on your hair’s texture and condition to avoid overheat damage.
| Flat Iron Type | Best Hair Type | Heat Features | Benefits | Typical Price Range (USD) |
|---|---|---|---|---|
| Ceramic | Fine to normal | Even heat, adjustable | Gentle on hair, reduces damage | 30-100 |
| Titanium | Curly, thick | Fast heating, high temps | Lasting sleekness, strong heat | 50-200 |
| Tourmaline-coated | All types | Negative ion emission | Less frizz, more shine | 40-150 |
Prices depend on brand, features, and quality. Choose based on your hair type and how often you straighten.
Best Brushes for Smoothing Hair
A round brush works well with a blow dryer to smooth hair before straightening. Its shape helps create tension, which is key to straightening. Use a brush with natural bristles to avoid snagging and reduce static.
For tougher curls, try a paddle brush while blow-drying. Paddle brushes cover more area and help flatten curls gently. Leave bangs down and dry them first for better control.
After blow-drying with a brush and sectioning hair, use your flat iron on small sections. Creating tension by combing while you iron helps smoothness last. Don’t rush; slow, steady pulls work best.
Advanced Flat Iron Technologies to Know
Many new irons come with heat control settings. These allow you to pick the exact temperature your hair needs. Lower heat settings prevent unnecessary damage to fine or fragile hair.
Some irons include ceramic plates infused with tourmaline or other minerals. They emit negative ions, cutting down on frizz and sealing hair cuticles. This technology keeps hair shinier and smoother for longer.
The Silk’n SilkyStraight brand highlights adjustable heat and smart tech to protect different textures safely. Look for irons with quick heat recovery to save time without overheating your strands. Using tools with these features helps keep your hair healthy while straightening.
4. How to Section and Handle Hair While Straightening
Start by dividing your hair into manageable sections to straighten evenly. Small sections help you track progress and avoid missing strands. This method keeps tension even and reduces extra heat exposure.
Hold each section firmly but not too tight to prevent damage. Use a brush or comb to pull the hair taut as you run the straightener down. Keeping the tension consistent makes your hair smoother and straight through the length.
- Part your hair into four main sections: left and right sides plus top and bottom. Use clips to keep sections separate and avoid tangles.
- Create smaller subsections: take ½-inch wide slices from each main section. This size ensures straightening reaches every strand.
- Hold the subsection near the roots: Use one hand to grip the roots gently. Avoid squeezing too hard to prevent breakage.
- Use a boar bristle brush or fine-tooth comb. Brush downwards as you glide the straightener. This helps straighten your hair smoothly. The bristles help smooth the cuticle for shine.
- Position the straightener nozzle pointed down: This presses hair straight without lifting strands unevenly.
- Pull the hair taut as you slide the straightener. This keeps the heat even. It also prevents missed spots.
- Repeat for the entire head: Go section by section until fully straightened. Work from back to front to push hair away from your face.
Too large sections risk uneven heat, leaving waves or bends. Too little tension causes folds in your hair.
For thick hair, reduce subsection size. Straighten slowly twice for more control.
For curly or coarse hair, strongerhold clips help keep undone sections secure. Taking 10 to 15 minutes for this step prevents rushing and preserves your hair health. Straightening every day without good sectioning can cause damage and frizz.
5. Choosing the Right Heat Settings for Your Hair Type
Choose your flat iron’s heat level based on your hair’s texture, thickness, and condition. Fine or damaged hair needs lower heat.
Thick or coarse hair requires higher temperatures. Using the right setting helps avoid damage and gets your hair straight faster.
Temperature Ranges for Different Hair Types
Fine or damaged hair needs temperatures between 200 and 300°F (93-149°C). This prevents heat damage while still smoothing your strands. Color-treated hair also fits well within this range, from 280 to 320°F (138-160°C).
Medium or average thickness hair works best at 300 to 350°F (149-177°C). Thicker or coarser hair needs more heat, usually 350 to 400°F (177-205°C). Using higher heat for these types helps straighten stubborn curls or frizz faster.
| Hair Type | Recommended Temperature (°F) | Recommended Temperature (°C) |
|---|---|---|
| Fine or Damaged | 200 – 300 | 93 – 149 |
| Color-treated/Fine | 280 – 320 | 138 – 160 |
| Medium Thickness | 300 – 350 | 149 – 177 |
| Thick, Coarse, Frizzy | 350 – 400 | 177 – 205 |
Set the iron within these ranges based on your hair type. Choosing the right heat helps you straighten in fewer passes.
Risks of Using Incorrect Heat Settings
Using too high heat on fine or damaged hair can cause dryness, breakage, and split ends. You might notice your hair feels brittle or looks frizzy right after straightening.
Too-hot heat can scorch your hair strands. This leaves them dull.
Sometimes white dust-like spots appear. These signs mean you should lower the temperature immediately.
Check your hair after one pass. Cut down the heat when your hair feels dry.
Adjusting Temperature by Hair Condition
Begin with the lowest heat that suits your hair. Raise it only if your hair won’t straighten right. For example, fine hair might start at 250°F and increase to 300°F if needed.
Very dry or previously color-treated hair needs careful temperature control to avoid damage. Keep the flat iron below 320°F to protect your hair’s health.
Use the lower heat range of 350 to 400°F for thick, coarse, but damaged hair. This balances heat for straightening without added harm.
6. Finishing Touches: Reducing Frizz and Adding Shine
Use a lightweight serum after straightening to add lasting shine and smoothness. Products like Garnier Fructis Sleek &.
Shine Anti-Frizz Serum work well because they seal each hair strand. This seal helps lock out humidity, keeping your hair frizz-free throughout the day.
Apply serum sparingly to mid-lengths and ends only. Avoid the roots to prevent your hair from looking greasy or weighed down. Gently pat the serum downward along your hair.
This smooths the cuticle. It also gives a sleek finish.
Humidity can frizz your hair. Choose finishing sprays or creams with anti-frizz ingredients. Go for ones that seal in moisture.
These products act as barriers against moisture in the air. Use a satin scarf or turban after straightening.
This reduces friction and flyaways. It helps keep hair smooth longer.
7. Maintaining Straightened Hair for Long-Lasting Results
Straighten your hair no more than two to three times a week. More heat styling can cause dryness and breakage. Rest days let your hair recover its natural oils and moisture.
At night, wrap your hair to keep it sleek. Use a silk or satin scarf to reduce friction and prevent frizz. You can also tie your hair loosely in a low bun or ponytail to avoid creases.
Refreshing your straightened hair without heat helps avoid extra damage. Lightly spritz water or a leave-in smoothing spray to tame flyaways. Then, gently brush or finger-comb your hair to reshape it.
- Use a lightweight oil or serum before bed to lock in moisture.
- Try the banding method by wrapping sections with soft bands to stretch hair overnight.
- Apply styling creams or setting sprays designed to hold straight hair.
- Rough-dry hair until 80% dry after washing to keep it smoother longer.
- Use rollers or hair wraps for heatless straightening on off days.
Keeping your hair moisturized prevents frizz and helps hold straight styles. Avoid sleeping on cotton pillowcases as they cause friction and disrupt your hair shape. A satin pillowcase or cap is gentler and better for your style.
Be mindful that humidity and sweat can cause straight hair to curl or wave again. Use anti-humidity sprays or carry a travel-size smoothing serum to refresh your look during the day. This way, you keep straight hair longer with less heat.
8. Heatless Alternatives and When to Consult a Professional
Heat-free methods like hair wrapping, banding, and using large rollers can straighten your hair gently. These take longer, anywhere from 30 minutes to several hours. But they cause far less damage than hot tools.
Natural masks using coconut milk or aloe vera also help smooth curls with regular use. But results build slowly over weeks.
Compared to heat straightening, these options won’t give you a sleek, pin-straight finish instantly. They work better for loosening waves or softening curls without frying your hair.
Using rollers, for example, adds tension that straightens as hair dries. But the effect fades by the next wash.
Professional treatments like keratin smoothing or Japanese straightening provide longer-lasting results. Keratin treatments add a smooth chemical layer to your hair. This layer lasts for a few months.
It costs between $150 and $300. Japanese straightening is a permanent chemical treatment.
It fully relaxes very curly hair. This process takes more time and costs more.
See a pro if heatless methods don’t give your look. Also, go pro for styles lasting beyond a few washes.
Professionals can tailor treatments based on your hair type and damage level, minimizing risk. They also offer advice on maintaining your hair after treatments to avoid breakage and dryness.
Start with a heatless method first for a gentle change before considering pricey salon treatments.
Step-by-Step Action Plan to Straighten Your Hair Safely
Follow these steps to get smooth, straight hair without damage. Each step has a simple check to see if you’re on track.
- Before you start: Wash your hair with a gentle shampoo and conditioner. Your hair should feel clean but not stripped.
- Right after washing: Apply a heat protectant spray evenly. Your hair will feel slightly coated without being sticky.
- Drying phase: Blow-dry your hair completely using a brush. Hair should be 100% dry and smooth with no damp spots.
- Sectioning: Divide your hair into small sections using clips. Each section should be easy to handle and separate.
- Straightening: Choose the right heat for your hair type. Use lower heat for fine hair. Use higher heat for coarse hair. Hair will straighten with one or two passes.
- Finishing touch: Run a small amount of anti-frizz serum through your hair. Hair should look shiny, not greasy or oily.
- Daily care: Avoid sleeping with your hair wet and use a silk pillowcase. Hair will stay smooth longer and avoid breakage.
- After two weeks: Take a break from heat styling and deep condition. Hair should feel softer and less dry.
Frequently Asked Questions
Can I Straighten My Hair Without Washing It First?
Yes, dry hair is best for straightening. Washing removes oils, but too much washing can dry hair out. Use dry shampoo if hair feels greasy before straightening.
How Often Should I Replace My Hair Straightener?
Replace your straightener every 2 to 3 years, or sooner if it malfunctions. Dull plates or uneven heating can harm your hair. Regular checks ensure safer, better styling.
Does Applying Oil Before Straightening Help Protect Hair?
Applying a light heat protectant oil helps shield hair from heat damage. Avoid heavy oils that weigh hair down. Use a few drops evenly before heat styling.
What’s the Best Comb to Use When Straightening Hair?
Use a fine-tooth comb to detangle and smooth hair while straightening. It helps catch missed strands and promotes even heat distribution. Wide-tooth combs don’t work as well here.
Can I Straighten Chemically Treated Hair the Same Way?
Chemically treated hair needs lower heat settings, usually 250°F to 300°F. Protect the hair with deep conditioning before styling. Too much heat causes damage and breakage easily.
How Can I Avoid Re-Straightening My Hair Multiple Times a Day?
Use anti-frizz serums and avoid humidity exposure. Sleep on a silk pillowcase to keep hair smooth. This reduces the need to straighten hair again.
Wrapping Up
Straightening your hair right takes some practice, but it’s worth the effort. Start by choosing the right heat setting for your hair. Protect your hair well today to keep it healthy and shiny tomorrow.


