How to Go from Curly Hair to Straight: 8 Effective Methods and Expert Tips
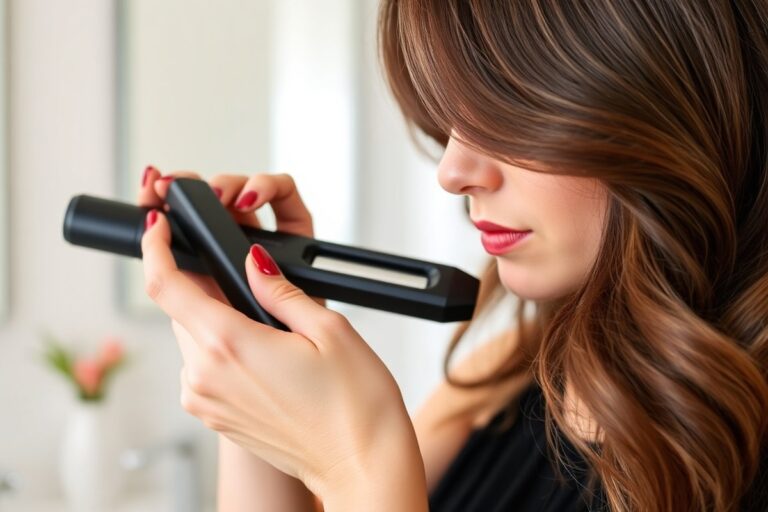
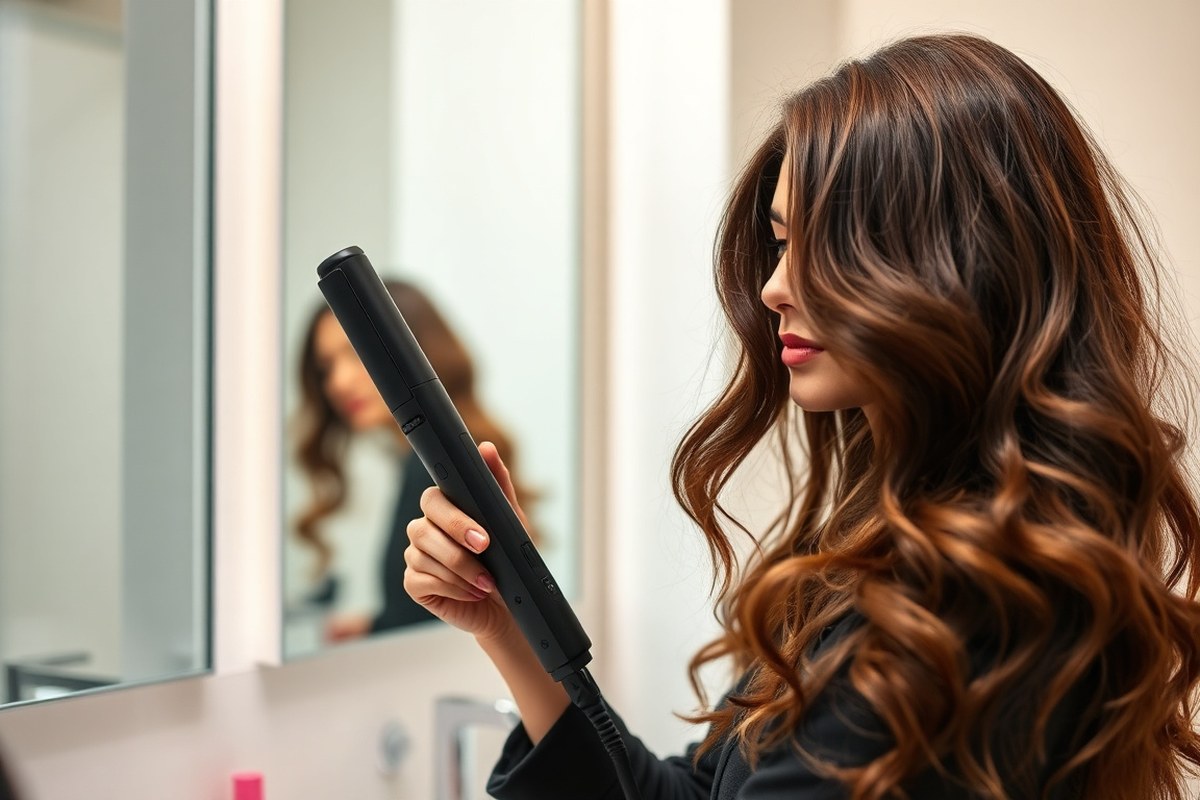
Knowing how to go from curly hair to straight starts with choosing the right method. Heat styling with a flat iron usually works best for smooth, long-lasting results. You want to control heat carefully to avoid damage and keep your hair healthy.
First, wash and condition your hair well to make it soft and manageable. Use a heat protectant spray before straightening to shield your curls from high temperatures. This step reduces breakage and keeps your hair shiny.
Work in small sections for even straightening. Adjust your flat iron’s heat based on your hair type.
Lower heat is best for fine hair, while thicker curls need higher temperatures. Avoid straightening too often to protect your natural curl pattern.
Key Takeaways
- Wash and use conditioner to soften curly hair before straightening.
- Always apply a heat protectant spray before using heat tools.
- Set flat iron temperature based on hair type: fine hair needs lower heat.
- Work in small, 1-inch sections to straighten thoroughly and evenly.
- Straighten your hair only once every one to two weeks to prevent damage.
- Use a flat iron with temperature control and ceramic plates for even heat.
1. How to Go from Curly Hair to Straight: 8 Proven Methods

Straightening curly hair works by changing its natural shape temporarily or permanently. You can use heat tools, no-heat methods, or chemical treatments.
Heat tools like flat irons break the hair’s hydrogen bonds. So the curls relax until moisture returns.
Non-heat methods avoid damage but take longer or give less perfect straightness. Chemical options can permanently straighten hair but need careful research and professional application. Your hair type, time, and budget affect which method suits you best.
| Process | Uses | Time | Result | Heat Damage Risk | Equipment | Best For |
|---|---|---|---|---|---|---|
| Blow Dry with Brush | Brush & hair dryer | 15 – 45 minutes | Voluminous, smooth look | Lower | Hair dryer, brush | Natural look, less time |
| Flat Iron | Flat iron | 30 minutes – 1 hour+ | Perfectly straight | Higher | Flat iron | Pin-straight hair, more time |
When using heat, prep with shampoo, conditioner, and a leave-in protectant. Divide hair into sections to ensure even straightening.
Curly hair can change texture every few years. So your routine might also need updates.
The main non-heat methods smooth your hair without heat. Wrap setting wraps your hair tightly around your head. Rollers also help smooth curly hair gently.
These methods take longer, up to several hours, but reduce damage. You can also use special conditioners to relax curls slightly.
Chemical treatments like keratin fillings smooth and straighten by filling pores and breaking some curl bonds. They last weeks to months but require salon visits. Some treatments can cost $150 to $300 or more, depending on your hair length and salon.
Permanent straightening alters hair inside permanently but can weaken it. Always research the process and consider your hair’s health before choosing. Results vary, and mistakes can cause breakage or damage.
2. Preparing Curly Hair for Straightening: Essential Steps
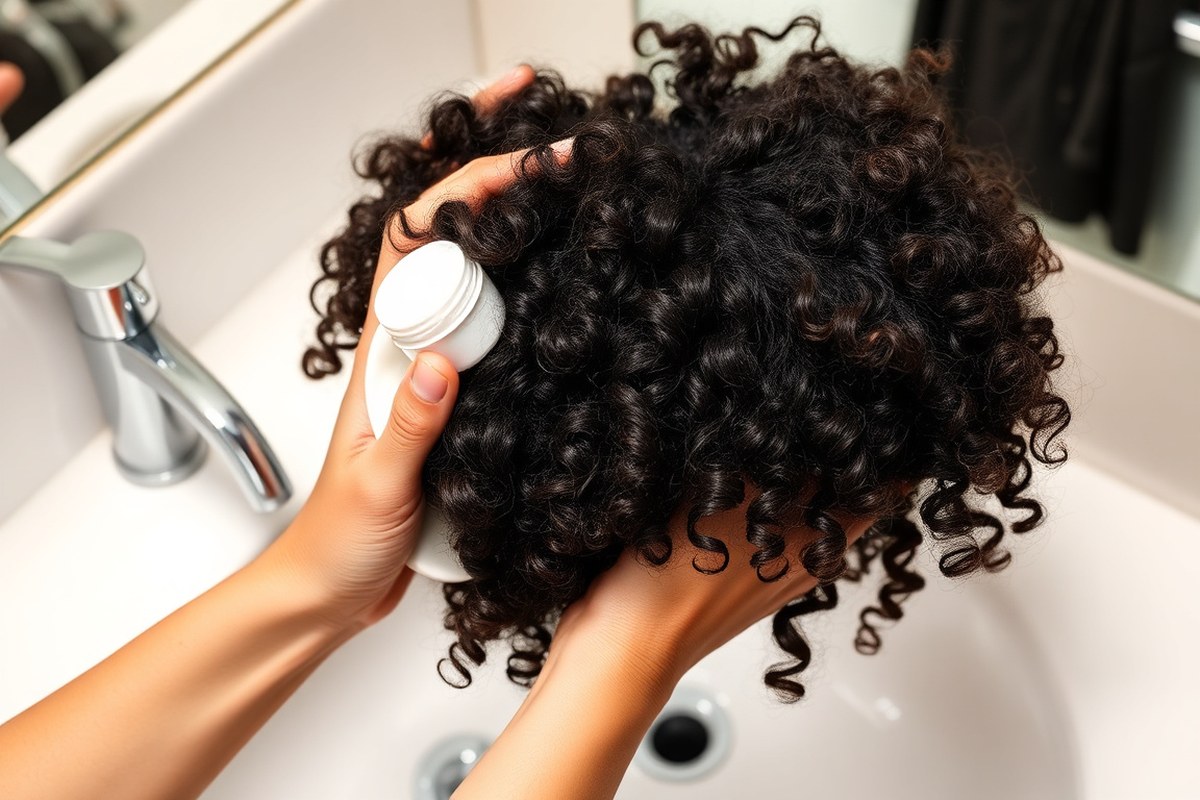
Cleaning and conditioning your curly hair right before straightening helps get the best look. Use an anti-frizz or smoothing shampoo and conditioner.
Avoid conditioner near your scalp because that adds grease without help. Focus conditioner on the ends where hair tends to dry out.
Detangling curly hair carefully stops breakage and helps you get a smoother finish. Pick a wide-toothed comb, not a brush, to avoid ripping strands apart. Detangle from the bottom up, working out knots gently to limit hair damage.
Heat protectants are important. They shield your hair from damage and reduce frizz from heat styling. Always apply heat protectant products to dry hair, spreading it evenly before any straightening or blow-drying.
- Wash hair with an anti-frizz shampoo, then rinse thoroughly.
- Apply conditioner from mid-length to ends, avoid roots; rinse lightly.
- Gently blot hair with a towel to remove excess water without rubbing.
- Use a wide-toothed comb to detangle, starting from the ends upwards.
- Apply a dime-sized amount of heat protectant, spreading evenly on dry hair.
- Blow-dry hair fully using a ceramic round brush to smooth strands.
- Divide hair into small sections before straightening to ensure even heat.
Never straighten hair when it’s wet; always dry completely first to avoid damage.
3. Choosing the Right Tools and Heat Settings for Your Hair Type
Select tools with adjustable heat settings to match your curl type. Fine hair needs lower heat; coarse curls need more heat but careful handling. This helps prevent damage and gives smooth, long-lasting results.
Flat Irons: Materials and Temperature Control
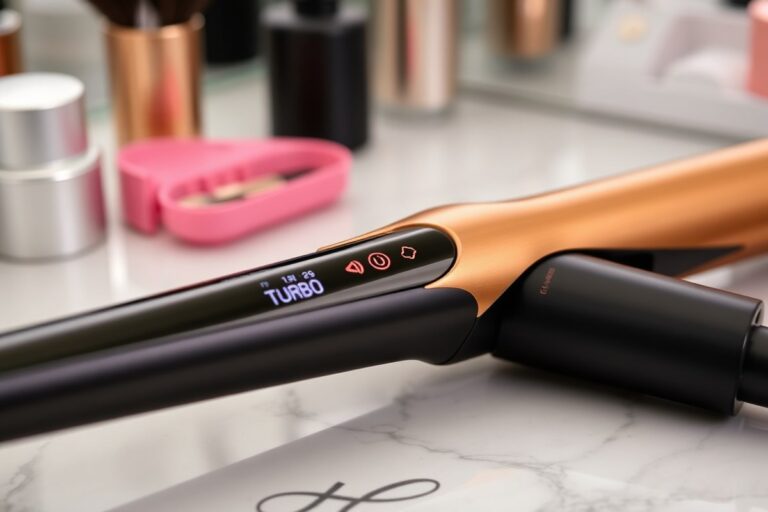
Ceramic flat irons distribute heat evenly and reduce hot spots that cause damage. Look for one with temperature control, so you can pick the right heat. The T3 Lucea Flat Iron is a solid choice with ceramic plates.
Fine curly hair should be straightened around 300 to 350 degrees Fahrenheit. Normal curls need about 350 to 375 degrees.
For coarse hair, especially 4C, use heat between 350 and 400 degrees. Never go above 400 degrees to avoid burning your hair.
Start at a lower heat and test on a small section. Increase only if your hair isn’t straightening. This avoids overheating and drying out your strands.
Blow Dryers and Round Brushes for Straightening
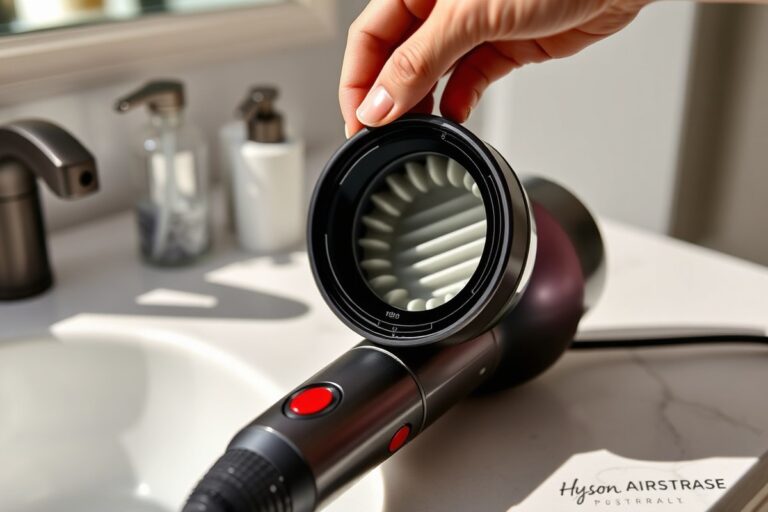
Blow dryers with multiple heat settings work best. Use medium or low heat on your blow dryer.
Lift and separate hair strands with a round brush while drying. This controls frizz and smooths curls before flat ironing.
Make sure your hair is completely dry before using a flat iron. Section your hair and blow dry small parts slowly for a straight base. This method reduces the time and heat needed with the flat iron.
Avoid high heat on the blow dryer to prevent damage. Curly hair is fragile and prone to dryness from too much heat.
Straightening Brushes Versus Flat Irons
Straightening brushes offer gentler heat spread by combing through hair while heating. They work well for fine to normal curls with less damage risk. But very textured 4C hair might not get fully straight with a brush only.
Flat irons provide more direct, higher heat. Straightening tools make hair sleek and pin-straight.
They can damage hair if used too hot or too much. Use them after blow drying for best results on thick, coarse curls.
Try straightening brushes for quick touch-ups or looser styles. Use flat irons when you want the straightest, longest-lasting look. Always protect your hair with heat protectant products first.
4. Step-by-Step Guide to Heat Straightening Curly Hair Safely
Start by dividing your hair into sections for better control. Then blow dry until it’s about 60% dry. Use a flat iron and a comb to straighten your hair.
Work on one section at a time for best results. This method helps protect your hair from heat damage.
Sectioning Hair into Manageable Parts
Sectioning keeps hair organized and makes blow drying and straightening easier. It helps target heat evenly, reducing the chance of missing spots or reapplying heat repeatedly.
Use clips to divide dry or damp hair into four to six sections. Thin hair needs fewer sections. Thick or very curly hair benefits from more sections.
Always start from the bottom layers and work upwards. This way, you get full coverage without tangling your already straightened strands.
Blow Drying to 60% Dryness First
Blow drying only until 60% dry limits heat exposure and minimizes damage. Hair is easier to straighten when it’s damp but not wet.
Point the blow dryer nozzle downward to smooth the hair cuticle. Use a round or paddle brush to pull hair taut while drying.
Cool air at the end helps seal the cuticle, locking in shine and reducing frizz. Air drying before blow drying also cuts down total heat time.
Using Flat Iron and Chase Method
Apply heat protectant spray on dry hair before flat ironing. This spray guards hair strands against the flat iron’s heat.
Use the same sections you made for blow drying. Place a comb just ahead of the flat iron. The comb guides the hair and avoids clumps.
The chase method means following the flat iron immediately with a comb. This helps you get straighter hair with fewer passes, which lowers damage.
- Divide hair into four to six clips, starting bottom to top.
- Blow dry each section until about 60% dry, nozzle down.
- Use a brush to pull hair straight while drying.
- Finish with a blast of cool air to smooth cuticles.
- Spray heat protectant evenly on dry hair.
- Place a comb ahead of the flat iron on a section.
- Run the flat iron down the section slowly, following with the comb.
- Repeat only once more if needed; avoid multiple passes.
5. Non-Heat and Natural Methods to Straighten Curly Hair
Heatless methods to straighten curly hair can prevent damage from high temperatures. You might wrap your hair around your head. Twist damp hair gently.
Try special smoothing products too. These methods often take several hours or overnight to work well. So they are slower than heat-based techniques.
Wrapping means combing wet hair flat around your head. Pin it tight with bobby pins or a scarf. This method smooths curls gently and avoids frizz.
But it works best on medium-length hair. Start by parting your hair down the middle. Smooth each side flat.
Lay it close to your scalp. Secure the ends by tucking or pinning them under the wrapped hair. Let it dry fully, which can take 4 to 8 hours or overnight.
Twisting damp hair is another option. Divide your hair into sections, then twist each section tightly. Use clips or hair ties to hold the twists in place until the hair dries.
This method can stretch curls and reduce their bounce. But it may not make hair completely straight. You’ll get a looser wave instead of pin-straight strands.
- Use smoothing creams like CHI Straight Guard or Brazilian Blowout balm. They help reduce frizz. These products also help straighten hair.
- Apply these products to damp hair, then style with gentle combing and air dry.
- Try anti-humidity sprays such as COLOR WOW Dream Coat to keep hair straighter for longer.
- Be patient: heatless methods usually last until your next wash, not days.
- Combining wrapping or twisting with smoothing products often yields better results.
- Avoid rubbing hair with towels, which causes frizz and curls to bounce back.
These heatless styles help you avoid damage from heat tools, but results vary. Thick or tightly coiled curls may not straighten fully without heat. Also, heatless methods generally do not last as long.
Still, they leave hair healthier by preserving natural oils. Remember to keep hair moisturized with conditioners and avoid shampoos with drying sulfates or alcohols. Using cooler water to rinse hair helps reduce frizz too.
Wrapping or twisting damp hair and air drying avoids heat damage. This method takes patience and time.
6. Chemical and Professional Treatments to Straighten Curly Hair
Chemical and professional treatments like keratin smoothing straighten hair longer. They include rebonding and relaxers too. These methods last longer than daily straightening.
Each method works in its own way. Costs vary a lot.
Not all methods fit very tight curls well. Knowing how these treatments differ helps you pick what fits your hair and lifestyle.
Keratin Smoothing Treatments Explained
Keratin smoothing treatments coat hair with protein to reduce curl and frizz. They usually last about three to five months before fading. The process uses keratin solution on your hair.
Then it gets sealed with heat. A flat iron at about 450°F does this.
These treatments work best on wavy to curly hair. But can soften tighter curls too. People with 4C or very curly hair might see less straightening and more frizz control.
A salon visit usually lasts two to four hours. Prices range from $150 to $400. Hair length affects the cost.
To keep results, avoid washing hair for three days and use sulfate-free shampoos. Overdoing keratin treatments or using home kits without pro guidance risks damage or uneven texture.
The hair can feel smoother and shinier. But some treatments use formaldehyde or similar chemicals, posing breathing hazards during application.
Chemical Rebonding and Relaxers
Rebonding and relaxers change hair structure to give fully straight strands. They break natural bonds in your curls, then rebuild them straighter with neutralizers. These treatments last four to six months before new growth appears.
Relaxers usually contain stronger chemicals and are common for very curly or 4C hair. Rebonding is gentler but still alters hair permanently.
Both require close monitoring. Salons avoid applying relaxers too close to the scalp to prevent burns.
A typical rebonding or relaxer appointment lasts three to five hours and costs $100 to $300. Maintaining treated hair means using deep conditioning and avoiding heat styling soon after. Incorrect use can cause breakage, dry scalp, or scalp irritation.
Pros and Cons of Professional Treatments
Professional treatments give lasting results ideal for busy schedules. They save daily straightening time and reduce heat damage from frequent styling. However, costs add up and salon sessions require several hours.
Health risks include chemical exposure and hair damage if not done properly. These treatments may not fully straighten very tight curls without causing dryness or breakage. You might still need heat styling for perfect smoothness after treatment.
Choosing a licensed stylist for any chemical straightening is safest. They can tailor the treatment to your curl type and monitor for damage. Talk to a pro if your hair is fragile or treated.
They can guide you on safe choices. Don’t make decisions without expert advice.
7. Common Mistakes When Straightening Curly Hair and How to Fix Them
Using the wrong heat setting is a top mistake. Curly hair needs moderate heat to avoid damage. Set your iron between 300°F and 350°F. Higher heat can burn your hair, causing breakage and frizz.
Skipping heat protection makes damage worse. Always spray or apply a heat protectant cream before straightening. It forms a barrier against heat, keeping your hair smooth and shiny.
Improper sectioning leads to uneven results and wasting time. Divide your hair into small, manageable sections, about 1 inch wide. This helps the straightener smooth each strand evenly and speeds up the process.
- Don’t use narrow-tooth combs; use a wide-tooth comb to detangle before straightening.
- Avoid rushing; slow, steady passes give smoother hair and less damage.
- Don’t straighten wet or damp hair unless your tool is designed for it.
- Let your hair cool fully before touching or styling to keep it straight longer.
- Don’t re-straighten the same section multiple times in one session.
Skipping the detangling step causes snags and uneven straightening. Use a wide-tooth comb before heat styling to prevent pulling and breakage. Comb gently from ends to roots to keep your curls intact.
Dull or underheated plates can ruin your results. Clean your straightener plates regularly to remove product buildup. Check that your flat iron heats evenly to avoid uneven straightening and frizz spots.
If your hair feels dry or brittle afterward, reduce heat settings and use deep conditioning treatments weekly. This restores moisture and helps protect your hair from future damage.
8. Maintaining and Protecting Straightened Curly Hair Longer
Use a leave-in conditioner after washing to keep moisture locked in. Spray it generously on damp hair, focusing on the ends where damage shows first. This helps reduce breakage, split ends, and keeps hair smooth between washes.
Protect hair with a heat protectant spray before each straightening session. These sprays cut down the damage caused by heat tools and stop strands from drying out. Pick a flat iron made for high heat use.
This protects your hair from damage. Temperature control matters most if you straighten curly hair often.
Limit washing to two or three times weekly and use a mild shampoo. Curly hair gets dry quickly, and over-washing causes more frizz. Use a rich deep conditioner after straightening.
It helps rebuild moisture. This also keeps your hair stronger against heat damage.
Try anti-humidity sprays or serums to keep hair sleek in damp weather. Humidity pumps up frizz and curls, making straight styles look short-lived. Applying these products every morning helps maintain smoothness and shields hair from moisture in the air.
Sleep on a satin or silk pillowcase to protect hair and preserve styles overnight. These materials reduce friction that causes frizz and breakage. Alternatively, wrap your hair in a silk scarf before bed for extra protection.
Use gentle, protective hairstyles like loose buns, braids, or ponytails to prevent tangling. Don’t wear tight ponytails or harsh styles. These can pull your hair too much.
Pulling can cause breakage or hair loss. These styles keep hair neat without stressing the strands.
Trim your hair every 6 to 8 weeks. This helps get rid of split ends. Split ends can travel up and damage your hair.
Healthy ends make hair appear shinier and your style lasts longer. Regular trims cost between $20 and $50 but save you money by reducing breakage.
Give your hair rest by spacing out straightening sessions. Your hair feels fragile, wait longer to style with heat.
Add an extra week or two between straightening sessions. This breaks the damage cycle and keeps curls healthier in the long run.
Avoid piling on heavy styling products; they weigh hair down and cause buildup. Use small amounts to keep hair light and bouncy while still maintaining sleekness.
Step-by-Step Action Plan for Straightening Curly Hair
Follow this plan to straighten your curls safely and keep your hair healthy. Each step builds on the last to protect your strands and improve results.
- Before you start: Wash your hair with a moisturizing shampoo and conditioner. Hair feels smooth and less tangled when ready.
- Day 1: Apply a heat protectant spray evenly on damp hair. Your hair should feel light, not sticky or heavy.
- Day 1: Blow dry hair using a round brush until fully dry. Hair should be warm but not burnt to touch.
- Day 1: Use a ceramic or tourmaline flat iron on the lowest effective heat. Hair looks straight without puffiness or charring.
- Day 2: Avoid washing hair to let natural oils strengthen strands. Hair remains smooth and less prone to frizz.
- Week 1: Use a light serum to reduce flyaways and add shine. Hair feels silky when you touch it.
- Week 2: Trim any split ends that show after straightening. Ends look clean and healthy, not jagged.
- After 2 weeks: Repeat the process if needed; apply deep conditioning once weekly. Hair stays nourished and resilient through the cycle.
Frequently Asked Questions
Can 4C Hair Be Straightened?
Yes, 4C hair can be straightened using the right tools and methods. Use low heat and protectant products to avoid damage and maintain healthy strands.
Will Straightening Curly Hair Once Ruin It?
No, straightening curly hair once won’t ruin it if done carefully. Always use heat protectant and avoid excessive heat to keep hair healthy.
Why Is Curly Hair so Hard to Straighten?
Curly hair’s shape and structure make it harder to straighten. Its natural pattern needs more heat and care to change without damage.
How Do I Uncurl My Hair?
You can uncurl hair by using a flat iron or relaxers carefully. Start with well-moisturized hair and protect it before applying heat or chemicals.
How Often Should I Straighten My Curly Hair?
Limit straightening to once every 1 to 2 weeks. This helps minimize heat damage and keeps your natural curls healthy.
Can I Straighten Curly Hair Without Heat?
Yes, you can use natural methods like wrapping or banding to stretch curls. These methods take longer but reduce heat damage significantly.
Wrapping Up
Straightening curly hair takes care and patience to avoid damage. Use proper tools and protectants every time you straighten.
Start today by picking a heat protectant for your hair type. Test it on a small section first.