How to Curl Hair with a Straightener for Dummies a Complete Guide with Easy Steps and Pro Tips
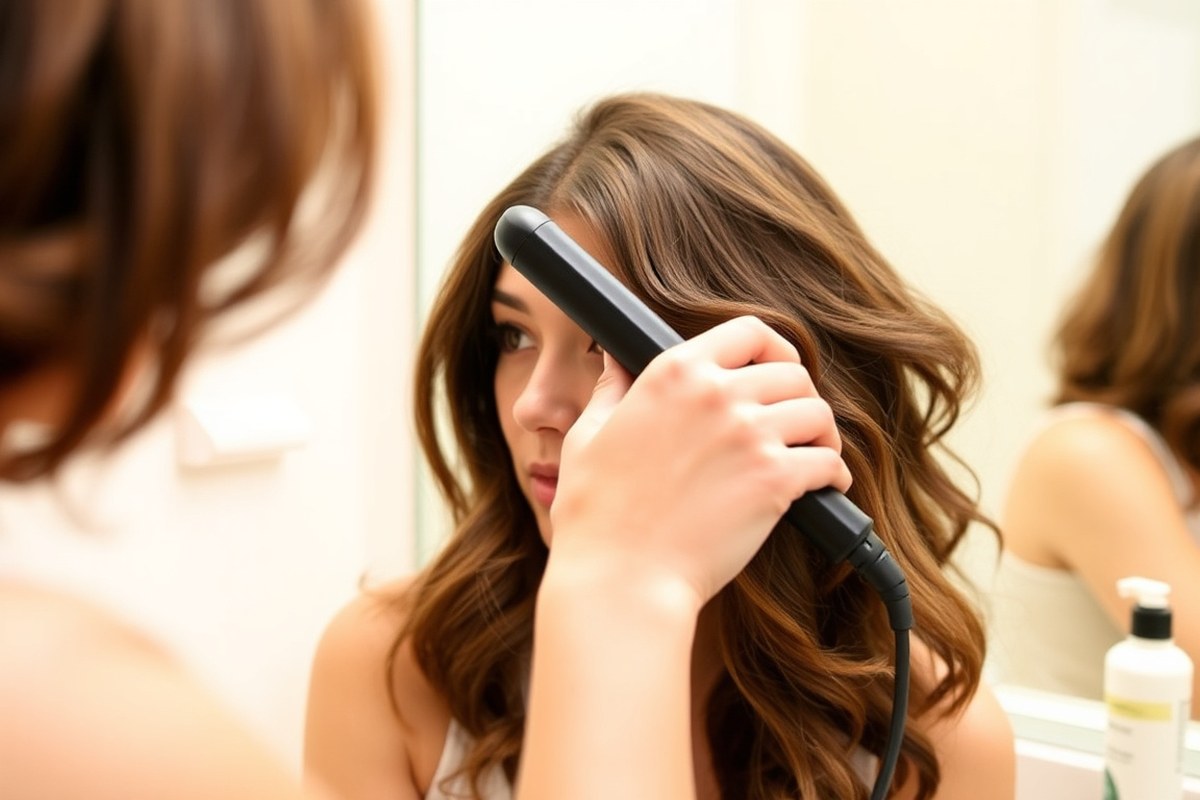
Learning how to curl hair with a straightener is easier than it seems. Clamp a hair section, twist the straightener 180 degrees, then gently pull it down. This creates curls fast without needing a curling iron.
Use 6-inch sections for smooth, defined curls. Start curling about 6 inches from your roots to avoid heat damage. Smaller sections help prevent tangles and give an even wave pattern.
Make sure your hair is clean and dry before starting. Apply heat protectant spray to reduce damage from high heat. The straightener method usually takes about 15 minutes for a full head of curls.
Your curls can last up to three days if you avoid moisture and sleep on a satin pillowcase. Finish with a light hairspray to keep your style all day. This way, you get great curls without extra tools or effort.
Key Takeaways
- Use a flat iron set below 300°F for fine or thin hair to prevent damage.
- Twist the straightener 180 degrees away from your face to start the curl.
- Divide hair into sections about 6 inches long for quicker curling.
- Start curling 6 inches from the roots to avoid tightness and damage.
- Use a thermal styling crème for extra heat protection and faster results.
- Keep hair clean; dirty hair won’t hold curls well.
How to Curl Hair with a Straightener Step-by-Step

To curl your hair with a straightener, section it small. Use pieces 1 to 2 inches wide. This size works best for curls.
Clamp the straightener near the roots or about 1 to 2 inches from your scalp. Twist the straightener 180 degrees away from your face. Pull the iron down slowly along the hair.
Move carefully for even curls. This motion creates a curl or wave in the strand.
Clamp each hair section loose enough to slide. Hold tight enough to keep tension. This balance helps shape good curls.
Reach the ends and open the straightener to free the curl. Let the hair drop naturally. Don’t force the curl out.
Twirl the curl gently around your finger to set it. Lower the heat if the curls need less temperature. This helps curls last.
- Grab a 1 to 2 inch section of dry, protected hair.
- Position the straightener about an inch or two from your scalp.
- Clamp the straightener over the section vertically.
- Rotate the flat iron 180 degrees backward, away from your face.
- Slowly pull the straightener down the length of your hair.
- Open the straightener at the ends, releasing the curl.
- Wrap the curl gently around your finger for better shape.
- Repeat on the rest of your hair.
This method usually takes 10 sections to curl an entire head. Curling quickly works best, so avoid holding heat too long on one area. Use a heat protectant first to avoid damage.
Good curls look natural, springy, and smooth without bends or crimps. Don’t clamp too tight or twist wrong, it flattens curls.
Twisting the wrong way makes curls messy. Keep steady pressure and direction.
Choosing the Right Straightener and Heat Settings

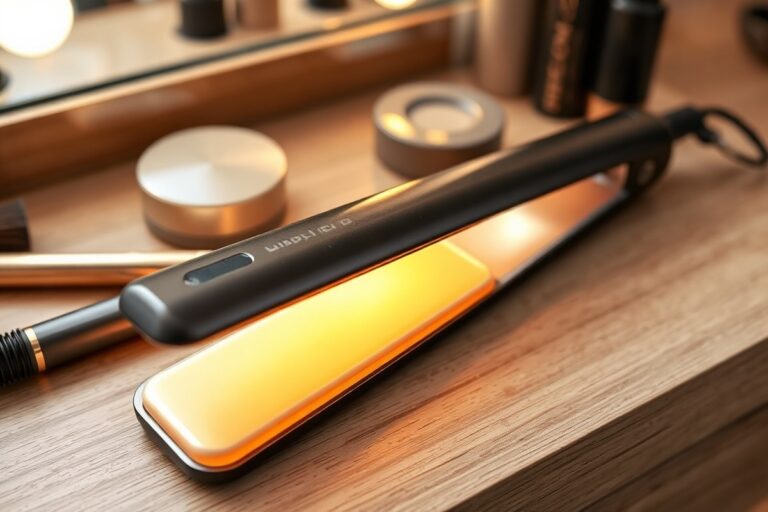
Any straightener can curl hair, but the right one makes curls easier. Plates should be 1 to 2 inches wide, which fits most hair lengths well. Rounded edges on the plates help form smooth curls without sharp bends or kinks.
The type of curl you want also affects plate size. Smaller plates (around 1 inch) create tighter, spiral curls. Wider plates can make loose waves faster but might not shape tight curls well.
Use narrower plates for short hair. They give better control and tighter curls.
Temperature depends on your hair type to avoid damage. Fine or damaged hair needs lower heat, usually 300°F to 350°F. Medium hair can handle 350°F to 375°F. Thick or coarse hair may need 375°F to 410°F for curls that hold well. Always use dry hair and a good heat protectant spray before styling.
| Hair Type | Plate Size | Temperature Range | Heat Protectant |
|---|---|---|---|
| Fine or Damaged | 1 inch | 300°F to 350°F | Lightweight spray (up to 450°F) |
| Medium | 1 to 1.5 inches | 350°F to 375°F | Lightweight or oil-based spray |
| Thick or Coarse | 1.5 to 2 inches | 375°F to 410°F | Oil-based product for moisture |
| Curly (re-curling) | 1 inch | 350°F to 410°F | Hydrating treatment for frizz control |
The heat should be as high as your hair can handle without damage. Never hold your hair too long at a high heat, or you risk burning it. Flat iron curls last longer.
The straightener plates heat evenly. This helps curls hold better than curling irons.
A straightener without rounded edges will pinch your hair and cause creases. Rounded edges give smooth bends for natural curls or waves.
Your tool needs edges to shape hair well. Without them, curls won’t look nice.
Always use a heat protectant before styling. Start with the lowest heat that curls your hair well. Adjust heat only if needed.
Three Curling Techniques Using a Straightener
Three popular ways to curl hair with a straightener are slide waves, S waves, and wrap waves. Each style gives a unique wave pattern. These methods are easy to try on your own hair.
Each style gives a different curl type and suits varying hair lengths or looks. Learning these methods helps you pick the best curl for your hair and occasion.
Slide Waves: Soft, Casual Curls
Slide waves create loose, natural-looking curls that fall gently. This style works well for casual days or when you want a relaxed look. It suits most hair lengths, especially medium to long hair.
These waves form by sliding your straightener down the hair while gently twisting it. The curl is looser near the roots and tighter at the ends, giving a soft effect. Try not to curl the last 2 inches so the ends stay straight and natural-looking.
- Start with dry, heat-protected hair divided into medium sections.
- Clamp the straightener near the root at a 45-degree angle.
- Twist the iron away from your face while slowly sliding it down the hair.
- Release the hair before reaching the ends to keep them straight.
- Repeat on each section, alternating directions for a natural flow.
- Finish by finger-combing to loosen waves.
S Waves: Defined, Textured Look
S waves have a distinct “S” shape and offer more definition than slide waves. This technique suits people wanting a textured style without tight curls. It works better on shoulder-length to longer hair.
S waves form by moving the straightener in an S-shaped path. This technique curls hair in opposite bends for a wave effect.
It gives a soft, sculpted look. This adds volume and a polished feel.
Using horizontal sections helps make each wave plump and uniform. Take care not to clamp too tight to keep the waves soft.
- Divide dry, protected hair into horizontal sections around 1 inch thick.
- Clamp the straightener near the root holding it horizontally.
- Pull the iron down slowly, bending it first away and then toward your face.
- Repeat these opposite bends along the section to form an “S.”
- Release gently to avoid sharp creases.
- Work through each horizontal section the same way.
Wrap Waves: Voluminous, Polished Curls
Wrap waves give smooth, bouncy curls with volume close to the scalp. This style is great for formal events or when you want tighter, polished curls. It works nicely on medium to long hair.
The method wraps the hair fully around the straightener’s plates while pulling it slowly through. Vertical sections help the curls look natural and full.
Holding the ends gently prevents kinks and helps curls form soft dips. Curling away from the face creates a more open hairstyle.
Curling toward the face makes tighter curls. You can pick the style based on your look.
- Section hair vertically into 1-inch strands on dry, prepped hair.
- Clamp the iron near the hair’s root with plates facing inward.
- Wrap the strand around the plates once or twice.
- Slowly pull the straightener down while keeping the hair wrapped.
- Gently hold the ends to avoid creases.
- Alternate curl direction for volume or curl uniformly for polish.
Preparing and Protecting Your Hair for Curling
You should start curling with clean, dry hair for the best hold and health. Always use a heat protectant spray before styling to shield your hair from damage. Applying it evenly helps protect every strand from heat stress.
Why Hair Must Be Clean and Dry Before Curling
Damp hair curls unevenly and takes longer to set. Curling wet hair can damage it and cause frizz. Dry hair holds curls better and feels smoother after styling.
Washing your hair beforehand removes oils and dirt that weigh curls down. Clean hair curls last longer and look shinier. It also prevents heat styling tools from getting clogged with residue.
Choosing the Right Heat Protectant by Hair Type
Fine or thin hair needs a lightweight spray to avoid heaviness. Look for heat protectants labelled as light or volumizing. Thick or coarse hair benefits from products with added moisture and protection.
Some heat protectants combine heat defense with hydration. These stop dryness and brittleness during curling. For most hair types, a spray applied all over mid-length to ends works well.
Applying Heat Protectant Evenly
Spritz heat protectant on dry hair before using a straightener. Spray about 6 to 8 inches away for even coverage. Use a wide-tooth comb or your fingers to distribute product from roots to ends.
Focus on midshaft down because heat damage often happens there. Avoid applying too much near roots to prevent greasiness. Repeat the spray lightly before curling if hair feels dry.
Can You Skip Heat Protectants Safely?
Skipping heat protectants increases risk of dryness, breakage, and split ends. Heat can strip natural oils, causing damage over time. Using protectant spray reduces hair damage caused by straighteners or curling irons.
Even if you heat style occasionally, protectants add a safety layer. They help keep your hair soft and shiny despite the heat. It’s best not to curl hair without some form of heat protection.
Using Products Like Mousse Before Curling
Mousse adds texture and volume for softer, longer-lasting curls. Apply it on damp hair before drying to give curls more hold. Avoid heavy products that weigh hair down or make it sticky.
Heat protectant sprays can be used alongside mousse for protection and styling benefits. If your hair is very fine, pick a lightweight mousse to keep curls bouncy. For thick hair, choose mousse that adds moisture plus hold.
Sectioning Hair for Faster, More Effective Curls
Divide your hair into sections before curling for faster, more even results. The number and size of these sections depend on your hair thickness and length. Proper sectioning keeps curls neat and prevents missing spots.
How Many Sections to Make
For fine or thin hair, two to four sections usually work well. People with thick hair should create four to six sections to handle the volume better. Longer hair may need more sections to curl evenly from root to tip.
Starting with fewer sections can make styling quicker but might cause uneven curls. Taking more time with smaller sections helps you curl all strands properly.
Choosing Section Size for Easy Curls
Pick small to medium-sized sections around 1 to 1.5 inches wide for simple curl control. Smaller sections create tighter curls, while larger ones give looser waves. Adjust the size based on the curl style you want and hair thickness.
Hair that’s thicker needs thinner sections so heat reaches each part fully. Thin hair is more delicate, so larger sections help avoid too much heat exposure.
Vertical vs. Horizontal Sections
Vertical sections help create soft, beachy waves by curling hair more naturally. Horizontal sections produce fuller, rounder curls like classic rollers. Pick vertical sections for a relaxed look and horizontal if you want volume and bounce.
Many people combine both methods for balanced curls that blend softness with shape. Experiment with either and see what fits your style best.
Steps to Section Hair Properly
Follow these steps to section your hair neatly before curling with a straightener.
- Start with dry, detangled hair for smooth sections.
- Apply your heat protectant product evenly to all hair.
- Divide your hair horizontally from ear to ear using a flat sectioning clip.
- Split the top half into smaller vertical sections, pinning each with a clip.
- Let down one small section at a time from the clips when you curl.
- Work from bottom layers to the top for best control and visibility.
Keeping Sections Organized During Styling
Use Croc Clips or large hair clips to hold sections securely. Label or remember the order of sections, you want to curl hair evenly without skipping. Open one section at a time only when ready to curl to avoid tangles.
Keep your workspace tidy by clipping back finished sections neatly away from the hair you’re curling. This prevents others from undoing your work.
Tip: Keep your straightener moving steadily through each section to avoid heat spots and hair damage.
Finishing Techniques to Make Curls Last Longer
After curling your hair, spray a curl hold spray lightly over your curls. This helps them stay in place longer without feeling stiff or crunchy. Look for sprays with natural ingredients.
These keep your hair soft and shiny. Try ghd Heat Protect Spray.
To avoid stiff hair, don’t overspray. Use just a few quick pumps from about 8 to 12 inches away.
Then, gently shake your curls out with your fingers to loosen them. This adds volume and gives your curls a softer, more natural look.
Spray your curls. Then run your fingers or a wide-toothed comb through. This loosens waves.
This breaks up tight curls into relaxed waves without ruining the shape. Avoid brushing with a stiff brush as it can cause frizz and remove curl definition.
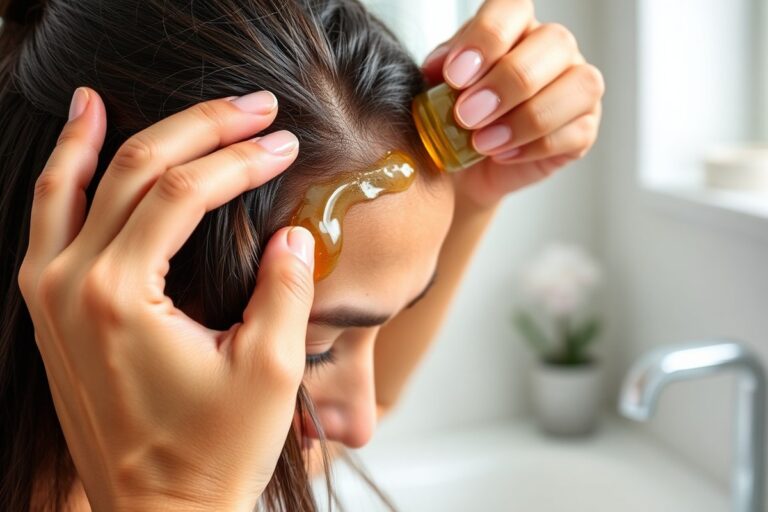
Put a small drop of oil or serum on your fingertips. Smooth it over your ends. It tames flyaways and adds shine.
Use products designed for hair shine like Sexy Hair Vibrant Rose Elixir. Avoid using too much, about a pea size amount works for medium-length hair.
For extra volume at the roots, apply a root lift spray before styling or after curling. Products like Color Wow’s root spray boost your hair’s lift without weighing it down. Spray just a little at the scalp and gently massage it in with your fingers.
To keep curls in place longer, avoid touching or brushing them too much right after styling. Let your curls set for a few minutes then finger-style them lightly to shape.
Take the straightener and slide it gently over the tight curl. Rotate it slightly backward to relax that curl.
Finish with a light mist of flexible hold hairspray to seal your style. This method keeps your curls soft and bouncy but still holds them all day. Try to use sprays that specify a soft or flexible hold to avoid crunchy hair.
How to Curl Short Hair and Other Special Cases
Short hair can definitely be curled using a straightener. But it needs a different grip and technique.
Hold the iron closer to the scalp and twist the plates quickly around the small section. Try rotating the iron 180 to 360 degrees for best curls on those short strands.
Turning the iron slower makes tighter curls. Use a full 360-degree twist too. This works well even with short hair.
For looser waves, twist less and use wider sections to feed through the iron. Feed hair in just above mid-length.
This helps curls start near the roots. It stops curls from starting only at the ends.
Choosing the right tool matters for short hair. A smaller, lightweight straightener with curved plates works better for easy control. The Cloud Nine Original Contouring Iron lets you choose the heat.
It has gentle plates for delicate hair. This model looks out for your hair texture. Avoid big, heavy irons that slide off short strands.
Damaged or fine hair needs lower heat, from around 250°F to 300°F, to avoid more harm. Use a heat protectant spray 8 to 10 inches away in short bursts before curling. Work on small sections for even curling without extra passes that cause damage.
For example, on short, fine hair, split it into tiny 1-inch sections. Clamp the iron near roots, twist 360 degrees, then slowly pull through. Wait a few seconds before releasing to hold curls without heat stress.
For looser curls, use bigger hair sections on short hair. Twist the iron quickly while pulling it smoothly. This creates softer curls.
Tighter curls need smaller strands and a slower pull after a full twist. Playing with speed and section size makes a difference in curl shape.
Avoiding Mistakes and Protecting Hair from Damage
Holding the straightener too long on your hair can cause serious damage. Hair may become dry, brittle, and break easily.
Try to clamp the hair for just 5 to 8 seconds. Longer exposure raises the risk of burns and uneven curls.
Burns on your scalp or fingers happen when you’re not careful during styling. To avoid these, use a heat-resistant glove on your hand that holds the hair.
Also, keep the straightener moving smoothly instead of lingering. So curls look even and natural.
Never curl wet or freshly washed hair with a straightener. The heat vaporizes water inside the strands, causing steam that damages hair cuticles. Wait until your hair is at least 80% dry.
You can also air-dry it. This protects your ends from burning or frizz.
Using heat on wet hair makes the water inside steam. Steam can break your hair. It also causes split ends.
Frizz and breakage increase with leftover hair products under heat. Avoid applying serums or sprays right before styling.
Clean hair sections by gently brushing to remove product build-up. Use a botanical heat protectant spray to shield your hair without weighing it down.
Look out for these common errors and stop them early:
- Holding the straightener too long on one spot
- Applying heat to damp or wet hair
- Touching plates with skin or scalp
- Using high heat without a protectant spray
- Clumping too much hair into the straightener
- Styling hair with product build-up
You should seek professional advice if you notice frequent hair breakage, scalp burns, or severe frizz. Trained stylists can recommend treatments or less damaging techniques. Consider a professional if your hair is chemically treated.
Very fragile hair can get worse with heat damage. A pro can help prevent more harm.
Step-by-Step Action Plan for Curling Hair with a Straightener
Follow these simple steps to start curling your hair safely with a straightener. Check each one to see if your curls come out just right.
- Before you start: Wash and dry your hair completely. Your curls will last longer on dry hair.
- Right before curling: Apply a heat protectant spray evenly. This shields your hair from damage and keeps it shiny.
- First section: Clip up your hair into sections about 1 inch wide. Smaller sections make curling easier.
- During curling: Use a straightener set between 300°F and 350°F on normal hair. Hold each curl for about 5 seconds to avoid burns.
- After curling each section: Let the curl cool without touching. This helps it set and last longer.
- Final step: Run your fingers gently through your curls to separate them. Spray a light hairspray to hold the style.
- End of day: Sleep on a silk pillowcase or wrap hair in a silk scarf. It reduces frizz and keeps curls overnight.
Frequently Asked Questions
Can I Curl My Hair with Any Type of Straightener?
Yes, you can curl hair with any straightener, but the tool affects curl quality. Thinner plates usually create better curls than wide ones.
How Do I Prevent My Curls from Loosening Too Fast?
Use a light hairspray just before curling to help hold the shape. Avoid heavy sprays that weigh your curls down.
Can I Curl Wet or Damp Hair with a Straightener?
No, always curl dry hair to protect it from damage. Wet hair can burn or get frizzy with direct heat.
Is It Better to Curl Hair in Small or Large Sections?
Smaller sections give tighter curls, and larger ones make waves. Pick section size based on your desired curl style.
How Often Should I Clean My Straightener for Curling?
Clean your straightener once a month or when buildup appears. This keeps heat even and cuts the risk of damage.
Can Using a Straightener to Curl Hair Cause Heat Damage?
Yes, high heat can damage hair; always use a heat protectant. Stick to the lowest effective heat for your hair type.
Wrapping Up
Curling hair with a straightener takes practice but is doable for anyone. Start with small sections and the right heat for your hair type. Try today, and watch your curls come alive smoothly and safely.