How to Clean Make Up Brushes: Simple Steps for Fast, Safe Results
Cleaning makeup brushes might seem like a hassle. But it’s easy when you know how to clean make up brushes properly.
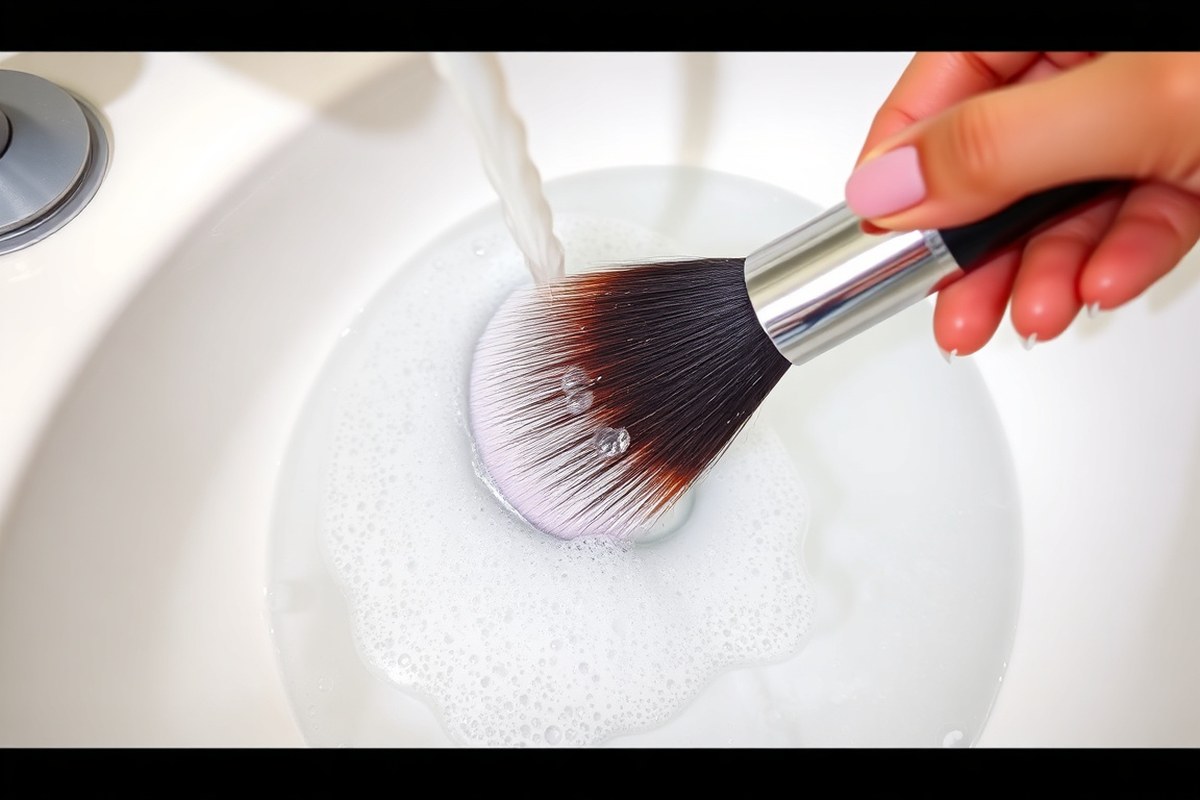
Just wet the bristles with warm water first, then swirl them in gentle soap or cleanser. Rinse thoroughly until the water runs clear to avoid leftover grime that can harm skin.
Start by removing excess makeup on a clean paper towel so your brush cleaner works better. Focus on the bristles, not the handle, to keep your brushes lasting longer. Avoid soaking the whole brush, since water can loosen glue and ruin it.
Let your brushes dry flat on a towel to keep their shape and avoid bacteria growth. They usually take 6 to 12 hours, so drying them overnight works best. Clean brushes help your skin stay clear and your makeup look smooth without patchy streaks.
Key Takeaways
- Rinse brushes under warm water before applying cleanser for easier cleaning.
- Use a gentle soap or brush cleaner to avoid damaging bristles.
- Avoid soaking brush handles in water to prevent glue breakdown.
- Dry brushes flat on a towel to maintain shape and prevent mildew.
- Clean your makeup brushes at least once every 7 to 10 days.
- Use 70% isopropyl alcohol for stubborn stains or disinfecting brushes.
How to Clean Makeup Brushes Step-by-Step

Cleaning your makeup brushes properly means removing makeup, oils, and dirt without ruining the bristles. Use lukewarm water with a gentle cleanser to avoid damage. Follow these steps to clean your brushes safely and keep them soft and effective.
Preparing Brushes and Workspace
Start with a clean area, such as a bathroom sink or countertop. Get your brushes, some baby shampoo or brush cleanser, and clean towels. Avoid using harsh soaps because they can dry out or damage brush bristles.
Keep the brush handles dry to stop loosening the glue inside. Also, remove any hair or debris from the brushes before wetting them to ease cleaning.
Wetting, Lathering, and Rinsing
Wet the brush bristles gently with lukewarm water, pointing the tips downward. This prevents water from soaking into the handle and loosening the glue. Avoid hot water as it can melt synthetic fibers.
Apply a small amount of gentle soap or brush cleanser to the bristles. Massage the bristles softly with your fingers to create a lather, breaking down makeup buildup. Rinse well under lukewarm water until no soap or residue remains.
Removing Excess Water and Reshaping Bristles
Press the bristles gently between clean, dry paper towels to squeeze out extra water. Never twist or pull on the bristles, as this can cause damage. After removing water, reshape the brush head with your fingers to keep its original form.
Do not use regular soap, especially on natural hair brushes, because it can dry them out. Using a proper brush cleanser or baby shampoo protects the bristles’ softness and flexibility.
Drying Tips for Best Results
Place your brushes flat on a clean towel. Let the bristles hang off the counter edge for air. Don’t stand brushes up with bristles up because water can damage the glue.
Use a brush drying rack and angle brushes about 45 degrees downward if you have one. Store brushes in a dry, airy place.
Let them dry for 6 to 12 hours. This stops bacteria and keeps their shape.
- Gather brushes, gentle soap, lukewarm water, and clean towels.
- Wet bristles with lukewarm water, avoiding the handle.
- Apply gentle cleanser and work into a lather on the bristles.
- Rinse thoroughly with lukewarm water until clean.
- Squeeze out water gently with paper towels, reshape brush tip.
- Lay flat to dry with bristles hanging off an edge.
- Allow brushes to dry fully before using, about 6, 12 hours.
Why Cleaning Makeup Brushes Regularly Benefits Your Skin and Makeup
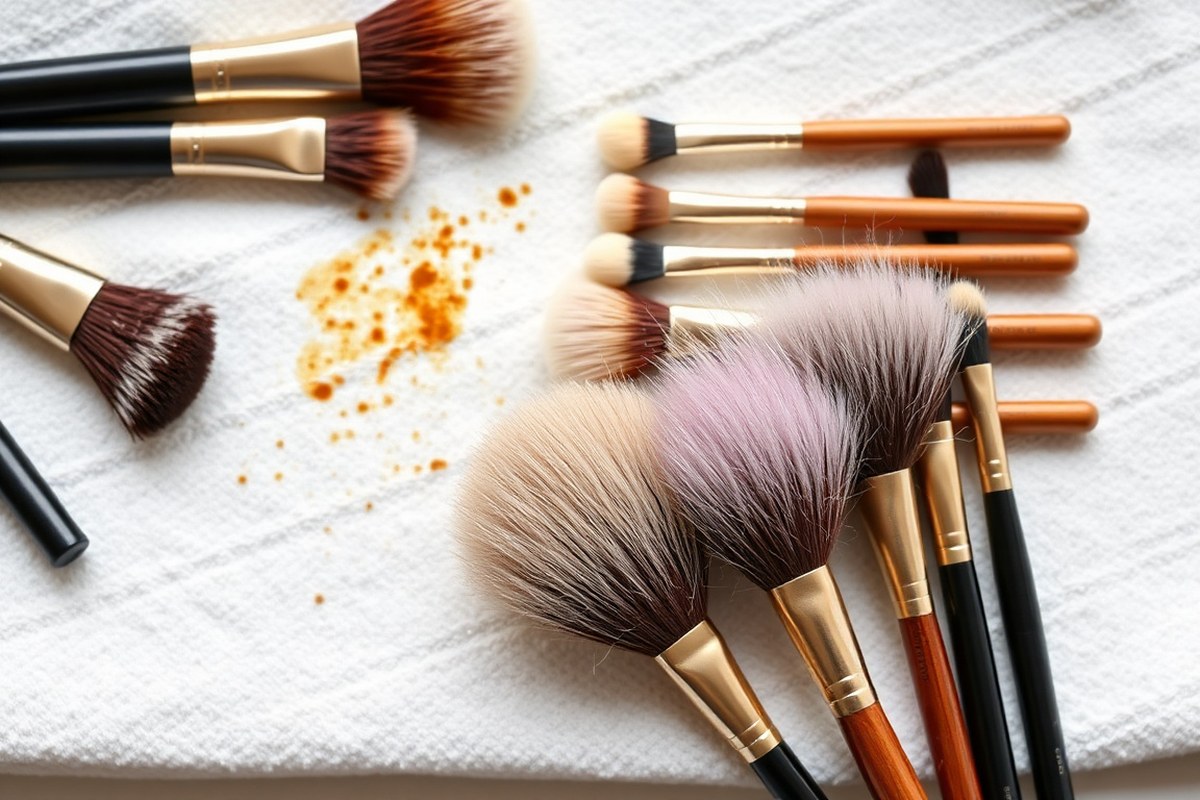
Cleaning your makeup brushes stops bacteria from building up on the bristles. Dirt, oils, and leftover makeup cling to your brushes after each use. Over time, these trapped substances create a spot where germs thrive and multiply.
Using dirty brushes on your face can cause acne, irritation, and even infections. The American Academy of Dermatology Association advises washing brushes every seven to ten days. This routine helps protect your skin from harmful bacteria and keeps your complexion clear.
Skipping cleaning lets makeup buildup transfer back to your skin daily. That can lead to clogged pores and breakouts. Leftover makeup pigments mix together.
This makes your makeup look patchy. It will also look dull instead of fresh and smooth.
Eyeshadow brushes especially catch pigment from darker or bright shades. Washing these brushes prevents colors from blending in unwanted ways during application. Clean brushes give your makeup a sharp, polished finish.
Pro Tip: Rinse brushes with lukewarm water and a gentle cleanser weekly to reduce bacteria growth.
Deep cleaning your brushes takes 10 to 15 minutes. You only need to do it every week or two.
Regular cleaning takes much less time, around five minutes per session. Sticking to this schedule keeps your brushes soft and your makeup flawless.
Neglecting your brushes doesn’t just harm your skin. Dried makeup residue also damages bristles and changes their shape. Clean brushes last longer and save you money on replacements in the long run.
How Often Should You Clean Different Makeup Brushes?
Makeup brushes need cleaning often to keep your skin clear and your makeup flawless. The American Academy of Dermatology suggests every 7 to 10 days. Clean your brushes more often if you use liquid or cream products.
This includes foundation or concealer brushes. Keeping them clean helps your makeup look smooth. These can trap oils and bacteria faster.
Powder brushes used for blush or bronzer don’t get as dirty as fast. You can clean these about every two weeks if your skin stays clean. Give your brushes a deep wash when they stop spreading makeup well.
It does not matter what type of brush it is. This keeps your makeup looking fresh.
- Foundation and concealer brushes: wash weekly or every 7 to 10 days
- Blush, bronzer, and powder brushes: wash every two weeks
- Lip and eye brushes: wash after every use or at least weekly
- Cleaning sponges: wash after each use to prevent bacteria buildup
- Deep clean brushes that feel sticky or have visible residue
When deep cleaning, use a liquid brush cleanser made for thorough cleaning. Rub your brush on a textured surface to get rid of makeup bits. Use a cleaning mat made for brushes.
This helps clean deep inside the bristles. This takes extra time but keeps brushes in good shape. Avoid washing brushes in a machine, as it can ruin delicate bristles.
Choosing the Right Cleanser for Each Makeup Brush Type
Choosing the right cleanser depends on your brush’s bristle type. It also depends on the type of makeup you use. This helps protect your brushes and clean them well.
Natural hair bristles need gentle soaps to avoid drying out and damage. Synthetic brushes can handle stronger cleansers but still benefit from gentle care to last longer.
Regular soaps or rubbing alcohol aren’t the best for all brushes. Natural hair brushes can get dry and brittle from harsh soaps or alcohol. Instead, gentle cleansers made just for makeup brushes or mild baby shampoo work well.
You can try liquid hand soap on tough stains. Dish soap works too, for synthetic or natural bristles.
These soaps help break down stubborn makeup residue. But rinse thoroughly to avoid residue.
| Cleaning Product | Best For | How It Works | Notes |
|---|---|---|---|
| Gentle Makeup Brush Cleanser | All brush types | Formulated to clean without harsh ingredients | Preserves bristle life and removes makeup effectively |
| Baby Shampoo | Natural hair and synthetic brushes | Mild, cleans makeup and oils gently | Good for deep cleaning; avoid residue by rinsing well |
| Liquid Dish Soap (e.g., Trader Joe’s Grapefruit) | Natural hair and synthetic brushes | Great for oily foundation and heavy makeup | Use in moderation; rinse thoroughly to prevent dryness |
| Rubbing Alcohol (70% isopropyl) | Handle disinfecting and tough stain removal only | Disinfects and breaks down stubborn buildup | Use sparingly to avoid drying bristles; not for routine cleaning |
| Cinema Secrets Makeup Brush Cleanser | Dense, heavily soiled brushes | Strong formula breaks down tough stains | Effective but may be more expensive; use on demand |
Rinsing your brushes well is key, no matter what cleanser you choose. Leftover soap or suds can irritate your skin and make brushes stiff.
Use lukewarm water to rinse until the water runs clear. Pat brushes dry gently and reshape while damp to avoid misshaping the bristles.
When you use rubbing alcohol, keep it limited to handles or hard-to-clean spots. Alcohol dries out natural hair and can shorten your brush’s lifespan if used too much. Use gentle shampoos or brush cleansers for regular cleaning.
Reserve alcohol-based products for disinfecting or deep stains. This keeps your brushes safe and clean.
Deep Cleaning Techniques for Stubborn Makeup Residue
Deep cleaning makeup brushes removes tough stains and kills bacteria. It helps maintain brush quality and keeps your skin safe. Use special tools and methods to get rid of stubborn makeup buildup effectively.
Using Brush Cleaning Mats and Gloves
Cleaning mats and gloves have textured surfaces that break up hard makeup residue. They save time and effort by letting you scrub gently but thoroughly. Use these when brushes feel gritty or look stained.
Put a mat in your sink or basin. Wet your brush first. Swirl the brush on the mat’s ridges.
You can also wear a cleaning glove and rub your brush over its bumps. This loosens dirt without damaging bristles.
Applying 70% Isopropyl Alcohol for Disinfecting
Isopropyl alcohol kills germs and sanitizes brushes quickly. Use a 70% solution because it disinfects without drying out the bristles too much. It’s best for spot-cleaning after heavy-duty washes.
Dip a cotton pad or spray the alcohol lightly on your brush head. Wipe or swirl to kill bacteria. Avoid soaking brushes fully in alcohol, as it can weaken the glue holding bristles.
Soaking Techniques for Heavy Buildup
Soaking brushes helps dissolve caked-on foundation or oily makeup. Use a gentle cleanser mixed with warm water. Soak brushes only for 10 to 15 minutes to avoid loosening bristles.
Rinse the brushes first with warm water, then soak. Afterward, rub brushes on a cleaning mat or use your fingers to remove loosened residue. Finally, rinse thoroughly under warm running water.
- Fill a bowl with warm water and mild brush cleanser.
- Submerge brush heads and soak for 10 to 15 minutes.
- Remove brushes and gently massage against a cleaning mat or your palm.
- Rinse brushes thoroughly under warm water until water runs clear.
- Squeeze out excess water with a clean towel.
- Reshape brush heads and lay flat or hang to dry overnight.
Do not soak brushes for more than 15 minutes to protect their glue.
When to Deep Clean vs Regular Wash
Deep clean brushes every one to two weeks, depending on how often you use them. Brushes used with liquid products like foundation need more frequent deep cleans. Quick washes can happen after each use, but do not replace deep cleaning.
Regular cleaning removes fresh makeup, but deep cleaning breaks down buildup and sanitizes. Use deep cleaning methods when brushes feel stiff, have visible stains, or cause skin irritation.
Drying and Storing Makeup Brushes to Maintain Their Shape
Drying your makeup brushes the right way helps keep their shape and lasts longer. Lay brushes flat or hang them with bristles pointing down. This stops water from loosening the glue inside.
It helps brushes last longer. This stops handles from swelling and bristles from misshaping or falling out.
Makeup brushes usually need 6 to 12 hours to dry completely, depending on size and density. Small eye brushes dry faster than dense powder or foundation brushes.
Brushed feel damp or smell musty means they aren’t dry yet. This can cause mold or bacteria to grow.
After cleaning, store your brushes in a clean, dry, and well-ventilated spot. Avoid closed containers or drawers, which trap moisture and encourage mold growth. A simple cup to keep daily brushes upright works fine if the air moves freely.
- Dry brushes flat or with bristles facing down to protect shape
- Wait 6 to 12 hours before storing to ensure full dryness
- Use brush guards ($13) to keep bristles neat in storage
- Keep brush storage area clean, airy, and out of direct light
- Replace brushes with frayed or shedding bristles after drying
- Disinfect brushes during cleaning to limit bacteria growth
People use DIY drying racks to hold brushes while drying. One method uses elastic bands on cutting boards. It keeps the brushes steady.
Others buy specialized racks, such as Sigma’s Dry’N Shape Tower, which dries many brushes at once. Using brush guards also helps keep bristles from getting crushed in tight spaces.
Makeup sponges need attention too because they stay wet longer and trap bacteria more easily. Wash sponges after each use. Let them dry fully in open air.
Store only once they feel completely dry. Keep makeup tools dry and clean to protect your skin. This also helps brushes last much longer and work well.
Signs It’s Time to Replace Your Makeup Brushes
Replace your makeup brushes when they start shedding bristles or lose their shape. A foundation brush leaving streaks needs replacing.
An eyeshadow brush that won’t blend well does too. Worn, frayed, or misshapen brushes won’t give you the flawless finish you want.
Your brush feels stiff, sticky, or strange even after cleaning. You should think about replacing it.
Excessive shedding after thorough washing means the bristles are breaking down. These issues reduce makeup performance and can harm your skin.
Brushes glued together require care when cleaning. Avoid soaking the entire brush to keep glue from weakening and causing bristles to fall out. Instead, gently clean only the bristle area with a damp cloth or brush cleaner.
Handle cleaning calls for caution too. Use a slightly damp cloth to wipe handles instead of soaking them.
Excess water can loosen glue or damage wooden or painted handles. Wiping regularly keeps them hygienic without shortening lifespan.
Use this rule: if your brush sheds many bristles when cleaned. Or if it looks misshapen, it’s time to retire it.
Spend about $10 to $30 replacing key brushes to maintain good makeup results. Holding onto degraded brushes will cost you flawless application and skin health.
Cleaning Makeup Brushes on the Go and Common Mistakes to Avoid
Cleaning makeup brushes on the go is easy with the right tools and method. Avoid common mistakes like overwetting or scrubbing too hard to keep your brushes in good shape. Using gentle products and protecting bristles helps your brushes last longer and work better.
Travel-Friendly Cleaning Methods
Pack a small spray bottle filled with water and gentle liquid soap for quick cleanups. Use a washcloth or paper towels to wipe off makeup quickly between uses.
When water isn’t nearby, use makeup-removing wipes to freshen brushes. Micellar water also works well for cleaning them quickly.
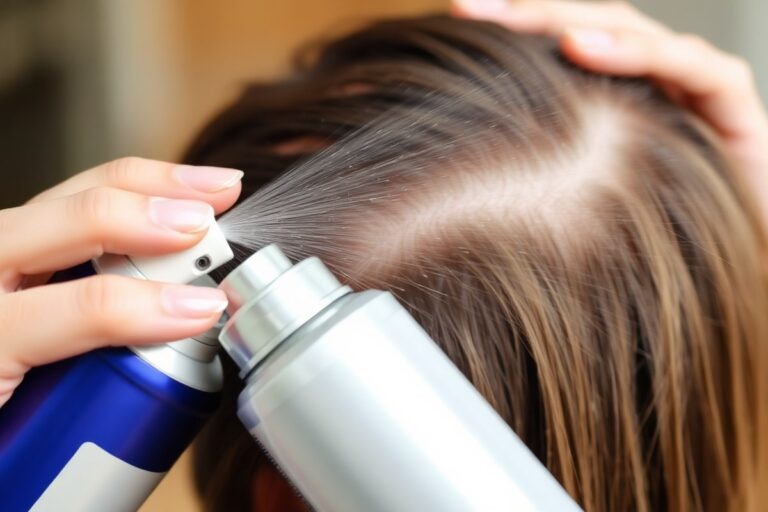
Some travelers spray a little dry shampoo on their brushes. Then they wipe off the extra powder. This helps clean brushes fast.
Store these items in a small zippered pouch. It keeps them from spilling. It also saves space in your bag.
Avoiding Overwetting and Scrubbing
Brushing the bristles with too much water can weaken the glue holding them in place. Use just enough cleanser and water to remove makeup without soaking the ferrule (metal part). Harsh scrubbing damages bristles and leaves hairs loose, reducing your brush life.
Rinse brushes under lukewarm running water with gentle swirling motions instead of scrubbing in circles. Avoid the temptation to use hot water as it dries the bristles faster and causes breakage.
Using Micellar Water and DIY Cleaners Safely
Micellar water can clean makeup brushes gently without water, helping when travelling or in quick fixes. Apply it to a cotton pad and swirl the brush, then air dry. It won’t deep clean but removes surface makeup and oils effectively.
Try mild DIY cleaners like olive oil mixed with dish soap for a natural alternative. Mix one part oil with two parts soap. Swirl the brush in the mix.
Rinse the brush well afterward. Use this method weekly since oil residues can build up if not rinsed thoroughly.
- Carry a spray bottle with diluted gentle soap for quick brush cleansing
- Use micellar water with cotton pads when no water is around
- Avoid saturating the brush ferrule with water
- Never scrub aggressively; swirl instead
- Choose natural cleaners like olive oil and dish soap for gentle care
- Let brushes air dry completely before storing or travel
- Keep brushes in breathable pouches during travel to maintain shape
Protecting Bristles from Damage
Always hold the brush handle while cleaning to avoid pulling on the bristles. Using gentle pressure keeps the hair aligned and prevents shedding. After washing, reshape the bristles and lay the brushes flat to dry.
Never put brushes in a washing machine or dryer. The agitation bends and breaks bristles, shortening brush lifespan. Extra care on the go means your brushes stay soft and effective for longer.
Never soak makeup brushes fully in water, especially when traveling. It loosens glue and causes shedding.
Step-by-Step Action Plan for Cleaning Your Makeup Brushes
Follow these steps to clean your makeup brushes effectively and protect your skin and brush quality.
- Before each use: Check brushes for visible residue or dryness. Lightly wipe or rinse if needed.
- Weekly deep clean: Wash brushes with a gentle cleanser. Rinse until water runs clear and no residue remains.
- After washing: Gently reshape bristles and lay brushes flat on a towel to dry fully.
- Monthly check: Inspect brushes for fraying or shedding. Replace any damaged brushes.
- On the go: Use brush cleansing wipes for quick touch-ups after heavy use or travel.
- Storage: Store brushes upright in a clean container, avoiding moisture or dust exposure.
Frequently Asked Questions
Can I Use Regular Soap Instead of Baby Shampoo to Clean My Brushes?
Yes, regular soap can clean brushes, but baby shampoo is gentler on natural bristles. Using harsh soaps may dry out the bristles faster and shorten their life.
How Can I Remove Makeup Stains from Synthetic Brush Handles?
Use a damp cloth with mild soap to wipe handles gently. Avoid soaking the brush to prevent water damage to the glue inside.
Is It Safe to Use Dish Soap to Clean My Makeup Brushes?
Dish soap can work for stubborn residues but may be too harsh for delicate bristles. Use it sparingly and follow up with a conditioner if needed.
Why Should I Avoid Using Hot Water When Washing Makeup Brushes?
Hot water may loosen the glue holding your brush hairs in place. Lukewarm water cleans effectively without damaging the brush structure.
Can I Clean My Makeup Brushes in the Dishwasher or Washing Machine?
No, these machines can damage brushes by warping bristles and loosening glue. Hand washing is safer and more effective.
How Do I Know If My Brush Cleanser Is Working Properly?
The water should run clear and bristles feel soft after rinsing. If residue remains, try a different cleanser or repeat cleaning.
Key Points to Remember
Cleaning your makeup brushes keeps your skin clear and helps your makeup look fresh. Start by washing them this week. Keeping them clean is a simple step that makes a big difference.