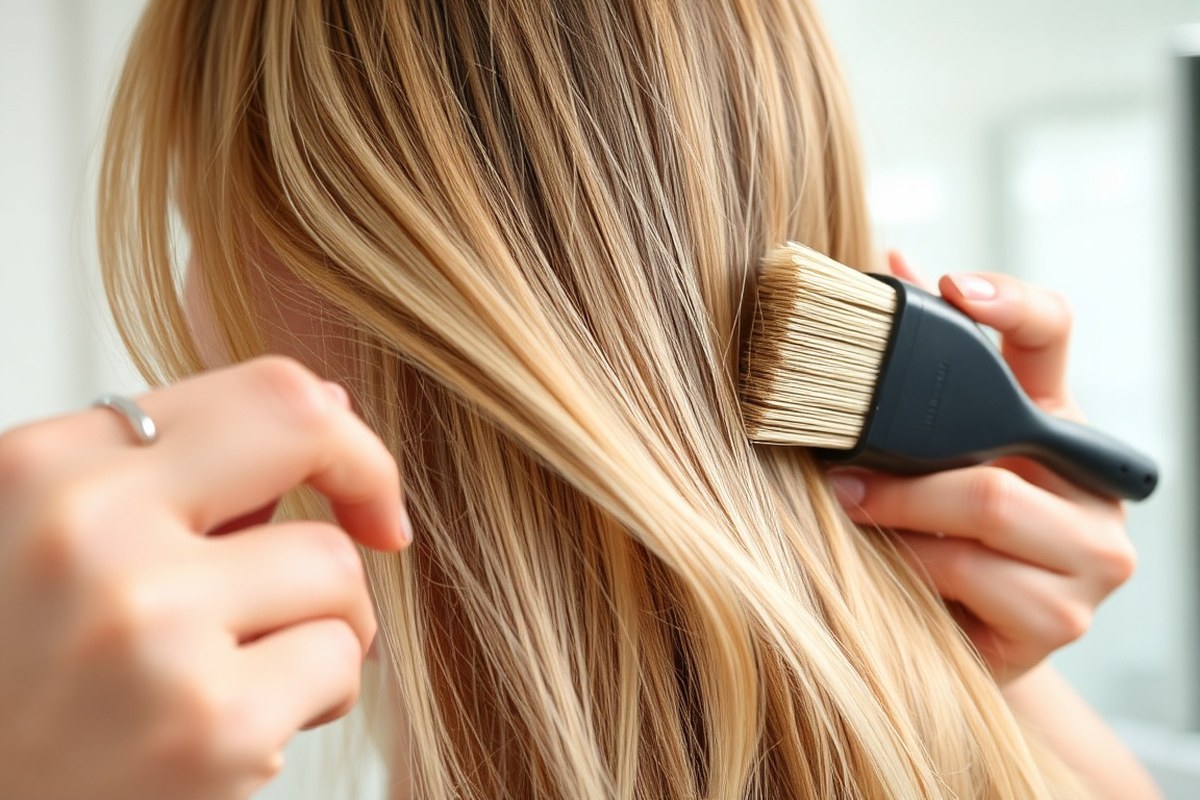
How to Apply Toner to Hair: A Complete Guide for Perfect Color Results
Knowing how to apply toner to hair fixes brassy tones effectively. Start with clean, damp hair for even color coverage. Mix the toner with developer as the package instructs for best results.
Use about a walnut-sized amount and spread it evenly, focusing on yellow areas. Apply quickly so the toner processes uniformly. Comb through gently to distribute the product without breaking strands.
Watch your hair closely during processing to avoid over-processing. Check every 5 minutes to see the unwanted tones lighten. Rinse once you reach your ideal shade to prevent dryness.
Apply toner only once every 6 to 8 weeks to keep color fresh and avoid damage. Always follow with a moisturizing conditioner to restore softness and shine.
Key Takeaways
- Use clean, towel-dried hair before you apply toner and developer mix.
- Mix toner and developer in the recommended 1:2 ratio on the box.
- Apply roughly a walnut-sized amount of toner to your hair evenly.
- Watch your hair during toning; rinse as soon as brassiness disappears.
- Leave toner on for 5 to 20 minutes based on hair and product type.
- Only reapply toner every 6 to 8 weeks to protect hair health.
How to Apply Toner to Hair Step-by-Step
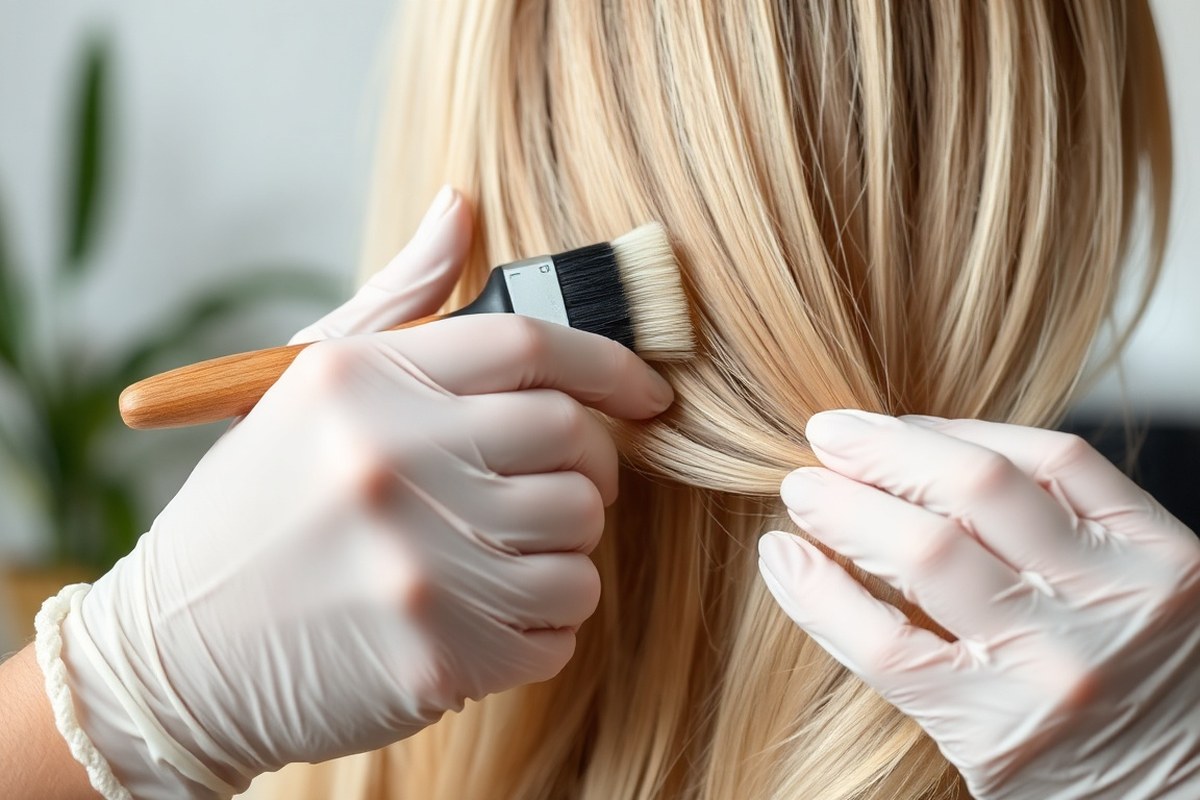
Start by washing your hair and towel-drying it until it’s damp, not dripping. Next, mix your toner with the developer and divide your hair into sections.
Apply the toner evenly with a brush, then watch the color change closely. Rinse once you reach the shade you want.
Preparing Clean, Damp Hair
Wash your hair with shampoo to remove oils and buildup. Avoid conditioner because it can block toner absorption.
Towel-dry your hair until it is about 70 to 80 percent dry. The hair should feel damp but not wet enough to drip water.
Even dampness helps the toner spread evenly without grabbing onto dry patches. This prevents uneven color or streaks.
Mixing Toner with Developer Correctly
Pour the toner into a clean bowl following your product’s instructions. Usually, it’s a 1:2 ratio of toner to developer.
Use a low-volume developer, like 10 volume, to protect the hair’s cuticle. This level gently opens hair to accept colour.
Whisk the mixture until the texture looks like smooth yogurt. A consistent blend helps the toner work evenly on your hair.
Sectioning Hair for Even Application
Divide your hair into four parts using clips or bands. Put two sections on top and two on the sides.
This helps you apply toner evenly later. This makes it easier to reach every spot.
Part your hair straight down the middle from front to back. Then part each side horizontally behind your ears to make quarters. Working with manageable sections ensures you apply the toner evenly and avoid missed spots or clumps.
Applying Toner with a Brush
Put on gloves to protect your hands from pigment stains. Dip your brush into the toner mixture and start at the roots.
Work your way down each hair section using smooth, even strokes. The damp hair helps the colour spread without patchiness.
Apply toner fast but cover every part carefully. Work on one section at a time before going to the next. This keeps the color even throughout your hair.
Setting Timer and Rinsing Properly
Check your strand test timing before applying to all your hair. Start timing as soon as you finish each section.
The toner usually processes between 5 and 20 minutes. Watch for the brassiness to fade rather than relying only on time.
Once you see your desired tone, rinse hair thoroughly with lukewarm water until it runs clear. Avoid shampooing right after.
- Wash and towel-dry hair until it’s damp, not wet.
- Mix toner with 10 volume developer at a 1:2 ratio in a bowl.
- Section hair into four parts using clips for control.
- Wear gloves and apply toner evenly with a brush from roots to tips.
- Set a timer according to your strand test or product instructions.
- Rinse hair thoroughly with lukewarm water when desired tone appears.
- Pat dry gently or air-dry without shampooing immediately.
Choosing the Right Toner for Your Hair Color

Pick a toner based on your hair’s natural color level. Notice the unwanted hues in your hair. That helps choose the right toner.
Look at your pre-lightened hair and find the brassiness, yellow, orange, or red tones. Then pick a toner with the opposite shade on the color wheel to cancel it out.
Your hair looks pale yellow. Use a purple or violet toner. This cools down yellow brassiness and gives a platinum or icy blonde finish.
Use violet-blue toner for golden yellow or warm yellow-orange tones. It softens warm colors. It can make your hair closer to beige or sandy blonde.
Orange brassy hair needs a blue-based toner. This targets deeper warmth and coppery tones, turning orange into cool ash blonde or light brown. Red tones need a green toner.
It will reduce strong warmth. This creates a soft brown or ash shade.
Hair level 7 or lighter? You see clear yellows? Use a purple toner.
At level 5 to 6 with orange tones, switch to blue tones. Levels 3 to 4 with red or deep brassiness require green-based toners. Choosing wrongly means the unwanted tone won’t vanish or colors might turn muddy.
Examine your hair’s color carefully. Use the correct toner shade to counter unwanted hues.
Pale yellow resembles a banana’s inside, golden yellow is like a gold coin, and orange matches a bright fruit. Use purple for pale yellow, violet-blue for golden yellow, and blue for orange tones.
Never use a purple toner on orange hair; it won’t work. Instead, pick blue for orange tones to get the right neutralizing effect.
Toners cost about $10 to $30 per bottle, with most lasting for many applications. Use them every 6 to 8 weeks to keep your color fresh without damage. Staying within this timing helps avoid over-toning, which can make hair look dull or grey.
Apply toner after bleaching or coloring reveals the unwanted tones. It deposits the pigment quickly, usually within 15 to 20 minutes. Rinse hair with cool water to close the cuticle.
This keeps your shade fresh and shiny. It stops brassiness and fading.
Types of Hair Toner and Developer Requirements
Temporary and permanent hair toners differ in how they interact with your hair. Temporary toners don’t need developer and wash out quickly. Permanent toners need developer and last longer but involve more processing.
Temporary Toners: No Developer Needed
Temporary toners come ready to use and don’t require mixing with developer. They coat the hair surface with color but don’t change the hair’s natural pigment. This makes them gentler and safer for sensitive or damaged hair.
Temporary toners usually stay on your hair for 2 to 5 minutes. The exact time depends on the brand you use. Always check the instructions before applying.
These toners usually last 1 to 2 weeks and fade with each shampoo. They’re perfect if you want a quick tone refresh with minimal risk.
Permanent Toners: Mixing with Developer
Permanent toners need to be mixed with a developer to work properly. The most common mixing ratio is 1 part toner to 2 parts 10-volume developer.
But some products allow a 1:1 ratio. Always follow the specific product instructions to avoid damage.
The developer activates the toner’s pigments and helps them penetrate the hair shaft. A 10-volume developer is usually enough for toning because it deposits color without lightening your hair. Higher volumes can lift hair more but risk drying or breaking it.
Leave permanent toner mixtures on your hair for about 20 to 30 minutes. Check the color development frequently to avoid over-processing. Rinse thoroughly and follow with conditioner to protect your hair.
Toner Longevity and Reapplication Frequency
How often you should apply toner varies by product type. It also depends on how fast your hair fades. Pay attention to your hair color’s condition.
Mix-with-developer toners generally last about 2 to 3 weeks. Temporary toners usually fade after 1 to 2 weeks.
Your hair’s condition, washing frequency, and previous coloring affect toner longevity. Hair that’s been colored before holds toner for less time. Reapplying keeps the color vibrant but watch for signs of damage from too-frequent use.
Ready-to-use glosses or toners work fast but need reapplying every 1 to 2 weeks. Toners mixed with developer can last about 3 to 4 weeks.
This works if your hair keeps the color well. Using these saves you time between treatments.
| Toner Type | Recommended Developer Ratio |
|---|---|
| Temporary | No developer needed |
| Permanent | 1:2 or 1:1, check packaging |
How Long to Leave Toner on Hair and Timing Tips
Toner typically stays on hair for 5 to 20 minutes. The exact time depends on your product’s instructions and your hair’s condition. Most toners suggest leaving the product on for about 10 to 15 minutes.
Porous or previously colored hair absorbs toner quickly but also loses it faster. You might want to check your hair every 5 minutes to avoid over-processing. Over-processing can darken your hair or change its color.
It may turn very pale yellow hair gray or lavender. Avoid leaving toner on too long.
Watch for visible changes as the toner works. Your hair should shift towards the desired tone gradually. Rinse immediately if your color looks too strong.
Stop if the change happens unevenly before time is up. Using a timer helps, but use your eyes and feel too.
Thicker, less porous hair may need the full recommended time to achieve the right tone. Damaged or porous hair might only need half that time.
Add a little shampoo to the toner to slow its action. It also helps spread toner evenly on your hair.
Adjust your timing based on your goals and your hair type. To tone down brassiness slightly, leave the toner on 5 to 7 minutes. This gives a subtle cool effect.
For a more intense tone, up to 15 minutes can be fine. But no longer than 20 minutes to avoid damage.
It’s best to wait 6 to 8 weeks between toning sessions. Doing it more often can worsen hair condition.
Follow your chosen toner’s leaflet closely. Don’t rush the rinsing step, it locks in the color and helps your hair feel shiny.
Why a Strand Test Is important Before Full Application
Doing a strand test helps you see how toner will react with your hair. It prevents surprises and damage before you use toner all over. You get to check the color result and the hair’s health after application.
Selecting a Hair Strand for Testing
Pick a small, hidden strand near your scalp or behind your ear. The selected strand should represent the hair’s current color and condition. Avoid overly damaged or chemically treated hair strands for this test.
Choose a strand between 1 to 2 inches wide. This size lets you apply toner without wasting product. Make sure your hair is clean but damp before testing to mimic actual toner application.
Mixing Toner and Developer for Test
Follow the toner instructions for the right mixing ratio with developer. Usually, a 1:2 ratio (one part toner to two parts developer) works for most toners. Use the recommended developer strength, often 10 or 20 volume, based on your hair type.
Use a clean bowl and brush for mixing and applying the toner. Prepare only enough mixture for the strand test to prevent waste. Mixing fresh toner ensures it works properly and doesn’t lose strength.
Applying and Timing the Strand Test
Apply the toner mixture evenly on the chosen strand, starting from the root. Use a small section comb or brush to spread it well. Cover the strand with plastic wrap or a shower cap to keep warmth and moisture.
Check the strand every 5 minutes. Follow the toner’s suggested time. This usually ranges from 5 to 20 minutes.
Timing helps you find how long toner takes to achieve the desired shade without damage. Rinse once the tone is right or if you notice dryness.
- Choose a hidden hair strand that matches your overall hair condition.
- Mix toner and developer exactly as package instructions say.
- Apply the mixture from root to mid-length on the strand.
- Cover the strand to keep it warm and moist during the test.
- Watch the strand every 5 minutes to check color change and condition.
- Rinse the toner off as soon as you see the desired tone or hair dryness.
- Dry and examine the strand’s final color and texture carefully.
Don’t skip the check every 5 minutes; over-toning can damage hair quickly.
Evaluating Color and Hair Condition
Look for color change compared to the natural or pre-toned hair. The strand should show a smooth, even tone without patchiness. Check for hair softness and elasticity to ensure toner didn’t cause harm.
Toner that’s too strong may leave hair brittle, dry, or overly lightened. Good results show even colour and hair feels intact after rinsing. Note how your hair’s porosity affects color absorption during the test.
Adjusting Toner or Timing Based on Results
When the strand looks too dark or brassy, shorten toner time. Try a cooler shade toner next time. When the color barely changes, add a little more time.
Use a developer with a higher volume. Avoid exceeding the recommended maximum time; it risks hair damage.
Repeat the strand test if you change toner strength or developer volume. This step prevents damage from unexpected reactions on your full head of hair. Use the test results to guide your full application timing and product choice confidently.
Aftercare for Toned Hair to Maintain Color and Health
Rinsing out toner is just the start. To keep your hair color vibrant and your strands healthy, use a color-safe, sulfate-free shampoo.
These shampoos prevent color from fading too fast and protect your strands. Wash your hair with lukewarm water because hot water strips moisture and dulls color quickly.
Moisture matters a lot after toning because toner can dry hair out. Dry hair soaks up toner unevenly and may become brittle. Use a deep conditioner or hair mask once a week.
Apply it from mid-lengths to ends, leaving it on for 5 to 10 minutes. This keeps hair soft and helps the toner last longer.
Keep your hair protected from heat tools like flat irons and curling wands. Always apply a heat protectant spray before styling. Heat opens the hair cuticle, which can fade your color and cause breakage.
Your hair might be porous or damaged. Skip heat styling for a few days. Let your strands rest to help them recover.
Your toner can look flat or ashy after weeks. Try using a warm-toned glaze to fix this. Mix a honey or beige toner drop-in with a clear gloss or conditioner.
Apply it on damp hair and leave it on for 10 minutes, then rinse. This can revive warmth without over-processing your hair.
Protect your hair from the sun by wearing a hat. You can also use a UV spray made for colored hair. Sun exposure fades toner and dries hair out faster.
Before swimming in pools, rinse your hair with clean water. Wearing a swim cap helps protect hair even more. Chlorine can strip color and damage treated hair quickly.
Adjust your aftercare if your hair feels extra dry or damaged. Use leave-in conditioners or lightweight oils like argan or jojoba. These help lock in moisture and add shine without weighing hair down.
Avoid washing your hair every day. Washing 2 to 3 times a week helps keep color and moisture balanced.
For gray or naturally drier hair, choose toners with nourishing ingredients like natural oils or protein. Use a gentle, hydrating shampoo every day. Follow with conditioner to keep your hair smooth.
This prevents breakage and roughness. Cooler months can suck moisture out. So add an extra moisturizing mask during these times.
Following these steps keeps your toned hair looking fresh and healthy. Avoid over-washing, harsh chemicals, and heat as much as possible. With regular care, your color stays vibrant, and your hair feels smooth and strong longer.
Common Mistakes When Applying Hair Toner and How to Fix Them
One of the biggest mistakes is applying toner all over your hair at once. Doing that can cause uneven color or over-processing. Some hair parts may be more damaged.
Others might be brassy and react differently. Instead, start with the brassiest sections first and work outwards. Check your hair every five minutes to avoid leaving the toner on too long.
Another common issue is putting toner on dry hair. Toner works best when your hair is damp, not soaking wet but not dry. Applying it to dry hair can make the color patchy or deeper than you want.
Also, skipping a strand test can lead to unexpected results. Test the toner on a small piece of hair first.
This helps you see how long to leave it on. Don’t skip this step before toning all your hair.
Overusing toner can weaken your hair. Toner is a mild chemical. So using it too often or leaving it in too long can cause dryness or breakage.
Watch your hair for brittleness or lifelessness. Cut back on toning sessions if you see this.
Let your hair rest and repair between uses. Use a deep conditioner after each toning to keep your hair healthy.
- Divide hair into four sections to avoid the zebra effect
- Apply toner on damp hair, not dry
- Start toning brassiest spots first, then blend
- Check color every 5 minutes to stop at the right tone
- Perform a strand test before full application each time
- Use toner sparingly to protect hair from damage
- Condition hair well after toning to keep it healthy
Rinse your hair right away with cool water. This stops the toner from processing further. It helps avoid a brassy or uneven color.
You can try a quick toning shampoo or a color-depositing conditioner to balance the tone. Avoid reapplying toner right away; give your hair a week or more to recover. For stubborn brassiness, a professional color correction might be safer.
When to Consult a Professional for Hair Toning
Toner can seem simple, but some situations call for a pro’s touch. Talk to a stylist before applying toner if you bleached or colored hair often. They can advise on timing and type to avoid dryness or breakage from over-processing.
Applying toner on bleached hair can cause uneven tones. It can also damage your hair. Experience helps avoid these problems.
Professionals control application precisely and choose formulas that work well with your hair condition. At home, you risk patchy color or brassiness by misjudging timing or toner strength.
At-home toners usually come as toning shampoos or conditioners. These toners work well for maintenance. They fix small color issues.
Best for natural or lightly colored hair. They only add color on top.
They won’t lift tones or fix deeper color problems. Salon toners handle those safely.
Salon toning costs about $40 to $100. Price depends on where you live and hair length. The cost includes expert advice, the right mix, and tips to keep results longer.
Consider a salon if you want a perfect color match. It’s safer for light, fragile hair too.
Look for signs that you should stop the DIY and book a professional. If your hair feels dry or patchy after toning, get expert help next time.
Avoid home toning if your hair is very damaged. Big tone changes need strong products and experience.
Do a strand test before full application to avoid surprises, especially on bleached hair.
Simple toning shampoos help keep brassiness away when you wash. But they fade quickly, often in 2 to 3 weeks with heat styling. Pro toners last 4 to 6 weeks or longer.
Pros customize the formula and apply it evenly. Spend the money if you want longer-lasting, smoother color and less risk of damage.
Step-by-Step Action Plan for Applying Hair Toner
Follow these steps to tone your hair at home safely and effectively. Watch your hair’s response at each phase.
- Before you start: Do a strand test with your chosen toner and developer. Check after 10 minutes for the shade and any damage.
- Day 1: Shampoo and towel-dry hair. Apply toner evenly from roots to tips. You’ll see the color shifting as it works.
- During application: Set a timer for 10 to 20 minutes based on your strand test. Avoid going over time unless your hair can handle it.
- Rinse time: Wash toner out with cool water once the desired tone appears. Do not use shampoo right after.
- After toning: Apply a deep conditioner or mask. This restores moisture and keeps color fresh longer.
- Next 1 to 2 weeks: Use sulfate-free shampoo to maintain your new tone. Avoid heavy heat styling to protect the color.
- After 3 weeks: Check if your toner has faded. Repeat the strand test before reapplying toner to avoid over-processing.
Frequently Asked Questions
Can I Apply Toner to Dry Hair?
You should apply toner to clean, damp hair for best results. Damp hair allows even toner distribution and better colour absorption.
How Often Can You Safely Tone Your Hair?
Apply toner every 6 to 8 weeks to avoid hair damage. Frequent toning can weaken your hair strands over time.
Should I Shampoo Before Applying Toner?
Yes, shampoo your hair before toning to remove oils and product buildup. Clean hair helps the toner work evenly and effectively.
Is Heat Necessary When Processing Toner?
Heat isn’t required but can speed up processing. Room temperature and watching the hair tone closely works well.
Can I Use Toner on Virgin (Untreated) Hair?
Toner is best for pre-lightened or coloured hair, not virgin hair. Applying it on natural hair may not show desired results.
How Much Developer Should I Mix with Toner?
Mix toner and developer in the ratio specified on the box, usually 1:2. Using correct proportions ensures proper hair colour change.
Key Points to Remember
Applying toner correctly can bring out the perfect shade and keep your hair strong. Start with a strand test to avoid surprises. Next, pick the right toner to gently brighten your look today.